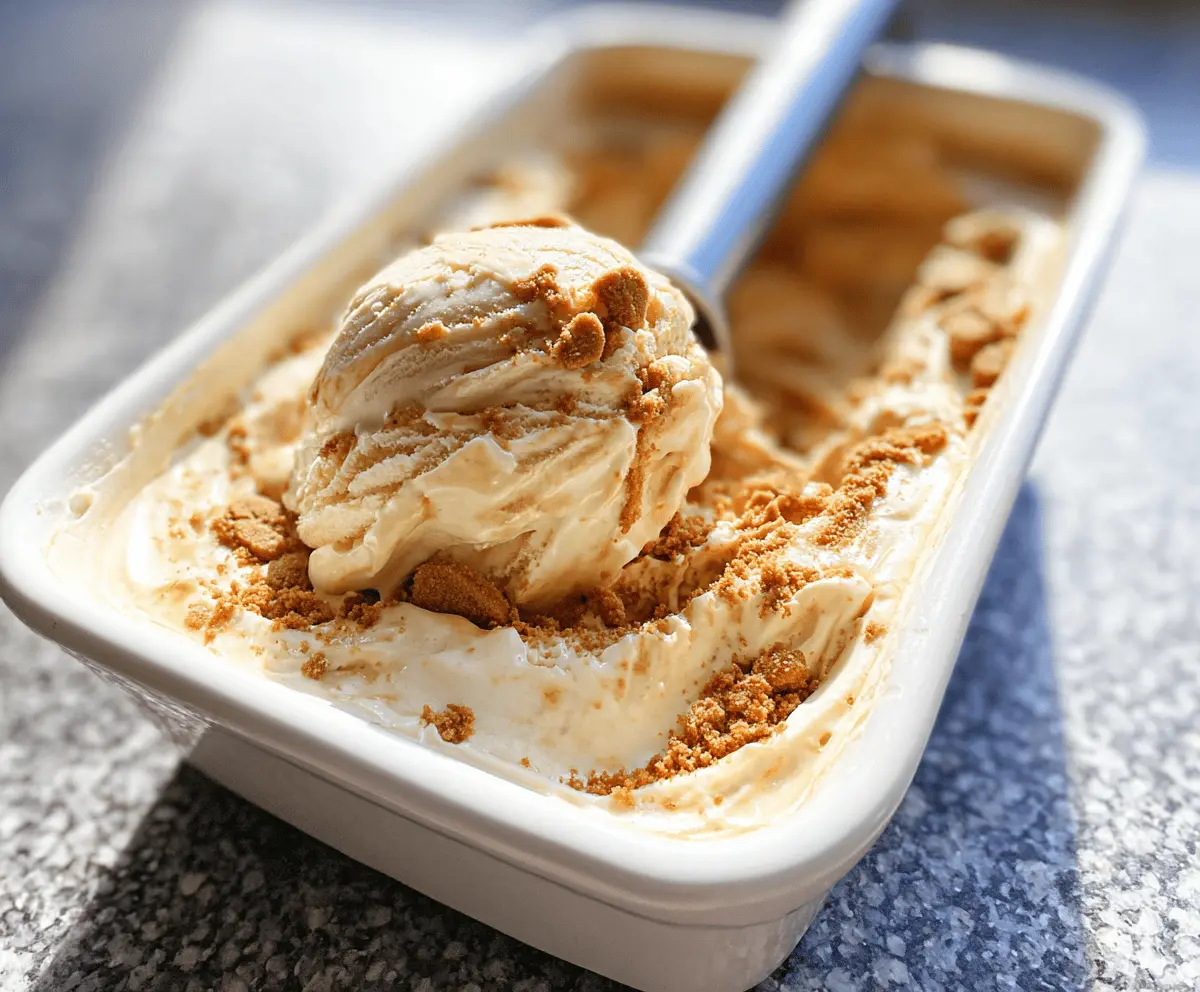
This Easy Homemade Biscoff Ice Cream is a sweet treat that’s super simple to make! With creamy goodness mixed with the rich flavor of Biscoff cookies, it’s a dessert dream.
I love how easy it is! Just mix, freeze, and scoop. It’s perfect to enjoy during hot days or as a late-night snack. Just don’t forget to hide some from the kids! 😉
Ingredients & Substitutions
Biscoff Spread: This cookie butter is the star of the show! If you can’t find Biscoff spread, try speculoos spread or any other cookie butter alternative for a similar flavor.
Heavy Whipping Cream: For a lighter version, you can use half and half, but the ice cream might not be as rich and creamy. I love the creaminess that heavy cream brings!
Sweetened Condensed Milk: This gives the ice cream a fantastic texture. If you need a dairy-free option, look for coconut condensed milk as a substitute. It adds a nice twist to the flavor.
Crushed Biscoff Cookies: Use any leftover cookies as a garnish. If you’re looking for a nut-free option, you could also use crushed graham crackers or chocolate cookies!
How Do I Get the Whipped Cream to Stay Fluffy?
Whipping your cream until stiff peaks form is crucial for light and airy ice cream. Here’s how to do it right:
- Start with cold, heavy whipping cream—chill your mixing bowl for extra insurance!
- Use a hand mixer or a stand mixer on high speed and beat the cream until it thickens. It’ll take 2-4 minutes.
- Look for stiff peaks, which means the cream should hold its shape when you lift the beaters. Be careful not to overbeat, or it can turn into butter!
Folding the whipped cream gently into the Biscoff mixture helps keep that airiness, so use a spatula and make slow, sweeping motions!
Easy Homemade Biscoff Ice Cream
Ingredients You’ll Need:
- 1 cup Biscoff spread (cookie butter)
- 2 cups heavy whipping cream, cold
- 1 cup sweetened condensed milk
- 1 teaspoon vanilla extract
- 1/2 cup crushed Biscoff cookies (for folding in and garnish)
How Much Time Will You Need?
This delightful treat takes about 15 minutes to prepare and then needs at least 6 hours (or overnight) to freeze and firm up. So really, you can whip it up in no time, but just remember to be patient while it chills!
Step-by-Step Instructions:
1. Whip the Cream:
Start by grabbing a large mixing bowl and pour in the cold heavy whipping cream. Using an electric mixer, whip it until stiff peaks form. This means the cream should hold its shape nicely when you lift up the beaters—don’t worry, it’s super fun to see it fluff up!
2. Mix the Biscoff Base:
In a separate bowl, combine the Biscoff spread, sweetened condensed milk, and vanilla extract. Mix everything together until it’s lovely and smooth. You’ll be amazed at the delicious aroma!
3. Combine the Mixtures:
Now it’s time for folding! Gently add the whipped cream into the Biscoff mixture. Use a spatula and fold carefully to keep that fluffy texture. You want it all combined without losing all that nice air you whipped in.
4. Add Some Crunch:
Take half of the crushed Biscoff cookies and fold them into the ice cream mixture. This adds a delightful crunch and yummy surprises in every bite!
5. Transfer to Container:
Pour the ice cream mixture into a freezer-safe container, spreading it out evenly. This will make sure it freezes nicely.
6. Garnish and Freeze:
Before sealing it up, sprinkle the remaining crushed Biscoff cookies on top for a pretty touch. Cover the container tightly with a lid or plastic wrap and pop it in the freezer. Let it freeze for at least 6 hours or better yet, overnight for the best results.
7. Serve and Enjoy:
When you’re all set to enjoy your homemade ice cream, scoop it into bowls or cones and dig into that creamy, spiced delight of Biscoff goodness. Perfect for a hot day or a sweet treat after dinner!

FAQ for Easy Homemade Biscoff Ice Cream
Can I Use Low-Fat Cream Instead of Heavy Cream?
While you can use low-fat cream, the ice cream will be less creamy and rich. Heavy whipping cream is recommended for the best texture. If you want to lighten it up, consider using half and half, but keep in mind it will be less indulgent!
How Long Can I Store this Ice Cream?
You can store homemade Biscoff ice cream in an airtight container in the freezer for up to 2 weeks. Just make sure to keep it covered to prevent ice crystals from forming, which can affect the texture.
Can I Add Other Mix-Ins?
Absolutely! Feel free to mix in chocolate chips, nuts, or other cookies to customize your ice cream. Just be sure to fold them in gently to maintain the light texture.
What if My Ice Cream Is Too Hard to Scoop?
If your ice cream is too hard after freezing, let it sit at room temperature for about 5-10 minutes before scooping. This will help soften it a bit, making it easier to serve!