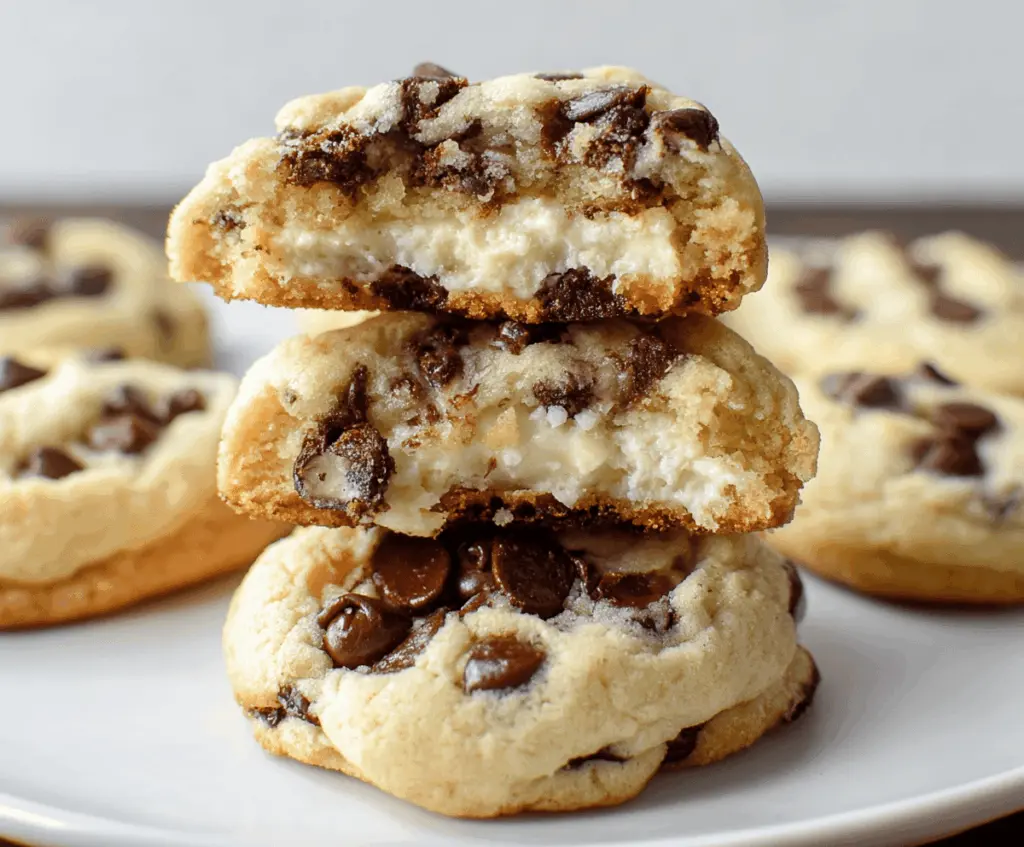
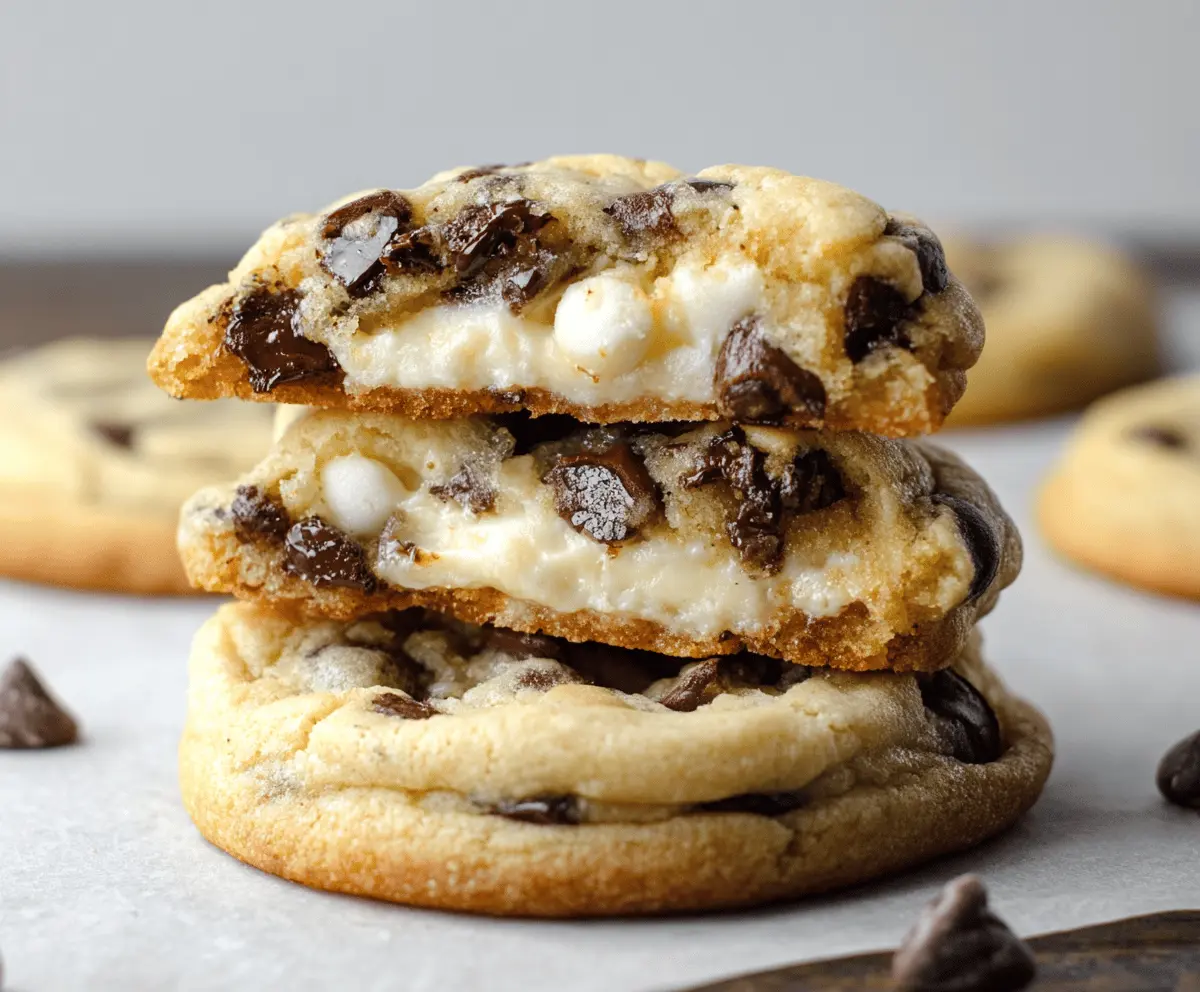
These Chocolate Chip Cheesecake Cookies are a yummy treat! They combine creamy cheesecake filling with soft cookie dough and chocolate chips. It’s like holding dessert in your hand!
Seriously, who can resist that combination? I always feel like a baking rockstar when I whip these up – they’re just so easy and taste amazing warm out of the oven!
Key Ingredients & Substitutions
Unsalted Butter: Softened butter is crucial for a rich flavor. If you’re in a pinch, you can use margarine, but it might slightly change the taste. Always let it sit at room temperature before using for the best texture.
Granulated & Brown Sugar: A mix of both sugars gives depth. You can swap light brown sugar for dark brown if you like a stronger molasses flavor. Coconut sugar is a great option for a healthier take!
Chocolate Chips: Semisweet chips are classic, but feel free to use milk chocolate, dark chocolate, or even white chocolate if that’s your jam. You could also add nuts or dried fruits for extra texture and flavor!
Cream Cheese: Use full-fat cream cheese for the best flavor. If you want a lighter version, Neufchâtel cheese is a good substitute. Non-dairy cream cheese alternatives can work too if you need a vegan option.
What’s the Best Way to Ensure My Cookie Dough Stays Perfectly Soft?
The secret to getting soft cookies starts with measuring your flour correctly. Too much flour will make cookies dry. Always spoon flour into your measuring cup and level it off with a knife.
- Ensure your butter is softened but not melting — it should be creamy, not oily.
- Don’t overmix the dough; combine just until the flour disappears. This keeps cookies tender.
- Chill the dough for about 30 minutes if you can, which helps control spreading while baking.
Chocolate Chip Cheesecake Cookies
Ingredients You’ll Need:
For the Cookie Dough:
- 1 cup (2 sticks) unsalted butter, softened
- 1 cup granulated sugar
- 1/2 cup packed light brown sugar
- 2 large eggs
- 1 teaspoon vanilla extract
- 2 1/4 cups all-purpose flour
- 1 teaspoon baking soda
- 1/2 teaspoon salt
- 1 1/2 cups semisweet chocolate chips
For the Cheesecake Filling:
- 8 oz cream cheese, softened
- 1/3 cup granulated sugar
- 1 teaspoon vanilla extract
How Much Time Will You Need?
This delightful recipe takes about 15 minutes to prepare and around 11-14 minutes to bake. Don’t forget to allow a few minutes for cooling afterward. So, in total, expect about 30-40 minutes from start to finish!
Step-by-Step Instructions:
1. Prepping the Oven and Sheets:
First things first, preheat your oven to 350°F (175°C). While that’s warming up, grab two baking sheets and line them with parchment paper or silicone baking mats to prevent the cookies from sticking.
2. Making the Cookie Dough:
In a large mixing bowl, throw in the softened butter, granulated sugar, and brown sugar. Use a mixer or a wooden spoon to cream these together until the mixture is light and fluffy. This step is really important for a soft and delicious cookie!
3. Adding Eggs and Vanilla:
Next, add the eggs one by one, mixing well after each addition. Once they’re combined, stir in the vanilla extract. It makes the cookies taste so good!
4. Mixing the Dry Ingredients:
In another bowl, whisk together the flour, baking soda, and salt. Then, gradually blend this dry mixture into the butter mixture until everything is just combined. Be careful not to overmix, or your cookies could turn out tough!
5. Chocolate Chips Go In:
Now, fold in those yummy chocolate chips. Make sure they’re evenly distributed throughout the dough. You want chocolate in every bite, right?
6. Preparing the Cheesecake Filling:
In a separate bowl, beat together the softened cream cheese, granulated sugar, and vanilla extract until it’s smooth and creamy.
7. Assembling the Cookies:
Time to form the cookies! Using about 1 to 1 1/2 tablespoons, scoop out the cookie dough and place them on your prepared baking sheets, leaving some space between each ball. Flatten each dough ball slightly with your hand.
8. Adding the Cheesecake Filling:
Take about a teaspoon of the cheesecake filling and place it right in the center of each dough ball. Yum!
9. Enclosing the Filling:
Now, take another slightly larger portion of cookie dough and cover the cheesecake filling, gently pinching it together to make a ball around the filling. Make sure it’s fully enclosed!
10. Baking Time:
Place the filled dough balls back on the baking sheet, ensuring there’s enough space to allow for spreading. Pop them into the oven and bake for about 11-14 minutes. Look for golden edges but slightly soft centers.
11. Cooling Off:
Once they’re done, let the cookies cool on the baking sheet for about 5 minutes before transferring them to wire racks. This step helps them set perfectly!
12. Serve and Enjoy:
Your cookies are now ready! Serve them warm or at room temperature, and enjoy the delicious combination of soft cookie and creamy cheesecake filling. They won’t last long!
Can I Use Low-Fat Cream Cheese for the Filling?
Yes, you can! Low-fat cream cheese works well, but keep in mind that it may not be as rich or creamy as the full-fat version. Just make sure it’s softened to blend easily!
How Can I Store Leftover Cookies?
Store any leftover cookies in an airtight container at room temperature for up to 3 days. If you want to keep them longer, you can freeze them for up to 3 months—just make sure to thaw them at room temperature before enjoying!
Can I Make the Dough Ahead of Time?
Absolutely! You can prepare the cookie dough ahead of time and refrigerate it for up to 48 hours. Just let it sit at room temperature for about 15 minutes before baking to make it easier to scoop.
What If I Don’t Have Parchment Paper?
No worries! If you don’t have parchment paper, you can lightly grease your baking sheets with a bit of butter or cooking spray to prevent sticking. Silicone baking mats also make a great alternative!