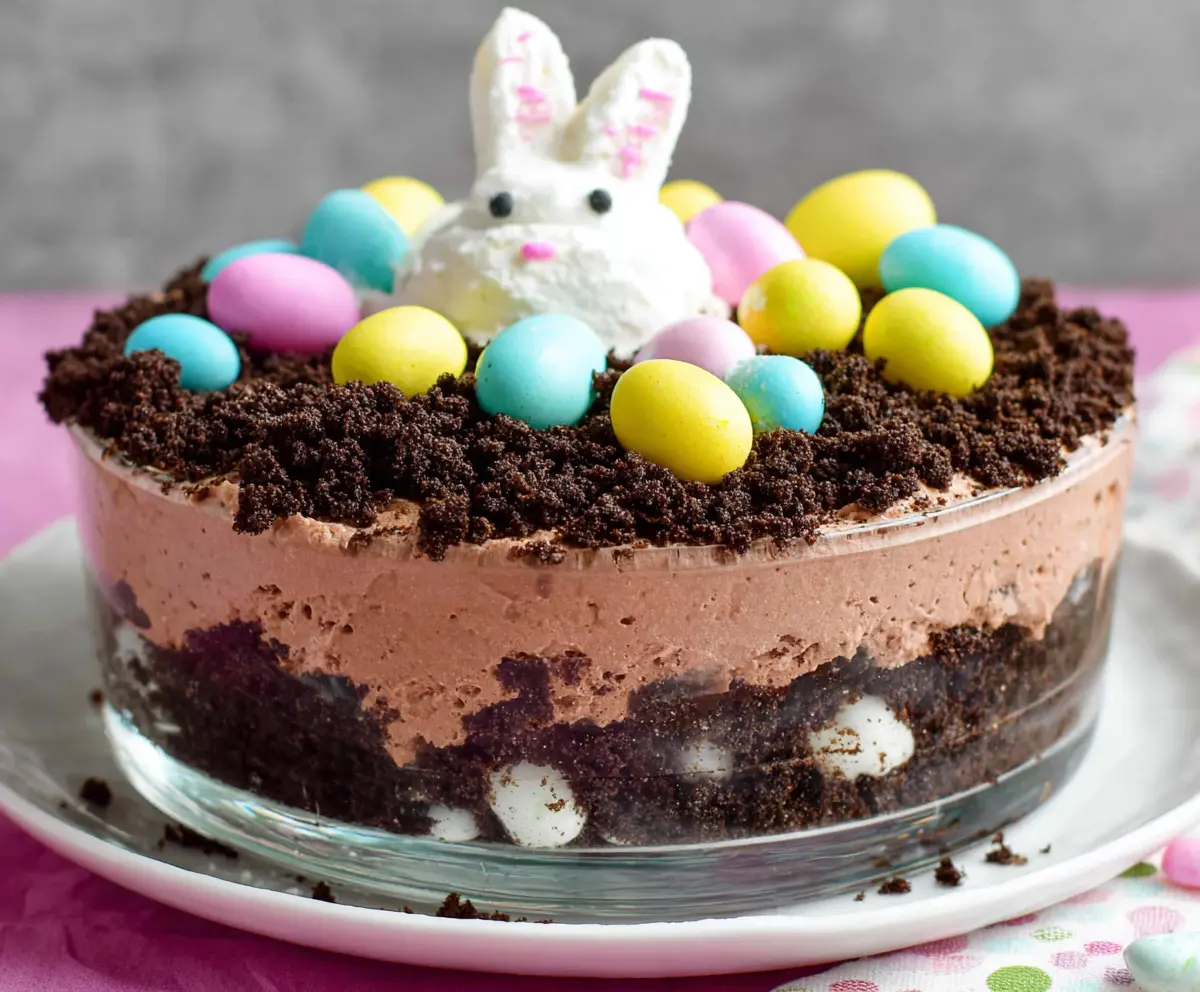
This Easter Dirt Cake is a fun and tasty treat! With layers of chocolate pudding, crumbled cookies, and cute gummy worms, it looks like a delicious garden in a pot.
Kids and adults alike love it, and it’s super easy to make! I enjoy hiding little chocolate eggs on top for a sweet surprise. Perfect for sharing with family at holiday gatherings!
Key Ingredients & Substitutions
Oreo Cookies: These are the star of the crust, giving a deep chocolate flavor. If you can’t find Oreos, any chocolate sandwich cookie will do. For a gluten-free option, look for gluten-free chocolate cookies instead!
Butter: Melted butter binds the crushed Oreos. If you’re looking to cut back on dairy, you could use coconut oil or a dairy-free margarine.
Cream Cheese: This adds richness to the filling. If you’re watching your diet, you can substitute with Neufchâtel cheese for lower fat content, or use a vegan cream cheese alternative.
Instant Pudding Mix: I love chocolate flavor, but vanilla can be a fun take too! You could also make homemade pudding if you prefer from scratch, just let it cool first before mixing.
Frozen Whipped Topping: The light and airy texture is key. For a healthier option, you can whip up your own heavy cream instead. Just make sure to chill it first!
How Do You Get the Cream Cheese Mixture Smooth?
Mixing the cream cheese until smooth is essential for a creamy texture. Here’s how to do it:
- Make sure your cream cheese is at room temperature before starting. This makes it much easier to blend.
- Use a hand mixer or stand mixer for the best results. Start on low speed to break it down, then increase.
- Scrape down the sides of the bowl to ensure everything is mixed evenly.
What’s the Best Way to Assemble the Layers?
Layering is key to this cake’s visual appeal. Here’s a simple way to do it:
- Start with pressing half of your Oreo mixture into the bottom of your dish for the crust.
- Evenly sprinkle the mini marshmallows; they act as a lovely surprise inside.
- When adding pudding, try to spread it gently to avoid mixing with the marshmallows. A spatula helps to keep layers distinct.
Remember, chilling the cake is key for the best flavor and texture, so don’t skip that step. You’ll be rewarded with a deliciously layered treat at the end!
How to Make Easter Dirt Cake
Ingredients You’ll Need:
For the Base and Crust:
- 1 package (about 14 oz) Oreo cookies or chocolate sandwich cookies
- 1/4 cup butter, melted
For the Cream Cheese Filling:
- 1 package (8 oz) cream cheese, softened
- 1/2 cup granulated sugar
- 1 package (8 oz) cream cheese–flavored instant pudding mix (chocolate flavor works well)
- 3 1/2 cups cold milk
For the Topping and Decoration:
- 1 container (8 oz) frozen whipped topping, thawed (like Cool Whip)
- Mini marshmallows (about 1 cup)
- Assorted candy Easter eggs (chocolate or jelly beans)
- Whipped topping or frosting for bunny decoration
- Food coloring (optional, for bunny ears)
- Small candy pieces or chocolate chips for bunny eyes and nose
How Much Time Will You Need?
This delightful Easter Dirt Cake will take about 30 minutes to prepare, plus at least 4 hours of chilling time in the fridge. To get the best flavor and texture, you can even make it the day before your gathering!
Step-by-Step Instructions:
1. Prepare the Oreos:
Start by placing the Oreo cookies in a food processor. Pulse them until they are finely crushed. Alternatively, for a fun hands-on method, put the cookies in a large zip-top bag and crush them with a rolling pin. Set aside about 1 cup of the crushed Oreos for later use as topping.
2. Mix the Base:
In a medium-sized bowl, mix together the melted butter with the remaining crushed Oreos. Stir until the mixture looks like wet dirt.
3. Layer the Crust:
Now take half of your Oreo mixture and press it firmly into the bottom of a clear glass trifle dish or a large bowl. This will serve as your tasty crust.
4. Add Marshmallows:
Evenly sprinkle the mini marshmallows over the layer of Oreo crust. This will add a fun, chewy texture to your cake!
5. Make the Pudding Filling:
In a large bowl, beat together the softened cream cheese and sugar until it’s perfectly smooth. Next, add the pudding mix and the cold milk. Whisk everything until it’s thickened (this should take about 2 minutes). Gently fold in the thawed whipped topping until it’s all mixed together.
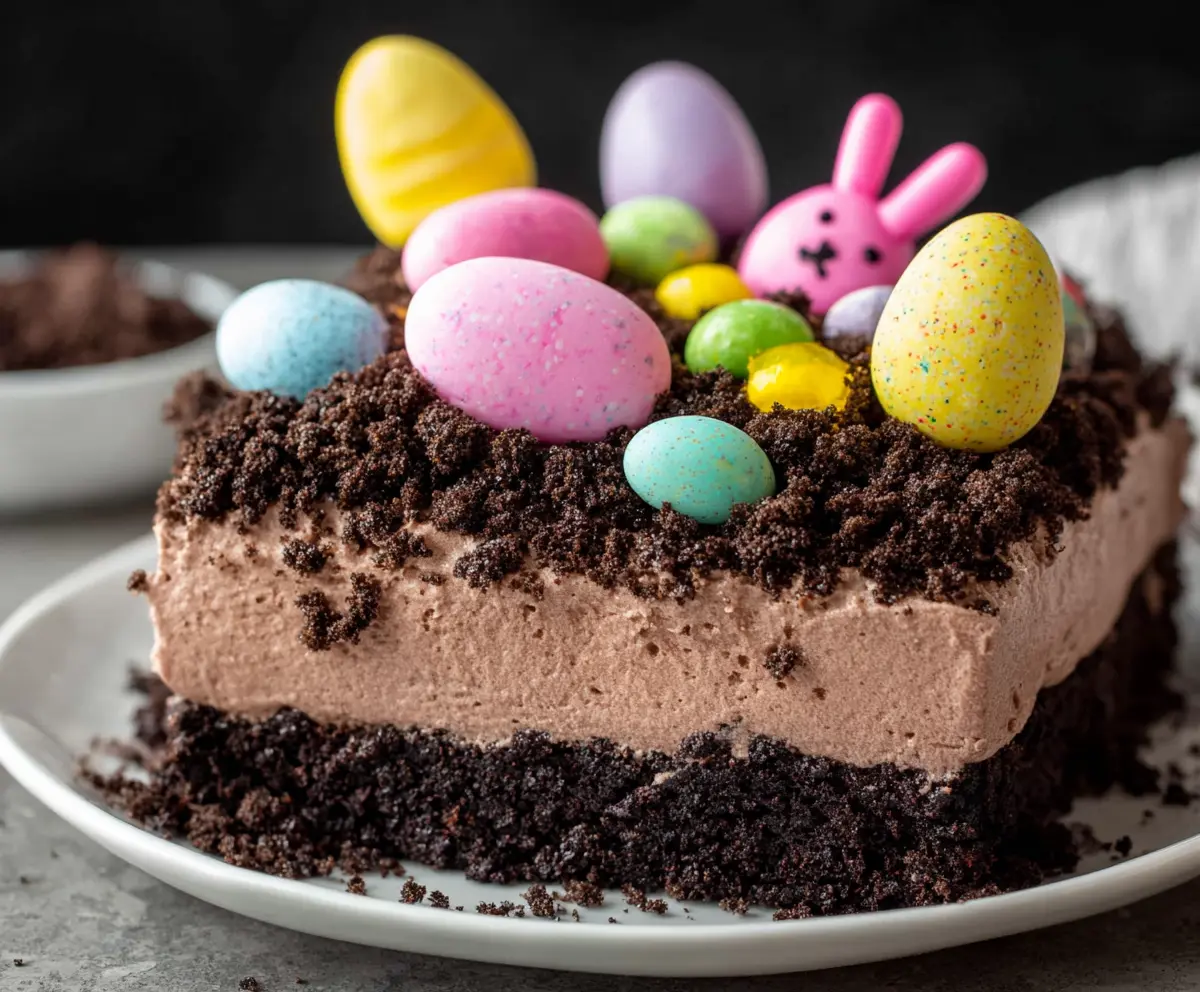
6. Assemble the Cake:
Spread half of the creamy pudding mixture over the marshmallow layer. Then add the remaining half of the Oreo mixture and finish by topping it with the rest of the pudding mixture.
7. Top the Cake:
Finally, sprinkle the reserved crushed Oreos over the top to give it that “dirt” look that the cake is named after!
8. Decorate:
Arrange the candy Easter eggs on top of your dirt cake. For a little extra fun, create a small bunny figure in the center using whipped topping or frosting. You can use small candies or chocolate chips for the bunny’s eyes and nose. If you want to add ears, make some with the whipped topping and a bit of food coloring to give them a splash of color!
9. Chill:
Cover your delightful creation and refrigerate it for at least 4 hours, or even overnight if you like. This will help the flavors meld together nicely and let the dessert set.
10. Serve:
When you’re ready to enjoy, scoop out the cake and serve it chilled. Everyone will love this festive Easter treat!
—
This Easter Dirt Cake is a fun and delicious dessert that combines creamy chocolate pudding layers, a crunchy Oreo crust, and festive decorations sure to brighten up your holiday celebration. Enjoy!
Can I Use Different Types of Cookies for the Base?
Absolutely! While Oreos are a classic choice, you can use any chocolate sandwich cookies. For a gluten-free version, opt for gluten-free chocolate cookies instead.
How Can I Make This Cake Dairy-Free?
To make a dairy-free version, substitute the cream cheese with a dairy-free cream cheese alternative and use a non-dairy whipped topping like coconut whipped cream. You can also use non-dairy milk for the pudding mix.
Can I Make This Cake Ahead of Time?
Yes, you can! This dessert can be made a day in advance. Just cover it tightly and store it in the refrigerator. The flavors will meld beautifully, making it even tastier!
How Should I Store Leftovers?
Any leftovers can be stored in an airtight container in the fridge for up to 3 days. Give it a gentle stir before serving again to refresh the layers!