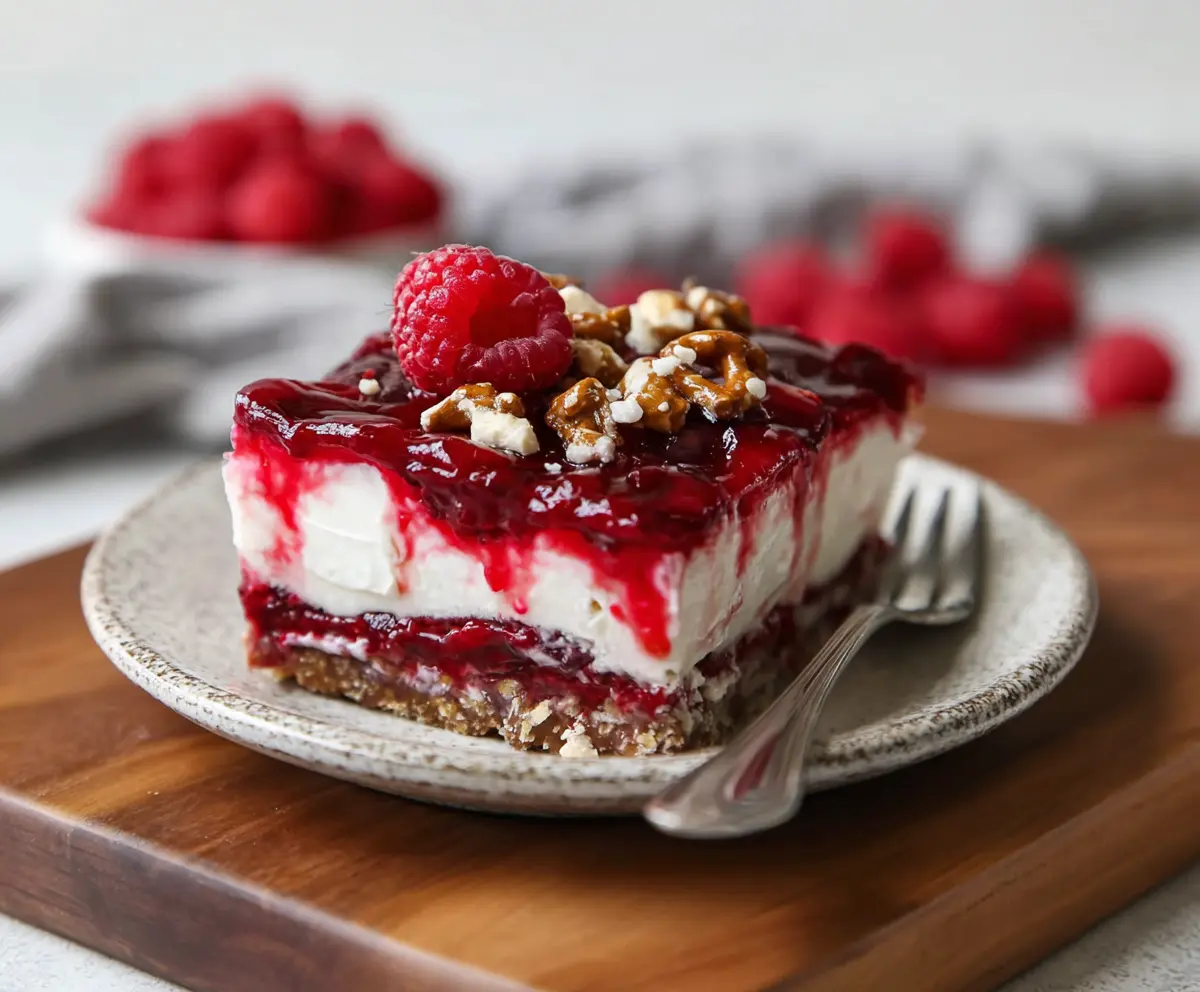
This Raspberry Pretzel Dessert is a delightful mix of sweet and salty! It features a crunchy pretzel crust, creamy filling, and a zesty raspberry topping that’s simply irresistible.
The combination of flavors makes this dish a hit at gatherings. I love serving it chilled—it’s like a party in your mouth! Plus, who can resist that crunchy crust? Yum! 😋
Key Ingredients & Substitutions
Pretzels: The crust is made with crushed pretzels, giving a salty crunch. If you’re gluten-free, use gluten-free pretzels as a substitute.
Cream Cheese: This adds creaminess to the dessert. Neufchâtel cheese is a lighter option if you prefer less fat, or you could use a dairy-free cream cheese if needed.
Whipped Topping: Brands like Cool Whip create a fluffy texture. For a homemade version, just whip heavy cream until soft peaks form! You can even sugar it a bit.
Raspberry Gelatin: This gives a great raspberry flavor. If you prefer a less sweet option, consider using agar-agar as a vegan alternative, but the texture may vary.
How Can I Get My Pretzel Crust to Be Just Right?
Getting the pretzel crust perfect is all about the method! Start by mixing crushed pretzels with melted butter and sugar. Press the mixture well into the springform pan so it’s compact. Bake it until it’s golden to bring out the flavor.
- Make sure to let the crust cool completely before adding the cream cheese layer.
- A tip? Using a flat-bottom glass to press down will help it form a solid base.
What’s the Best Way to Prepare the Raspberry Layer?
The raspberry layer adds that fruity punch! When dissolving the gelatin, ensure you mix it thoroughly in boiling water. Allow it to cool in the fridge until it’s slightly thickened—this helps it hold the raspberries better without them sinking.
- Remember to gently fold in the raspberries after it thickens, being careful not to mash them.
- After pouring the gelatin layer, refrigerate the dessert for at least 4 hours for perfect slicing!
Enjoy making this treat! It’s sure to be a crowd-pleaser at any gathering!
How to Make Raspberry Pretzel Dessert
Ingredients You’ll Need:
For the Crust:
- 2 cups crushed pretzels
- 3/4 cup granulated sugar, divided
- 3/4 cup unsalted butter (1.5 sticks), melted
For the Cream Cheese Layer:
- 2 (8 oz) packages cream cheese, softened
- 2 cups powdered sugar
- 2 cups whipped topping (such as Cool Whip), thawed
For the Raspberry Layer:
- 2 (6 oz) packages raspberry gelatin (Jell-O)
- 2 cups boiling water
- 2 cups cold water
- 2 cups fresh raspberries
- Optional toppings: whole raspberries, chopped pretzels or nuts for garnish
How Much Time Will You Need?
This delicious dessert requires about 20 minutes of preparation time, followed by a total of at least 4 hours in the refrigerator to chill and set. Most of that time is just waiting, so it’s a great dish to make ahead of time for parties or gatherings!
Step-by-Step Instructions:
1. Prepare the Crust:
First, preheat your oven to 350°F (175°C). In a medium bowl, mix together the crushed pretzels, 1/2 cup of granulated sugar, and the melted butter until everything is well combined.
Next, take this mixture and press it firmly into the bottom of a 9×13 inch baking dish to form the crust. Bake it in the oven for about 10 minutes, then remove it and allow it to cool completely.
2. Make the Cream Cheese Layer:
In a large mixing bowl, place the softened cream cheese and add 1/4 cup of granulated sugar. Use an electric mixer to beat them together until the mixture is smooth and creamy.
Once it’s nicely blended, gently fold in the powdered sugar and the thawed whipped topping until everything is mixed well and has a creamy consistency.
Spread this cream cheese mixture evenly over the cooled pretzel crust.
3. Prepare the Raspberry Layer:
In a separate large bowl, dissolve the raspberry gelatin in 2 cups of boiling water. Stir until it’s fully dissolved. Then, add 2 cups of cold water and mix well.
Put the gelatin mixture in the refrigerator for about 30-45 minutes, just until it starts to get thick but isn’t fully set.
Once the gelatin is thickened, gently fold in the fresh raspberries, being careful not to smash them.
4. Assemble and Chill:
Pour the raspberry gelatin mixture delicately over the cream cheese layer in the baking dish, ensuring even coverage. Cover the dish and refrigerate for at least 4 hours, or until the gelatin is fully set.
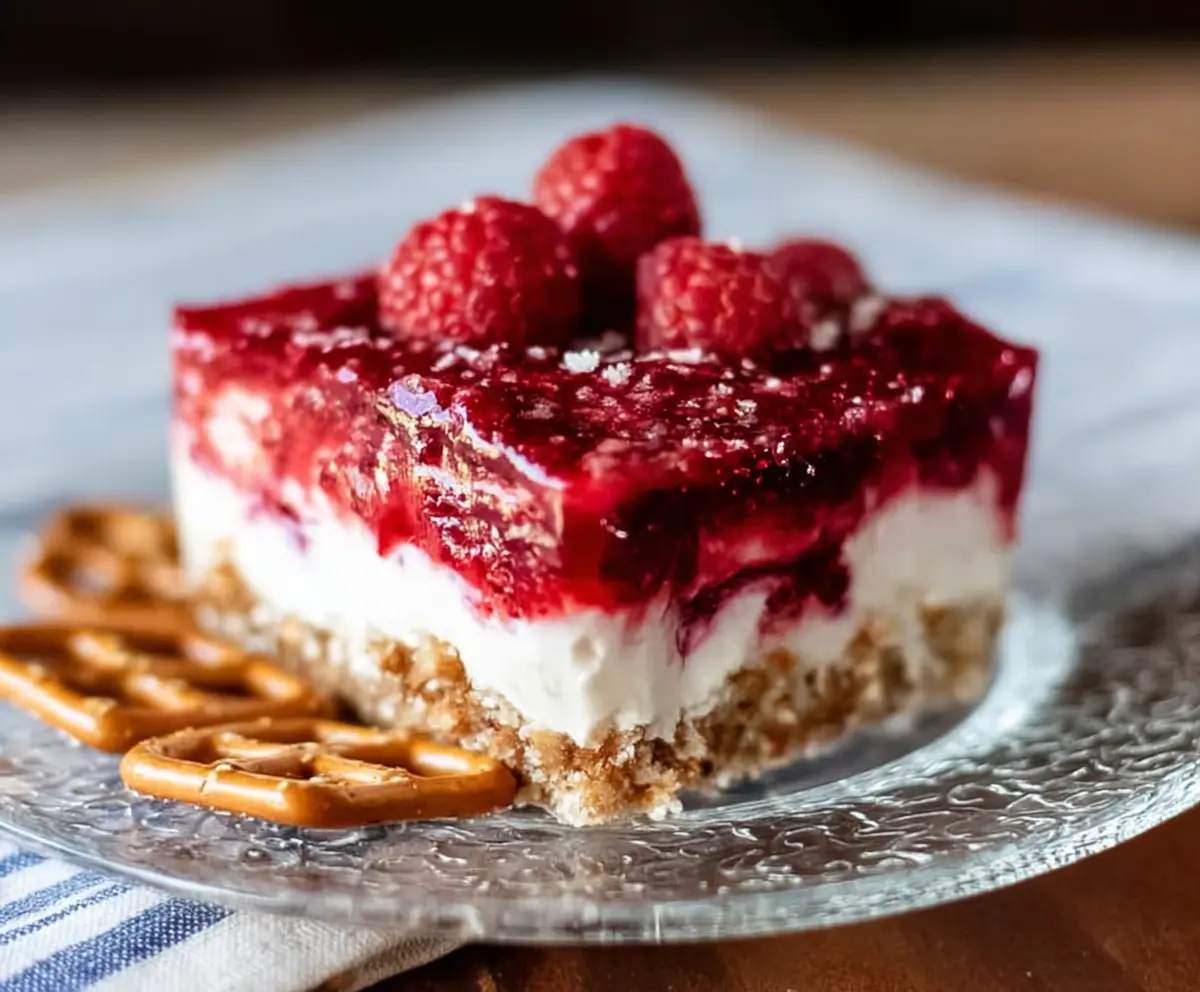
5. Serve & Garnish:
Before serving, you can sprinkle some whole raspberries, chopped pretzels, or nuts on top for an added touch. Cut the dessert into squares, serve it chilled, and enjoy the delightful layers of flavors!
This Raspberry Pretzel Dessert is a lovely combination of sweet and tangy, with a satisfying crunch! Perfect for any occasion or just as a treat for yourself. Enjoy!
Can I Use a Different Type of Fruit Gelatin?
Absolutely! If you prefer a different flavor, you can substitute raspberry gelatin with strawberry, cherry, or any other berry-flavored gelatin. Just keep in mind that the color and taste of the dessert will change based on your choice.
How Long Can I Store Leftovers?
You can store any leftovers in an airtight container in the refrigerator for up to 3 days. Just be sure to keep it covered to maintain freshness and texture. The crust might soften a little over time, but it will still be delicious!
Can I Make This Dessert Gluten-Free?
Yes! To make this dessert gluten-free, simply use gluten-free pretzels for the crust. Everything else in the recipe is naturally gluten-free, so you’ll be good to go!
What If the Gelatin Doesn’t Set Properly?
If your gelatin isn’t setting, it may not have been mixed properly or may have been too warm when poured over the cream cheese layer. Make sure it’s cooled and slightly thickened before adding the raspberries and pouring it onto the dessert. If it still doesn’t set, consider adding an extra packet of gelatin to the mixture next time for added firmness.