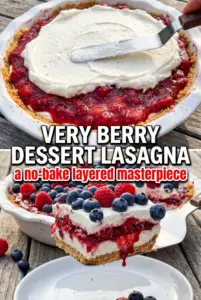
Dense fudgy brownies topped with a thick layer of vanilla cream cheese frosting and finished like a flag disappear fast because they hit three things at once: deep chocolate, tangy-sweet frosting, and fresh berries that stay bright instead of turning muddy. The brownie base stays sturdy enough to hold clean cuts, while the frosting gives the berries something to sit on without sliding around the pan.
The trick is cooling the brownies all the way before frosting them. If the pan is even a little warm, the topping softens and the berry rows start to drift, which is how a neat flag turns into a messy tray. A boxed mix works fine here because the decoration is the point, but a homemade fudgy brownie gives you the same structure if that’s your preferred route.
Below, I’ll show you how to keep the frosting spreadable, how to line up the berries so the design stays crisp, and a few smart swaps if you want to adjust the pan for the crowd you’re serving.
The frosting spread like a dream once the brownies were fully cool, and the blueberry corner held its shape even after sitting out for the party. My kids thought the strawberry stripes were the best part.
Like these red, white, and blue brownies? Save them to Pinterest for the next time you need an easy flag dessert that cuts clean and looks festive.
The One Thing That Keeps Flag Brownies Neat Instead of Sloppy
The whole dessert lives or dies on temperature. Brownies need to be completely cool before the frosting goes on, and the frosting itself should be thick enough to spread without running into the corners on its own. That’s what keeps the berry design crisp when you slice the pan.
If you frost warm brownies, the topping loosens and the fruit sinks, especially the strawberry rows where moisture is highest. If the frosting seems too soft, chill it for a few minutes before spreading. A slightly firm cream cheese frosting gives you better control and a cleaner finish.
- Cooling time — Give the brownies the full hour, or longer if the center still feels warm. The pan can hold heat long after the top looks set.
- Thick frosting — You want a spreadable layer, not a pourable one. Too much milk makes the design harder to build and cuts less cleanly.
- Fresh berries — Dry the strawberries and blueberries well after washing. Extra water is the fastest way to thin the frosting and blur the pattern.
Why the Frosting and Berries Matter More Than the Brownie Box
- Cream cheese — This gives the frosting a little tang so the brownies don’t taste flat under all that sweetness. Softened cream cheese blends smooth, while cold cream cheese leaves little lumps that are hard to fix later.
- Powdered sugar — This thickens the topping and helps it hold the berry pattern. If you use less, the frosting won’t have enough body for the flag design.
- Butter — A small amount rounds out the cream cheese and makes the frosting more spreadable. I wouldn’t swap it out here unless you have to, because it helps the texture set nicely after chilling.
- Milk — Add it slowly. The goal is a frosting that glides over the brownies but still keeps sharp edges when you drag a spatula through it.
- Strawberries and blueberries — Fresh berries are the decoration, so this is one place where quality matters. Slice the strawberries evenly so the rows look tidy and don’t topple over the frosting.
Building the Flag So the Pattern Holds Its Shape
Baking the Brownie Base
Bake the brownies in a 9×13 pan until the center is set and a toothpick comes out with moist crumbs, not wet batter. Fudgy brownies work best because they slice cleanly once chilled and give you enough density to support the topping. If the brownies are underbaked, the frosting can sink into the top instead of sitting in a neat layer.
Mixing the Frosting to the Right Texture
Beat the cream cheese, butter, powdered sugar, vanilla, and just enough milk to make a smooth, spreadable frosting. Stop as soon as it looks fluffy and even. If it turns loose, it will slide around the pan and make the fruit harder to arrange in straight lines.
Arranging the Berries
Spread the frosting all the way to the edges, then build the blueberry rectangle tightly in the upper left corner. Lay the strawberry slices in rows across the rest of the pan, keeping each row close together so the red stripes look intentional. Leave white gaps between rows where the frosting shows through; that open space is what makes the flag design readable from across the table.
Chilling Before Cutting
Refrigerate the pan for at least 30 minutes so the frosting firms up and the berries settle into place. Use a sharp knife wiped clean between cuts if you want the squares to look tidy. If you skip the chill, the frosting smears and the fruit drags through the cut edges.
How to Adapt These Patriotic Brownies for Different Crowds
Gluten-Free Brownie Base
Use a gluten-free brownie mix or a homemade gluten-free brownie recipe with the same 9×13 pan size. The topping stays exactly the same, but you’ll want a brownie base that’s sturdy enough to support the frosting and fruit without crumbling when sliced.
Less Sweet, More Tang
Cut the powdered sugar slightly and add an extra spoonful of cream cheese if you want a frosting that tastes less dessert-heavy. The texture will be a little softer, so chill it before spreading and again before serving.
Mixed Berry Version
Swap in raspberries for some of the strawberry rows if you want a sharper berry flavor and a deeper red color. They’re softer than sliced strawberries, so press them gently into the frosting instead of laying them in long rows.
Storage and Reheating
- Refrigerator: Store covered for up to 3 days. The berries stay freshest on day one and two, and the frosting firms up a bit more in the fridge.
- Freezer: I don’t recommend freezing the finished flag brownies. The fruit softens and the frosting loses its clean look after thawing.
- Reheating: These are best served chilled or at cool room temperature, not warmed. Heat will melt the frosting and blur the berry pattern, which is the one thing you want to keep intact.
Questions I Get Asked About This Recipe
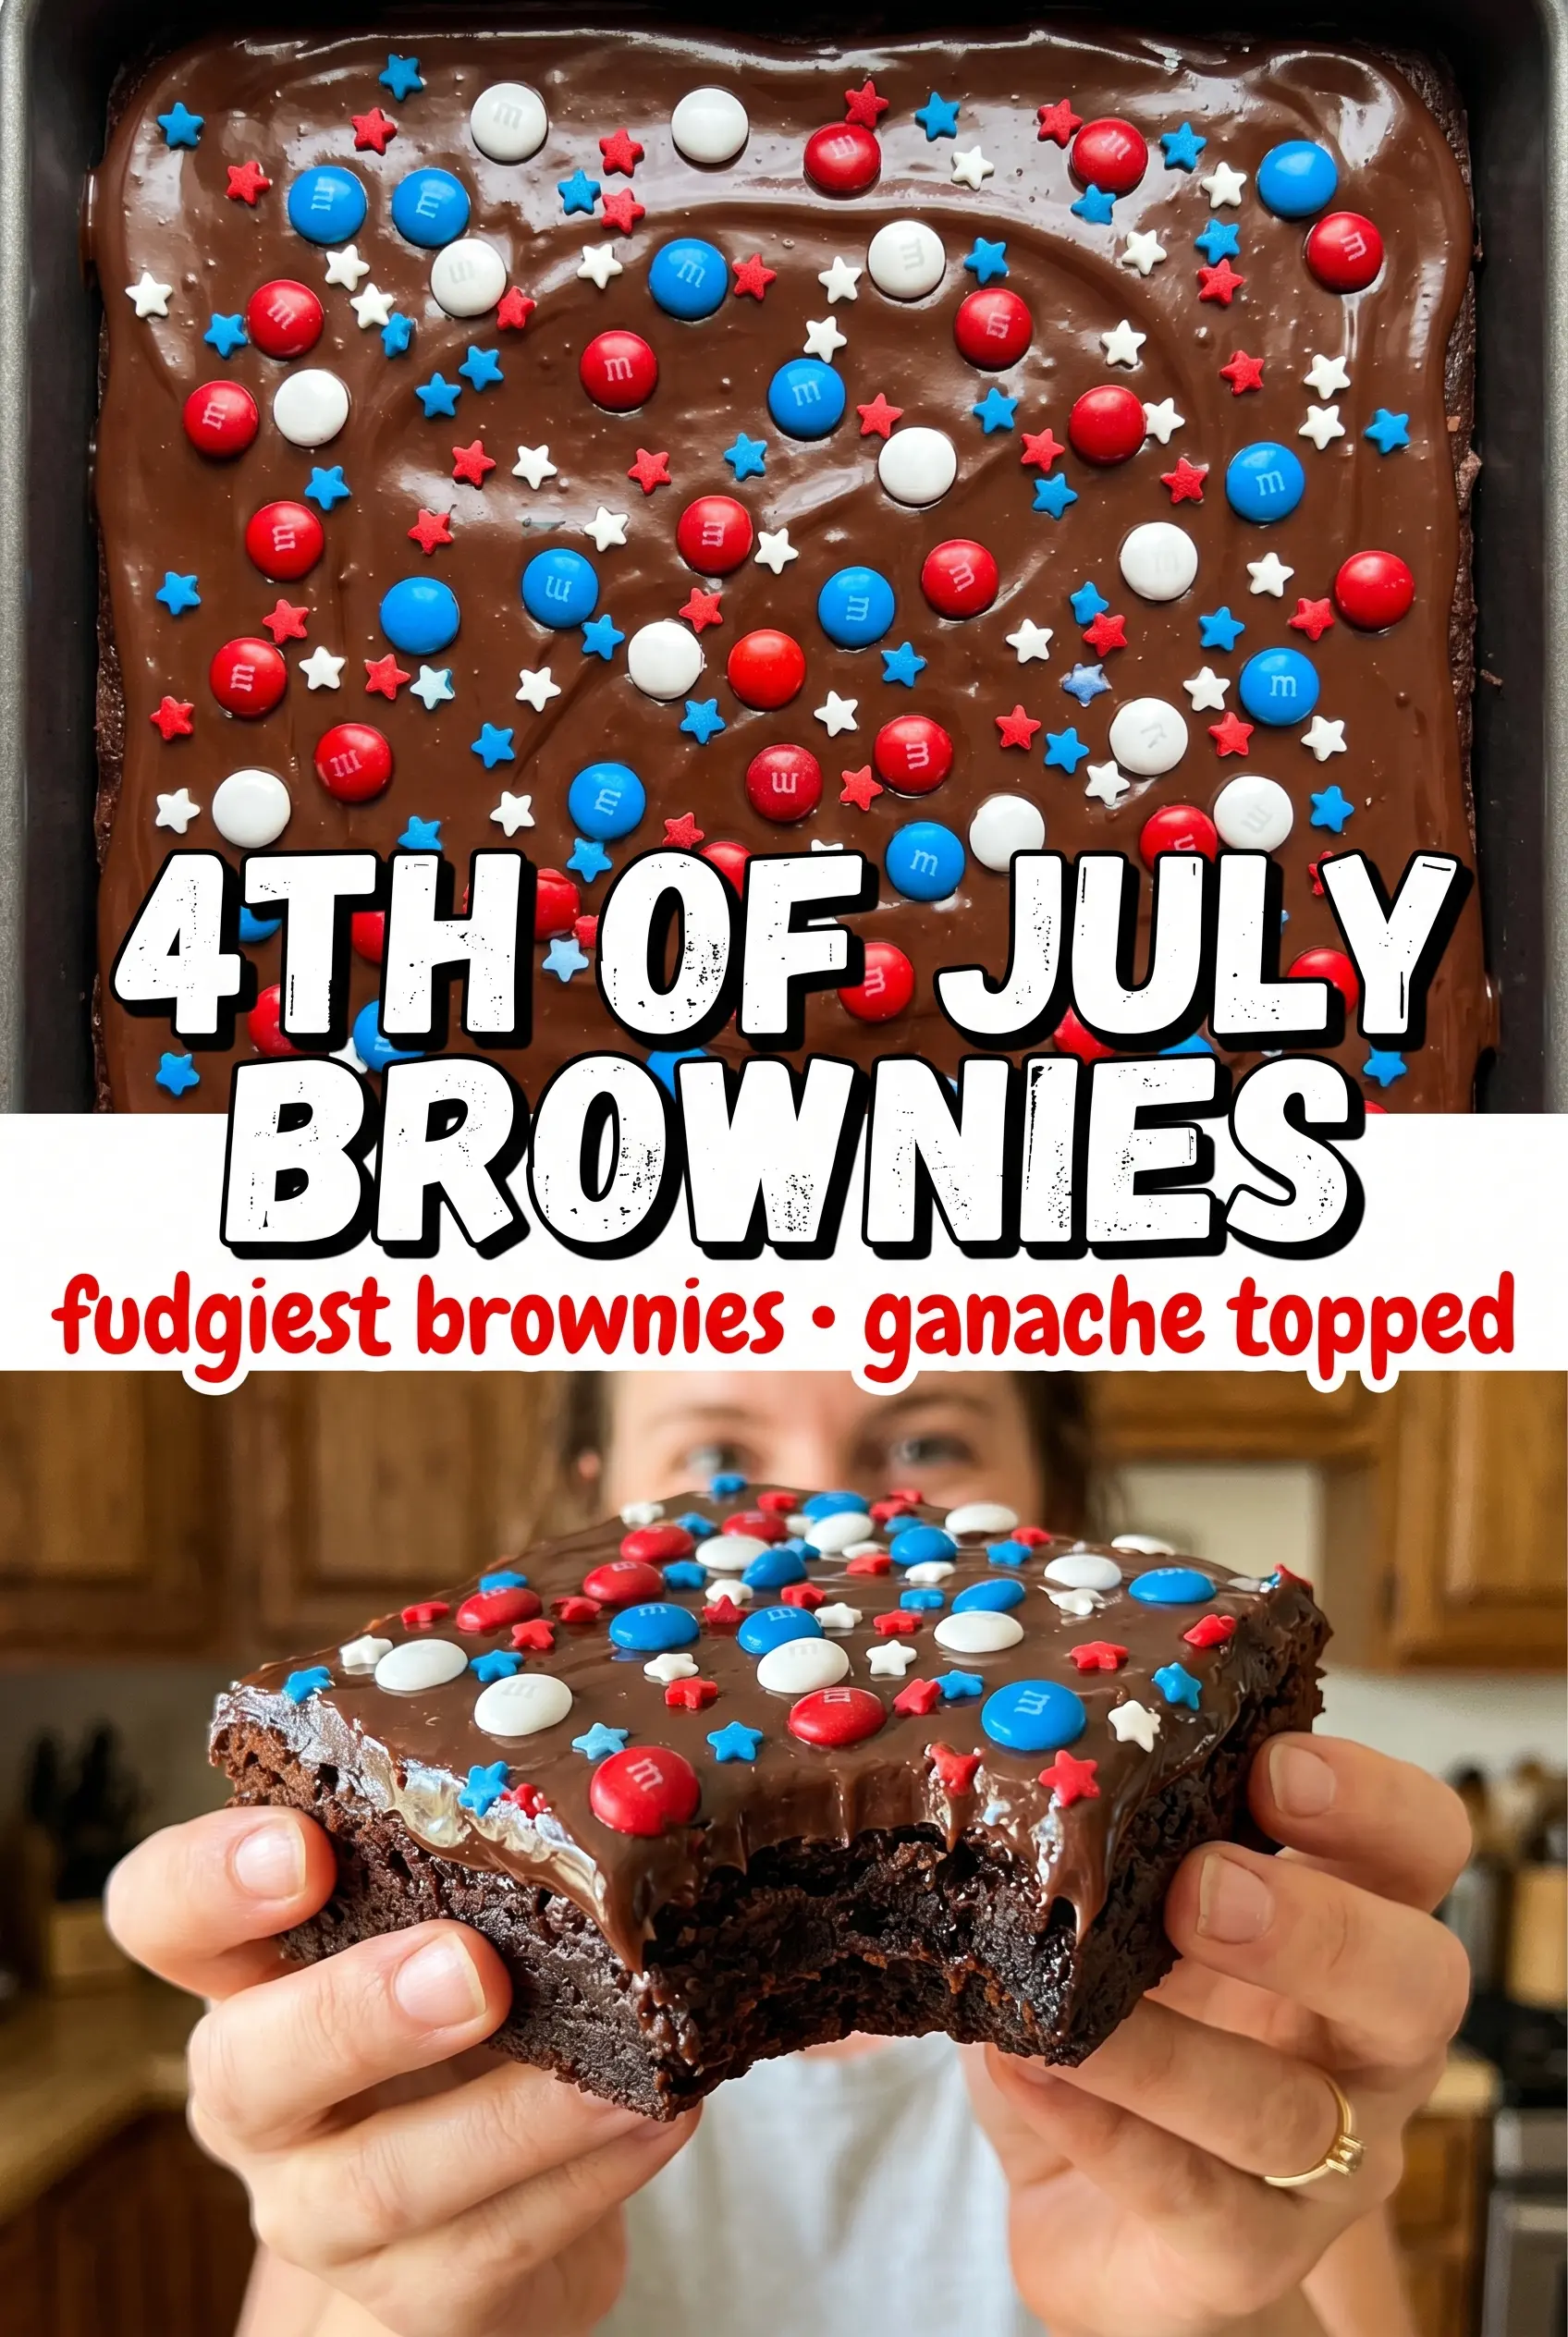
4th of July Brownies
Ingredients
Equipment
Method
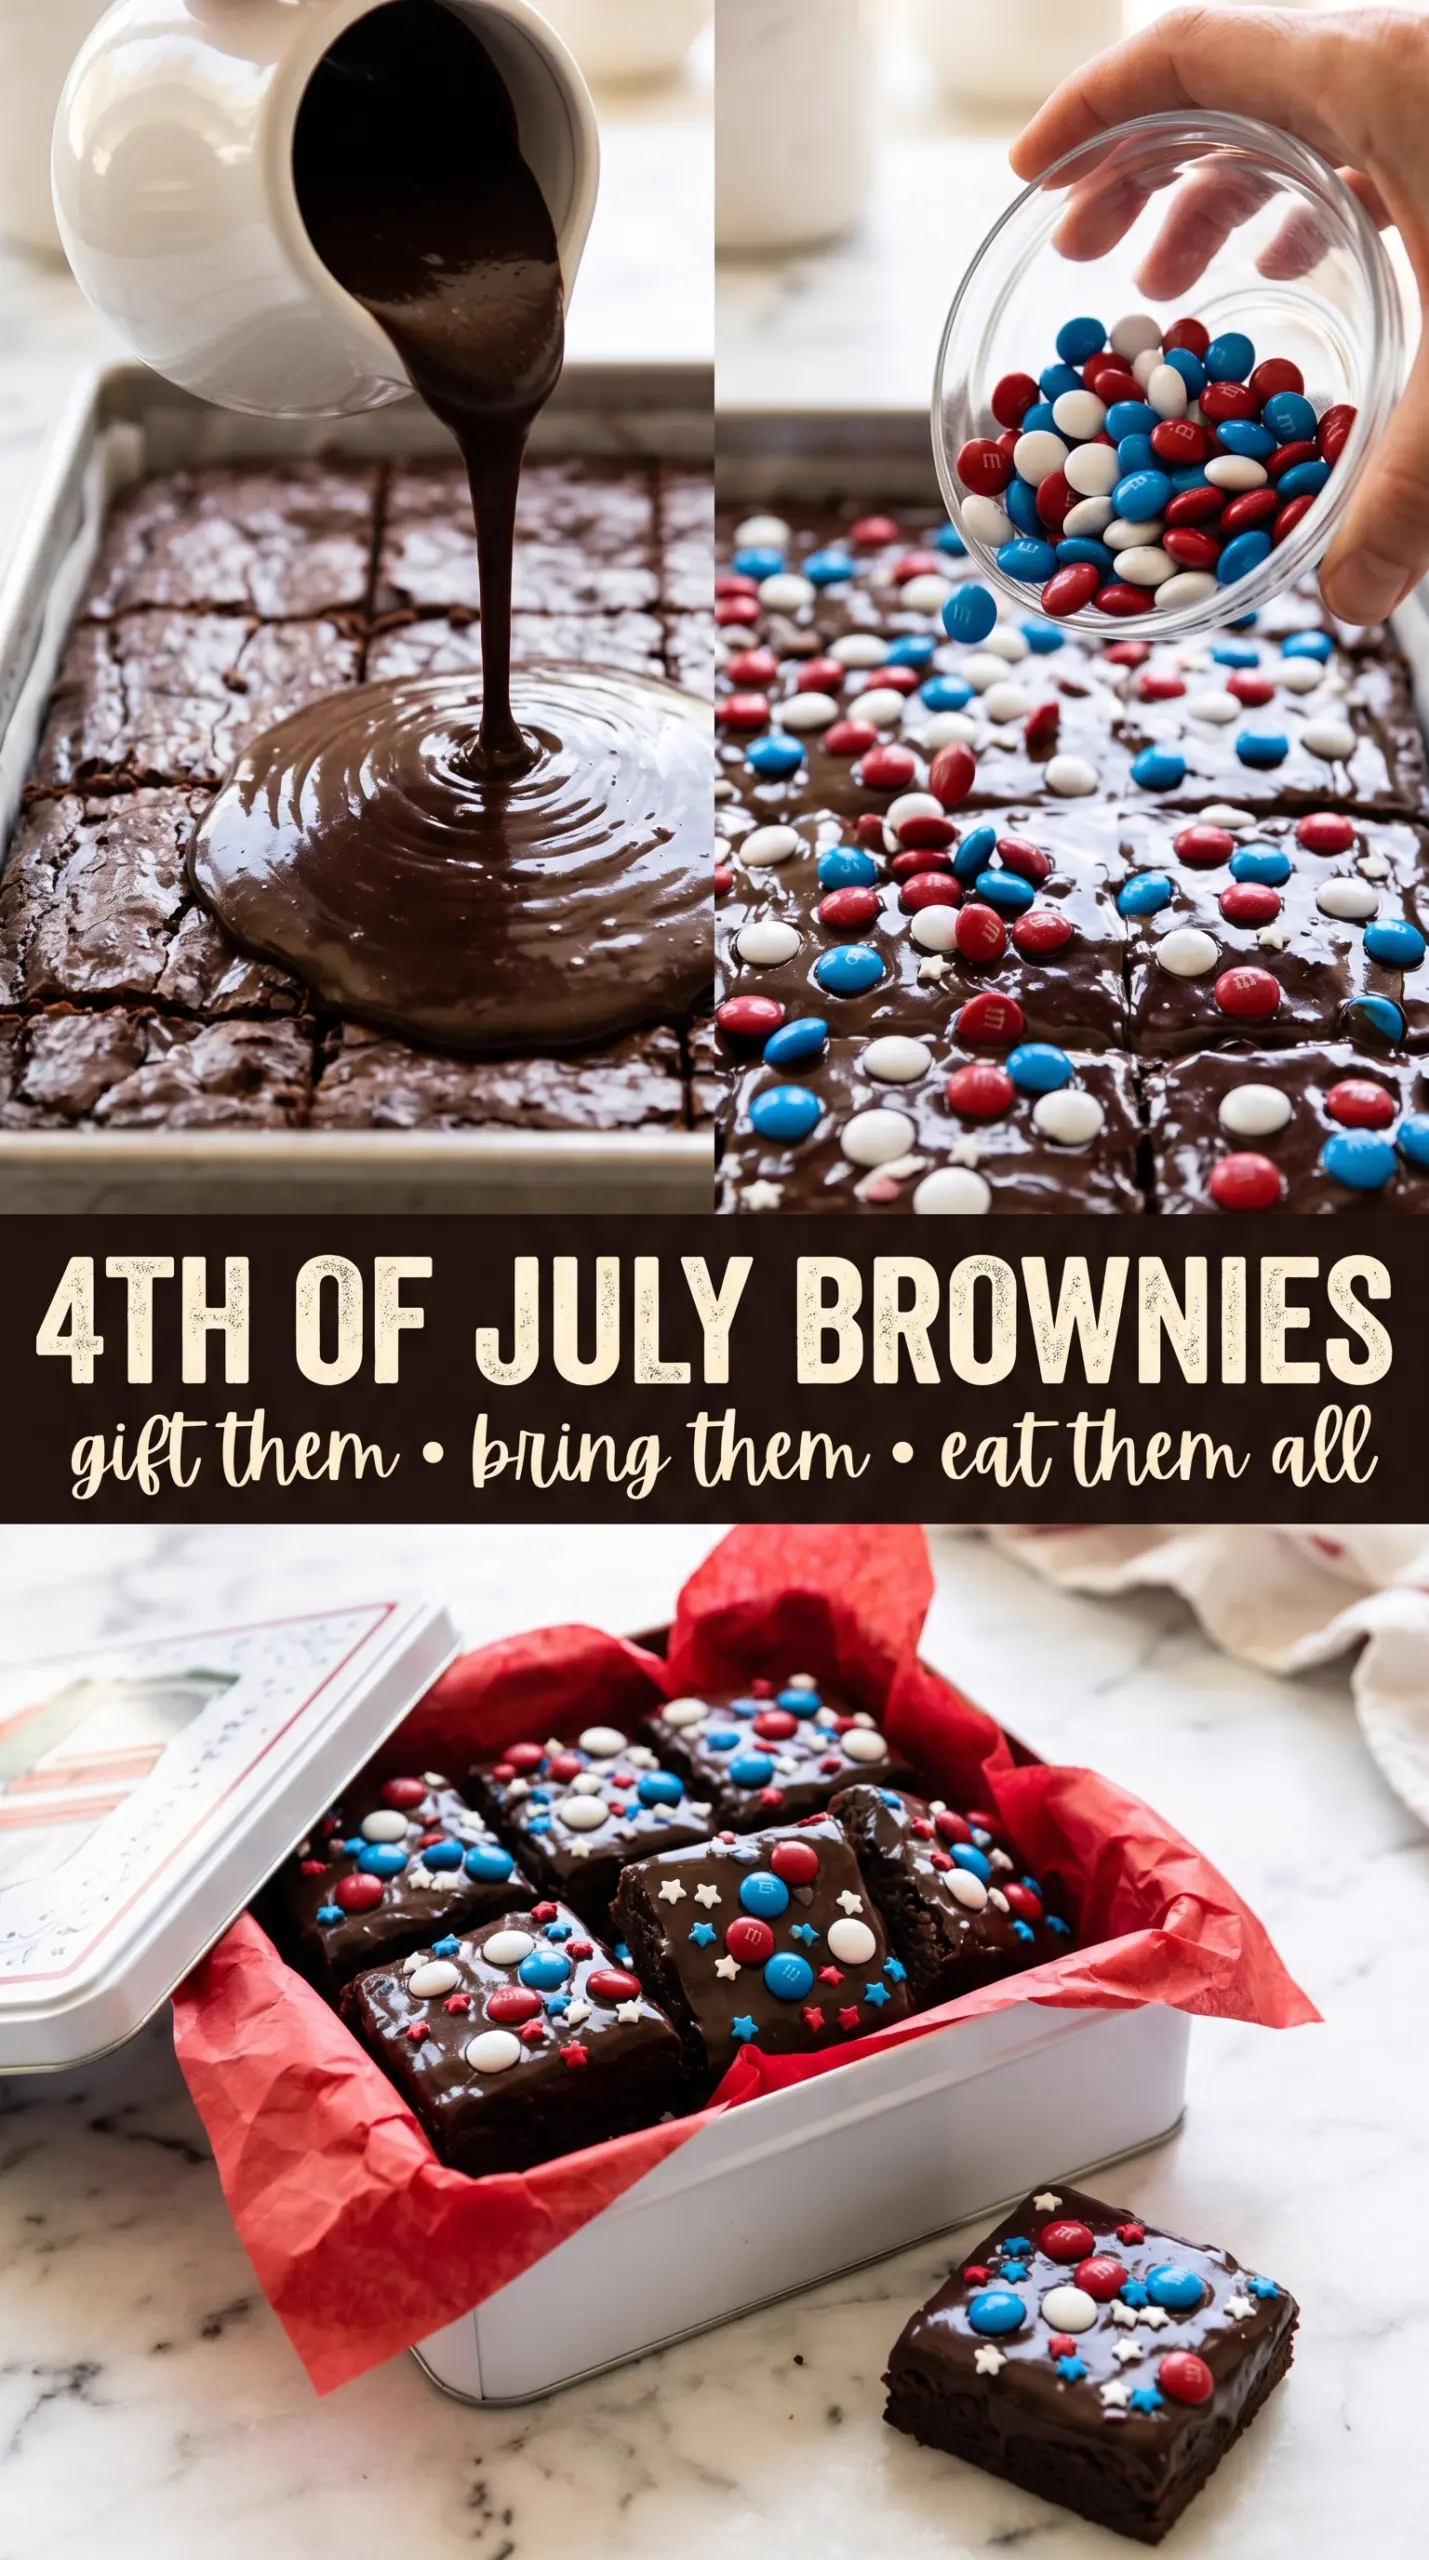
- Heat oven to the temperature listed on the fudge brownie mix package, then bake the brownies in a 9x13 pan according to package directions until set. Let the brownies cool completely for at least 1 hour, leaving them room temperature before frosting.
- In a bowl, beat cream cheese, butter, powdered sugar, vanilla extract, and milk until smooth and spreadable. Add 1 teaspoon milk at a time if needed to reach a frosting consistency you can easily spread.
- Spread the cream cheese frosting in an even layer over the cooled brownies. Smooth the surface so the fruit toppings stick well.
- In the upper left corner, arrange a rectangle of blueberries tightly packed to form the canton. Press lightly so the berries sit flat on the frosting.
- Create red stripes across the rest of the brownies using rows of sliced strawberries laid flat. Lay the slices in straight rows so the pattern looks even across the pan.
- Leave alternating gaps between strawberry rows so the white frosting shows through. Keep the gaps consistent for a clear red-white-blue look.
- Refrigerate the brownies for 30 minutes to set the frosting. Cut into squares and serve once chilled and firm.