Air fryer chicken breasts earn their place in the weeknight rotation when they come out golden on the outside and still juicy in the center. The outside picks up a seasoned crust that tastes like it spent far longer in the kitchen than it actually did, and the inside stays tender instead of drying out into sawdust. Sliced across the grain, the meat stays clean and moist, which matters when chicken breast can go from perfect to disappointing in a minute.
The trick is even thickness and a hot air fryer. Pounding the chicken to the same thickness keeps the thinner end from drying out while the thick end catches up, and a light coating of oil helps the spices bloom and brown instead of dusting off in the basket. I also like smoked paprika here because it gives the surface a deeper color and a little extra warmth without turning the seasoning heavy.
Below, you’ll find the small timing and temperature details that keep chicken breasts from turning dry, plus a few swaps if you want to change the seasoning without losing the crisp, juicy result.
I finally got chicken breasts that weren’t dry. Pounding them even and flipping halfway gave me a browned outside and juicy slices all the way through. My husband asked if I’d changed the recipe because it tasted like a restaurant version.
Save these juicy air fryer chicken breasts for the nights when you want a crisp seasoned crust and dinner on the table in under 20 minutes.
The Cutlets That Dry Out Start Out Uneven
Chicken breast is unforgiving when one side is thicker than the other. The thin end races ahead, the thick end lags behind, and by the time the center hits 165°F, the outer edge has already lost too much moisture. That’s why the even thickness matters more here than any fancy marinade.
The other thing that makes this version work is the air fryer’s strong circulating heat. It browns the seasoned surface fast, which means you get a good crust before the meat has a chance to overcook. If you crowd the basket, though, that hot air can’t move properly and you’ll get pale spots instead of that deep golden finish.
- Even thickness — Pound the chicken to about 3/4-inch so the whole breast cooks at the same rate. If you skip this, the ends go dry before the middle is done.
- Olive oil — A thin coating helps the spices cling and helps the exterior brown. A dry surface tends to look dusty instead of crisp.
- Smoked paprika — This adds color and a little warmth that makes the chicken taste more cooked-through and savory. Regular paprika works, but the smoked version gives you a better crust.
- Italian seasoning — This gives the chicken a built-in herb note without needing fresh herbs in the coating. Dried herbs are ideal here because they don’t burn as quickly as fresh ones.
What Each Ingredient Is Actually Doing in This Recipe
- Primary ingredient (the star) — Quality matters most. Choose the best you can find.
- Cooking medium (oil, butter, or broth) — This carries flavors and prevents dryness.
- Seasonings (salt, pepper, spices, herbs) — Layer flavors so nothing overpowers. Build depth gradually.
- Aromatics (garlic, onion, herbs) — Cook with fat to bloom flavors. Become the foundation.
- Supporting ingredients — Complement the main ingredient without overpowering it.
- Sauce or liquid (if applicable) — Brings flavors together. Balance richness with acid.
- Acid (lemon, vinegar, wine, or other) — Brightens and prevents flat-tasting results.
- Final finish (garnish, glaze, or sauce) — Prevents one-dimensional taste and adds visual appeal.
The Heat, the Flip, and the Rest That Keep It Juicy
Preheating for Browning
Start with a fully preheated air fryer at 390°F. That initial blast of heat is what gives the chicken its color early, before the interior has time to dry out. If you put the chicken into a cold basket, the surface starts steaming before it starts browning.
Seasoning the Surface Evenly
Brush both sides with olive oil, then rub the seasoning mixture over every exposed surface. You want a thin, even coating, not clumps of spice sitting on top, because clumps can taste harsh while the rest of the chicken stays under-seasoned. Press the spices on lightly so they stay put when the basket heat starts moving around.
Cooking to Temperature, Not Guesswork
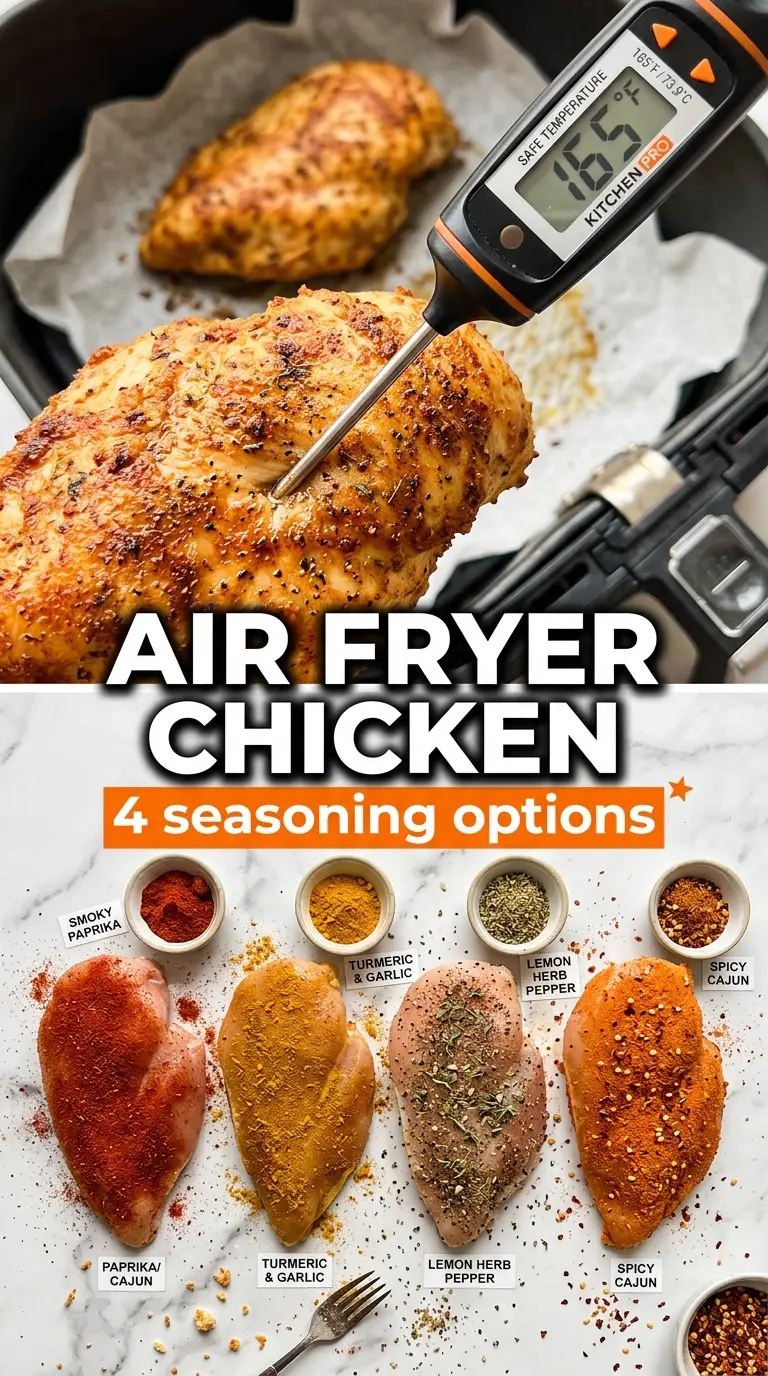
Air fry for 16 to 18 minutes, flipping halfway through. The chicken is done when the thickest part reaches 165°F and the exterior is golden with a little firmness when pressed. If the surface is browning too fast before the center is ready, lower the temperature by 10 degrees next time; if the chicken looks pale at the end, give it 1 to 2 more minutes rather than pushing the heat higher.
Resting Before the First Slice
Let the chicken rest for 5 minutes before cutting into it. That pause keeps the juices in the meat instead of spilling onto the cutting board. If you slice right away, the center can look dry even when you cooked it perfectly.
How to Change the Seasoning Without Losing the Juicy Result
Lemon-Herb Chicken
Add 1 teaspoon lemon zest to the seasoning mix and finish with extra lemon juice after cooking. The zest gives the crust a brighter edge without watering down the coating, and the juice at the end keeps the flavor fresh instead of bitter.
Spicy Cajun Version
Swap the Italian seasoning for 1 to 1 1/2 teaspoons Cajun seasoning and add a pinch of cayenne if you want more heat. Cajun blends usually bring more salt, so cut the added salt back a little unless your blend is salt-free.
Dairy-Free, Gluten-Free Main Dish
This recipe is naturally dairy-free and gluten-free as written as long as your spice blends are clean. That makes it one of those rare mains you can cook without having to rebuild the seasoning from scratch.
Storage and Reheating
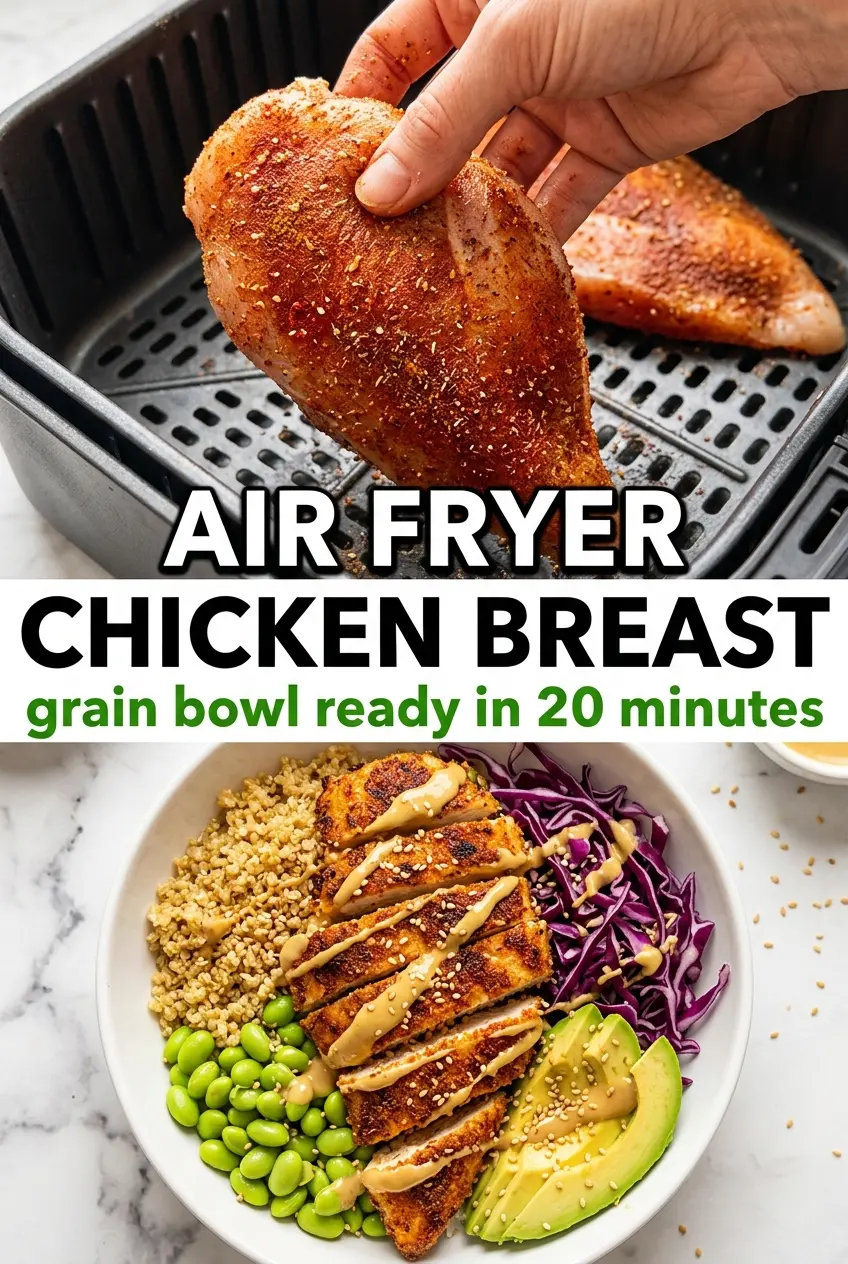
- Refrigerator: Store in an airtight container for up to 4 days. The crust softens a little, but the meat stays useful for salads, sandwiches, and grain bowls.
- Freezer: Freeze cooked chicken breasts for up to 2 months, wrapped tightly and sealed well. Slice before freezing if you plan to use them in portions later.
- Reheating: Reheat gently in the air fryer at 350°F for 3 to 5 minutes or in a covered skillet with a splash of water. High heat dries chicken out fast, so skip the microwave unless you’re in a hurry and don’t mind softer edges.
Answers to the Questions Worth Asking
Air Fryer Chicken Breasts
Ingredients
Equipment
Method
- Preheat the air fryer to 390°F so it reaches temperature while you prep the chicken. This helps the outside start browning quickly.
- Pound the chicken breasts to an even 3/4-inch thickness if needed for uniform cooking. Aim for consistent thickness so they finish at the same time.
- Brush both sides of the chicken with olive oil. The oil helps the seasoning stick and supports a crisp, golden crust.
- Mix garlic powder, onion powder, smoked paprika, Italian seasoning, salt, and cracked black pepper, then rub evenly over both sides of the chicken. Make sure the spices fully coat the surface for fragrant caramelized flavor.
- Air fry the chicken at 390°F for 16-18 minutes, flipping halfway through for even browning. Look for an outside that turns golden-brown.
- Continue air frying until the internal temperature reaches 165°F. The center should be juicy with no pink, while the exterior stays crisp.
- Rest the chicken for 5 minutes before slicing so the juices redistribute. You’ll get a more moist interior with cleaner slices.
- Garnish with fresh parsley and serve with lemon wedges. Add the lemon at the table for bright, fresh flavor.