Cold, crisp, and striking on the table, an American flag charcuterie board gets attention before anyone even takes a bite. The mix of salty meats, creamy cheese, and sweet berries keeps every section interesting, and the flag layout turns a simple snack spread into the centerpiece of the party. It looks festive, but it also eats well, which is the part that matters once people start circling the board.
The trick is treating the board like a pattern first and a platter second. Tight packing matters here. Blueberries need to sit close together so the canton reads as a solid block, while the stripes need enough contrast to stay clean from a few feet away. Using a mix of sliced cheese, rolled meats, and fresh fruit keeps the colors sharp without making the board feel heavy or repetitive.
Below, I’ll walk through the exact way I build the flag so it holds its shape, plus the small swaps that still give you a bold red, white, and blue display when you need to feed a crowd.
The blueberries stayed put in the corner and the stripes looked crisp even after sitting out for a while. I loved that the salami rolls looked like little stars instead of just piling everything on the board.
Love the crisp red, white, and blue layout? Save this American Flag Charcuterie Board for your next Fourth of July spread or any party that needs an easy wow factor.
The Trick to a Flag Board That Reads Clearly from Across the Room
The biggest mistake with a themed board like this is packing it loosely and hoping the shape will show itself. It won’t. The flag needs clean edges, especially in the canton, or the whole thing starts to look like a random snack tray with patriotic colors. Start with the board itself and mentally map the rectangles before you place a single ingredient.
Blueberries do the visual heavy lifting in the canton because they create a dense, uniform field that reads like fabric from a distance. The stripes work for the same reason: each row needs enough volume to look deliberate, and the meats and cheeses need to overlap just enough to avoid gaps. If the rows are too thin, the board looks unfinished. If they’re too crowded, the colors muddy together.
What Each Ingredient Is Actually Doing on This Board
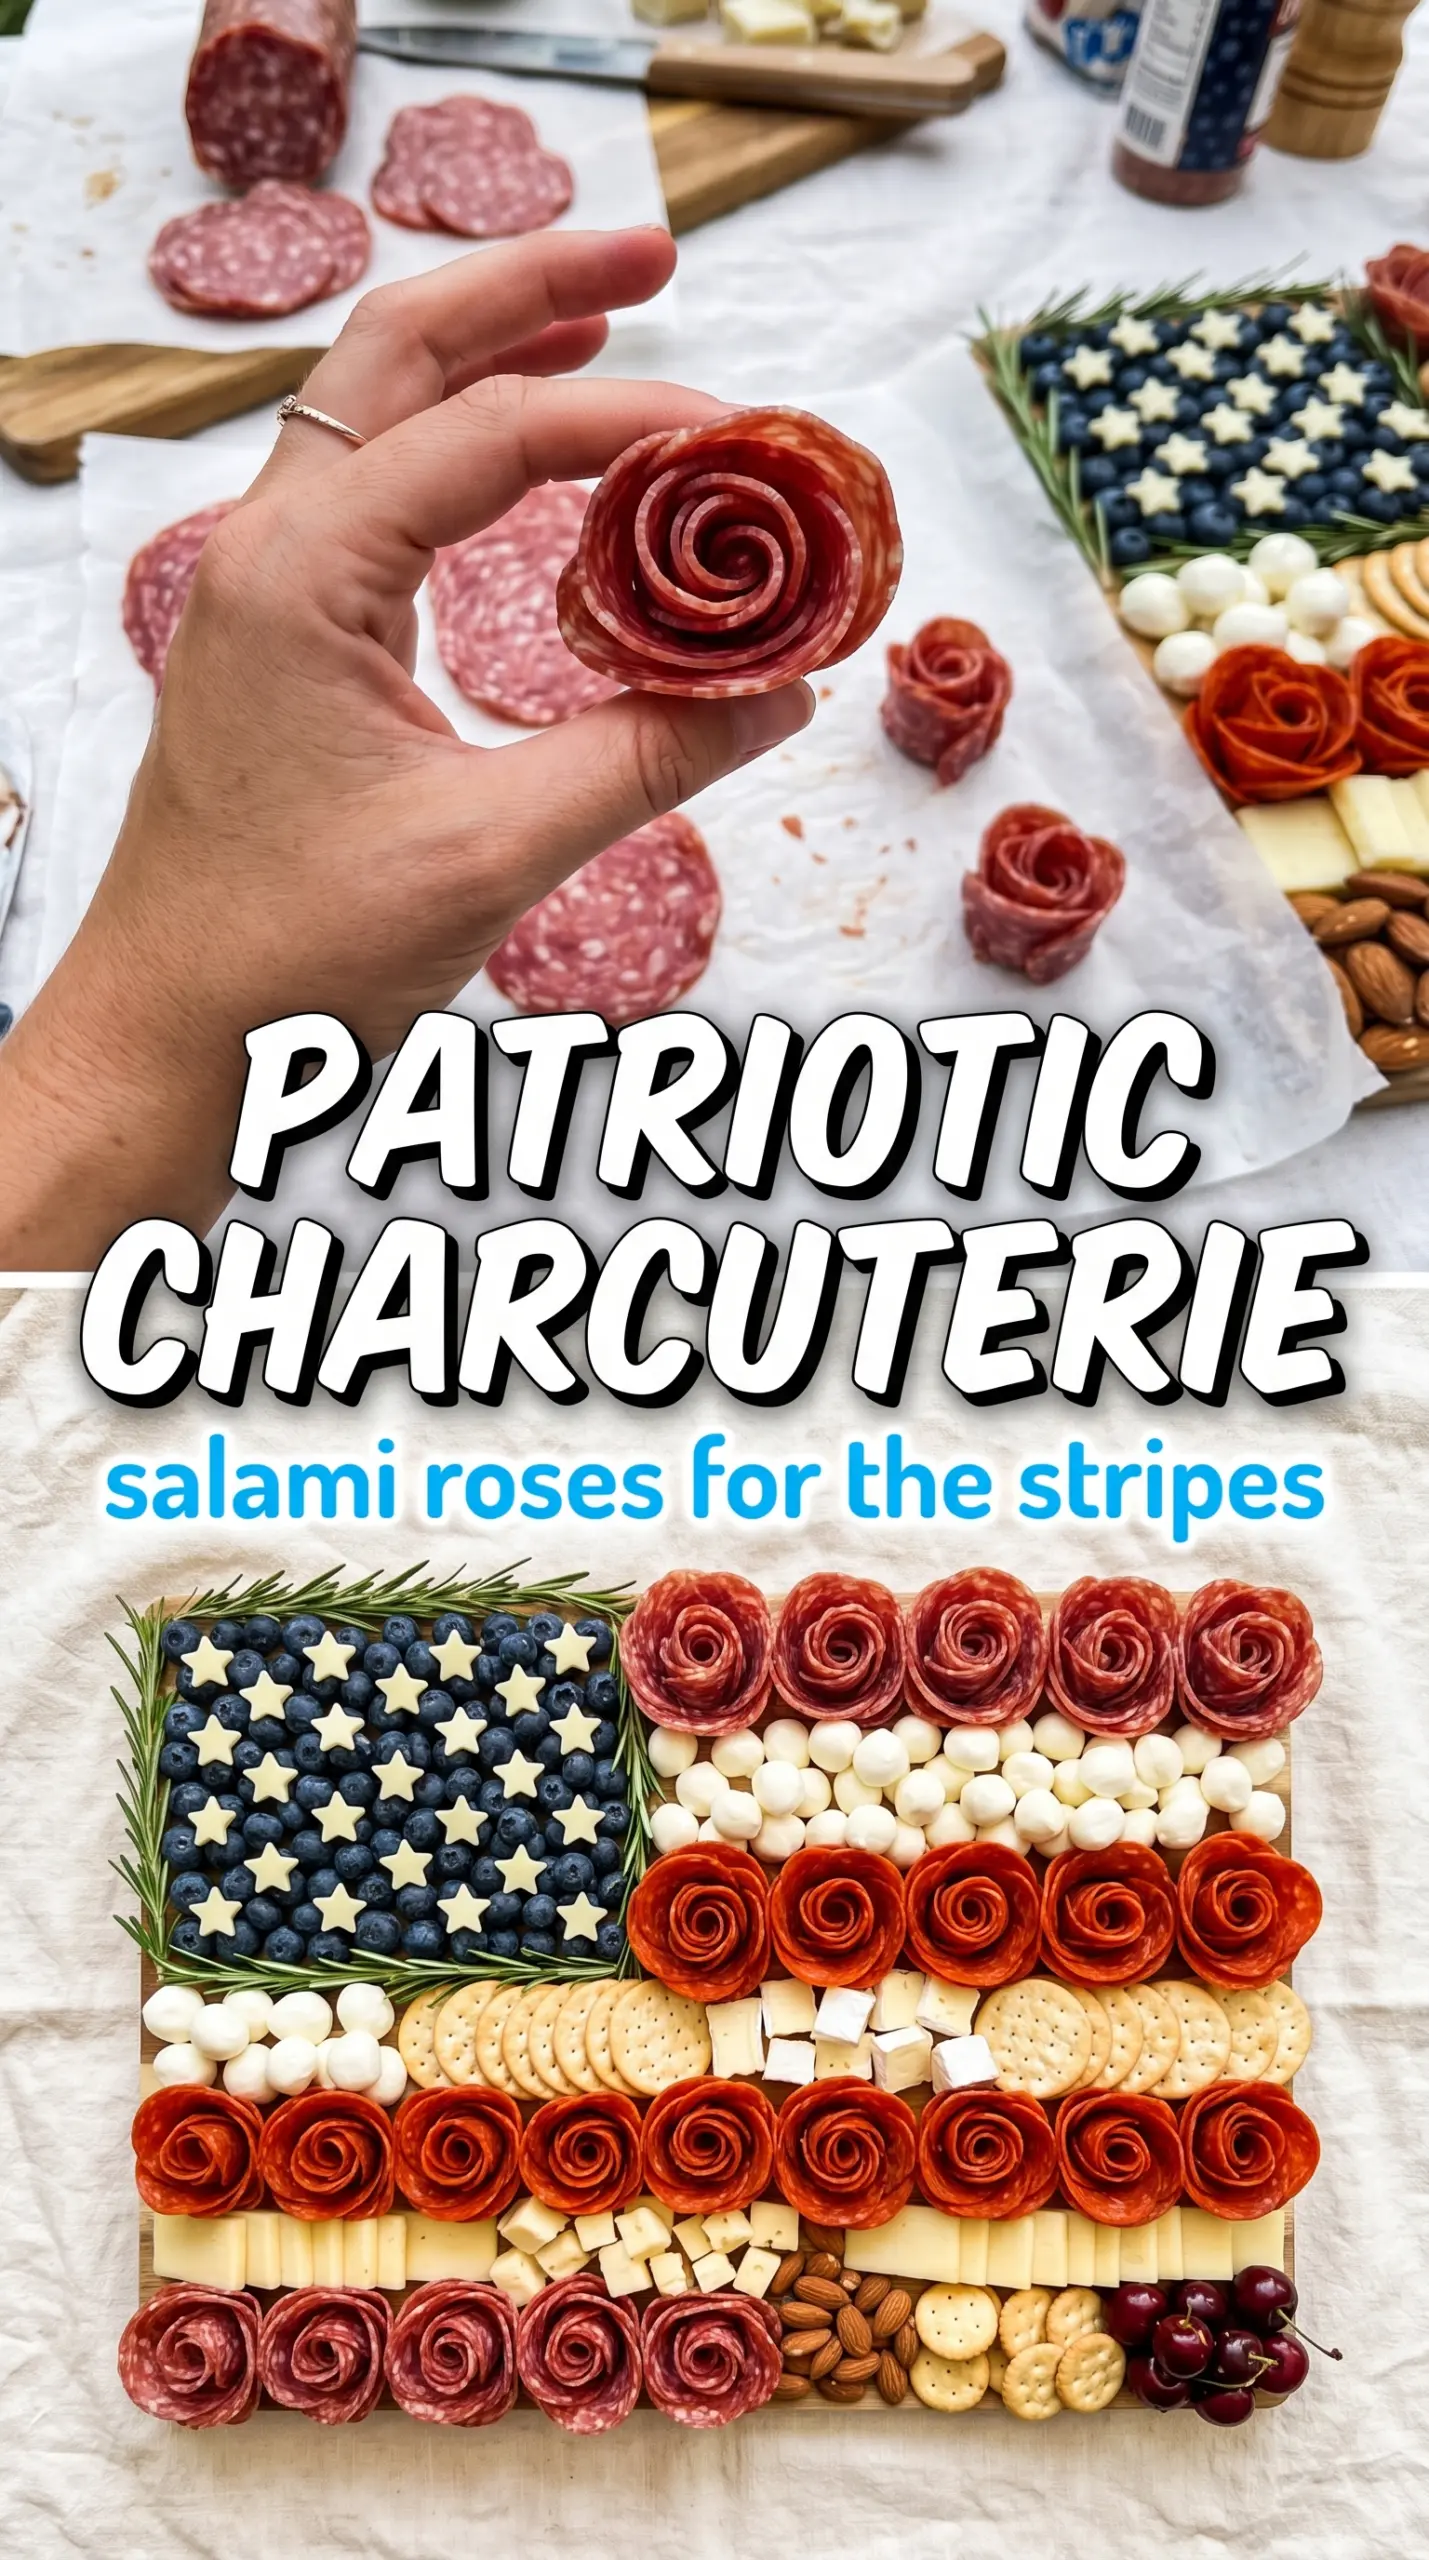
- Blueberries — These form the canton and need to be fresh, dry, and packed tightly. Smaller berries work better than oversized ones because they create a smoother blue block. If your berries are a little soft, use the firmest ones for the top layer and hide the rest underneath.
- Pepperoni and salami — The pepperoni makes the red stripes, while rolled salami gives the canton its star-like texture. The salami rolls add height and keep the top-left corner from looking flat. Thin slices roll best, and slightly chilled salami holds its shape better than room-temperature slices.
- Provolone or white cheddar — These give the white stripes enough visual weight to stand out against the red meats. Provolone slices drape neatly and look clean, while white cheddar gives a firmer edge if you cut it into strips or squares. Mozzarella balls work too, but they create a softer, more rounded stripe.
- Strawberries and prosciutto — Strawberries reinforce the red color with a fresh, juicy contrast, and prosciutto fills in any stripe that needs more volume. Prosciutto is delicate, so fold it gently instead of rolling it tight or it turns into a clump.
- Rosemary sprigs — These are garnish, but they matter. They frame the board and make the whole spread look finished. Use them sparingly so they read as greenery, not as filler.
Building the Flag Stripe by Stripe
Marking the Board Before You Start
Set the board on a flat surface and picture the upper left corner as your canton. That mental boundary keeps the layout balanced and stops the blue section from creeping too far into the stripes. If your board is especially large, it helps to place the blueberries first so you can see how much space the rest of the design has to work with.
Filling the Canton with Blueberries and Salami Rolls
Pack the blueberries tightly into the upper left corner so there aren’t any visible gaps between them. Then tuck the rolled salami pieces into the center of that blue field to mimic stars without actually needing to shape stars. If the rolls keep uncoiling, place them seam-side down and squeeze them into the berries so they stay put.
Creating Clean Red and White Stripes
Lay the pepperoni in a neat band across the board, overlapping the slices just enough to cover the surface without making the row bulky. Alternate with white cheese rows, using sliced provolone or mozzarella balls depending on the texture you want. Keep the stripes parallel and even, because crooked rows are what make a themed board look rushed.
Filling Gaps Without Breaking the Pattern
Use prosciutto folds to thicken any red stripe that looks too thin, and tuck strawberry halves into open spaces where the color needs help. The goal is density, not perfection. Once the main shapes are in place, step back and look for any spots where the board reads pale or patchy, then fill those areas before adding the rosemary.
Finishing the Edges and Serving
Place rosemary sprigs at the corners and along the outer edges to frame the board and sharpen the outline. Add crackers around the perimeter instead of burying them between the stripes, since you want the flag design to stay visible until the moment people start serving themselves. Chill the board briefly if your room is warm, then bring it out once everything looks crisp and settled.
Three Ways to Adjust the Board Without Losing the Flag Look
Make It Lighter with Turkey and Low-Moisture Cheese
Swap some or all of the pepperoni and salami for thin turkey slices if you want a leaner board. Use a firmer white cheese like provolone or white cheddar so the stripes still hold their shape. You’ll lose a little of the rich cured-meat flavor, but the layout stays strong and the board still feels substantial.
Make It Gluten-Free with Crackers Only at the Edge
The board itself is naturally gluten-free as long as your meats and cheeses are certified gluten-free, which is worth checking on packaged salami and pepperoni. Keep the crackers in a separate perimeter ring and use a gluten-free variety so the serving area stays easy to manage. That small shift prevents cross-contact and keeps the center of the board clean.
Make It More Kid-Friendly with Mild Flavors
Use mild cheddar instead of sharper cheese and go heavier on strawberries and mozzarella balls. Kids usually pick at the bright fruit and the familiar cheese first, so this version keeps the board approachable without changing the flag design. Skip anything too spicy or heavily cured if you want the platter to disappear fast.
Storage and Reheating
- Refrigerator: Store leftovers covered for up to 2 days. The berries and crackers won’t hold their original texture, so expect the board to look less crisp the next day.
- Freezer: Don’t freeze this board. The fruit turns mushy, the cheese texture changes, and the meats lose the clean presentation that makes the board work.
- Reheating: No reheating needed. Pull the board from the refrigerator 15 to 20 minutes before serving so the cheese softens slightly and the flavors come forward without sweating or wilting.
Questions I Get Asked About This Recipe
American Flag Charcuterie Board
Ingredients
Method
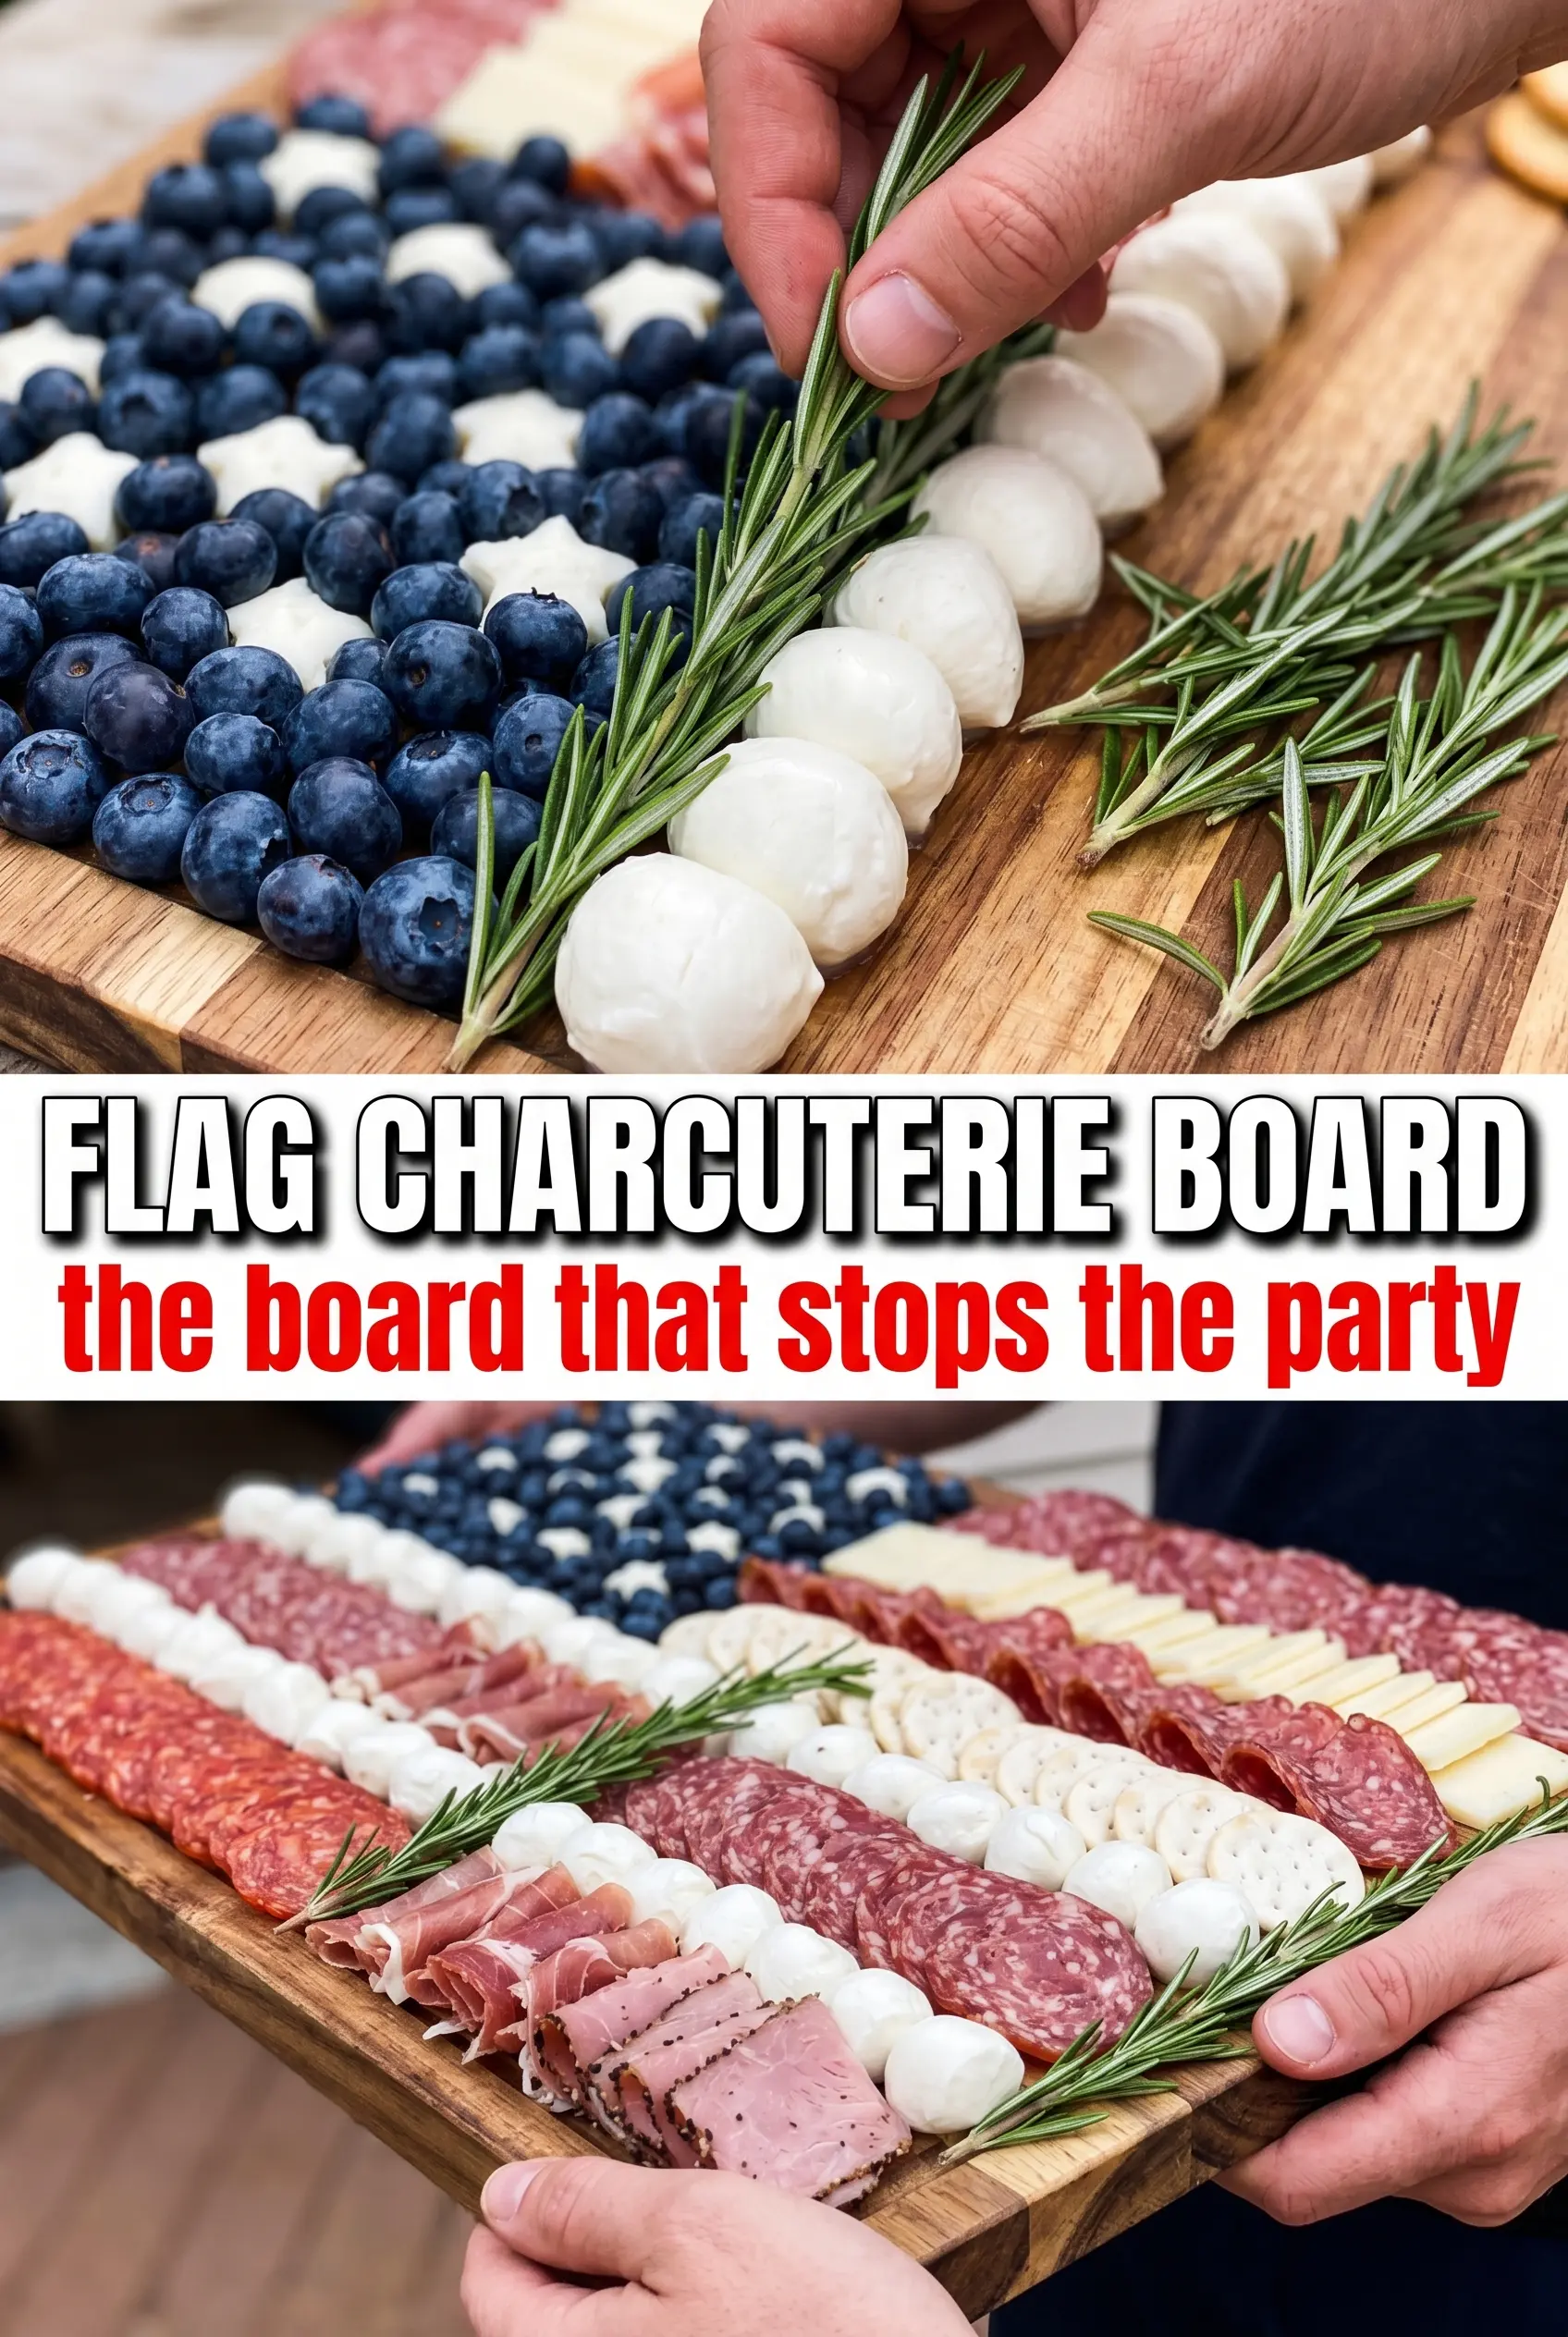
- Use a large rectangular wooden board or serving tray and mentally divide the upper left into a canton rectangle.
- Fill the canton with fresh blueberries packed tightly together, then tuck the rolled salami pieces in the center to resemble stars.
- Starting from the top right, create a red stripe by layering the pepperoni slices in a clean row across the full width of the board.
- Create the white stripes using rows of sliced white cheddar or provolone, alternating with the red pepperoni stripes down the full board.
- Add the prosciutto folds or strawberry halves to reinforce the red stripes and fill any gaps.
- Tuck rosemary sprigs at the corners and edges, then arrange crackers around the perimeter and serve.