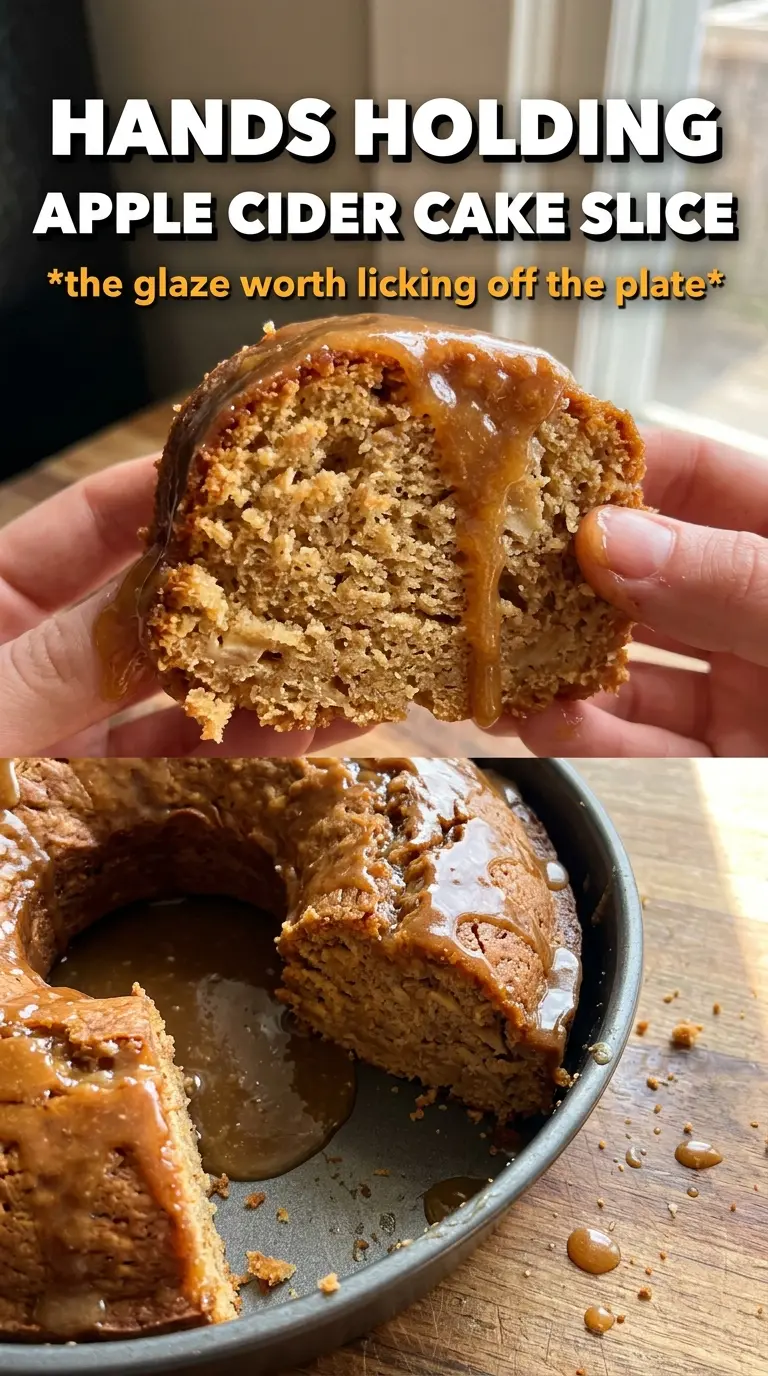
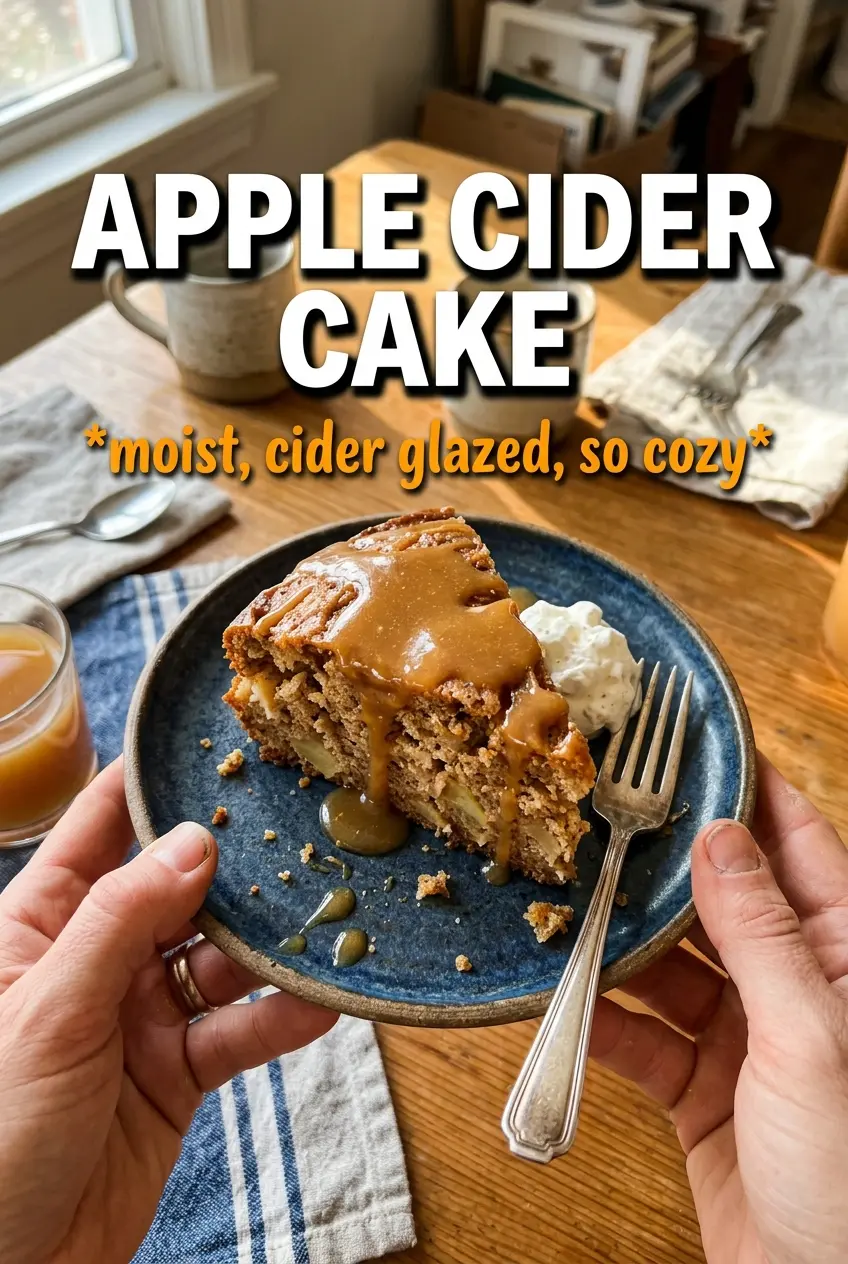
Apple cider cake earns its spot when you want a layer cake that tastes warm, spiced, and homey without turning heavy. The crumb stays tender, the cider keeps the flavor from leaning flat, and the cream cheese frosting gives each bite a clean tang that cuts through the sweetness. When it’s finished with a caramel drizzle, it looks like the kind of cake you’d gladly bring out for company even if you made it for yourself.
The trick is reducing the cider first. That extra step concentrates the apple flavor enough to stand up in the batter, instead of disappearing behind the butter and sugar. Sour cream matters here too; it keeps the cake plush and moist, and it works with the baking soda to give the layers a little lift without making them airy or dry. The spice blend is gentle on purpose. It should taste like apples and warm bakery spice, not like a jar of cinnamon dumped into the bowl.
Below, I’ve laid out the one detail that keeps the layers soft, the ingredient choices that actually matter, and the few changes that work if you need to adapt the cake for a different pan or diet.
The reduced cider made the flavor come through in every bite, and the layers baked up so soft that my knife slid right through the frosting without squishing the cake.
Save this apple cider cake for the next time you want soft spiced layers, tangy cream cheese frosting, and a caramel finish.
The Step That Keeps Apple Cider Cake from Tasting Flat
Most apple cider cakes lean on cinnamon alone and end up tasting more like spice cake than apple cake. Reducing the cider changes that. A full cup of cider cooks down to half a cup, and that concentrated liquid brings actual apple flavor into the batter instead of just moisture. If you skip the reduction, the cake can still work, but the apple note fades once it bakes.
The other common problem is a dense or greasy crumb. That usually comes from rushing the butter and sugar stage or adding the flour all at once. You want the butter and brown sugar beaten until pale and fluffy so the cake traps air early, then you alternate the dry mixture with sour cream. That keeps the batter smooth and prevents overmixing, which is where a lot of layer cakes go wrong.
- Reduced apple cider — This is the flavor anchor. Cool it before adding it to the batter so it doesn’t melt the butter and loosen the emulsion.
- Sour cream — It gives the cake a soft, rich crumb and a little tang. Plain full-fat yogurt works in a pinch, but the texture is slightly less lush.
- Brown sugar — It adds moisture and a deeper, almost caramel-like note that pairs well with the cider. Light or dark both work; dark just pushes the molasses flavor a little harder.
- Cinnamon, nutmeg, and allspice — This blend should support the apple, not bury it. Nutmeg and allspice are small amounts here for a reason.
What Each Ingredient Is Actually Doing in This Recipe
- Primary ingredient (the star) — Quality matters most. Choose the best you can find.
- Cooking medium (oil, butter, or broth) — This carries flavors and prevents dryness.
- Seasonings (salt, pepper, spices, herbs) — Layer flavors so nothing overpowers. Build depth gradually.
- Aromatics (garlic, onion, herbs) — Cook with fat to bloom flavors. Become the foundation.
- Supporting ingredients — Complement the main ingredient without overpowering it.
- Sauce or liquid (if applicable) — Brings flavors together. Balance richness with acid.
- Acid (lemon, vinegar, wine, or other) — Brightens and prevents flat-tasting results.
- Final finish (garnish, glaze, or sauce) — Prevents one-dimensional taste and adds visual appeal.
Building the Batter Without Losing the Apple Flavor
Reducing the Cider First
Start with the cider reduction and let it cool fully before you do anything else. You’re looking for a slightly syrupy liquid, not a sticky glaze, so stop when it measures half a cup. If it’s warm when it goes into the batter, the butter softens too much and the mixture can look curdled before the flour even goes in.
Whipping the Butter and Sugar
Beat the butter and brown sugar until the mixture turns lighter in color and looks fluffy around the edges of the bowl. That texture matters more than the clock. It’s what gives the layers their lift and keeps the crumb from baking up heavy. Add the eggs one at a time if you can, letting each one disappear before the next goes in, then stir in the vanilla and reduced cider.
Finishing the Batter Gently
Alternate the dry ingredients with the sour cream, starting and ending with the flour mixture. That keeps the batter stable and helps it stay smooth instead of separating. Stop mixing as soon as the last streak of flour disappears. If you beat it past that point, the cake turns tight and the layers lose that soft, even crumb you want in a layer cake.
Baking and Cooling Cleanly
Divide the batter evenly between two greased 9-inch pans and bake until the tops spring back lightly and a toothpick comes out with a few moist crumbs, not wet batter. Let the cakes cool in the pans for a short while, then turn them out and cool completely before frosting. If the layers are even a little warm, the cream cheese frosting softens and slides, and the caramel drizzle won’t sit on top the way it should.
How to Adapt This Cake for Different Pans and Needs
Cupcakes Instead of Layers
Bake the batter in lined muffin tins for about 18 to 22 minutes. The flavor stays the same, but the crumb sets faster, so watch for domed tops that spring back when touched. You’ll lose the dramatic frosting layers, but you gain a cake that’s easier to serve at a party.
Dairy-Free Version
Use a plant-based butter and swap the sour cream for a thick dairy-free yogurt or coconut yogurt. The cake still bakes up tender, though the tang is a little softer and the crumb may be slightly less rich. For the frosting, use a dairy-free cream cheese that holds its shape well, or skip the frosting and finish with a simple cider glaze.
One 9×13 Pan
If you don’t want a layered cake, bake the batter in a greased 9×13-inch pan and start checking earlier than the recipe card time. The cake will be a little less tall and a little more casual, but the flavor stays great. Frost it in the pan and finish with caramel for a dessert that slices neatly.
Storage and Reheating
- Refrigerator: Keep the frosted cake covered for up to 4 days. The crumb stays moist, and the flavor deepens a bit by day two.
- Freezer: Freeze unfrosted layers tightly wrapped for up to 2 months. Thaw them in the refrigerator before frosting so the cake doesn’t sweat under the icing.
- Reheating: Bring slices to room temperature before serving. If you want the cake just a touch warmer, microwave a slice for 8 to 10 seconds. Too much heat softens the frosting and makes the caramel run off the sides.
Answers to the Questions Worth Asking
Apple Cider Cake
Ingredients
Equipment
Method
- Reduce apple cider to 1/2 cup, then cool completely.
- Preheat oven to 350F and grease two 9-inch pans.
- Whisk together all-purpose flour, baking powder, baking soda, cinnamon, nutmeg, allspice, and salt until evenly combined.
- Beat unsalted butter and brown sugar until very fluffy.
- Add eggs and vanilla, then beat until smooth.
- Beat in the reduced, cooled cider.
- Alternate adding the flour mixture and sour cream, mixing just until the batter is smooth.
- Divide the batter between the two prepared 9-inch pans.
- Bake for 35-40 minutes at 350F, until the centers spring back when gently touched.
- Cool the cakes completely before frosting.
- Beat cream cheese frosting ingredients until fluffy.
- Frost and stack the layers.
- Drizzle with caramel drizzle so it cascades down the sides.