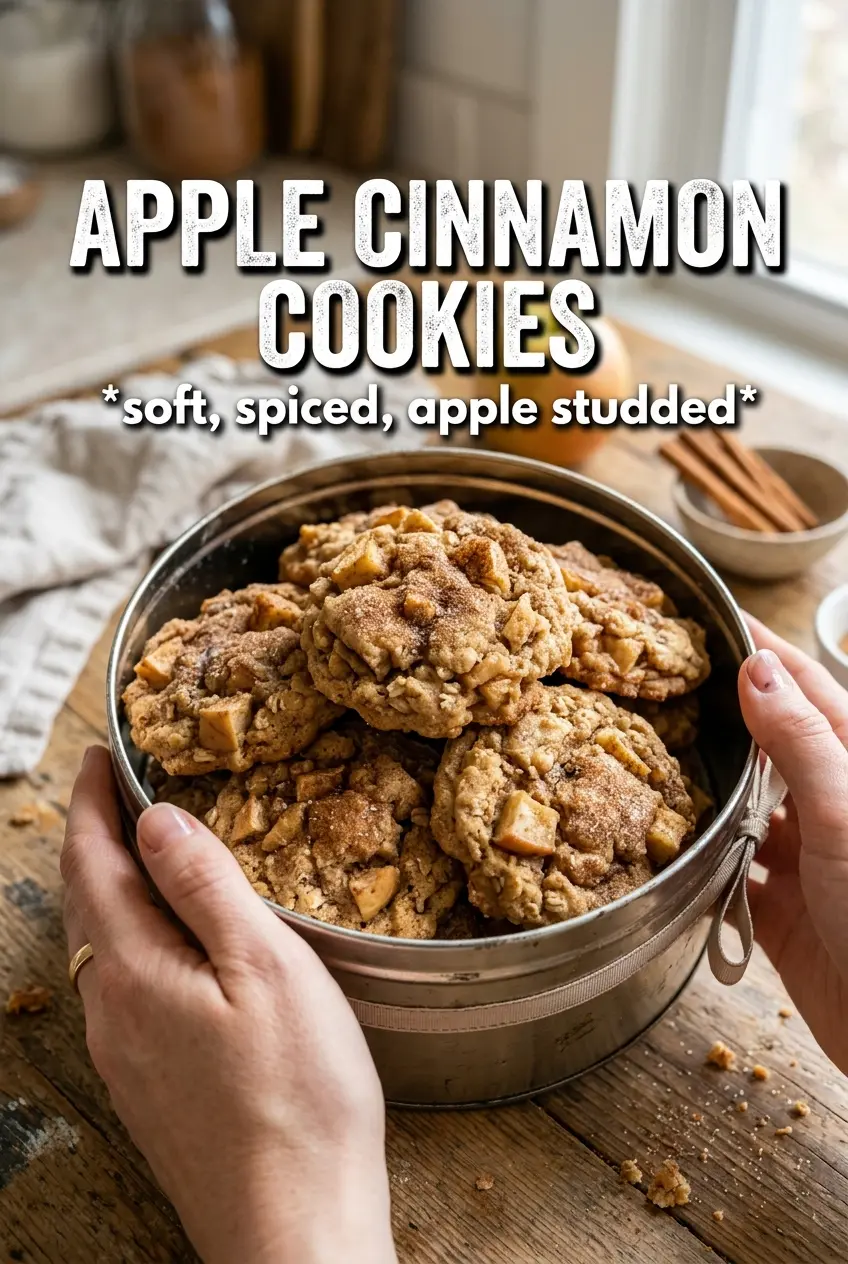
Apple cinnamon cookies bake up soft, tender, and gently cakey in the center with crisp sugar-kissed edges and little pockets of fresh apple in every bite. The cinnamon and nutmeg give them that warm bakery smell the second they hit the oven, and the vanilla glaze finishes them with just enough sweetness to make them feel special without turning them heavy.
What keeps these cookies from going mushy is the balance between applesauce and diced apple. Applesauce brings moisture and that soft, almost muffin-like crumb, while the finely diced apple adds texture and bright fruit flavor. Chilling the dough matters here too; it firms up the butter and gives the flour time to hydrate, which keeps the cookies from spreading too much and helps them bake up thick instead of flat.
Below, I’ve included the little timing details that matter most, plus a few smart swaps if you want to adjust the spices, skip the glaze, or plan ahead.
The dough was sticky like you said, but after chilling it scooped cleanly and baked into thick cookies with soft centers and those cinnamon sugar edges I was hoping for.
Save these apple cinnamon cookies for when you want soft centers, cinnamon sugar edges, and a vanilla glaze that sets with the perfect finish.
The Chilling Step That Keeps Apple Cookies Thick Instead of Flat
These cookies start out sticky for a reason. Applesauce adds moisture, and fresh diced apples bring even more, so the dough needs time in the fridge before it can hold its shape in the oven. Skip that rest and the cookies spread faster than you want, especially if your butter was on the soft side when you mixed the dough.
The other thing that matters here is how long you bake them. Pull them when the edges are just set and the centers still look a little soft and puffy. They finish on the baking sheet as they cool, which is what keeps them tender instead of dry. If you wait for the tops to look fully firm in the oven, they’ll go past the sweet spot.
What the Applesauce Is Doing That Fresh Apple Alone Can’t
- Applesauce — This is the moisture engine in the dough. It softens the crumb and gives the cookies that plush texture, so don’t swap in extra fresh apple and expect the same result. If you need to use unsweetened applesauce, that works best because it doesn’t push the dough into cloying territory.
- Fresh diced apples — These give the cookies tiny bursts of apple flavor and a little bite. Peel them and cut them fine so they cook through in the short bake time; big chunks stay wet and can leave the centers underbaked around them. A firm baking apple works better than a mealy one.
- Brown sugar — This brings depth and helps the cookies stay soft. Granulated sugar alone won’t give the same chew or caramel note. If you’re out of brown sugar, you can use all granulated sugar in a pinch, but the cookies will taste lighter and bake up a little less tender.
- Cinnamon sugar coating — This is what gives the outside those lightly crisp, bakery-style edges. Roll only the tops if you want a prettier finish and less mess on the pan. Full coating works too, but it makes the cookies sweeter and a little more rustic.
Building the Dough Without Overmixing the Apples
Whisking the dry ingredients first
Start by whisking the flour, leaveners, spices, and salt together until the color looks even and the cinnamon is no longer streaky. That keeps the baking soda and baking powder distributed through the dough, which matters because this is a thick batter and you won’t get a second chance to fix a pocket of unblended flour later. If you skip this, the cookies can bake unevenly, with bitter little spots of spice or a lumpy crumb.
Beating the butter and sugars until fluffy
Mix the butter with both sugars until the mixture looks lighter in color and a little airy. That step traps some air, which helps the cookies puff instead of turn dense. Add the eggs, vanilla, and applesauce next, and expect the mixture to look loose or slightly curdled before the flour goes in; that’s normal, and it comes together once you fold in the dry ingredients.
Folding in the apples and chilling the dough
Once the flour mixture is almost combined, fold in the diced apples just until they’re distributed. Overmixing here can break them down and turn the dough wet and streaky. Then refrigerate the dough for a full hour so the butter firms up and the applesauce has time to settle into the flour; if the dough still feels sticky after chilling, that’s fine, but it should scoop without slumping immediately.
Baking and glazing at the right moment
Scoop the dough into 1 1/2-tablespoon portions and roll the tops in cinnamon sugar before baking. Watch the edges, not the clock alone: they should look set and lightly golden while the centers still look soft. Let the cookies cool completely on the pan before glazing, or the glaze will melt off instead of sitting in neat little ribbons on top.
How to Adapt These Cookies When You Need a Different Finish
Skip the glaze for a softer, less sweet cookie
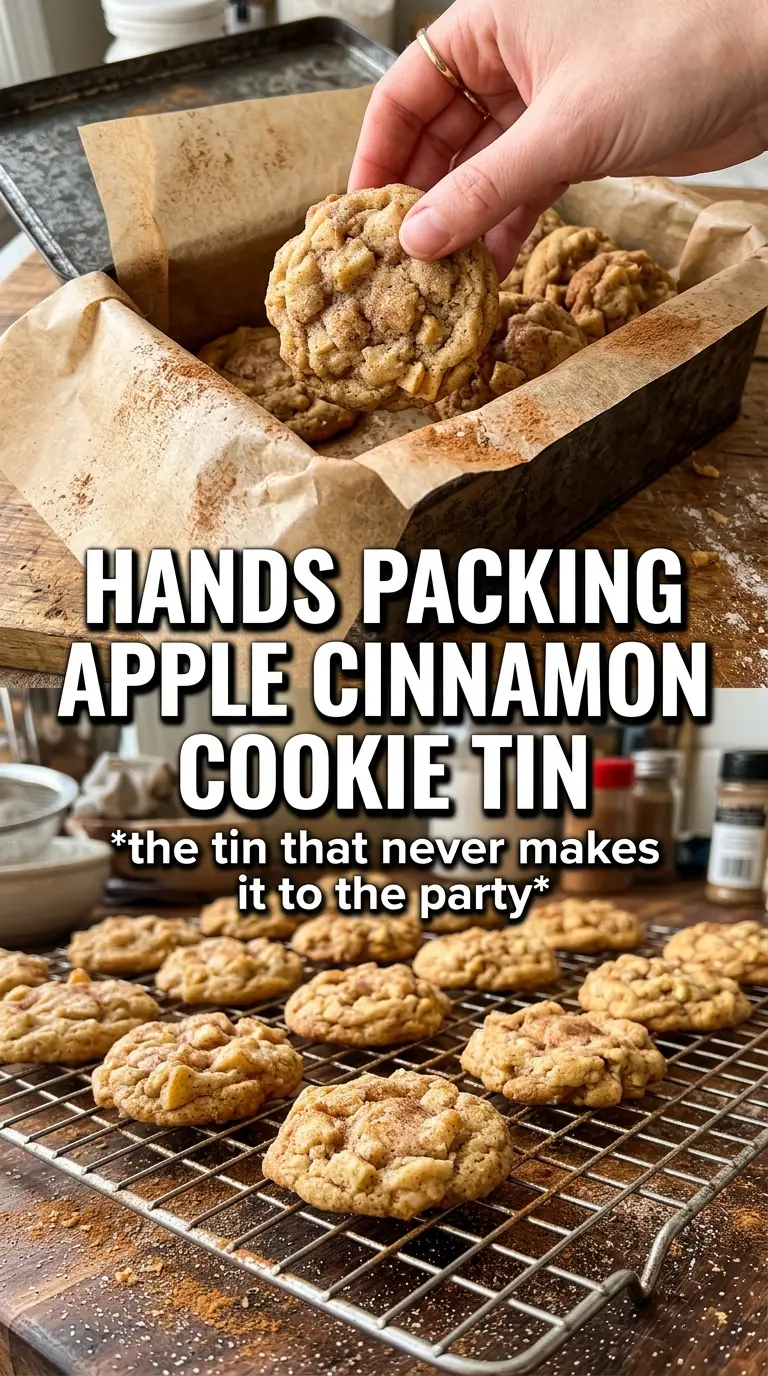
Leave off the vanilla glaze and keep the cinnamon sugar topping on the dough balls. You’ll get a more cookie-jar style result with a drier top and a stronger spice note, which is what I reach for when I want these to pack well or sit out on a dessert table without getting sticky.
Make them dairy-free
Use a plant-based butter that behaves like real butter in baking, not a soft spread from a tub. The texture stays close to the original, though the edges may bake up a touch less rich. The glaze can be made with any unsweetened non-dairy milk, and it still sets well.
Use a sharper apple for more bite
If you want the apple pieces to stand out more, use a firm tart apple and dice it small. The flavor gets brighter and less mellow, and the fruit texture stays more distinct after baking. Avoid very juicy or soft apples here, or the dough can get wet around the edges.
Storage and Reheating
- Refrigerator: Store in an airtight container for 4 to 5 days. The cookies stay soft, though the glaze may absorb a little into the tops after the first day.
- Freezer: Freeze unglazed cookies for up to 2 months. Wrap them well and thaw at room temperature before adding glaze so the icing doesn’t turn thin and patchy.
- Reheating: Warm a cookie for 8 to 10 seconds in the microwave if you want it soft and just barely warm. Longer than that and the apple pieces can turn steamy and the glaze gets messy.