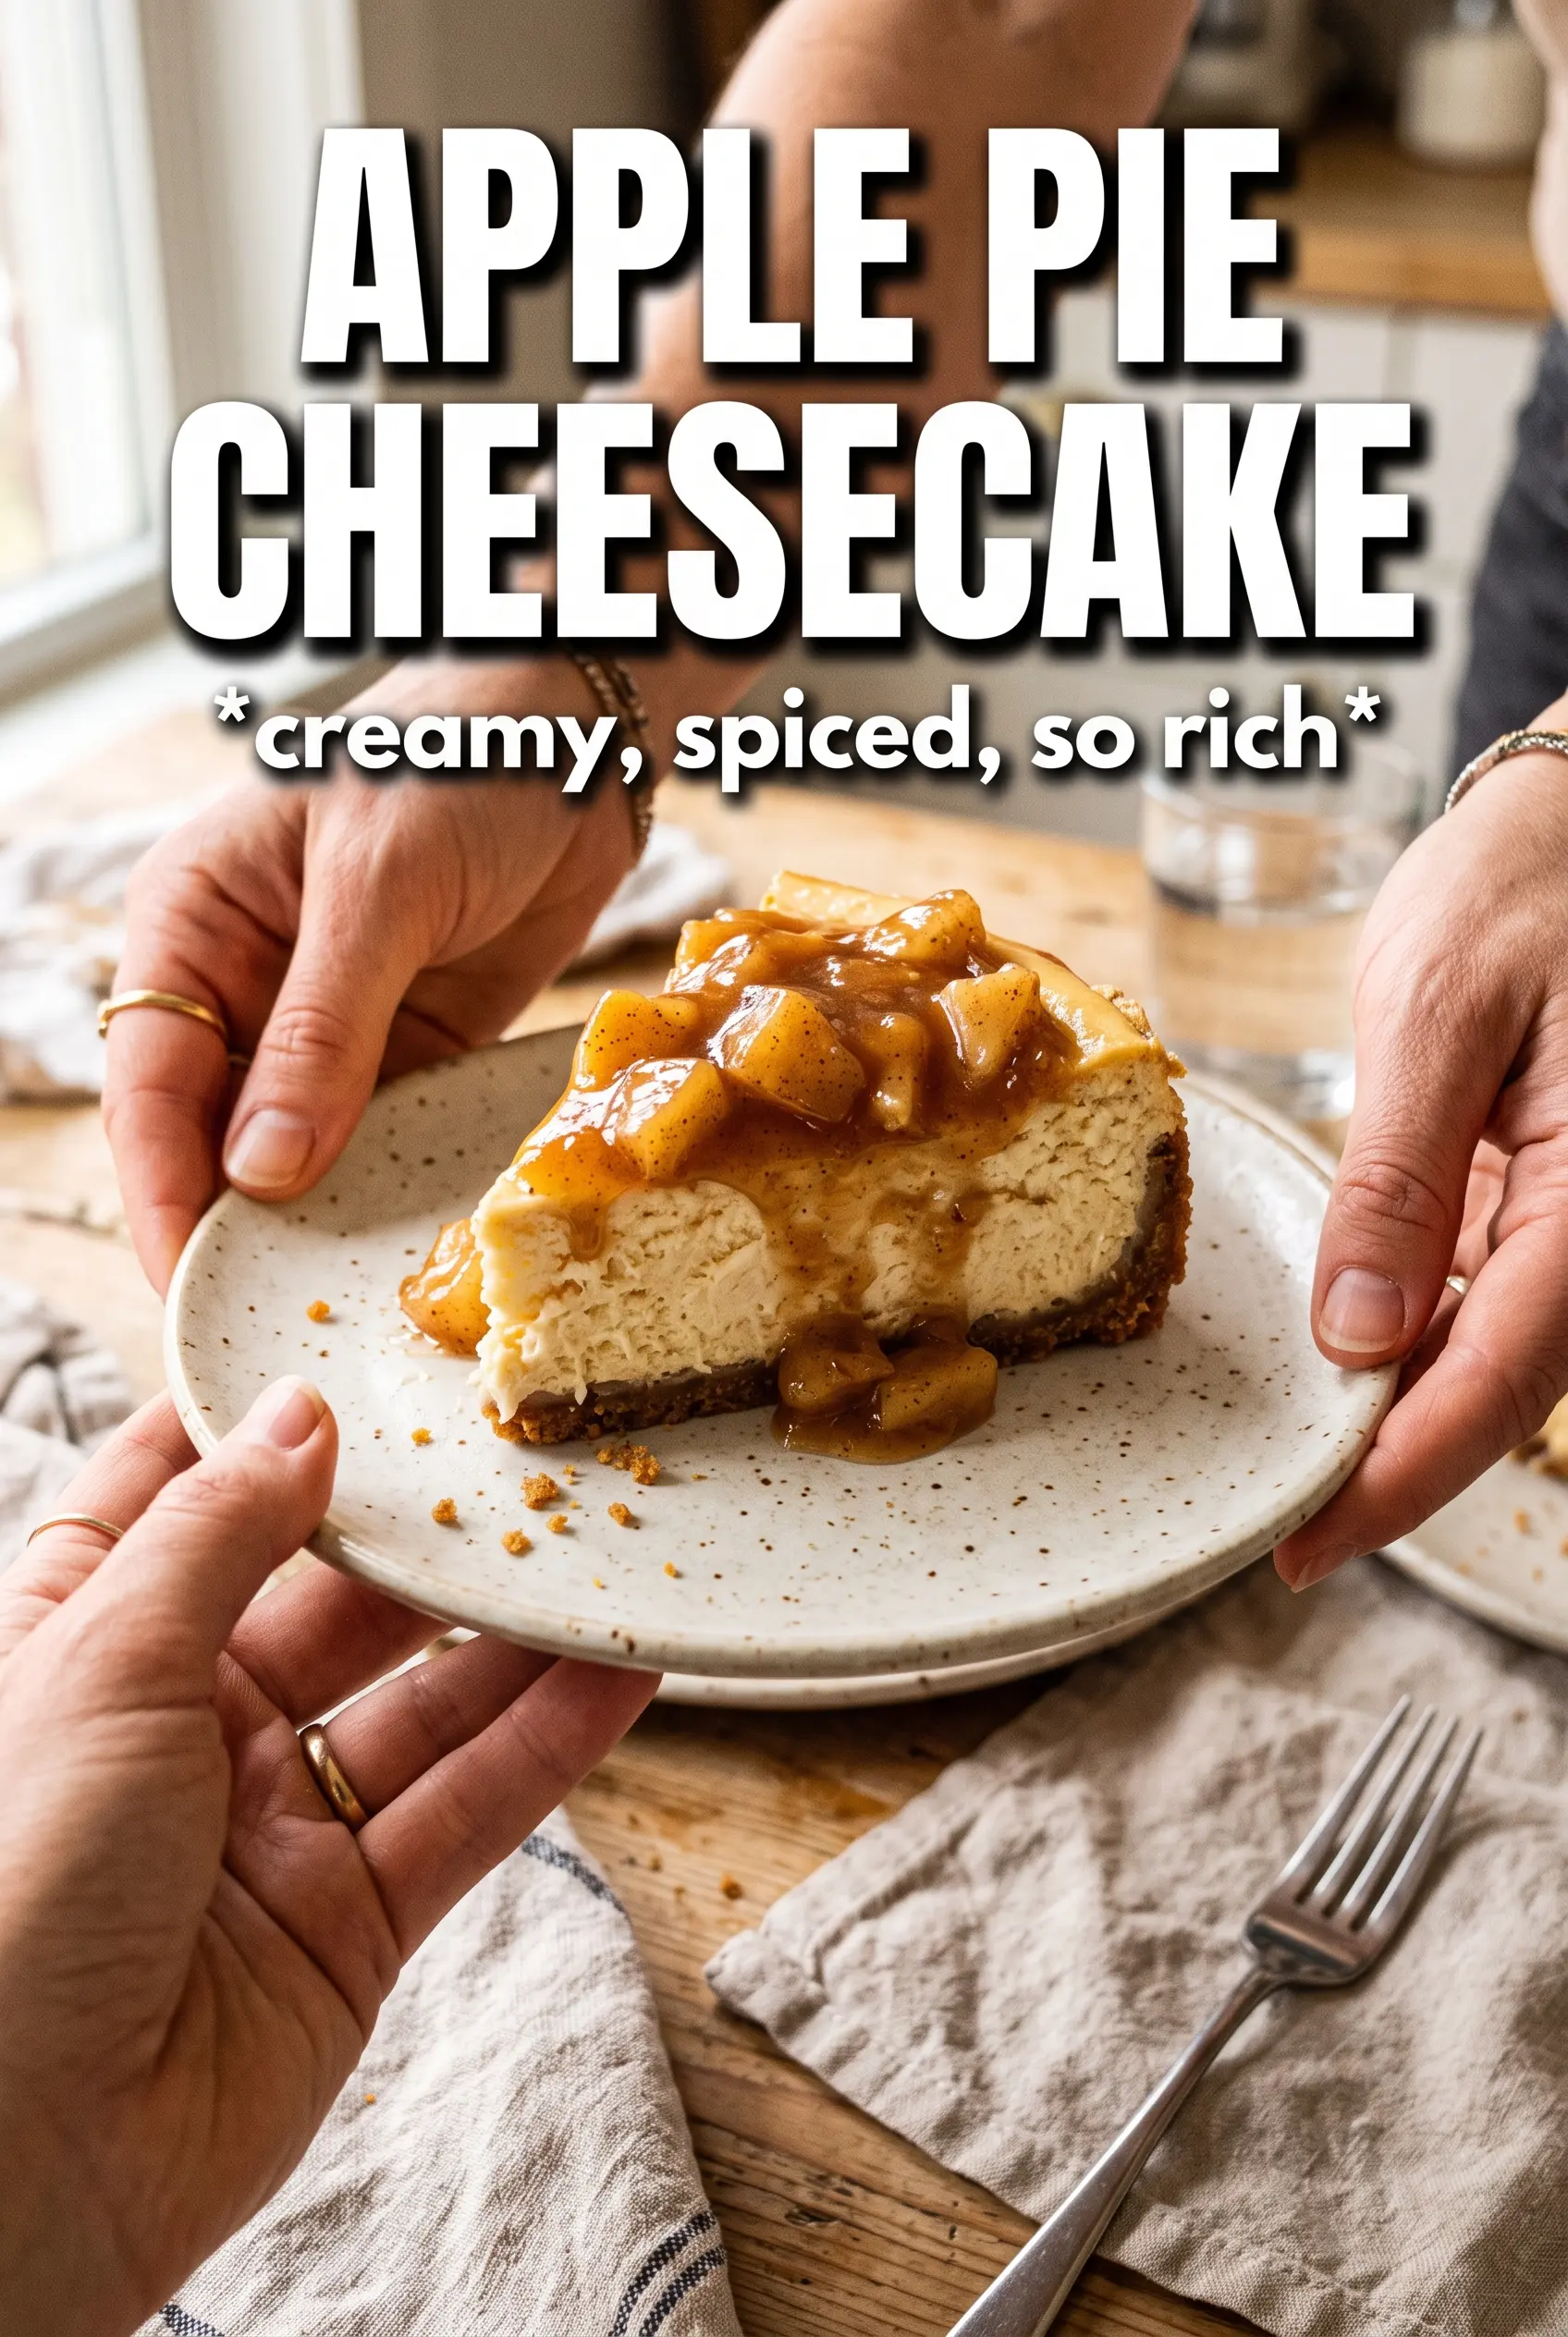
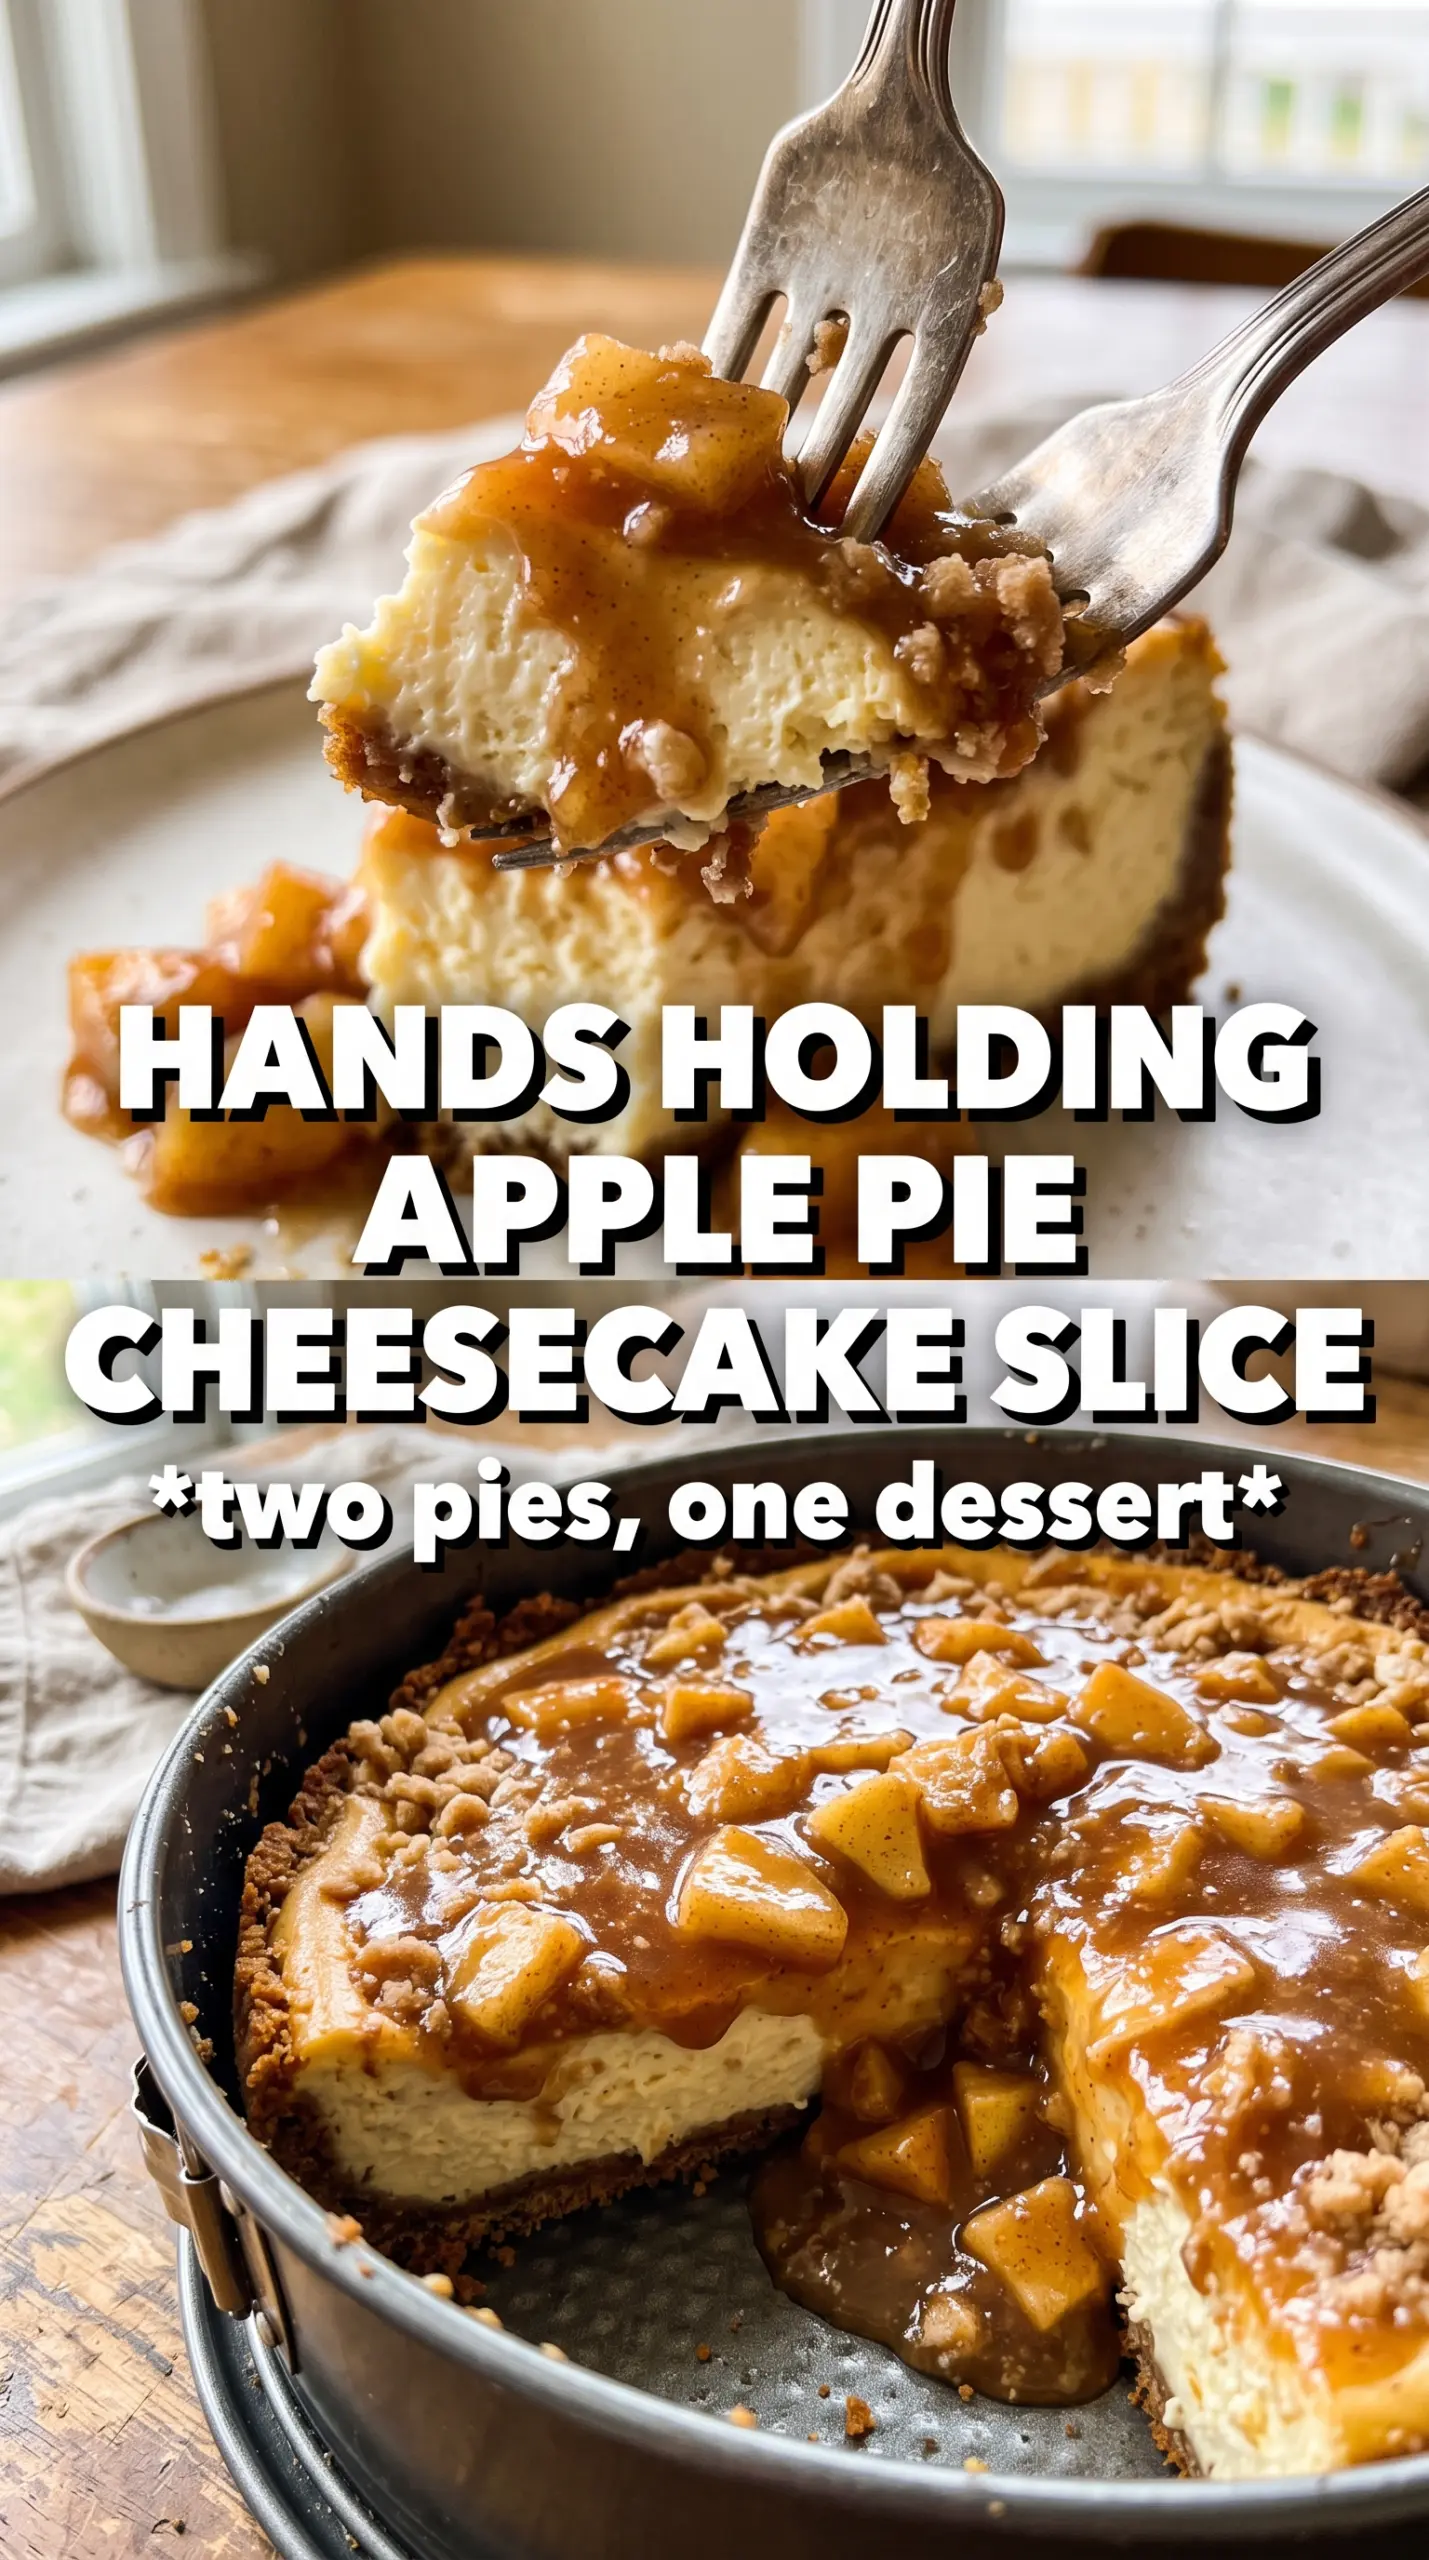
Apple pie cheesecake gives you the best parts of two desserts in one slice: a sturdy cinnamon-graham crust, a smooth vanilla-cinnamon cheesecake layer, soft spiced apples, and a crumbly streusel that bakes up into the kind of topping that stays interesting all the way to the last bite. The caramel drizzle at the end is not just decoration; it ties the whole thing together and keeps every layer from tasting separate.
What makes this version work is the layering order and the water bath. The cheesecake batter stays smooth because it gets poured over a baked crust first, then the apple layer goes on top after it has been cooked down and cooled enough not to sink or leak. The streusel bakes on the surface instead of turning gummy, and the water bath keeps the filling from overbaking at the edges before the center has a chance to set.
Below, I’ll walk through the parts that matter most: how thick the apple layer should be, why the cheesecake filling needs to stay on the gentle side, and how to chill it long enough for clean slices. That resting time is where the texture settles into place.
The apple layer stayed distinct instead of disappearing into the cheesecake, and the streusel kept a crisp little crunch even after chilling overnight. My slices came out clean with the caramel drizzled on right before serving.
Save this Apple Pie Cheesecake for the dessert nights when you want creamy cheesecake, cooked apples, and a buttery streusel in one tall slice.
The One Step That Keeps the Cheesecake from Going Grainy
The filling needs to be mixed until smooth, but not whipped full of air. If you beat the eggs too hard or keep the mixer running after the batter looks finished, the cheesecake rises too much in the oven and settles with cracks or a slightly spongy texture. A low, even batter gives you the dense, creamy slice you want.
The other place people go wrong is the apple layer. It has to be cooked first so the apples soften and the juices thicken with cornstarch before they go on top of the batter. Raw apples release too much liquid in the oven, and that can make the center loose or force the cheesecake to bake longer than it should.
- Water bath — This keeps the oven heat gentle around the pan. It’s the difference between a cheesecake that bakes evenly and one with a dry edge ring.
- Cooled apple filling — Warm apples can melt the top of the cheesecake batter and create a sunken middle. Let the filling cool until it’s barely warm or fully room temperature.
- Springform pan — You need the removable sides for clean slices. Line the outside well so the water bath doesn’t sneak in.
What Each Layer Is Actually Doing Here
- Cinnamon graham crumbs — These give you a crust that tastes like pie, not just plain cheesecake base. The cinnamon is worth keeping here; plain crumbs lose some of the point of the dessert.
- Cream cheese — Use full-fat blocks, not spreadable tub cream cheese. Tub versions contain more moisture and stabilizers, and the texture won’t bake up as cleanly.
- Sour cream — This loosens the batter just enough and adds a slight tang that keeps the cheesecake from tasting heavy. Greek yogurt can stand in, but the flavor will be a little sharper and the texture less plush.
- Apples — A firm baking apple holds its shape best. Softer apples break down too fast and disappear into the filling.
- Streusel — Cold butter matters here. If the butter softens too much before baking, you get a sandy layer instead of proper crumbs.
- Caramel sauce — Add it at serving, not before baking. Baked caramel can turn sticky and darken too much while the cheesecake cools.
Building the Layers So They Bake Cleanly
Pressing and Prebaking the Crust
Mix the cinnamon graham crumbs, sugar, and melted butter until every crumb looks damp, then press the mixture firmly into the bottom of the springform pan. A loose crust falls apart when you slice, while a well-packed crust holds the weight of the filling. Bake it for 10 minutes until it smells toasted and the edges look just a shade darker. That quick bake sets the butter so the base stays crisp under the filling.
Cooking the Apples Until They Hold Their Shape
Cook the diced apples with brown sugar, cinnamon, nutmeg, cornstarch, and butter until the fruit softens and the juices turn glossy and thick. You want the apples tender but not collapsed. If the filling still looks wet in the pan, it will stay wet in the cheesecake and blur the layers. Cool it before assembling so it sits neatly on top of the batter instead of melting into it.
Mixing the Cheesecake Batter Gently
Beat the cream cheese and sugar until smooth, then add the eggs one at a time just until incorporated. Stir in the sour cream, vanilla, and cinnamon on low speed or by hand at the end. The batter should look satiny and thick, not fluffy. Air bubbles are the enemy here because they rise, burst, and leave little holes or cracks behind.
Finishing the Bake Without Overdoing It
After the batter goes into the crust, spread the cooled apple layer over the top and scatter the streusel on in an even layer. Set the pan in a water bath and bake until the edges look set but the center still has a slight jiggle when you gently nudge the pan. Pull it before the center looks fully firm; cheesecake finishes setting as it cools. Once it’s cooled to room temperature, chill it for the full 6 hours so the slices cut cleanly.
How to Adapt This for Different Tables and Different Fridges
Gluten-Free Crust Swap
Use gluten-free graham-style crumbs in place of the cinnamon graham crackers and keep the butter amount the same. The filling and apple layer are naturally gluten-free, so this swap changes almost nothing about the final texture except the crust flavor.
Dairy-Free Version
Use a dairy-free cream cheese that bakes well and swap in a plant-based butter for both the crust and streusel. The texture will be a touch softer and the tang less pronounced, but the apple and cinnamon still carry the dessert.
Making It Ahead
This cheesecake is better the next day, after the layers have fully set. Bake it the day before you need it, chill it overnight, and add the caramel right before serving so the top stays neat.
Storage and Reheating
- Refrigerator: Store covered for up to 5 days. The streusel softens a little, but the flavor stays right.
- Freezer: Freeze slices without caramel for up to 1 month. Wrap tightly, then thaw in the refrigerator overnight.
- Reheating: Don’t reheat the whole cheesecake. Serve it cold or let a slice sit at room temperature for 15 to 20 minutes so the texture turns creamy again without melting.