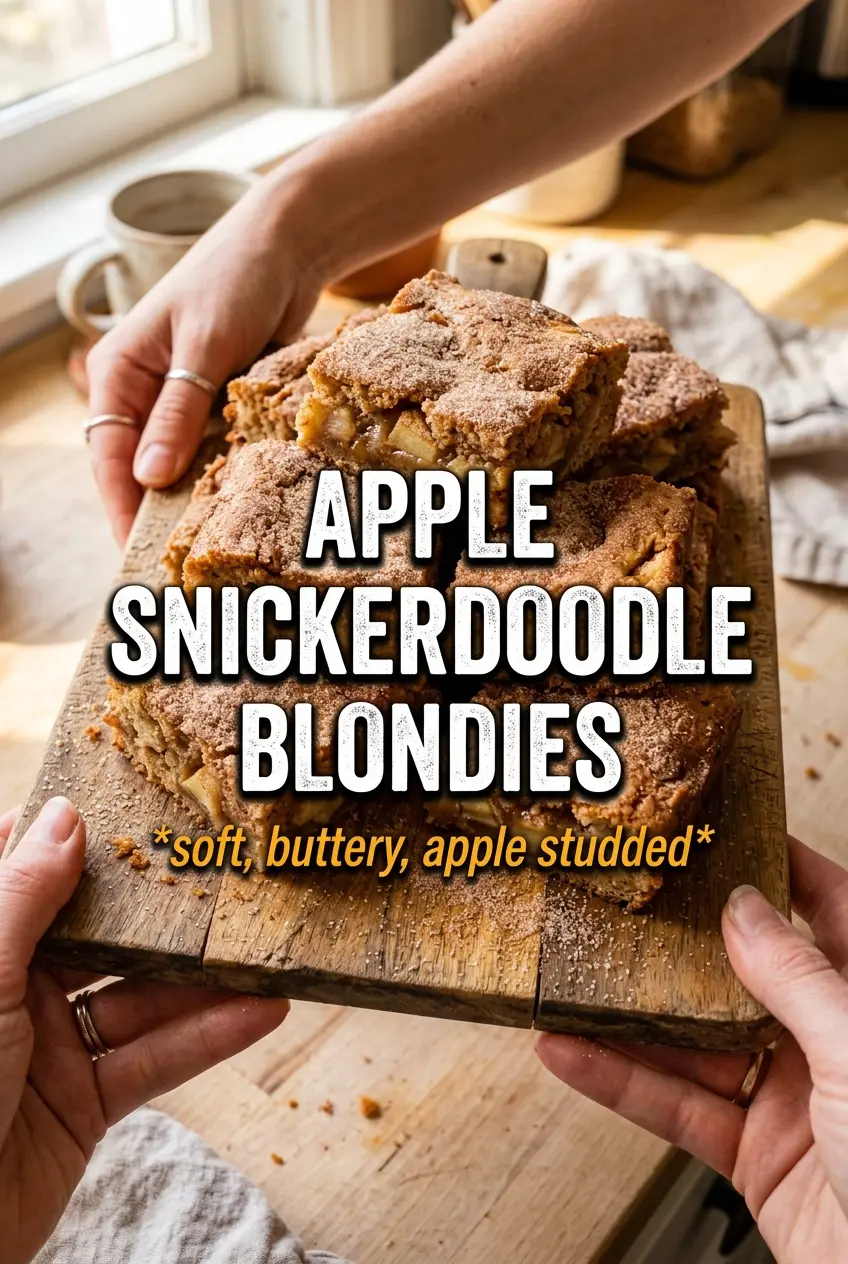
Apple snickerdoodle blondies land right in that sweet spot between chewy bar cookie and apple-spice dessert, with a crackly cinnamon-sugar top and a dense, tender middle packed with little bits of fresh apple. The browned butter gives them a deeper, almost toffee-like base, so the apples don’t just taste like an add-in — they taste like part of the whole bite.
The trick here is balancing moisture and structure. Apples bring juice into the batter, so the flour, cream of tartar, and just the right bake time matter more than they would in a plain blondie. Browned butter does double duty too: it adds flavor, and because some of the water cooks off, it helps the bars stay chewy instead of turning cakey.
Below you’ll find the exact point where the batter should stop looking smooth, what the top should look like before it comes out of the oven, and why cooling all the way before slicing makes a cleaner bar.
The browned butter made these taste like a bakery bar, and the apples stayed soft without making the center wet. I baked mine 28 minutes and the edges set up beautifully while the middle stayed chewy.
Save these apple snickerdoodle blondies for when you want chewy cinnamon bars with browned butter and caramel drizzle.
The Reason These Blondies Stay Chewy Instead of Turning Cakey
Most blondies go soft and bready when the batter gets overmixed or the pan bakes too long. These hold onto that dense, chewy texture because the recipe leans on browned butter, packed brown sugar, and just enough flour to set the bars without making them stiff. The apples add moisture, but they also add bulk, so the batter needs to be mixed just until the flour disappears and then left alone.
Cream of tartar does a quiet job here too. It gives the cinnamon-sugar crust a little lift and keeps the bars tasting more like a snickerdoodle than a plain apple bar cookie. The other place people go wrong is the bake: if the center looks fully dry in the oven, the bars are already headed toward overbaked. Pull them when the edges are set and the middle still looks slightly soft.
What Each Ingredient Is Actually Doing in These Bars
- Browned butter — This is the flavor backbone. Browning it adds a nutty, caramel note that plain melted butter can’t give you, and it helps the blondies taste deeper and more baked. Cool it for about 10 minutes after browning so it doesn’t scramble the eggs.
- Brown sugar — Packed brown sugar keeps the bars moist and chewy. Light brown sugar works fine, but dark brown sugar will push the flavor a little richer and molasses-heavy.
- Apples — Peel and dice them finely so they soften into the bars instead of leaving wet pockets. A crisp apple such as Granny Smith or Honeycrisp holds its shape best; softer apples can disappear or make the center soggy.
- Cream of tartar — This gives the bars that snickerdoodle edge and a subtle tang that keeps the sweetness from going flat. If you don’t have it, the bars will still work, but they’ll taste more like apple blondies than true snickerdoodles.
- Cinnamon and nutmeg — These should read as warm background notes, not pumpkin-pie spice overload. If your cinnamon is old, replace it; this recipe depends on that top crust tasting sharp and fragrant.
- Caramel sauce — The drizzle is optional in the sense that the bars bake fine without it, but it adds a bakery-style finish and plays nicely with the browned butter. Use a thick sauce so it sits on top instead of soaking in.
How to Mix, Bake, and Cut Them So the Center Stays Fudgy
Brown the Butter First
Set the butter over medium heat and watch for the foaming to calm down. After that, the milk solids will turn golden and smell nutty, almost like toasted hazelnuts. Take it off the heat as soon as you see that color; if you push too far, it turns bitter fast. Let it cool for about 10 minutes so it stays warm but not hot when it meets the sugar.
Build the Batter Without Beating Air Into It
Whisk the browned butter and brown sugar until glossy, then add the eggs and vanilla just until the mixture looks smooth. Once the dry ingredients go in, switch to a spatula and stop as soon as the flour streaks disappear. If you beat the batter hard at this point, the bars will rise more like cake and lose that dense blondie texture.
Fold in the Apples and Watch the Pan Fill
Use finely diced apples and fold them in at the very end so they stay distributed instead of sinking. Spread the batter evenly in the pan and scatter the cinnamon sugar all the way to the edges, because that top crust is part of the payoff here. The pan should look full and thick, not loose or runny.
Know When to Pull the Bars
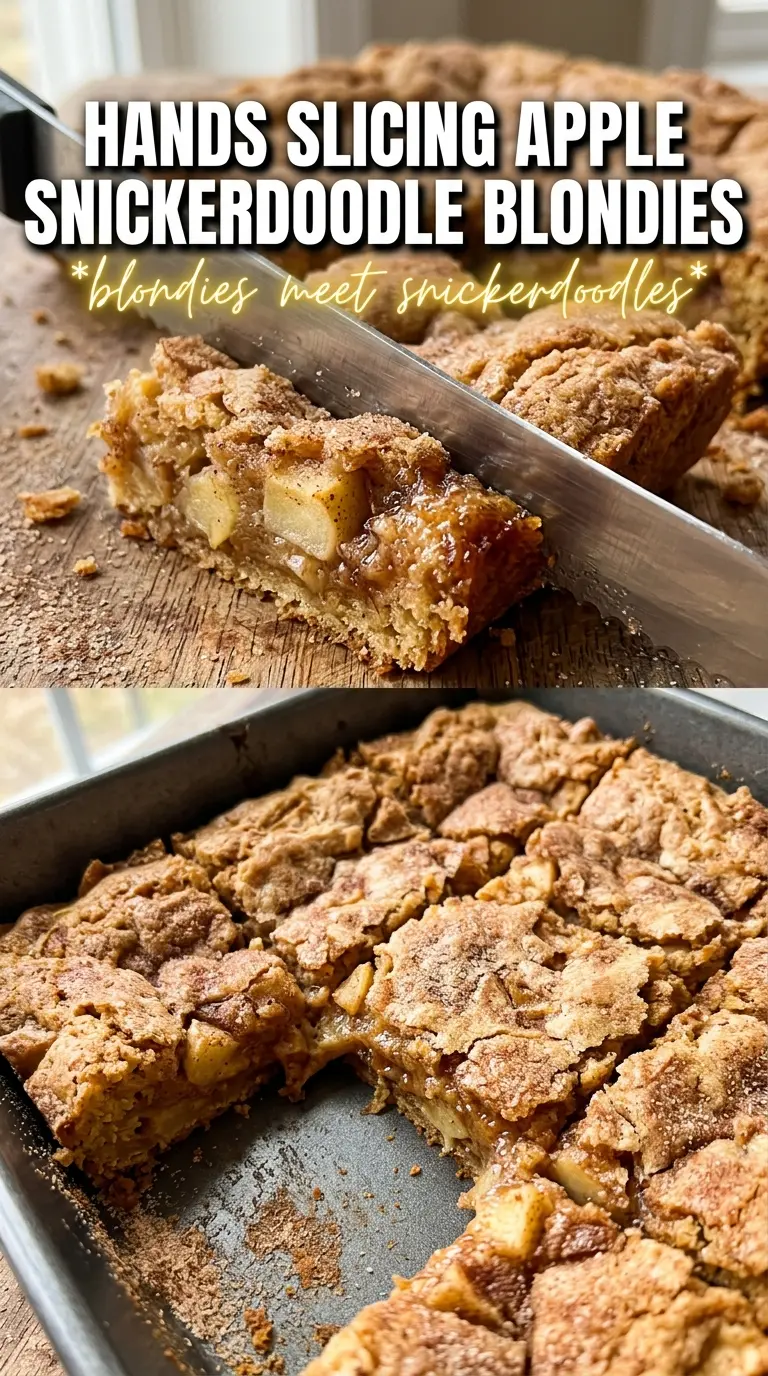
Bake until the top is set and a toothpick comes out with a few moist crumbs, not wet batter. The center should still look just a touch underdone when you open the oven; it finishes setting as it cools. If you wait for a perfectly clean toothpick, the bars will slice neatly but taste dry the next day.
Apple-cinnamon walnut blondies
Add 3/4 cup chopped walnuts to the batter for crunch and a more old-fashioned bakery-bar feel. The nuts cut through the softness of the apples and make each square a little more substantial.
Dairy-free version
Swap the butter for a plant-based butter that browns well, or use melted vegan butter if browning isn’t an option. You’ll lose some of that toasted depth, but the bars will still bake up chewy and sliceable.
Gluten-free blondies
Use a 1:1 gluten-free baking blend in place of the flour. The texture will be slightly softer, so let the bars cool completely before cutting or they’ll crumble at the center.
Storage and Reheating
- Refrigerator: Store in an airtight container for up to 5 days. The bars stay chewy, though the apple pieces get a little softer by day two.
- Freezer: They freeze well. Wrap individual squares tightly and freeze for up to 2 months, then thaw at room temperature.
- Reheating: Warm a square in the microwave for 10 to 15 seconds if you want the caramel drizzle soft again. Don’t overheat them or the edges turn dry before the center warms through.