Green bean bundles are the kind of side dish that disappears fast because they hit three things at once: crisp-tender beans, salty bacon, and a sticky glaze that turns glossy in the oven. The beans stay bright instead of drab, the bacon gets just enough time to render and crisp, and the whole tray smells like garlic butter the second it comes out of the oven.
The trick is blanching the beans first. That short boil sets the color and gives the beans a head start, so they finish tender without going limp while the bacon catches up. The other piece that matters is the glaze: brown sugar and butter need the garlic and soy sauce to keep the sweetness from tasting flat. You want a spoonable sauce that bubbles around the bundles and clings to the bacon as it bakes.
Below you’ll find the exact timing that keeps the beans from overcooking, plus a few easy swaps if you want to change the sweet-savory balance or make the dish work for a different menu.
The bacon crisped up beautifully and the glaze soaked into the bundles without making the beans soggy. I served them with roast chicken and everyone kept reaching for “just one more.”
Save these green bean bundles with bacon for the holiday table or any dinner that needs a sweet-savory side dish with crisp edges.
Why the Blanching Step Keeps the Beans Bright Instead of Mushy
If you skip the blanch-and-ice-water step, the beans spend too long in the oven and end up soft before the bacon is done. Fresh green beans need just enough par-cooking to take the edge off, not enough to finish them. That quick dunk in ice water stops the cooking immediately and locks in the color.
The other mistake people make is crowding the baking dish too tightly. The bundles need enough space for hot air to circulate so the bacon can render instead of steaming in its own fat. If the beans are cooked but the bacon still looks pale, the dish was packed too snugly or the bundles were wrapped too loosely.
What Each Ingredient Is Doing in These Bundles
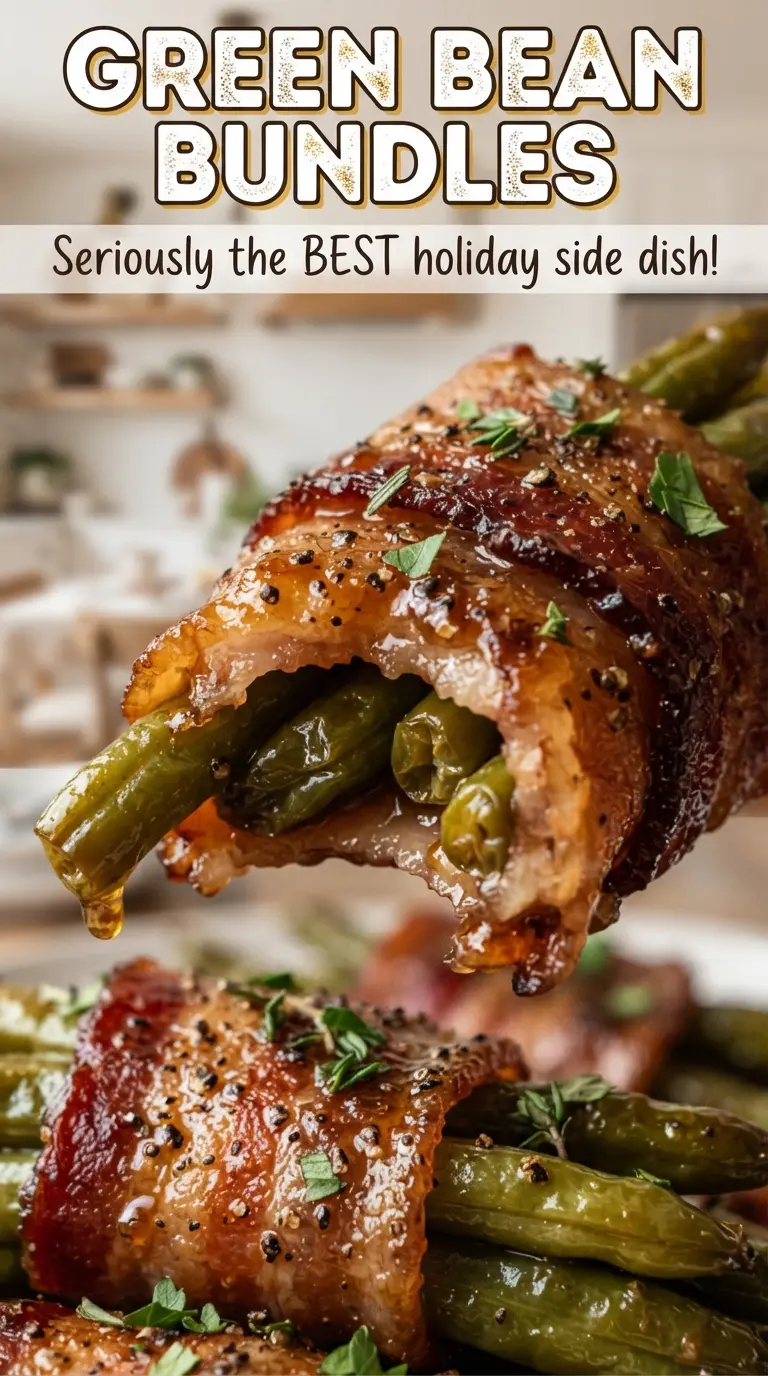
- Fresh green beans — These need to be firm and slender enough to bundle neatly. Thick beans work, but they take a touch longer to soften, so keep the blanching water moving and don’t skip the ice bath.
- Bacon — Thin-cut bacon wraps tighter and crisps more evenly here. Thick-cut bacon can stay chewy by the time the beans are done unless you pre-cook it slightly, and even then it changes the texture of the finished dish.
- Brown sugar — This gives the glaze its sticky, glossy finish and helps the bacon caramelize at the edges. Light brown sugar works fine; dark brown sugar gives a deeper molasses note.
- Butter — Melted butter carries the glaze into the baking dish and helps the garlic and sugar coat the bundles. Don’t swap in a butter substitute unless you need to, because the texture of the sauce changes and it won’t cling as well.
- Soy sauce — This is the salt and the umami. It keeps the glaze from tasting like straight sugar, and even a small amount makes the bacon taste fuller. Use tamari for a gluten-free version.
- Garlic — Fresh minced garlic gives the glaze a sharp edge that cuts through the sweetness. Garlic powder will work in a pinch, but it tastes flatter and less alive in the finished pan sauce.
How to Keep the Bacon Crispy While the Beans Stay Tender
Blanching and shocking the beans
Bring a pot of water to a full boil before the beans go in, then cook them for about 3 minutes until they turn bright green and just start to soften. Drain them fast and move them straight into ice water so they stop cooking. If you leave them in the hot water too long, they’ll turn olive-colored and too soft to hold their shape inside the bacon.
Building the bundles
Gather 8 to 10 beans into each bundle and wrap them with a half slice of bacon, then place them seam-side down in the baking dish. That seam-side-down placement matters because it keeps the bacon from unrolling while it bakes. If the bundles look loose, use fewer beans rather than forcing the bacon to stretch; stretched bacon shrinks and slides as it cooks.
Pouring on the glaze
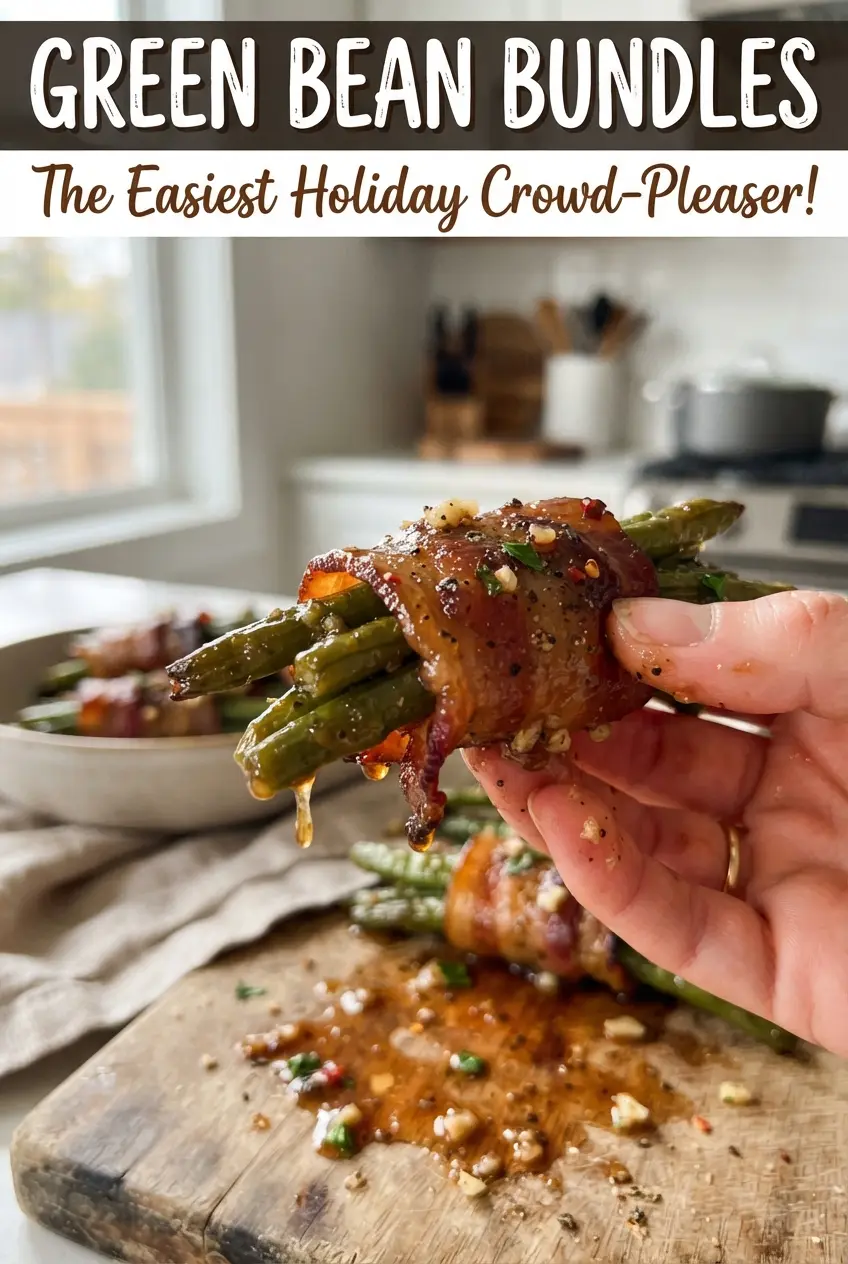
Whisk the melted butter, brown sugar, garlic, soy sauce, and pepper until the sugar starts dissolving and the mixture looks smooth and glossy. Pour it evenly over the bundles so each one gets some of the sweet-savory coating. If the glaze pools in one corner, tilt the dish gently so the sauce reaches the rest of the pan instead of basting only a few bundles.
Baking until the edges caramelize
Bake at 400°F for 25 to 30 minutes, watching for crisp bacon edges and a bubbling glaze around the bottom of the dish. If the bacon isn’t crisp but the glaze is already dark, the bundles may be crowded or your bacon may have been too thick. Spoon the pan glaze over the top right before serving so every bundle gets that shiny finish.
How to Adapt These Bundles for Different Menus
Gluten-Free Version
Swap the soy sauce for tamari or coconut aminos. Tamari keeps the same deep, salty backbone without changing the texture of the glaze, while coconut aminos taste a little sweeter and lighter. The rest of the recipe stays the same.
Less-Sweet, More-Savory Glaze
Cut the brown sugar back to 1/4 cup and add an extra teaspoon of soy sauce. You’ll still get a sticky glaze, but it leans more savory and won’t caramelize quite as aggressively in the oven.
Turkey Bacon Instead of Pork Bacon
Turkey bacon works, but it won’t render the same way or crisp as deeply as pork bacon. Bake it just until set and browned at the edges, then watch the bundles closely because turkey bacon dries out faster once the glaze starts bubbling.
Make-Ahead for a Dinner Party
Blanch the beans and wrap the bundles up to a day ahead, then cover and refrigerate them without the glaze. Add the glaze right before baking so the sugar doesn’t pull moisture from the beans and make the pan watery.
Storage and Reheating
- Refrigerator: Store leftovers in an airtight container for up to 3 days. The beans soften a bit as they sit, but the glaze still tastes great.
- Freezer: These don’t freeze well. The beans lose their texture and the bacon turns rubbery after thawing.
- Reheating: Warm them in a 350°F oven until heated through, about 10 to 12 minutes. The microwave will soften the bacon and make the glaze loose, so the oven is the better choice.
Questions I Get Asked About This Recipe
Green Bean Bundles
Ingredients
Equipment
Method
- Preheat oven to 400F. Blanch green beans in boiling water for 3 minutes, then plunge into ice water and drain.
- Gather 8-10 beans into a bundle and wrap with a half slice of bacon, seam-side down in a baking dish. Place bundles in rows so they cook evenly.
- Whisk melted butter, brown sugar, garlic, soy sauce, and black pepper until smooth. The glaze should look thick and glossy.
- Pour glaze evenly over the bundles. Make sure bacon tops and exposed bean edges get coated.
- Bake 25-30 minutes at 400F until bacon is crisp and glaze is bubbly. Look for caramel-colored bubbling around the bundles.
- Spoon pan glaze over the bundles and serve warm. Add a little extra glaze right before serving for shine.