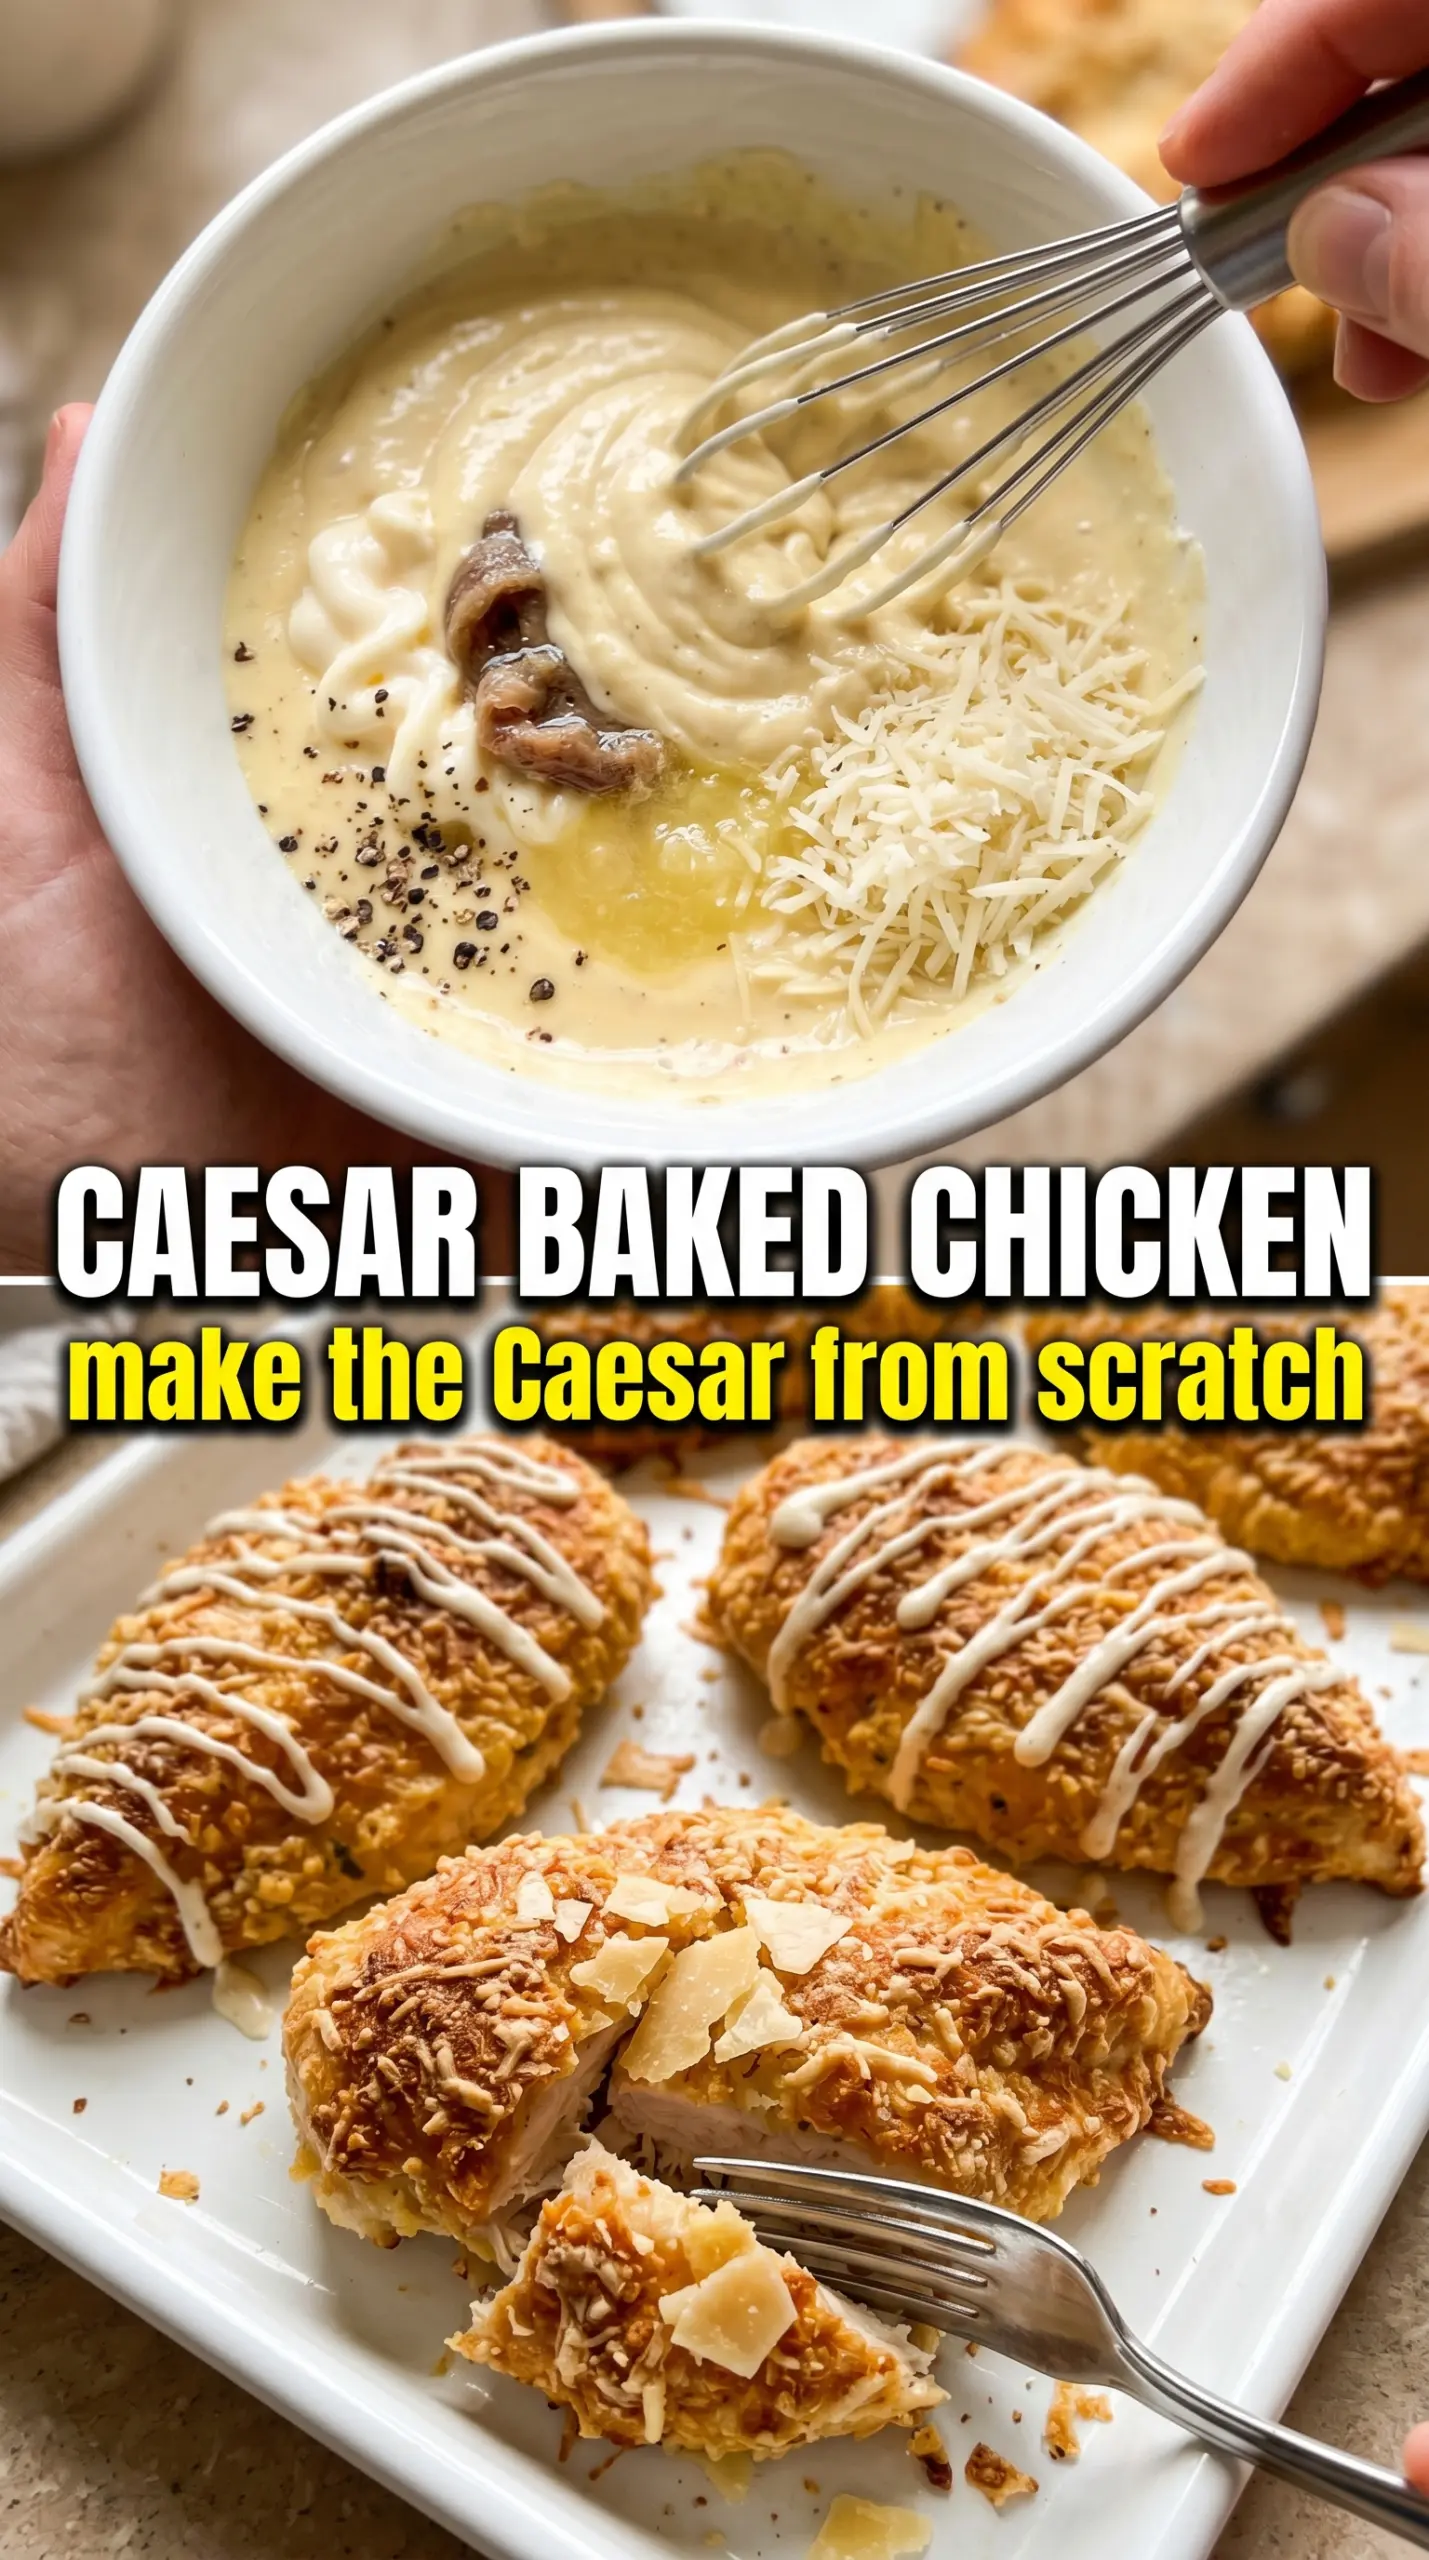
Golden, crackly Caesar chicken earns its place on the dinner rotation because the crust brings the same salty, garlicky punch you expect from a great salad, but it bakes right onto juicy chicken breasts. The Parmesan melts into the dressing as it cooks, then the panko finishes the job with a shattering top that stays crisp instead of turning soggy.
The trick is in the balance. A short marinade gives the chicken enough time to pick up Caesar flavor without breaking down the texture, and the breadcrumb-Parmesan layer goes on after marinating so it can brown instead of dissolving into the sauce. Freshly grated Parmesan matters here; the pre-shredded stuff won’t melt as smoothly and the crust won’t get the same deep, savory finish.
Below, you’ll find the exact cues I watch for so the chicken stays tender and the topping turns properly golden, plus a few smart swaps if you want to change up the texture or make it work with what’s already in your fridge.
The chicken stayed juicy under that Parmesan Caesar crust, and the panko browned up instead of getting soft. I used store-bought dressing and the flavor was still bold enough that my husband asked if I’d make it again next week.
Save this Baked Caesar Chicken for the nights when you want a golden Parmesan crust and a fast chicken dinner that still feels special.
The Shortcut That Keeps Caesar Chicken From Going Limp
The mistake most people make with baked Caesar chicken is letting the coating sit in wet dressing too long. That turns the top layer heavy before it ever hits the oven, and instead of a crisp crust you get a soft, pasty cap. The better move is a short marinade for flavor, then a dry-ish Parmesan-panko topping pressed on right before baking.
This recipe also works because the chicken bakes hot enough to brown the cheese without drying out the meat. If your chicken breasts are large or uneven, pound them to an even thickness first. That’s the difference between one end being done and the thick side still fighting for another five minutes.
- Caesar dressing — This does the heavy lifting for salt, tang, and body. Store-bought is fine if you use one you already like on salad, but if it’s extremely thick, loosen it with a teaspoon or two of water so it coats evenly.
- Freshly grated Parmesan — Fresh Parmesan melts into the dressing and browns beautifully. Pre-grated Parmesan usually contains anti-caking agents that can make the crust grainy and less cohesive.
- Panko breadcrumbs — Panko gives the top its crisp, light crunch. Regular breadcrumbs work in a pinch, but the coating will be finer and less shattery.
- Lemon zest — This keeps the dish from tasting flat. Use a microplane and avoid the white pith, which adds bitterness instead of brightness.
What Each Ingredient Is Actually Doing in This Recipe
- Primary ingredient (the star) — Quality matters most. Choose the best you can find.
- Cooking medium (oil, butter, or broth) — This carries flavors and prevents dryness.
- Seasonings (salt, pepper, spices, herbs) — Layer flavors so nothing overpowers. Build depth gradually.
- Aromatics (garlic, onion, herbs) — Cook with fat to bloom flavors. Become the foundation.
- Supporting ingredients — Complement the main ingredient without overpowering it.
- Sauce or liquid (if applicable) — Brings flavors together. Balance richness with acid.
- Acid (lemon, vinegar, wine, or other) — Brightens and prevents flat-tasting results.
- Final finish (garnish, glaze, or sauce) — Prevents one-dimensional taste and adds visual appeal.
Getting the Crust Golden Before the Chicken Dries Out
Mix the Marinade First
Stir the Caesar dressing, half the Parmesan, garlic powder, and lemon zest until smooth, then coat the chicken and let it sit for 20 minutes. That’s enough time for flavor to settle in without turning the surface mushy. If you leave it much longer, the acidic dressing starts working like a very aggressive brine and the texture can get strange around the edges.
Build the Topping Right Before Baking
Combine the remaining Parmesan with the panko and press it firmly over each breast after the chicken goes into the baking dish. Don’t stir the crumbs into the marinade; they need a drier surface to brown. A light press helps the coating adhere, but packing it down hard can make the crust dense instead of crisp.
Bake to the Temperature, Not the Clock
Bake at 400°F for 22 to 25 minutes, then check the center with an instant-read thermometer. You want 165°F at the thickest part and a crust that’s deep golden, with some darker toasted spots at the edges. If the top browns before the chicken is done, lay a loose sheet of foil over it for the last few minutes so the crust doesn’t scorch while the inside finishes.
Finish With the Fresh Stuff
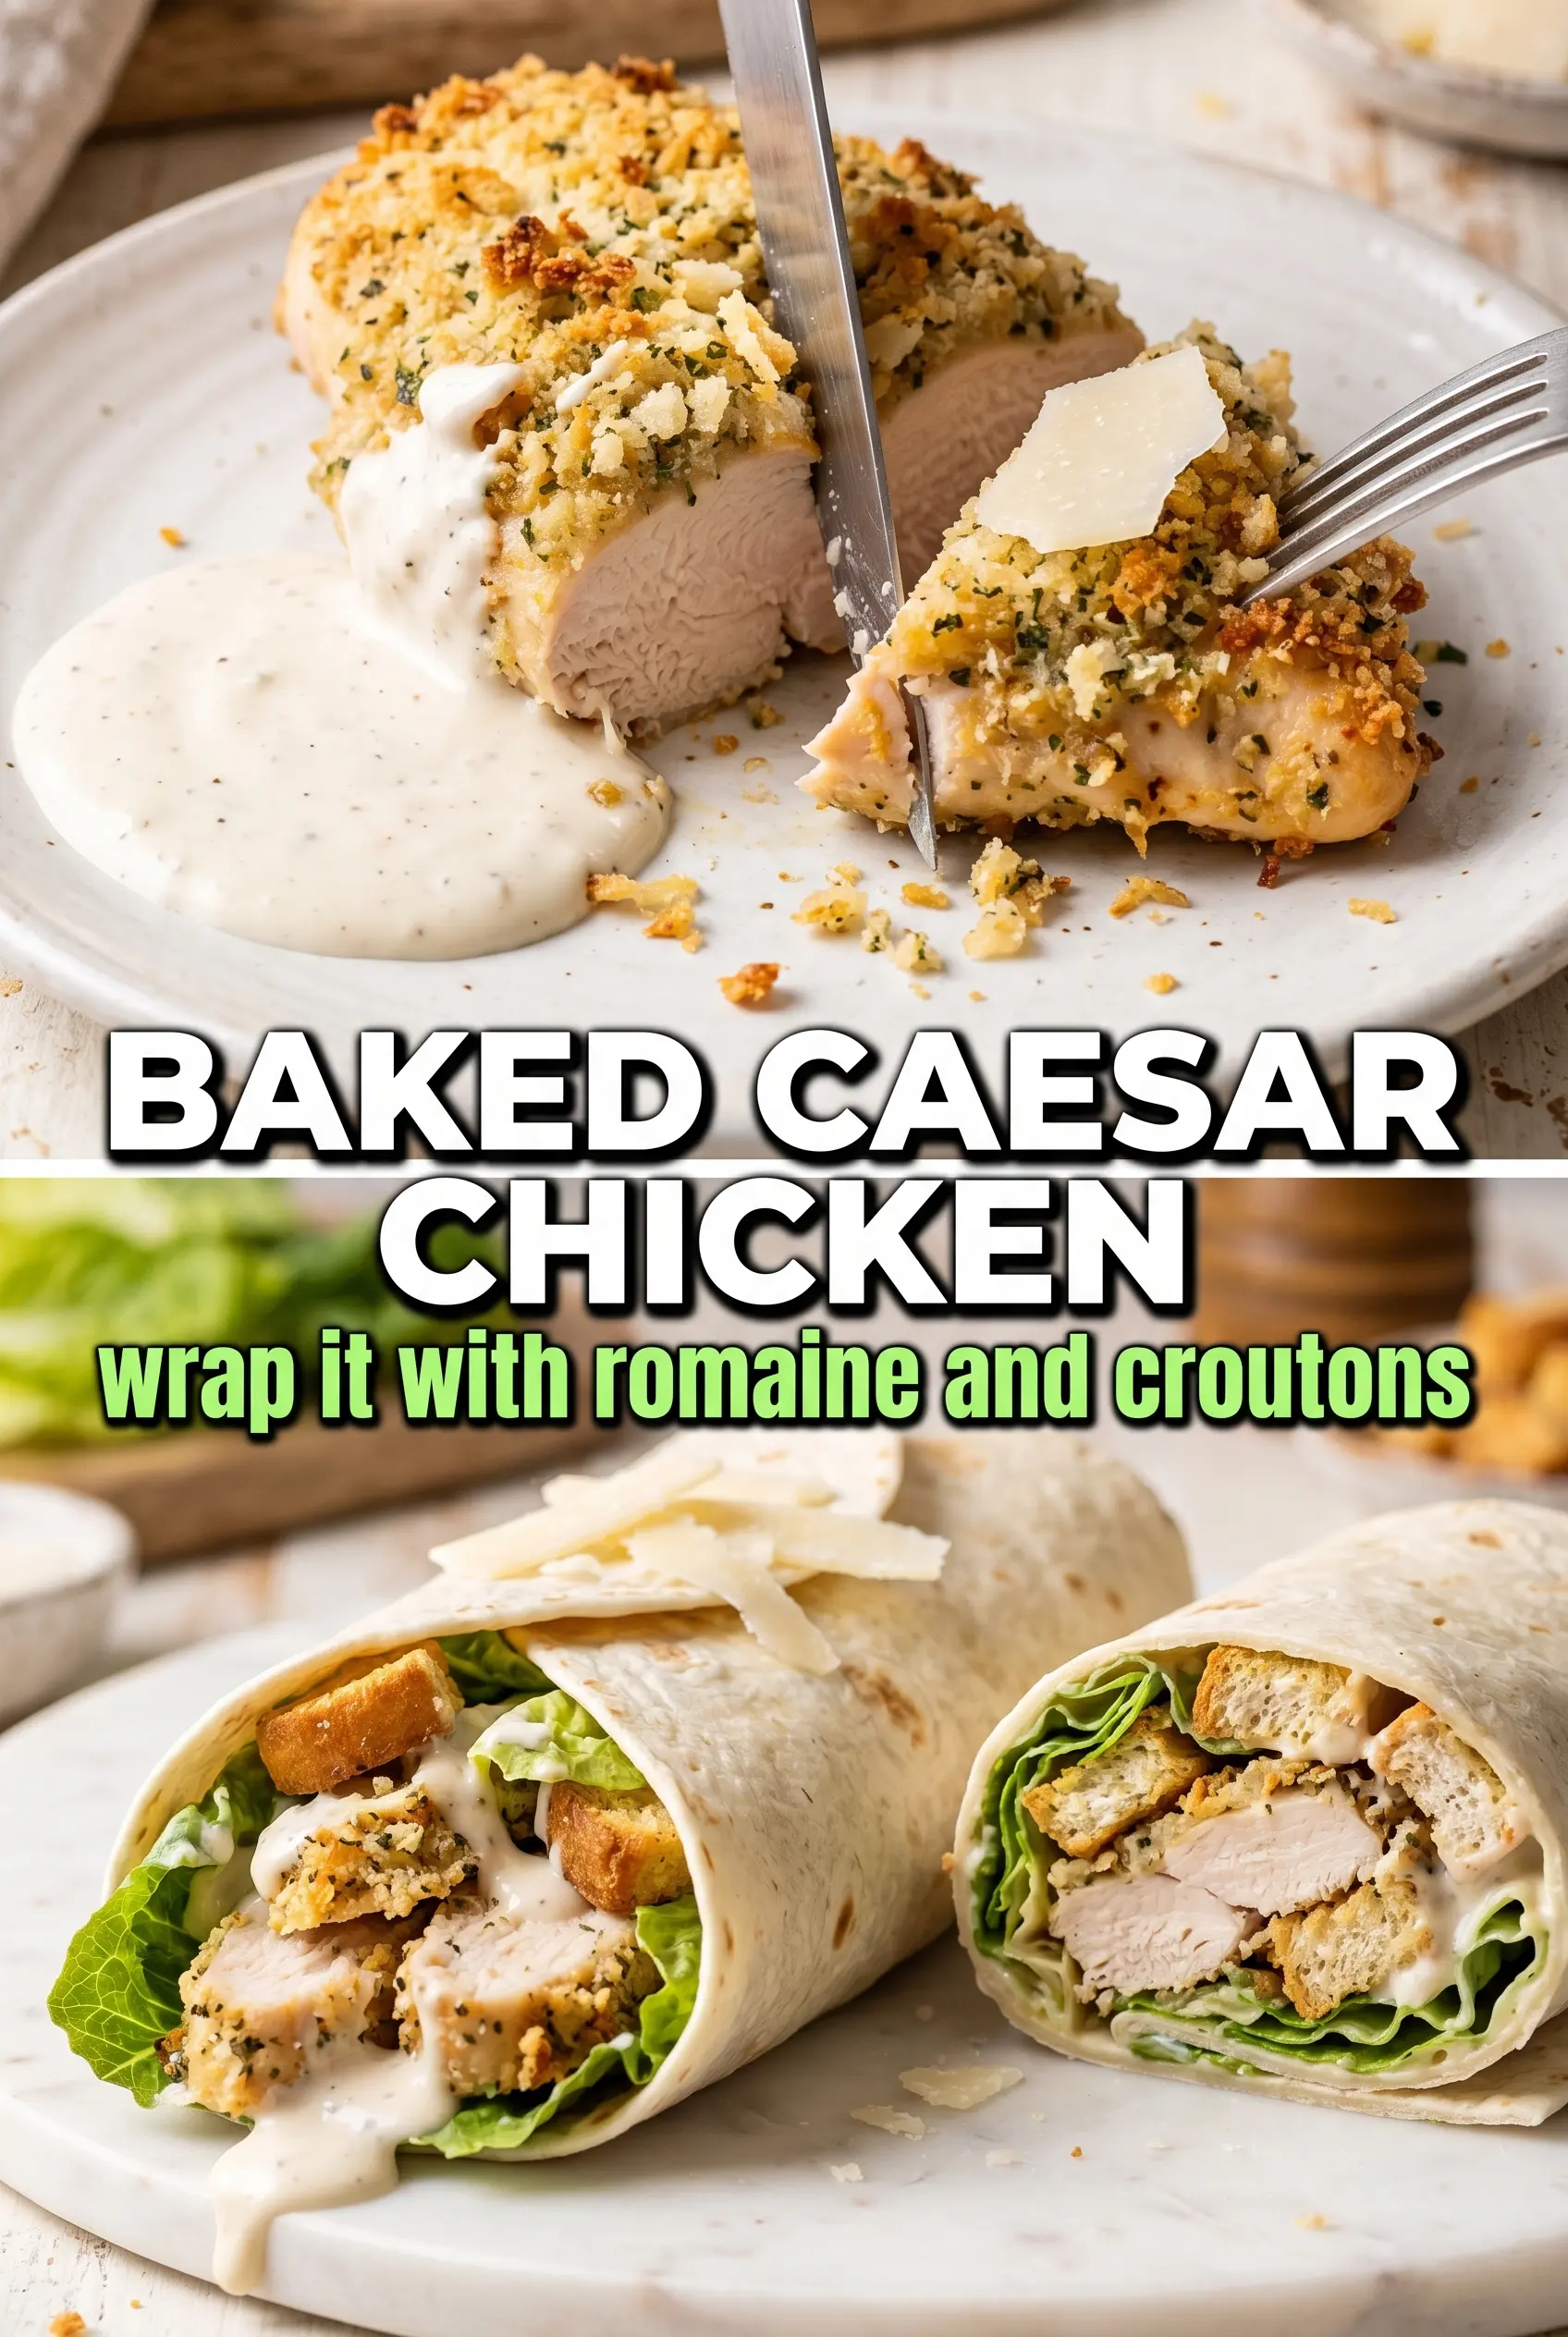
Let the chicken rest for a few minutes, then top it with chopped romaine, croutons, a little extra Caesar dressing, and shaved Parmesan. The cool crunch of the lettuce against the warm crust is part of what makes the dish feel complete. Add the greens after baking, not before, or they’ll wilt and the whole plate loses that fresh Caesar contrast.
Three Ways to Adjust the Bake Without Losing the Caesar Crust
Make it gluten-free
Swap the panko for a gluten-free breadcrumb that has a similar coarse texture. Avoid finely ground crumbs, which tend to clump and brown less evenly. The flavor stays the same, but the top may be a touch less airy.
Make it dairy-free
Use a dairy-free Caesar dressing and a Parmesan-style substitute that melts well, then expect a milder crust with less sharp savoriness. Since Parmesan is a big part of the flavor here, the result works best when the dressing carries plenty of garlic and anchovy-style depth.
Turn it into chicken tenders
Use chicken tenders instead of breasts and shorten the bake time significantly, checking them earlier because they dry out fast. The crust-to-chicken ratio gets even better, which is great if you like extra crunch in every bite.
Make it ahead for a later dinner
You can marinate the chicken for up to 2 hours in the fridge, but don’t add the panko-Parmesan topping until you’re ready to bake. That keeps the crust crisp instead of damp and gives you the same browned finish you’d get with a from-scratch start.
Storage and Reheating
- Refrigerator: Store the chicken in an airtight container for up to 3 days. The crust softens a bit, but the flavor holds up well.
- Freezer: It freezes, but the topping won’t stay crisp. Wrap tightly and freeze for up to 2 months if you’re planning to reheat it for sandwiches, salads, or chopped chicken bowls.
- Reheating: Reheat in a 350°F oven or air fryer until warmed through. The microwave works only if you don’t mind a soft crust, which is the most common mistake with this dish.
Questions I Get Asked About This Recipe
Baked Caesar Chicken
Ingredients
Equipment
Method
- In a bowl, mix Caesar dressing, 1/2 cup Parmesan, garlic powder, and lemon zest until combined, then rub the mixture all over the chicken. Marinate for 20 minutes to let the dressing flavor soak in.
- Preheat the oven to 400°F and grease a baking dish or sheet pan. This helps the chicken release cleanly after baking.
- Place the marinated chicken in the prepared dish. Keep any excess marinade in the bowl for the next step.
- In a small bowl, mix the remaining 1/4 cup Parmesan with panko breadcrumbs, then press the crumb mixture over the top of each chicken breast. Aim for an even, fully covered layer so it browns and crackles.
- Bake at 400°F for 22–25 minutes, until the crust is golden and the internal temperature reaches 165°F. If browning is uneven, rotate the pan once during baking.
- Serve the chicken topped with chopped romaine, croutons, and an extra drizzle of Caesar dressing. This adds freshness and crunch right before eating.
- Finish with shaved Parmesan over the top for extra savory aroma and a classic Caesar finish. Serve immediately.