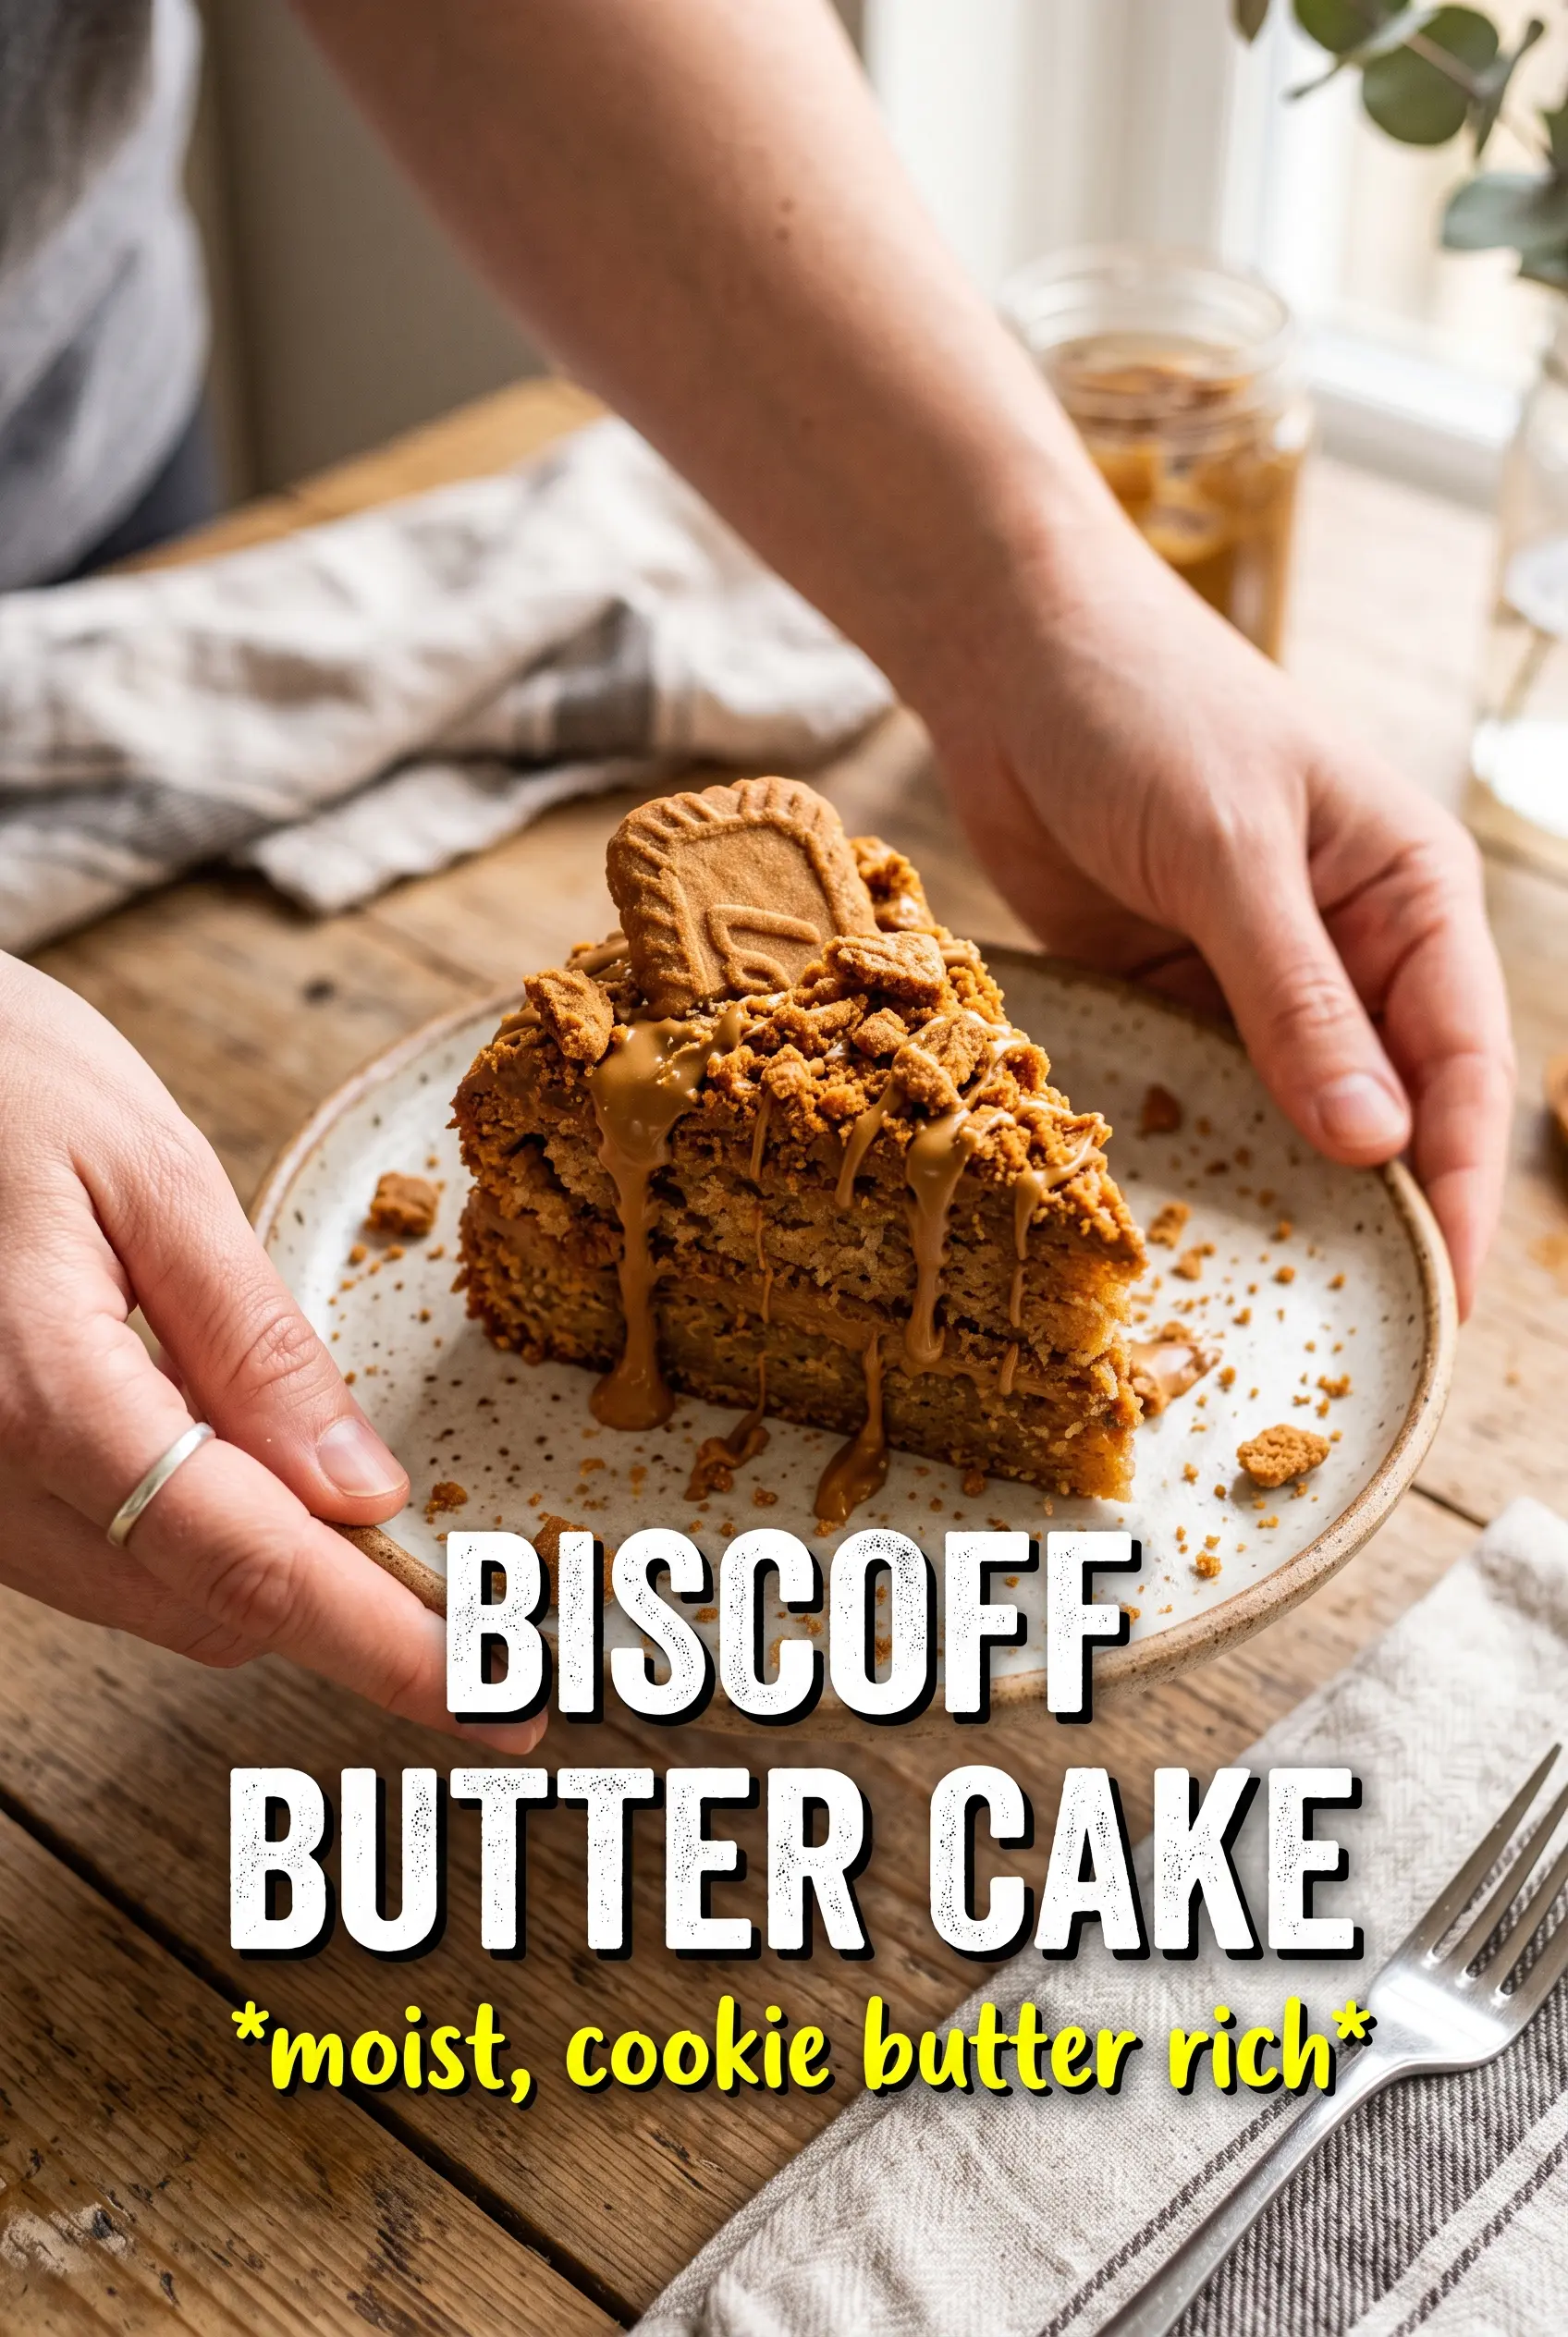
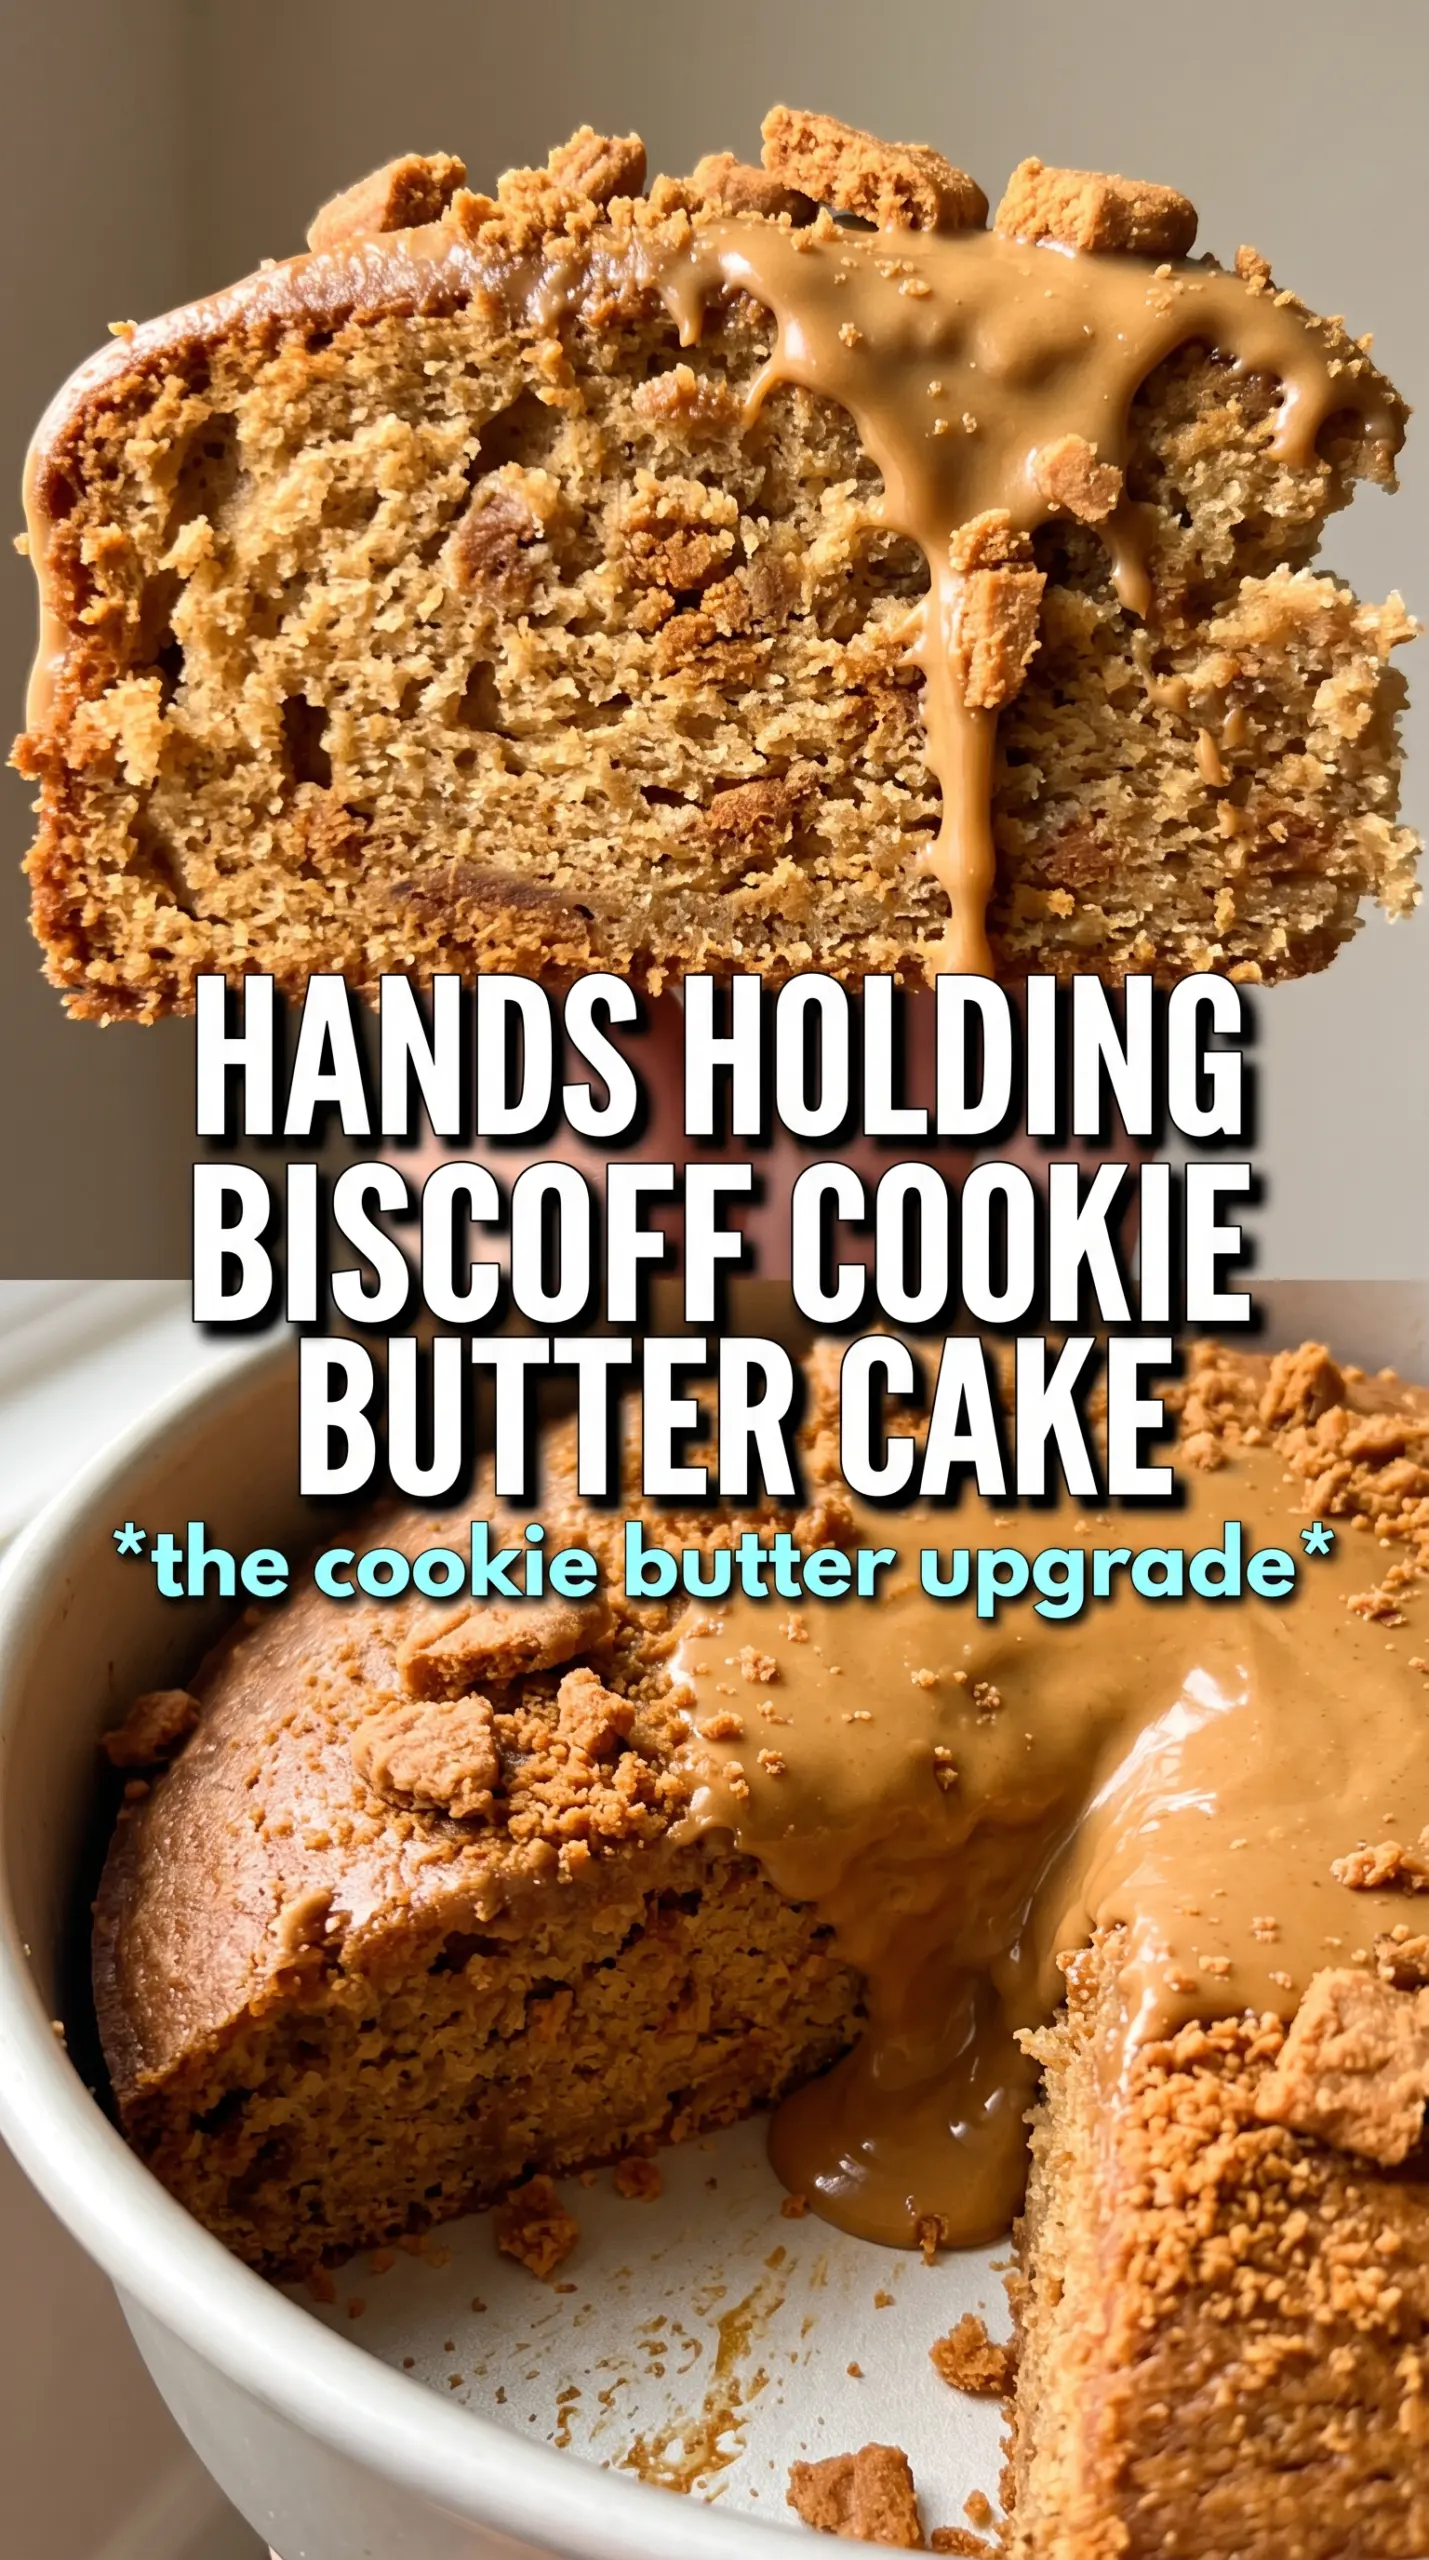
Biscoff Cookie Butter Cake earns its place on the dessert table fast: tender, cinnamon-scented layers, a frosting that tastes like spiced caramel, and that unmistakable cookie butter flavor in every bite. The cake stays soft without turning fragile, and the frosting holds its shape well enough to stack clean layers without sliding all over the plate.
What makes this version work is the balance. Brown sugar and buttermilk keep the crumb moist and a little tangy, while the Biscoff spread adds depth without making the cake heavy. The frosting uses both butter and cookie butter, so it pipes and spreads like a proper layer cake frosting instead of sinking into the cake. Crushing the cookies for the sides gives you the right finish without adding extra sweetness to every bite.
Below, I’ll walk through the one part that matters most for a smooth frosting, plus a few swaps that help if you need to bake this with what you’ve got on hand.
The layers baked up even and the frosting came together silky instead of greasy. I loved how the Biscoff flavor stayed noticeable without overpowering the cake.
Save this Biscoff Cookie Butter Cake for the days when you want a soft layer cake with spiced cookie butter frosting and a crisp cookie finish.
The Trick to Keeping Cookie Butter Cake Light, Not Dense
Cookie butter can weigh a cake down if you treat it like peanut butter and throw it in without adjusting anything else. Here, the batter stays light because the recipe leans on softened butter, enough leavening, and buttermilk to keep the crumb open. The batter will look thick, but it shouldn’t feel paste-like; if it does, the flour has been overmixed or packed in too firmly.
The other thing that matters is the bake. These layers need to come out when the centers are set and spring back lightly, not when they look deeply browned. Overbaking is the fastest way to lose the soft, almost plush texture that makes this cake worth repeating.
- Brown sugar — This brings moisture and a deeper caramel note that plays well with the cookie butter. White sugar will work in a pinch, but the cake will taste flatter and a little drier.
- Buttermilk — It keeps the crumb tender and adds a little tang so the cake doesn’t taste one-note sweet. If you don’t have it, stir 1 tablespoon lemon juice or vinegar into 1 cup milk and let it sit for 5 minutes.
- Biscoff spread — This is the flavor anchor. You can swap in another cookie butter, but the taste will change depending on how spiced or sweet that brand is.
- Crushed Biscoff cookies — These are for the finish, and they give the cake that recognizable look and a little crunch. Crush them fairly fine for the sides so they press on cleanly without making the frosting fall apart.
What Each Ingredient Is Actually Doing in This Recipe
- Primary ingredient (the star) — Quality matters most. Choose the best you can find.
- Cooking medium (oil, butter, or broth) — This carries flavors and prevents dryness.
- Seasonings (salt, pepper, spices, herbs) — Layer flavors so nothing overpowers. Build depth gradually.
- Aromatics (garlic, onion, herbs) — Cook with fat to bloom flavors. Become the foundation.
- Supporting ingredients — Complement the main ingredient without overpowering it.
- Sauce or liquid (if applicable) — Brings flavors together. Balance richness with acid.
- Acid (lemon, vinegar, wine, or other) — Brightens and prevents flat-tasting results.
- Final finish (garnish, glaze, or sauce) — Prevents one-dimensional taste and adds visual appeal.
Building the Batter and Frosting Without Losing the Texture
Starting With the Dry Base
Whisk the flour, baking powder, baking soda, cinnamon, and salt together until the color looks even. That step matters more than it sounds, because cinnamon and leavening need to be distributed before they hit the wet ingredients. If you skip a good whisk here, you can end up with streaks of spice or uneven rising in one layer.
Whipping Air Into the Butter and Sugar
Beat the butter and brown sugar until the mixture looks lighter in color and a little fluffy around the edges of the bowl. This is where the cake gets its lift, so don’t rush it. Once the eggs go in, the batter may look a little curdled before it smooths out again; that’s normal, especially when the ingredients are at different temperatures.
Bringing the Batter Together
Add the Biscoff, vanilla, and buttermilk, then fold in the dry ingredients just until the flour disappears. Stop there. If you keep mixing once the flour is in, the cake can turn tight instead of tender, and the layers won’t have that soft sliceable crumb. Divide the batter evenly so the pans bake at the same pace.
Frosting for Clean Layers
Beat the butter, Biscoff spread, powdered sugar, cream, and vanilla until the frosting looks smooth and airy. If it seems loose, give it a minute or two before adding more sugar; frosting often thickens as the air gets worked in. If it looks grainy, the butter was too cold or the sugar went in too fast, and a few extra minutes of beating usually fixes it.
Make it dairy-free
Use plant-based butter in both the cake and frosting, and swap the buttermilk for unsweetened non-dairy milk mixed with 1 tablespoon lemon juice. The cake will still bake up tender, but the frosting may need a little extra powdered sugar to hold its shape.
Make it gluten-free
Use a 1:1 gluten-free baking flour that includes xanthan gum. The layers may be a touch more delicate, so let them cool fully before turning them out of the pans.
Skip the stacked cake and make it as a sheet cake
Bake the batter in a greased 9×13-inch pan and start checking a few minutes early. You’ll lose the dramatic layers, but you’ll gain a cake that’s easier to frost and transport, which is handy for potlucks.
Storage and Reheating
- Refrigerator: Store covered for up to 4 days. The frosting firms up in the fridge, so the texture is best after a short rest at room temperature.
- Freezer: Freeze unfrosted cake layers tightly wrapped for up to 2 months. The frosted cake can be frozen in slices, but the cookie topping softens a bit after thawing.
- Reheating: Bring slices to room temperature before serving. Don’t microwave long enough to melt the frosting; just 10 to 15 seconds is enough if you want the cake slightly softened.