Black Pepper Chicken hits the pan fast and comes off glossy, savory, and full of sharp peppery heat. The chicken stays tender, the peppers keep a little bite, and the sauce clings to every piece instead of puddling at the bottom of the bowl. Served over rice, it eats like takeout in the best possible way, but it’s fresher and a lot brighter than the version that usually shows up in a carton.
What makes this version work is the balance in the sauce. Soy sauce and oyster sauce build depth, dark soy gives the coating that deep color, brown sugar softens the salt, and freshly cracked black pepper wakes the whole dish up. A quick cornstarch slurry thickens the sauce just enough to glaze the chicken without turning it sticky or gluey. The other key is cooking the chicken in batches over high heat so it browns instead of steaming.
Below, I’ll walk through the little details that matter most: how to keep the sauce from getting thin, when to add the garlic so it doesn’t burn, and what to change if you want to stretch this into a bigger dinner.
The sauce coated the chicken perfectly and the cracked black pepper stayed bold instead of disappearing. I added the extra pepper at the end like you said and it tasted just like my favorite takeout, only fresher.
Save Black Pepper Chicken for the nights when you want glossy takeout-style chicken, crisp-tender peppers, and a sauce with real cracked-pepper bite.
The Reason the Chicken Stays Tender Instead of Drying Out
The biggest mistake with stir-fried chicken is crowding the pan. When the pieces sit on top of each other, they steam, the outside goes pale, and the meat dries out before it ever gets a chance to brown. Cooking in batches gives each piece direct contact with the hot pan, which is what builds that light golden edge and keeps the interior juicy.
The sauce matters just as much. This version is built to thicken quickly at the end, after the chicken and vegetables are already hot. If you add the slurry too early, it can tighten before the sauce has a chance to coat evenly, which is how you end up with clumps instead of a glaze. Freshly cracked black pepper also needs to be noticeable, so it goes in twice: once in the sauce and once at the finish.
What Each Ingredient Is Actually Doing in This Dish
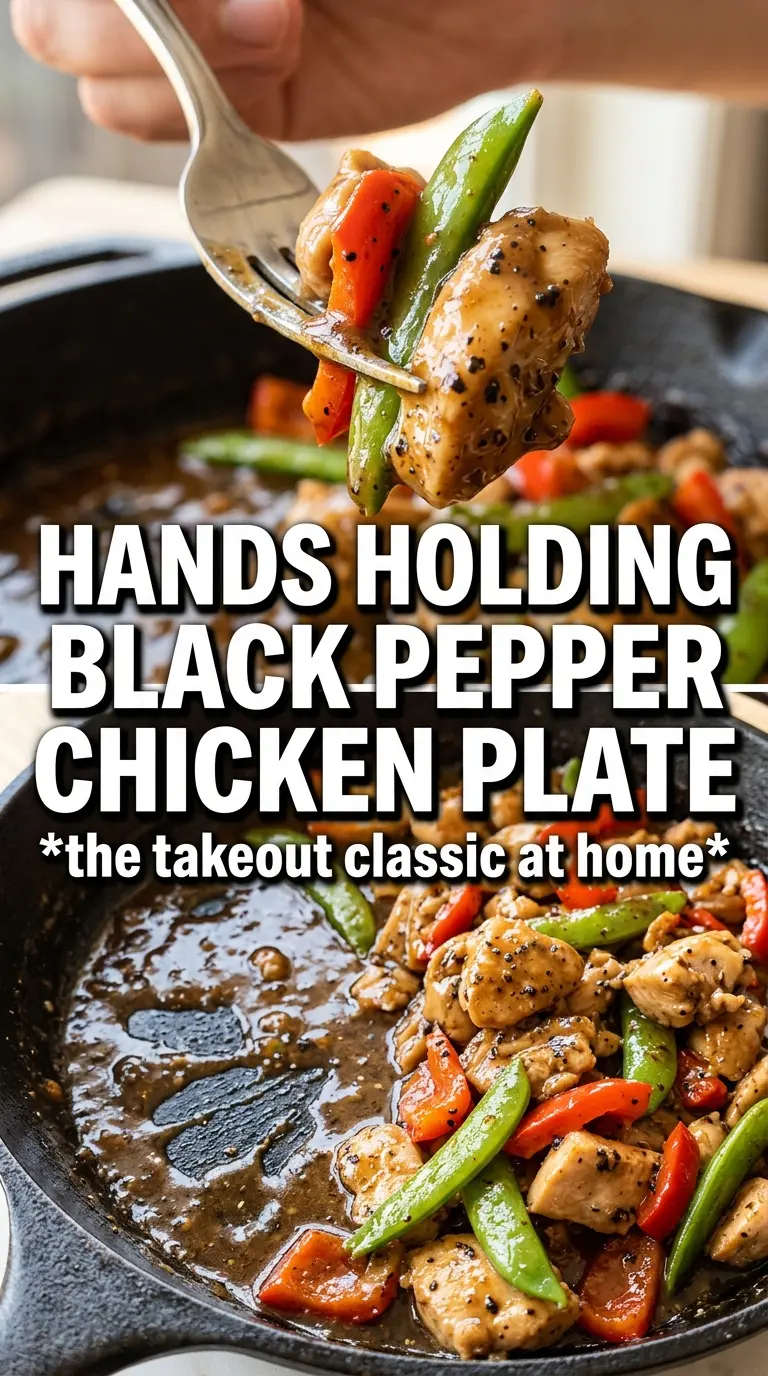
- Chicken breast — Slicing it thin helps it cook fast and stay tender. If the slices are thick, they’ll spend too long in the pan and turn firm before the sauce is ready.
- Dark soy sauce — This is what gives the sauce its deep color and a little extra richness. Regular soy sauce can stand in if that’s what you have, but the finished dish will look lighter and taste less rounded.
- Oyster sauce — This adds body and a savory sweetness that makes the sauce taste like it took longer than it did. There isn’t a perfect swap for its exact depth, but hoisin can work in a pinch if you thin it slightly with water.
- Freshly cracked black pepper — Pre-ground pepper won’t hit the same way here. Crack it fresh so the heat stays sharp and aromatic instead of flat.
- Cornstarch slurry — This is what turns the sauce from thin and salty into a glossy coating. Stir it again right before adding it, since cornstarch settles fast and a separated slurry won’t thicken evenly.
- Bell pepper and onion — They add sweetness and crunch that balance the sauce. Keep them slightly crisp; once they collapse, the dish loses the contrast that makes it taste fresh.
The 10 Minutes That Turn the Sauce Into a Glaze
Getting the Chicken Browned
Heat the oil until it shimmers, then add the chicken in a single layer without packing the pan. You want a light golden edge and opaque centers, not full color all the way through, because the chicken goes back into the pan later. If the pan looks crowded or the chicken releases a lot of liquid, pause and let the moisture cook off before you stir again. That’s the difference between browned chicken and gray chicken.
Building the Vegetable Base
Add the bell pepper and onion to the hot pan and stir-fry just until the onion starts to soften and the pepper loses its raw snap, about three minutes. Garlic and ginger only need a minute, just until they smell fragrant. If they sit in the pan too long, they’ll burn and turn the whole sauce bitter, and there’s no fixing that once it happens. Keep everything moving and listen for a steady sizzle, not a hard sputter.
Finishing With the Sauce
Return the chicken to the pan, pour in the sauce, and toss immediately so every piece gets coated before the cornstarch starts to set. The sauce should go from thin to glossy in about two to three minutes. If it looks too tight, splash in a spoonful of water; if it looks thin, let it bubble a little longer. Add one last pinch of cracked pepper at the end so the flavor stays bright instead of fading into the background.
How to Adapt Black Pepper Chicken Without Losing What Makes It Work
Make it gluten-free
Use a gluten-free soy sauce or tamari and check that your oyster sauce is labeled gluten-free. The sauce will still thicken and cling the same way, but you may notice a slightly cleaner, less malty finish depending on the brand.
Swap in chicken thighs
Boneless thighs give you a juicier, more forgiving bite and a little extra richness. They take a minute or two longer to cook, but they hold up beautifully to the peppery sauce and are harder to overcook than breast meat.
Add more vegetables
Snap peas, broccoli florets, or sliced mushrooms all work here. Just cook harder vegetables first or give them a head start, because the chicken and sauce come together fast and you don’t want raw vegetables dragging the pan down.
Reduce the heat without losing the pepper
Use a little less black pepper in the sauce, then finish with a smaller pinch on top so the dish still tastes lively. You’ll lose some of the sharp bite, but the soy and oyster sauce will still carry the savory backbone.
Storage and Reheating
- Refrigerator: Store in an airtight container for up to 4 days. The sauce will thicken a bit more as it chills, and the vegetables will soften slightly.
- Freezer: It freezes well for about 2 months, though the peppers lose some of their crispness after thawing. Freeze in portions and cool it completely before packing it up.
- Reheating: Warm it in a skillet over medium-low heat with a splash of water to loosen the sauce. The common mistake is blasting it in the microwave until the chicken turns rubbery and the sauce dries out.
Questions I Get Asked About This Recipe
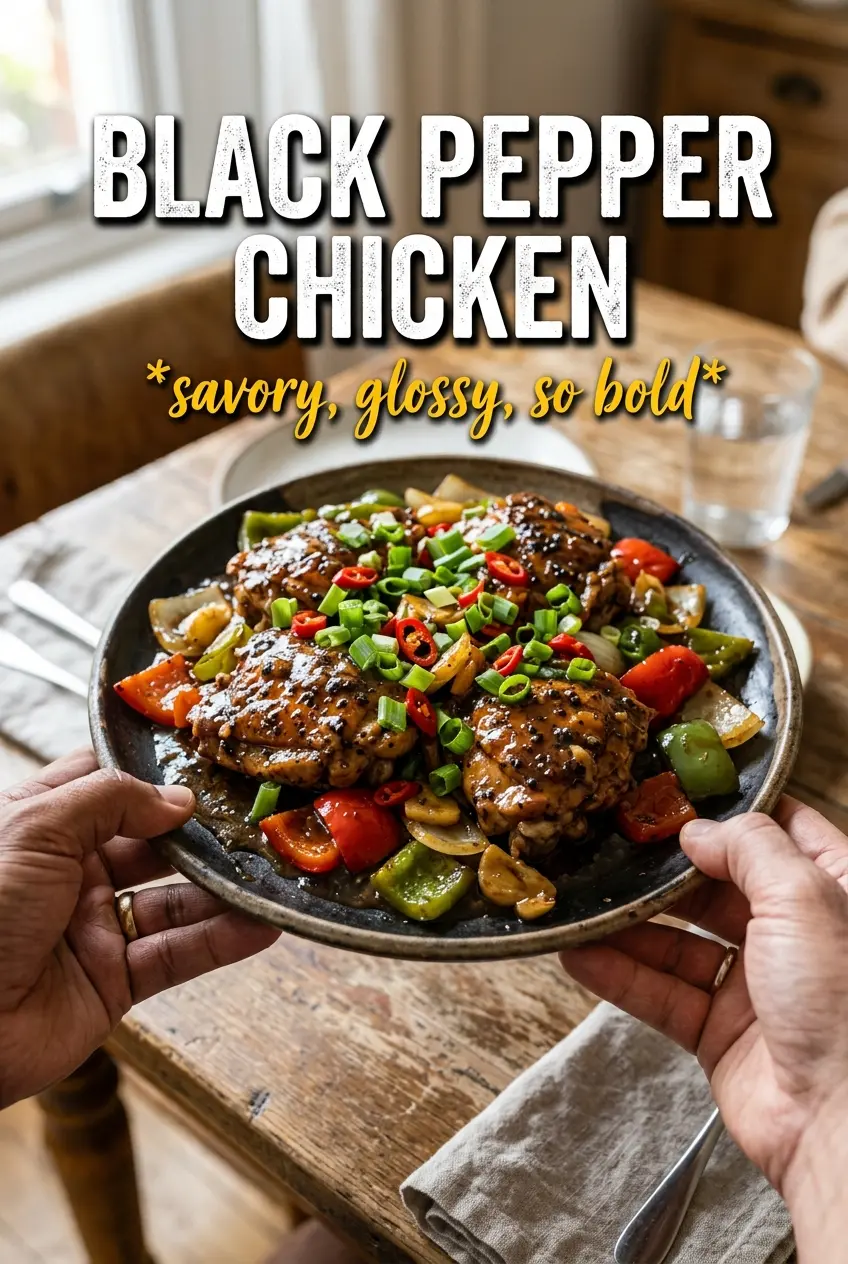
Black Pepper Chicken
Ingredients
Equipment
Method
- Whisk soy sauce, oyster sauce, dark soy sauce, brown sugar, and black pepper together in a bowl, then set aside.
- Stir cornstarch with water until smooth, then whisk the slurry into the sauce mixture.
- Heat vegetable oil in a wok or large skillet over high heat until hot.
- Stir-fry the sliced chicken in batches, turning as needed, until golden; remove to a plate and repeat with remaining chicken.
- Stir-fry the bell pepper and onion for 3 minutes, keeping them moving so they stay crisp-tender.
- Add garlic and ginger and cook for 1 minute, until fragrant and glossy on the vegetables.
- Return the chicken to the pan and pour the sauce over; toss to coat so the chicken and peppers are evenly covered.
- Cook for 2-3 minutes until the sauce thickens and clings to everything, then season with extra cracked black pepper.
- Serve the black pepper chicken over steamed rice.