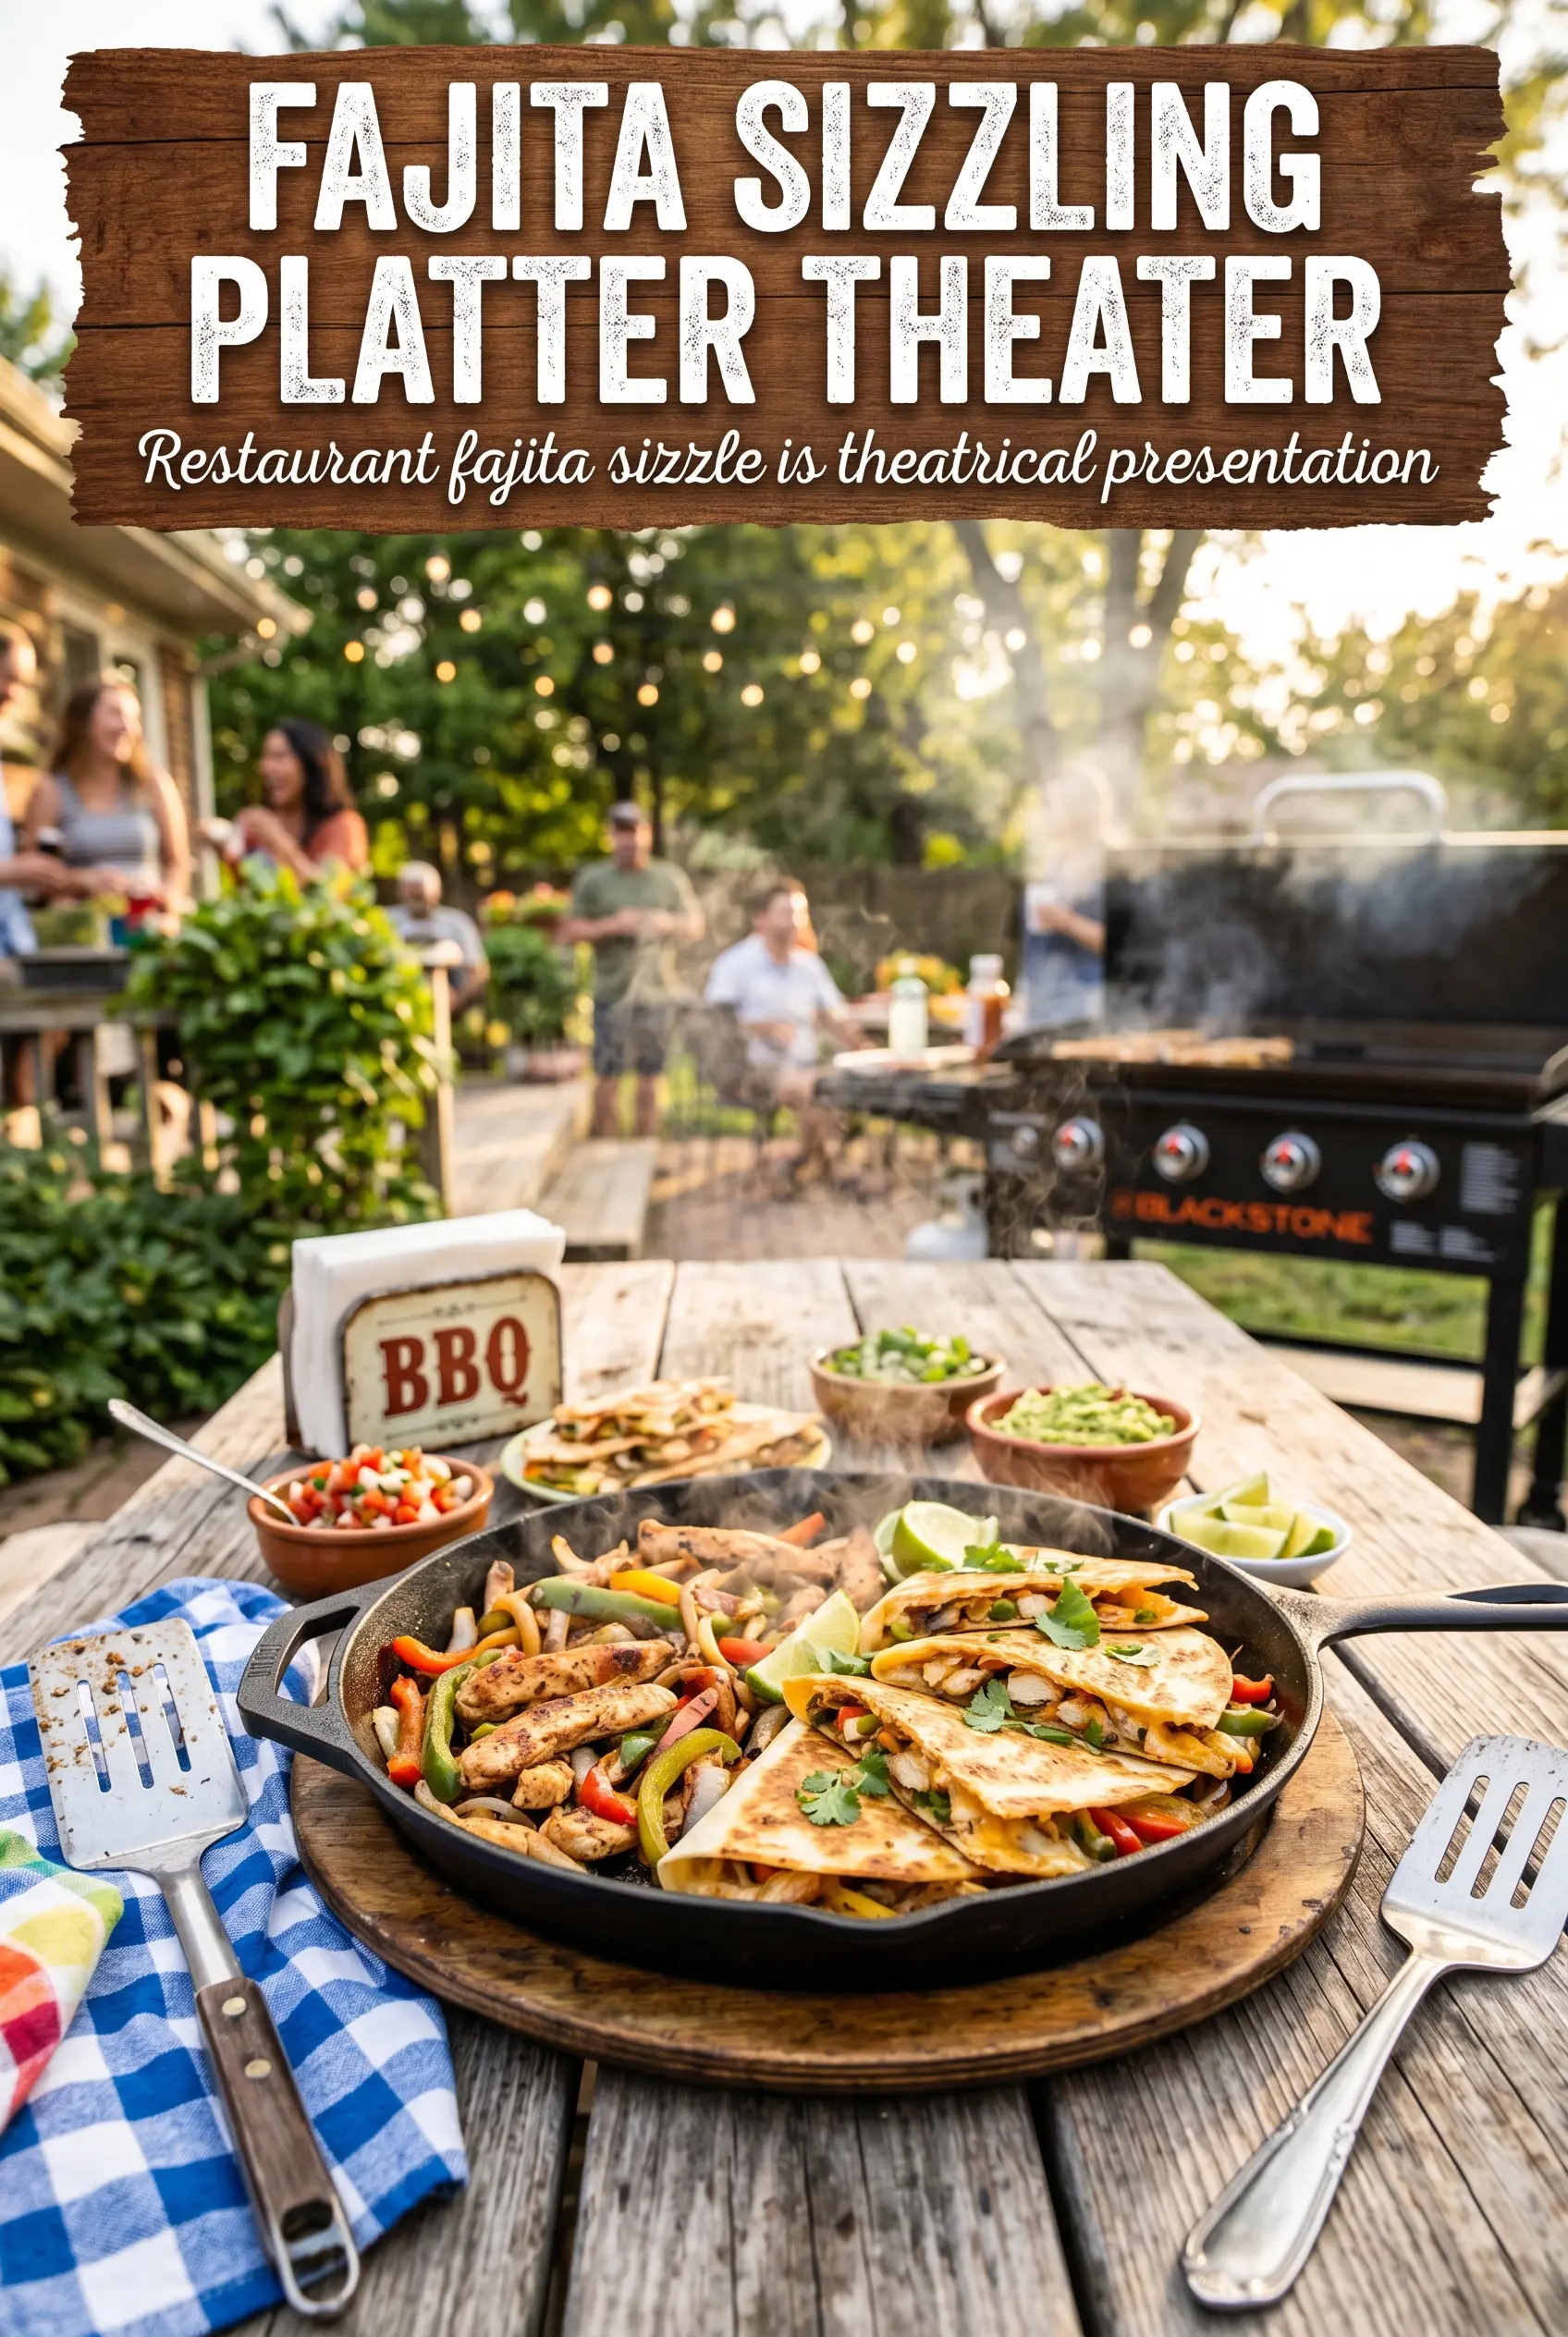
These Blackstone chicken fajita quesadillas hit that perfect middle ground between crisp and gooey: toasted tortillas, melted cheese that actually pulls into strings, and seasoned chicken with peppers that still taste like they came off a hot griddle. The best part is the edges get deeply golden without drying out the filling, so every wedge has a little crunch and a lot of flavor.
Cooking everything on the Blackstone keeps the chicken, vegetables, and tortillas in the same heat zone, which means you get fast browning instead of steaming. Slicing the chicken thin helps it cook quickly and stay tender, and using the fajita seasoning in two stages keeps the filling balanced instead of overly salty or muddy. A good cheese blend matters here too: cheddar brings flavor, Monterey Jack melts smoothly, and together they hold the quesadilla together when you cut it.
Below you’ll find the small timing details that keep the tortillas from burning before the cheese melts, plus a few smart swaps if you’re working with what’s already in the fridge.
The tortillas got perfectly crisp on the griddle and the cheese melted all the way through without the chicken drying out. I loved that the peppers still had a little bite when we cut into the wedges.
Save these Blackstone chicken fajita quesadillas for the nights when you want crisp tortillas, melty cheese, and a fast griddle dinner with barely any cleanup.
The Trick to Keeping the Griddle Hot Without Scorching the Tortillas
The main thing people get wrong with griddle quesadillas is rushing the build on heat that’s too aggressive. A Blackstone runs hot, and that’s great for the chicken and vegetables, but tortillas can go from pale to overdone fast once the filling goes in. The goal is steady browning while the cheese has time to melt all the way through.
Cook the chicken first so it gets direct contact with the hot surface and picks up color. Then the peppers and onions go in after the meat, where they soften in the flavored oil left behind. When you assemble the quesadillas, use enough cheese on both sides of the filling to glue everything together; that layer of cheese is what keeps the tortilla from sliding around and tearing when you flip it.
What Each Ingredient Is Actually Doing in These Quesadillas

- Chicken breast — Thin slices cook quickly and stay juicy on the griddle. If you cut it thick, the outside browns before the center is done. Chicken thighs work too and give you a little more richness, but they’ll need a minute or two longer.
- Bell peppers and onion — These bring the fajita part of the filling. Slice them evenly so they soften at the same pace; uneven pieces leave you with crunchy onion next to limp peppers. If you like more char, let them sit against the hot surface for a bit before stirring.
- Fajita seasoning — This does the heavy lifting for flavor, especially since the ingredient list is short. Using it in two additions keeps the chicken seasoned without oversalting the vegetables. If your seasoning blend is salt-heavy, hold back a pinch until after everything is cooked.
- Flour tortillas — Large flour tortillas are the right choice because they crisp without cracking and hold the filling. Smaller tortillas can work, but you’ll need more of them and the folding gets fiddlier. Warm, fresh tortillas behave better than dry ones from the back of the pantry.
- Cheddar and Monterey Jack — Cheddar brings sharpness and Monterey Jack gives you that smooth melt that stretches when you cut the wedges. Pre-shredded cheese works fine, but freshly shredded melts a little cleaner because it doesn’t have anti-caking powder on it.
Building the Filling So the Quesadillas Hold Together
Searing the Chicken First
Heat the griddle to medium-high and add the oil, then lay the seasoned chicken down in a single layer. You want it to sizzle immediately; if it just sits there, the surface isn’t hot enough for good browning. Cook until the pieces are opaque and lightly browned on the edges, about 6 to 7 minutes, then move them aside.
Softening the Peppers and Onions
Add the peppers and onion to the same hot surface with the rest of the seasoning. They should soften and pick up a little color, but they shouldn’t collapse into mush. If they start to char too fast, pull them into a cooler spot on the griddle and keep stirring so the sugar in the vegetables doesn’t burn.
Layering for the Melt
Lay down four tortillas and scatter cheese over each one before adding the chicken and vegetable mixture. Top with more cheese, then the second tortilla. That top-and-bottom cheese layer matters because it acts like edible glue once it melts; without it, the filling tends to spill out when you flip or cut the quesadilla.
Flipping to a Golden Finish
Cook the quesadillas for 3 to 4 minutes per side, pressing lightly with a spatula so the surface makes even contact with the griddle. The first side should be golden and crisp before you flip; if it’s still pale, it’ll tear when you turn it. Once the second side is browned and the cheese is fully melted, cut into wedges right away and serve with sour cream, salsa, guacamole, and lime.
How to Adjust These Quesadillas for What’s in Your Kitchen
Make Them Gluten-Free
Use certified gluten-free flour tortillas and check the seasoning blend for hidden wheat starch or anti-caking fillers. The filling itself is naturally gluten-free, so the texture change comes entirely from the tortilla. Warm the gluten-free tortillas briefly before filling them so they’re less likely to crack on the griddle.
Swap in Steak or Shrimp
Thin-sliced steak gives you a deeper, beefier version, while shrimp cooks even faster and tastes great with the same peppers and onions. Steak needs a little more browning time; shrimp needs only a couple of minutes per side and should come off as soon as it turns opaque. Both work best if you cook the filling first and assemble the quesadillas after the protein is done.
Make It Dairy-Free
Use a dairy-free shreddable cheese that melts well and skip the sour cream or use a plant-based version for serving. The result won’t have quite the same stretch as real Monterey Jack, but the quesadillas still crisp nicely if you don’t overload them. Keep the filling a little thinner so the dairy-free cheese has time to soften before the tortillas overbrown.
Storage and Reheating
- Refrigerator: Store leftovers for up to 3 days. The tortillas soften a bit in the fridge, but the filling holds up well.
- Freezer: Freeze cooked wedges wrapped tightly and separated with parchment for up to 2 months. Reheat from frozen for the best texture; thawing first can make the tortillas soggy.
- Reheating: Reheat in a dry skillet or on the griddle over medium heat until the tortilla crisps again and the center is hot. The common mistake is using the microwave, which melts the cheese but leaves the tortilla limp.
Answers to the Questions Worth Asking
Blackstone Chicken Fajita Quesadillas
Ingredients
Equipment
Method
- Heat a Blackstone griddle to medium-high, then add the oil.
- Season the sliced chicken with half the fajita seasoning and cook for 6-7 minutes, until done and no longer pink.
- Add the sliced peppers and onions, then season with the remaining fajita seasoning and cook for 5-6 minutes, until softened.
- Place 4 flour tortillas on the griddle and layer each with a portion of the cheese, the chicken mixture, and more cheese.
- Top with the remaining tortillas and cook for 3-4 minutes per side, until golden and the cheese is fully melted.
- Cut the quesadillas into wedges and serve with sour cream, salsa, guacamole, and lime wedges.