Brown butter maple pumpkin cookies bake up with crisp edges, soft centers, and that deep, nutty flavor that makes people pause after the first bite. The pumpkin keeps the crumb tender, the maple brings a warm sweetness that tastes a little more grown-up than plain sugar, and the flaky salt on top keeps every cookie from drifting into one-note sweetness.
The part that makes this recipe worth making is the brown butter. Once it cools back down and firms up again, it beats into the dough with the brown sugar and maple syrup for a base that tastes layered before the cookies even go into the oven. Blotted pumpkin matters here too. Too much moisture and the dough spreads oddly or bakes up cakey instead of soft and structured.
Below, I’ve included the one step that saves the texture, plus a few smart swaps and storage notes so you can make these on your schedule without losing what makes them special.
The browned butter gave these such a deep, toasty flavor, and the maple glaze set up just enough that the cookies stayed soft without getting sticky. I blotted the pumpkin like you said and the centers stayed tender instead of cakey.
Save these brown butter maple pumpkin cookies for the day you want soft centers, crisp edges, and a maple glaze that actually sets.
The Brown Butter Step That Keeps These Cookies from Turning Flat
The biggest mistake with pumpkin cookies is treating the dough like a standard drop cookie dough. Pumpkin adds moisture, and brown butter adds fat that behaves differently once it cools, so if you rush either one, the cookies spread too much or bake up bready. The fix is simple: brown the butter deeply, then chill it until it’s fully solid again before mixing. That gives you the flavor of browned butter without the loose, greasy texture that makes cookies lose their shape.
Blotted pumpkin matters just as much. Even a little extra water can soften the dough enough to blur the edges in the oven. You want the dough to scoop cleanly and hold a mound on the tray, not slump into a puddle.
- Brown butter: This is the flavor engine. Let it go until the milk solids are amber and smell nutty, not just pale gold, or the cookie will taste flat.
- Solidified butter: Once it firms back up, it creams properly with the sugar. Melted brown butter won’t trap air the same way and the cookies will spread more.
- Blotted pumpkin puree: This keeps the crumb tender without adding extra water. Paper towels or a clean kitchen towel both work; blot until it looks thick and pasty.
- Maple syrup: Use pure maple syrup here. Pancake syrup won’t give the same depth and can make the dough taste one-dimensional.
What Each Ingredient Is Actually Doing in the Dough
- All-purpose flour: The structure. Too little and the cookies spread too much; too much and they turn dry, so measure it carefully.
- Baking soda: This gives the cookies lift and helps them brown. It also reacts with the acidic brown sugar and maple for a softer texture.
- Pumpkin pie spice and cinnamon: These carry the warm spice note through the brown butter and maple. If your spice blend is old, the cookies will taste dull no matter how good the butter is.
- Brown sugar: This adds moisture and chew. Light or dark both work, but dark brown sugar gives the cookies a deeper molasses note that fits the maple beautifully.
- Eggs: They bind the dough and help it set in the oven. Room-temperature eggs mix in more evenly, which keeps the dough from looking curdled after the pumpkin goes in.
- Vanilla: It rounds out the maple and spice. It won’t read as a separate flavor, but you’ll notice when it’s missing.
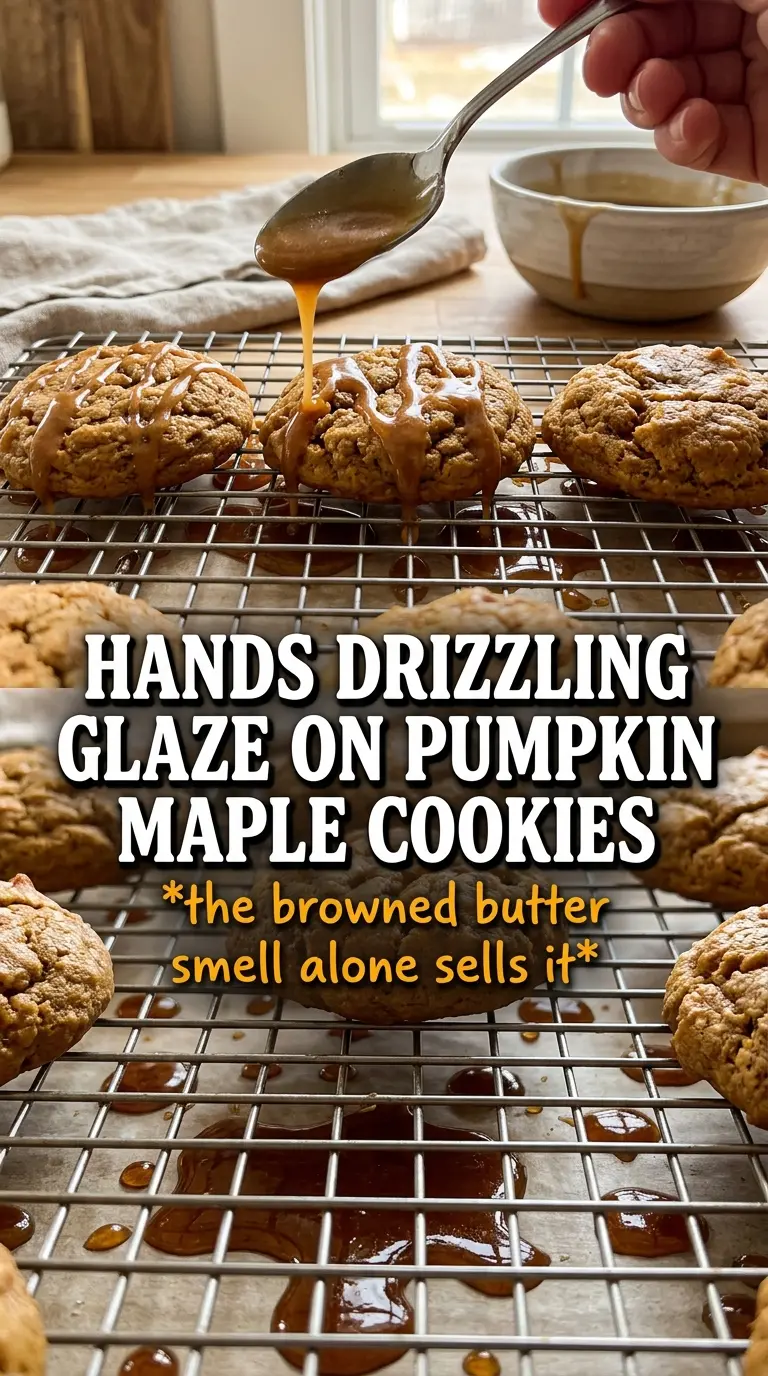
- Maple glaze: This is optional on paper and worth doing in practice. It adds a sweet top note and helps the flaky salt cling where you want it.
The Mixing Order That Gives You Thick, Tender Cookies
Bring the Brown Butter Back to a Creamy State
Beat the solidified brown butter with the brown sugar and maple syrup until it looks fluffy and evenly combined. If the butter is still too cold, it will stay in chunks and the dough won’t mix evenly; if it’s soft but not fully set, the cookies can spread too much. You want it cool enough to hold shape but soft enough to cream. That balance is what gives the cookies a tender bite instead of an oily one.
Keep the Pumpkin Out of the Flour Until the Last Minute
Add the blotted pumpkin, eggs, and vanilla after the butter mixture is smooth. If you dump the flour in too early, the batter turns stiff before the wet ingredients are fully blended, and you end up overmixing to fix it. Once the pumpkin is in, the dough should look thick and a little sticky, but still scoopable. Stop as soon as the flour disappears so the cookies stay soft.
Bake Until the Edges Set and the Centers Still Look Soft
These cookies finish as they cool. Pull them when the edges are golden and the centers still look slightly underdone in the middle, because they’ll firm up on the hot pan. If you wait for the centers to look completely set in the oven, they’ll bake past soft and land in dry territory. Let them cool all the way before glazing or the glaze will melt and slide off.
How to Adapt These Cookies for Different Kitchens and Schedules
Gluten-Free Version
Use a good 1:1 gluten-free baking blend in place of the all-purpose flour. The cookies will still be soft and flavorful, but they may spread a touch more, so chill the scooped dough for 15 to 20 minutes before baking if your kitchen runs warm.
Dairy-Free Swap
You can brown a plant-based butter alternative that’s designed for baking, but the flavor won’t be quite as nutty. If you use a margarine-style product that contains too much water, the cookies tend to spread and the glaze can taste thin.
Make-Ahead Dough
Scoop the dough into balls, cover tightly, and refrigerate for up to 48 hours before baking. The chilled dough bakes a little thicker and the spice flavor gets a chance to settle in, which is a nice bonus if you want a more developed cookie.
Storage and Reheating
- Refrigerator: Store glazed cookies in an airtight container for up to 5 days. The glaze may soften slightly, but the cookies stay tender.
- Freezer: Freeze the unglazed baked cookies for up to 2 months, or freeze the dough balls and bake from frozen with 1 to 2 extra minutes.
- Reheating: Warm unglazed cookies in a 300F oven for 3 to 4 minutes. Don’t microwave glazed cookies if you want the topping to stay intact; it turns the glaze sticky and can make the centers gummy.
Answers to the Questions Worth Asking
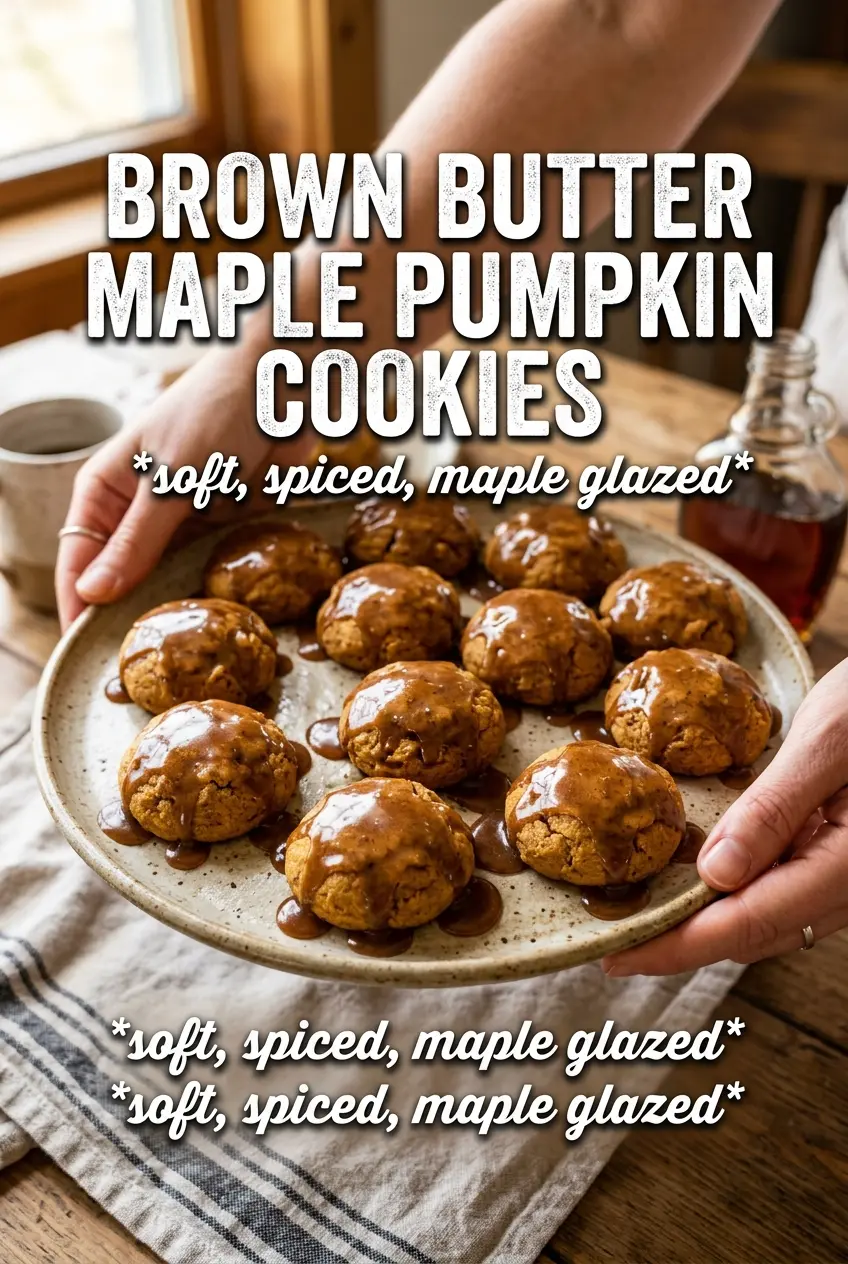
Brown Butter Maple Pumpkin Cookies
Ingredients
Equipment
Method
- Brown the butter in a Dutch oven until deeply golden, then let it cool until solid, about 1 hour in the refrigerator.
- Use the solidified browned butter directly after chilling so the dough creams smoothly.
- Preheat the oven to 375F and line baking sheets with parchment.
- Whisk all-purpose flour, baking soda, pumpkin pie spice, cinnamon, and salt in a bowl until evenly combined.
- Beat solidified browned butter, brown sugar, and pure maple syrup until creamy.
- Add pumpkin puree, eggs, and vanilla extract, mixing until the batter is uniform.
- Fold the flour mixture into the wet ingredients until no dry streaks remain.
- Scoop the dough into 2-tablespoon rounds and place on the baking sheets with space between cookies.
- Bake for 10-12 minutes, until the edges are golden.
- Cool cookies completely before glazing.
- Whisk powdered sugar with pure maple syrup and milk until smooth, adding milk in small amounts as needed for drizzle consistency.
- Drizzle the maple glaze over the cooled cookies and sprinkle with flaky salt to finish.