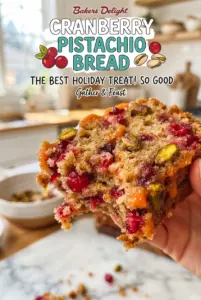
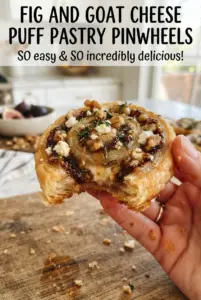
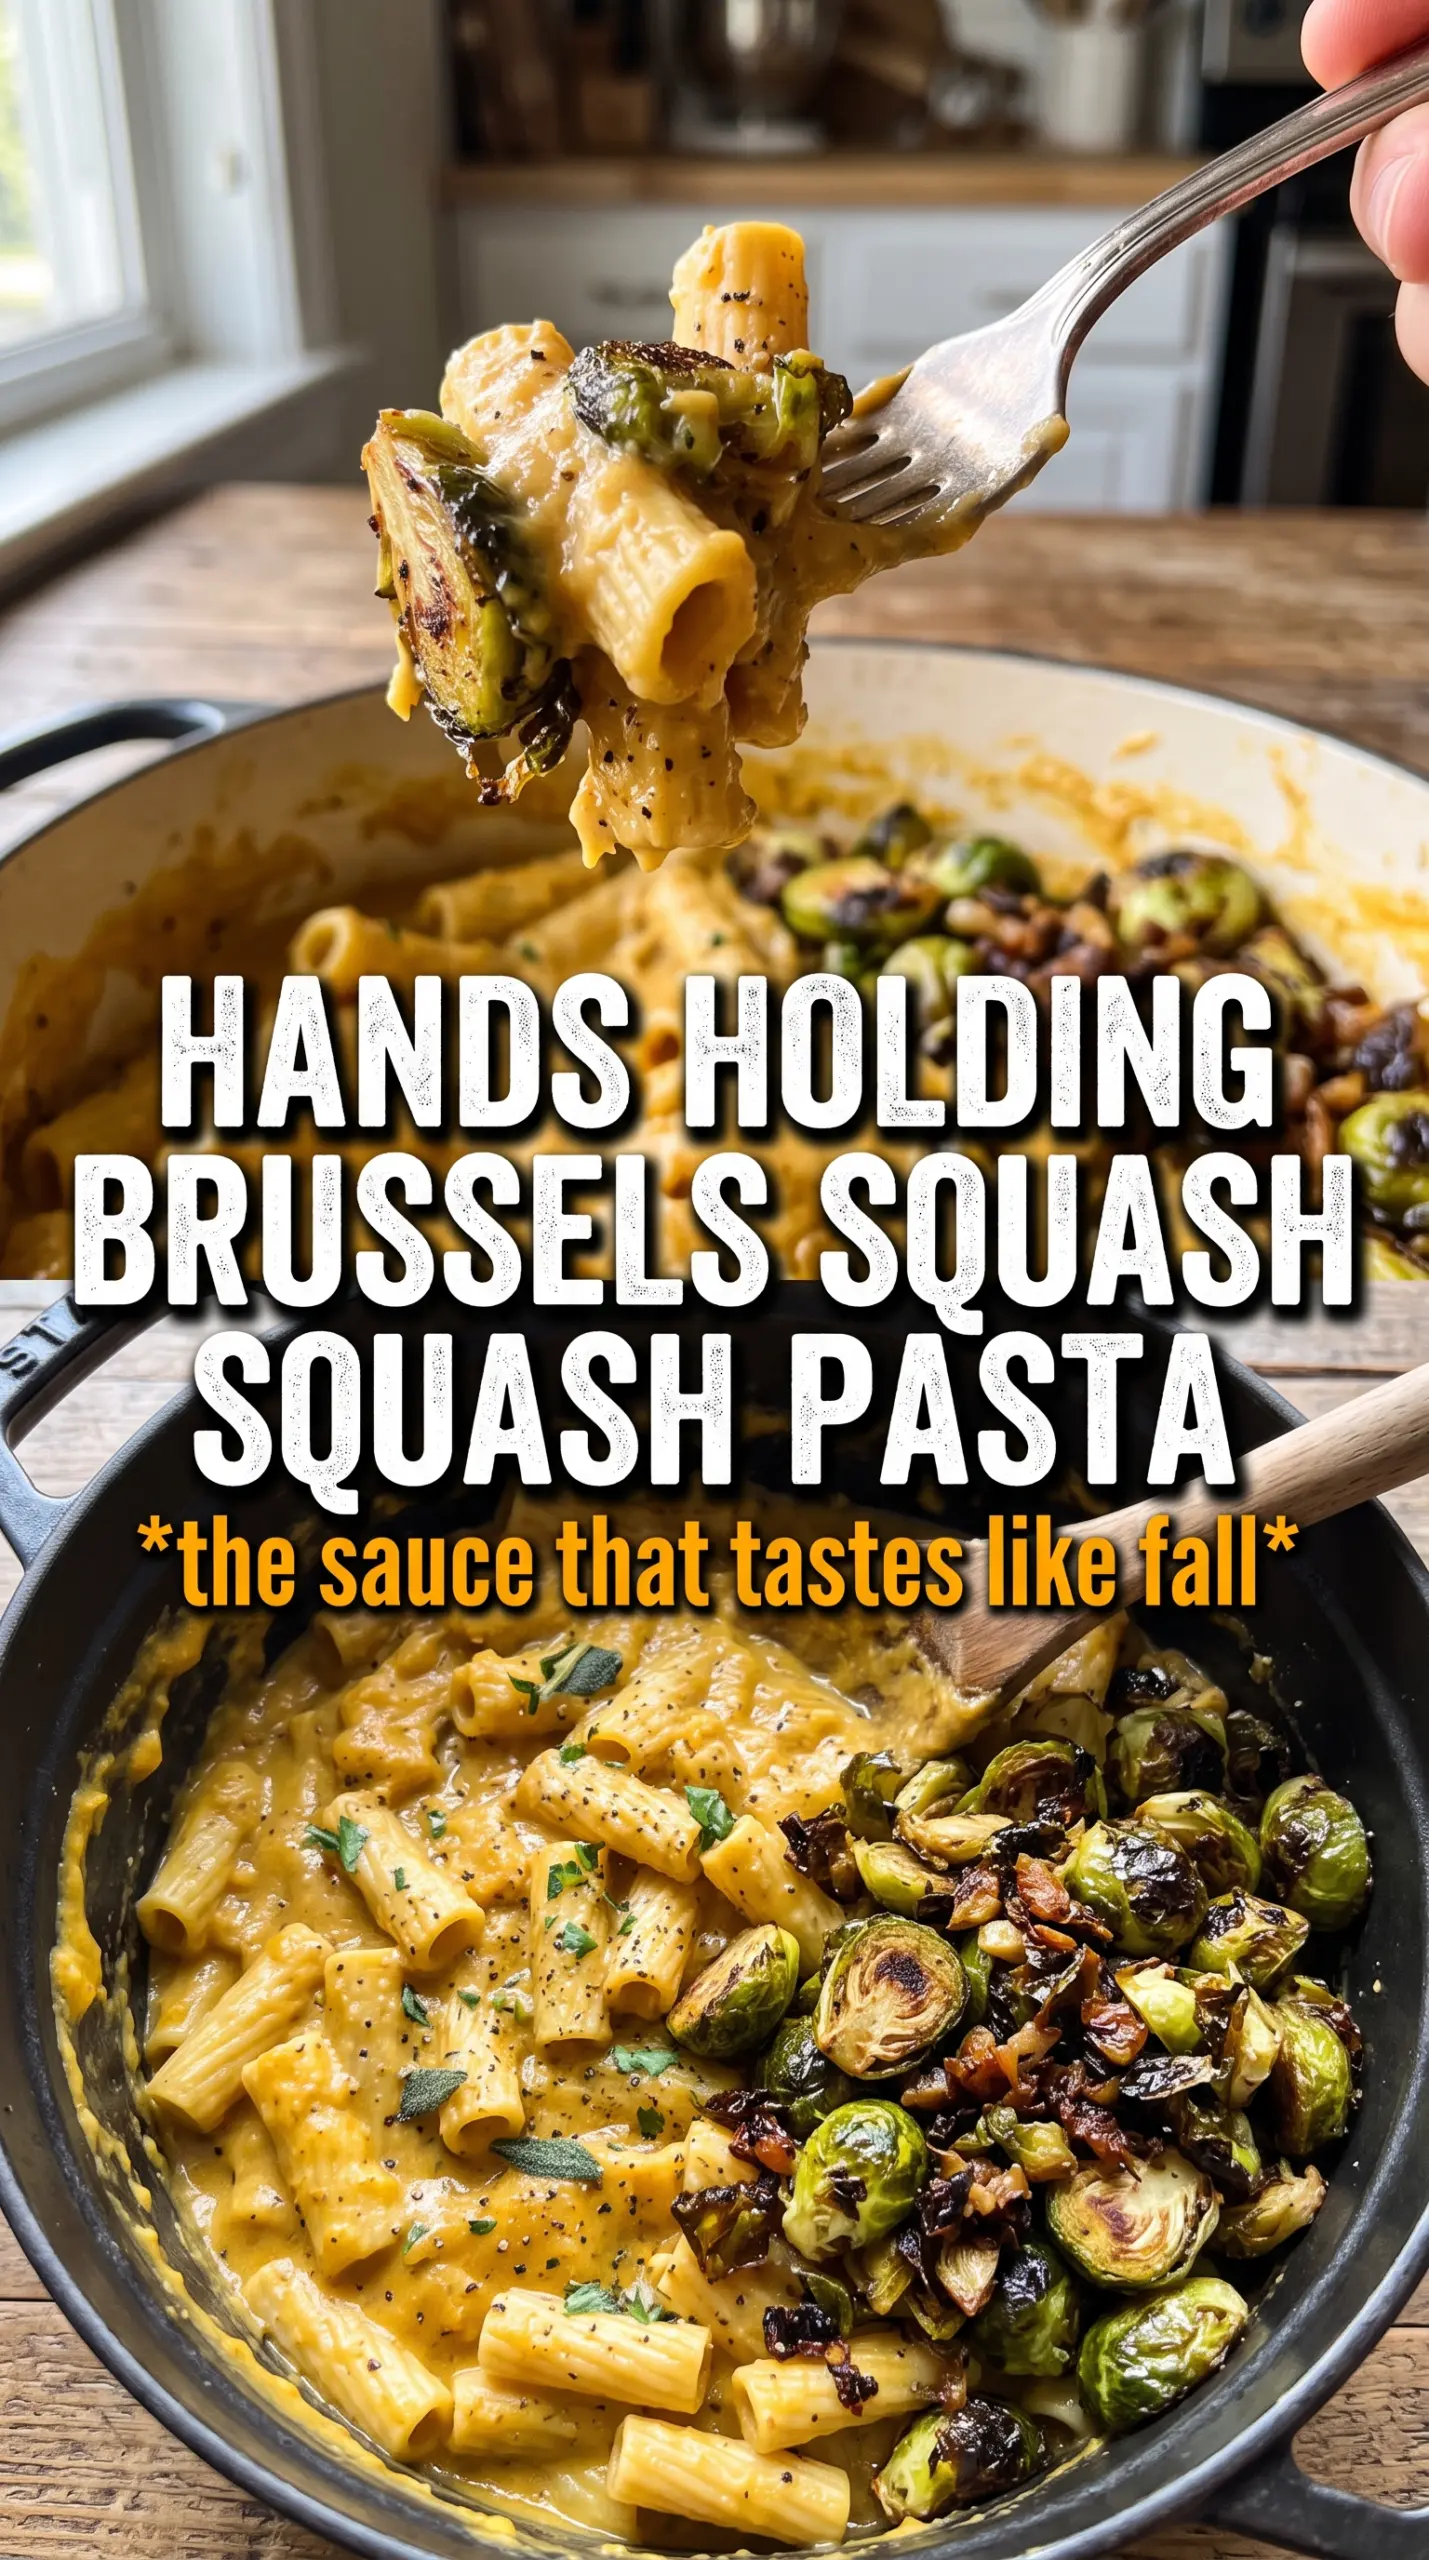
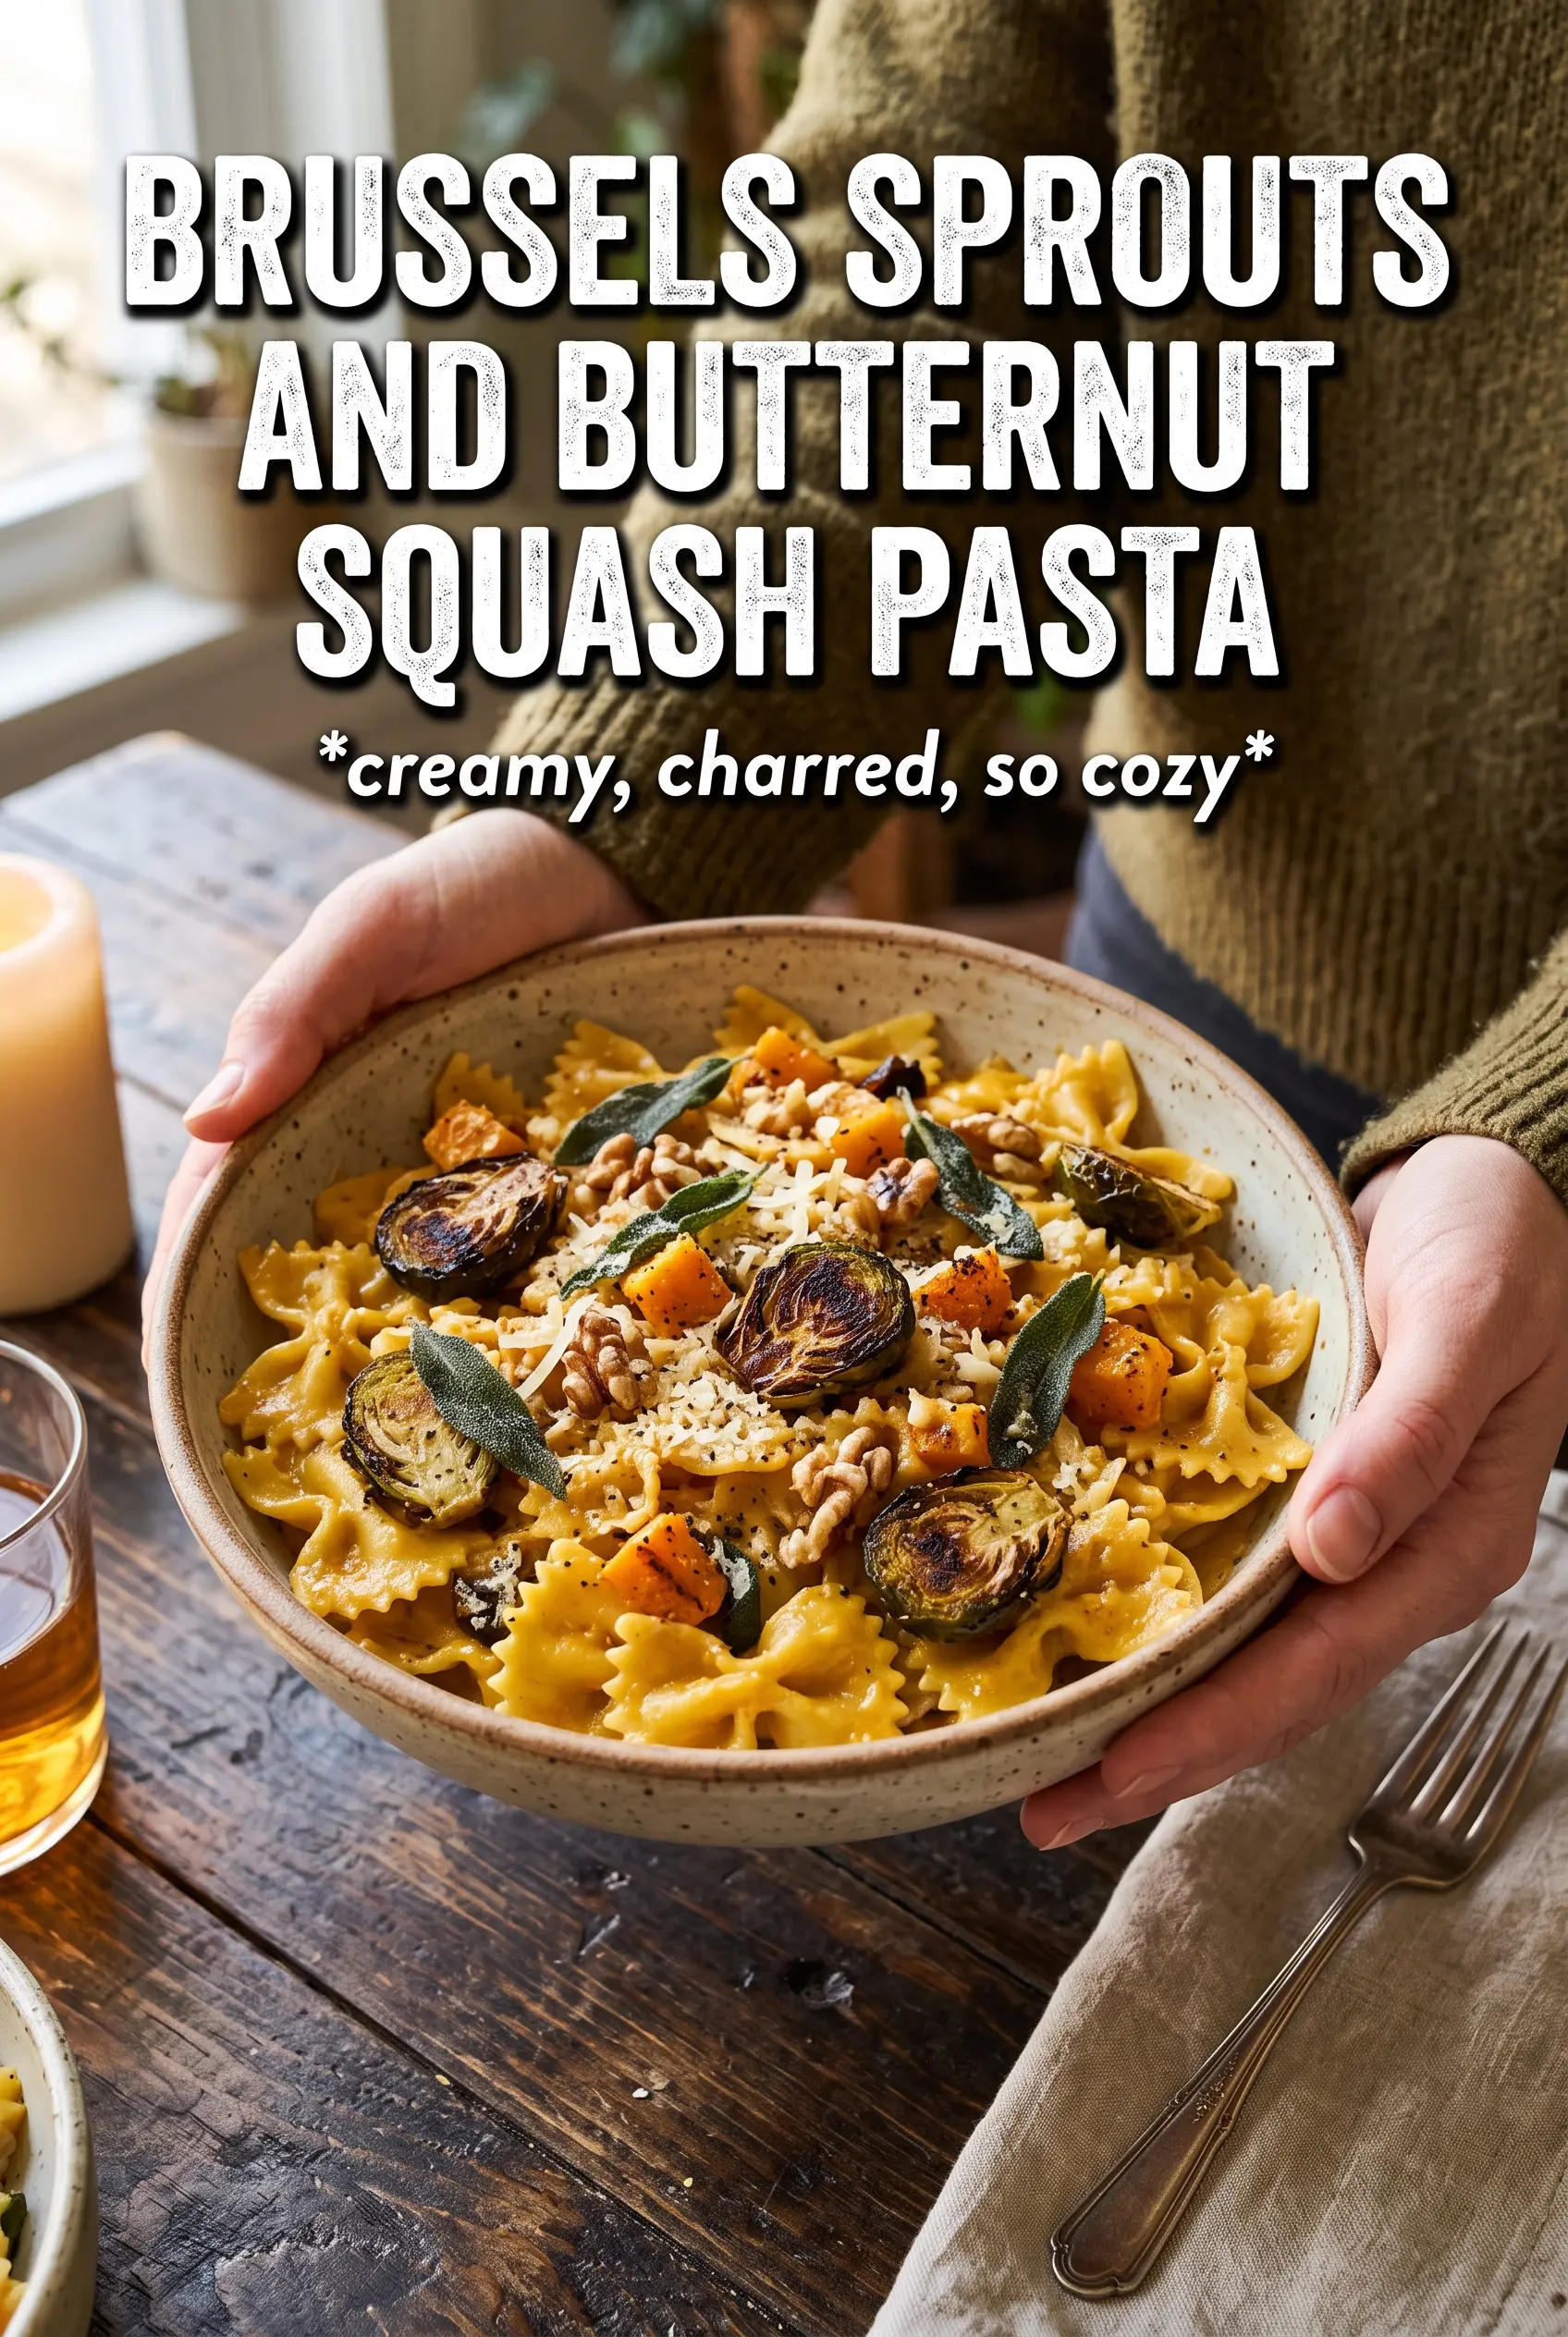
Roasted Brussels sprouts and butternut squash turn this pasta into something that eats like a full meal, with sweet caramelized edges, tender pasta, and a brown butter sauce that coats every ridge. The hazelnuts bring crunch, the parmesan sharpens everything up, and the sage gives the whole dish that unmistakable warm, savory finish that keeps the bowl from feeling heavy.
What makes this version work is the way each part is handled on its own before everything comes together. The vegetables need enough space in the oven to brown instead of steam, and the butter needs to cook long enough to smell nutty before the garlic and sage go in. That small bit of patience is what turns a simple pantry pasta into something that tastes layered and intentional.
Below, I’ve laid out the part that matters most: how to keep the vegetables caramelized, how to judge the brown butter before it slips too far, and the swaps that still keep the dish balanced when you need to work with what’s in the kitchen.
The squash and Brussels got those crispy browned edges I usually only get on a sheet pan side, and the brown butter with sage made the pasta taste much richer than the ingredient list looked.
Save this Brussels sprouts and butternut squash pasta for the night you want roasted vegetables, brown butter, and pasta that feels complete in one bowl.
Why the Vegetables Need Their Own Pan Space
Brussels sprouts and butternut squash both carry a lot of water, and if they’re crowded together they’ll soften before they brown. That’s the big trap in this kind of pasta: the vegetables taste flat because they steamed under their own moisture instead of caramelizing in the oven. Separate roasting, or at least enough room on the pan for air to move around them, gives you the sweet edges that make the final dish taste built rather than tossed together.
Cut the squash into even cubes so it cooks at the same pace as the halved sprouts. If the pieces are different sizes, the smaller ones collapse before the larger ones are tender. You want browned spots, tender centers, and enough structure left that the vegetables hold their shape when folded into the pasta.
What the Butter, Sage, and Parmesan Are Actually Doing
- Unsalted butter — This is the base of the sauce, and unsalted butter gives you control over the final seasoning. Browned butter needs a little room to deepen without turning salty too soon. If you only have salted butter, use it and season at the end with a lighter hand.
- Fresh sage — Sage blooms in the hot butter and gives the pasta its savory backbone. Dried sage works in a pinch, but use less; it can read dusty if you overdo it. Fresh leaves chopped fine melt into the sauce instead of staying separate.
- Parmesan — Grated parmesan thickens the sauce and helps it cling to the rigatoni. Buy a wedge and grate it yourself if you can, because the pre-grated kind often contains starch that makes the sauce a little grainy. Add it off the heat or over very low heat so it melts smoothly.
- Hazelnuts or walnuts — The nuts are there for crunch, and toasted nuts matter here. Untoasted nuts taste soft and a little dull against the brown butter. Hazelnuts are my first choice for their sweet, toasty flavor, but walnuts still work well and are easier to find.
- Pasta water — This is what turns browned butter and cheese into a sauce that coats instead of sitting in the bottom of the bowl. The starch in the water helps emulsify everything. Add it a splash at a time until the sauce looks glossy and loose enough to move around the pasta.
Building the Bowl Without Breaking the Sauce
Roast Until the Edges Go Deep Gold
Spread the squash and Brussels sprouts in a single layer and roast them at 425°F until the edges are browned and the centers are tender. You’re looking for color first, not just softness. If they come out pale, they’ll disappear into the pasta instead of standing out in it. Let them sit on the tray for a minute or two before mixing so they keep their shape.
Brown the Butter Before the Garlic Goes In
Melt the butter in a wide pan and keep the heat at medium, watching for foam to settle and the milk solids at the bottom to turn golden brown. That nutty smell is the cue. Garlic goes in after the butter has browned, not before, because garlic burns long before butter finishes browning. Stir constantly for a short minute so the garlic softens without turning bitter.
Use the Pasta Water to Pull Everything Together
Once the pasta is cooked, lift it straight into the pan with the brown butter and a splash of reserved water. Toss until the sauce turns glossy and starts to cling to the noodles. If it looks greasy, it needs more pasta water and a little more tossing. Add the roasted vegetables and parmesan last so the squash doesn’t break apart while you’re emulsifying the sauce.
Finish With Crunch and Salt
Top the bowl with toasted hazelnuts or walnuts right before serving so they stay crisp. Taste after the parmesan goes in, then season with salt and pepper at the end. Parmesan brings salt, but the vegetables and pasta need enough seasoning to taste full, not merely coated.
How to Adapt This Pasta When the Pantry Is Working Against You
Make It Gluten-Free Without Losing the Structure
Use a sturdy gluten-free pasta shape like rigatoni or penne. The key is to cook it just until tender, because overcooked gluten-free pasta can fall apart when tossed with the vegetables and sauce. Reserve extra pasta water since it can help the sauce cling even when the noodles are a little more delicate.
Make It Dairy-Free With a Better-Than-Expected Finish
Swap the butter for a good olive oil and finish with nutritional yeast instead of parmesan. You won’t get the same brown-butter depth, but you’ll still have a savory, glossy sauce with enough richness to coat the pasta. Add a pinch more salt at the end, because the dairy-free version needs a little help to taste rounded.
Swap the Nuts Based on What’s in the Cabinet
Hazelnuts bring the best flavor match, but walnuts are easier and still give a nice earthy crunch. Pumpkin seeds work too if you need a nut-free option, though the flavor is cleaner and less buttery. Whatever you use, toast it first so the topping stays crisp against the sauce.
Add Protein Without Changing the Whole Dish
This pasta takes grilled chicken or roasted chickpeas well. Add the protein at the same time as the vegetables so it picks up some of the butter and parmesan instead of tasting tacked on at the end. Keep the portion moderate or the sauce gets lost.
Storage and Reheating
- Refrigerator: Store leftovers in an airtight container for up to 4 days. The pasta will absorb some of the sauce, so it turns a little tighter in the fridge.
- Freezer: I don’t recommend freezing this one. The roasted vegetables lose their texture and the parmesan sauce can turn grainy after thawing.
- Reheating: Warm it in a skillet over low heat with a splash of water to loosen the sauce. The biggest mistake is blasting it in the microwave until the pasta dries out and the cheese clumps.
Questions I Get Asked About This Recipe
Brussels Sprouts And Butternut Squash Pasta
Ingredients
Equipment
Method
- Heat oven to 425F and line a sheet pan; toss the butternut squash cubes with olive oil, salt, and pepper, then spread in a single layer and roast 25 minutes until caramelized with browned edges.
- On a separate sheet pan or a second batch, toss the halved Brussels sprouts with olive oil, salt, and pepper, then spread cut-side down and roast 25 minutes until caramelized.
- Boil pasta in salted water until al dente, then reserve 1 cup pasta water and drain the pasta.
- Brown the butter in a Dutch oven over medium heat until golden and nutty, then add the minced garlic and chopped sage and cook just until fragrant.
- Add the drained pasta to the Dutch oven and toss with pasta water until the sauce turns glossy and lightly coats the pasta.
- Add the roasted butternut squash and roasted Brussels sprouts, then toss to distribute evenly.
- Stir in the grated parmesan until melted and creamy, then season with salt and pepper to taste.
- Top with toasted hazelnuts or walnuts and serve hot.