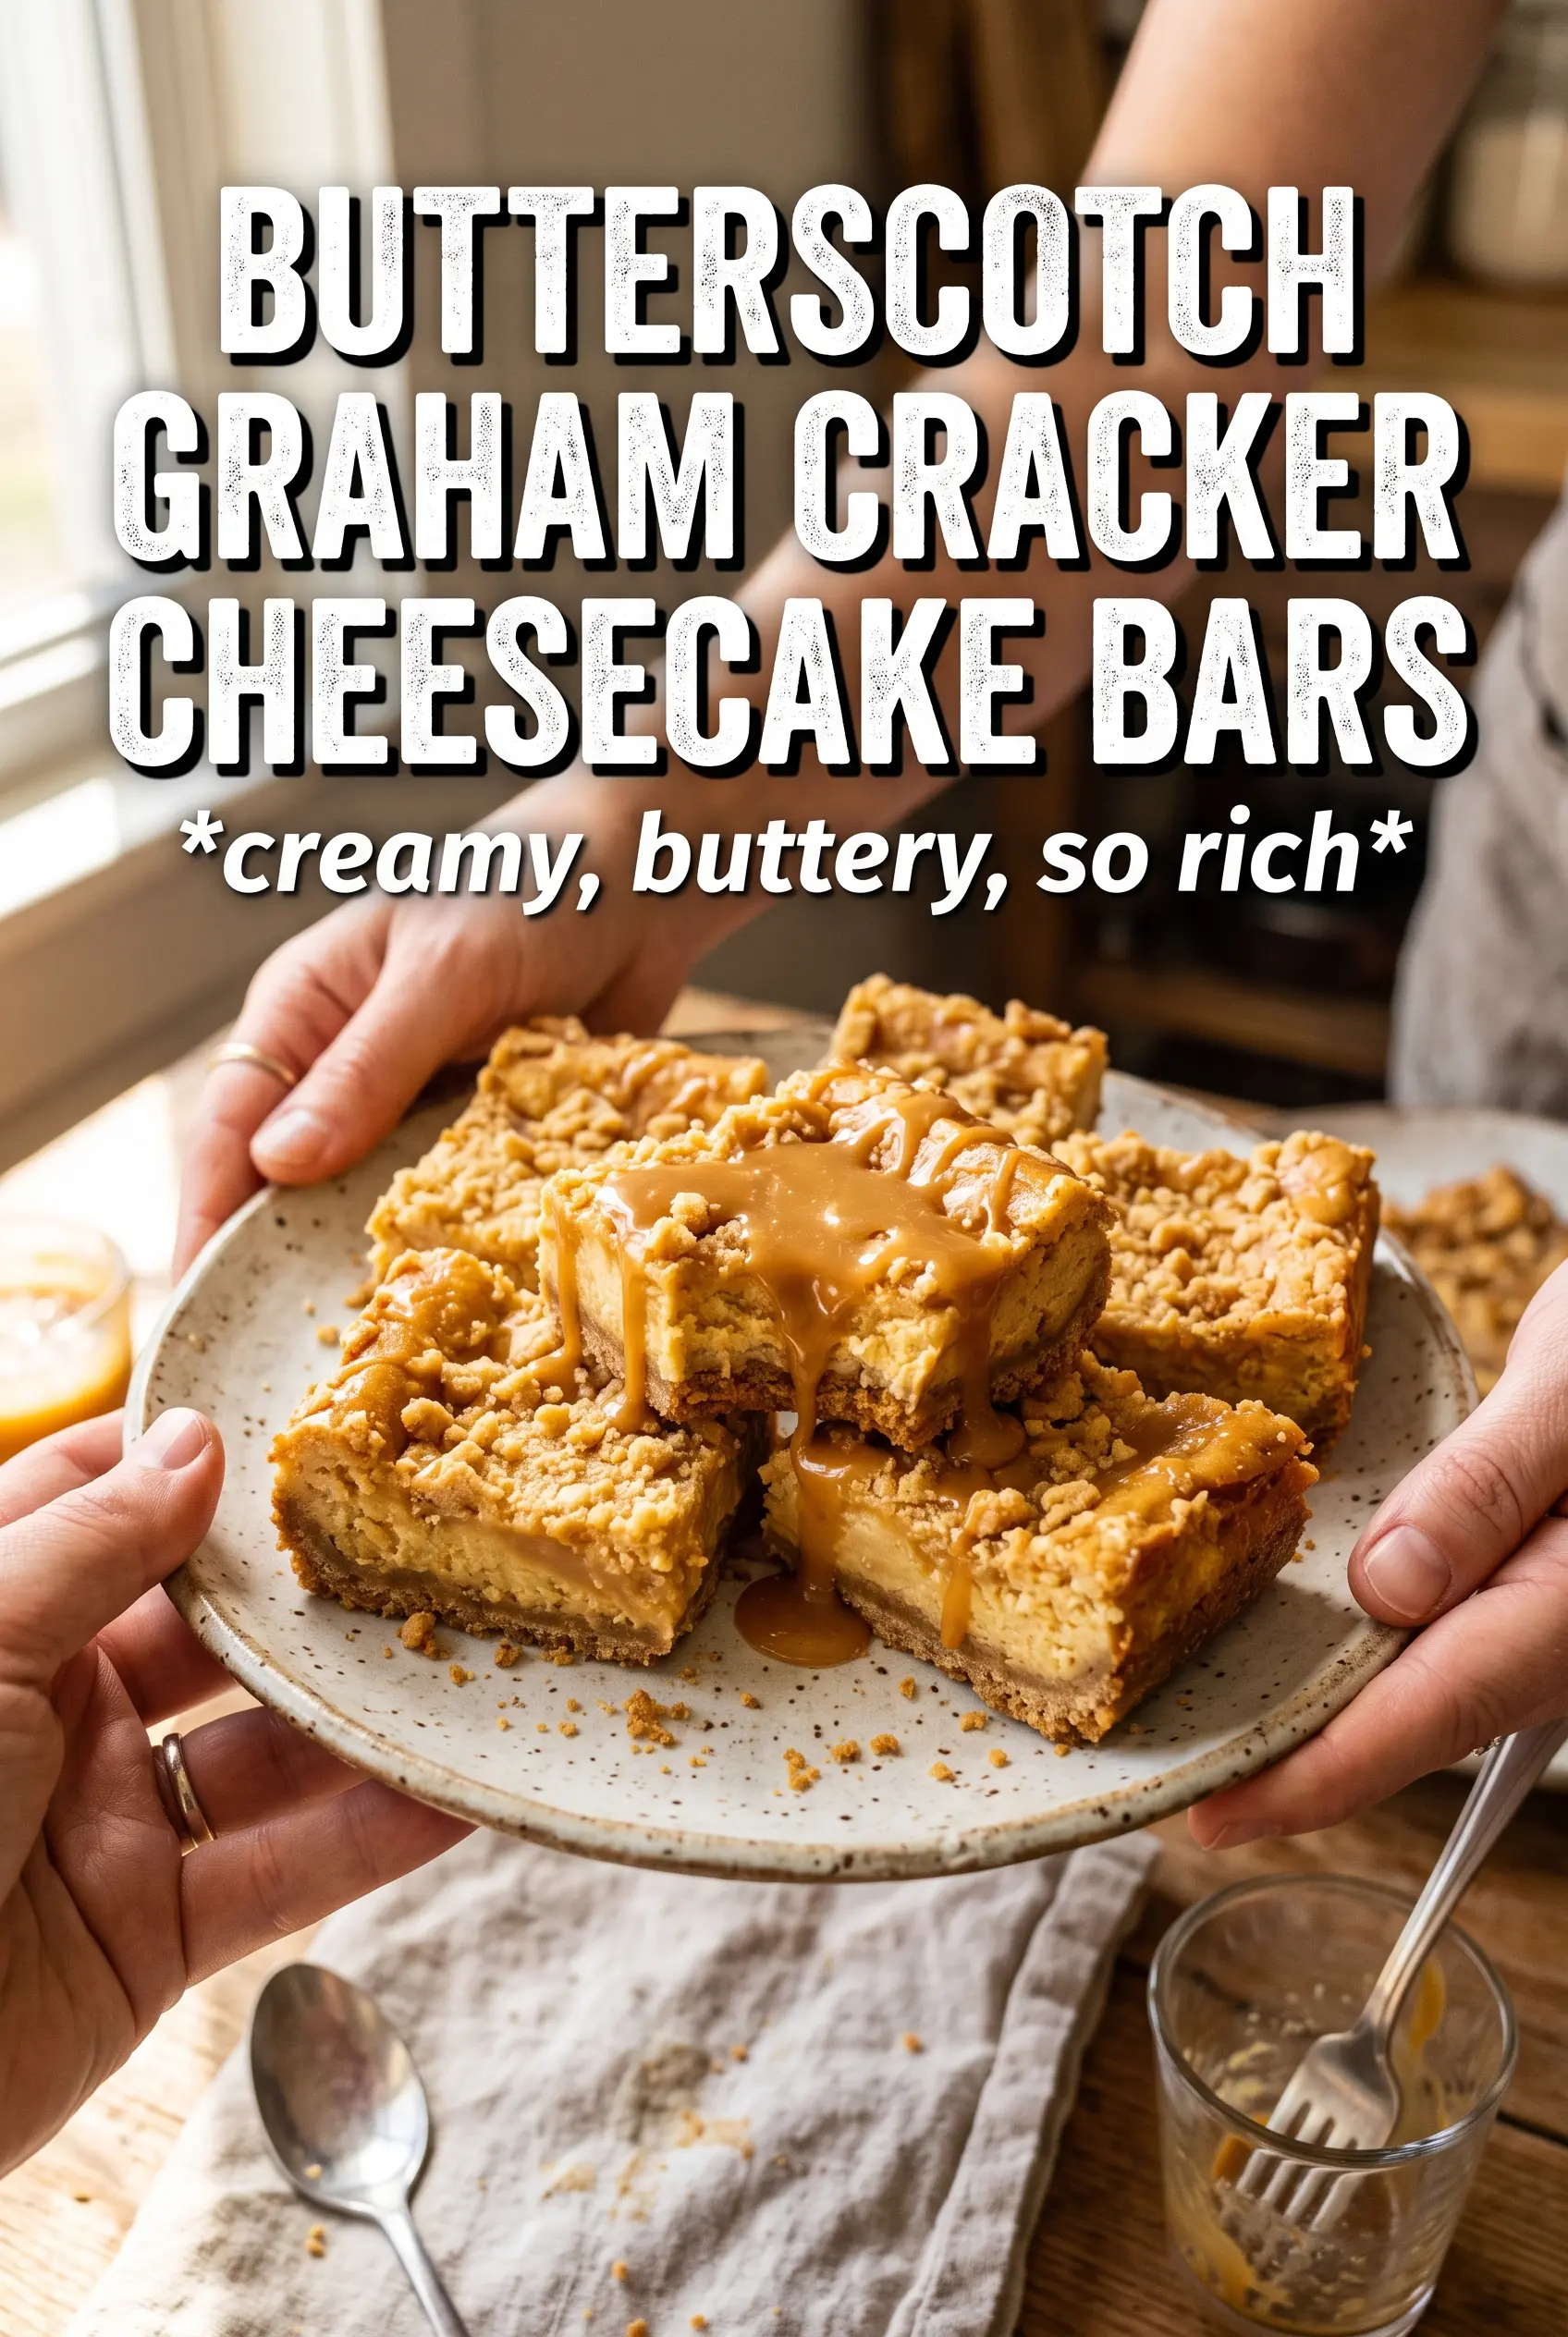
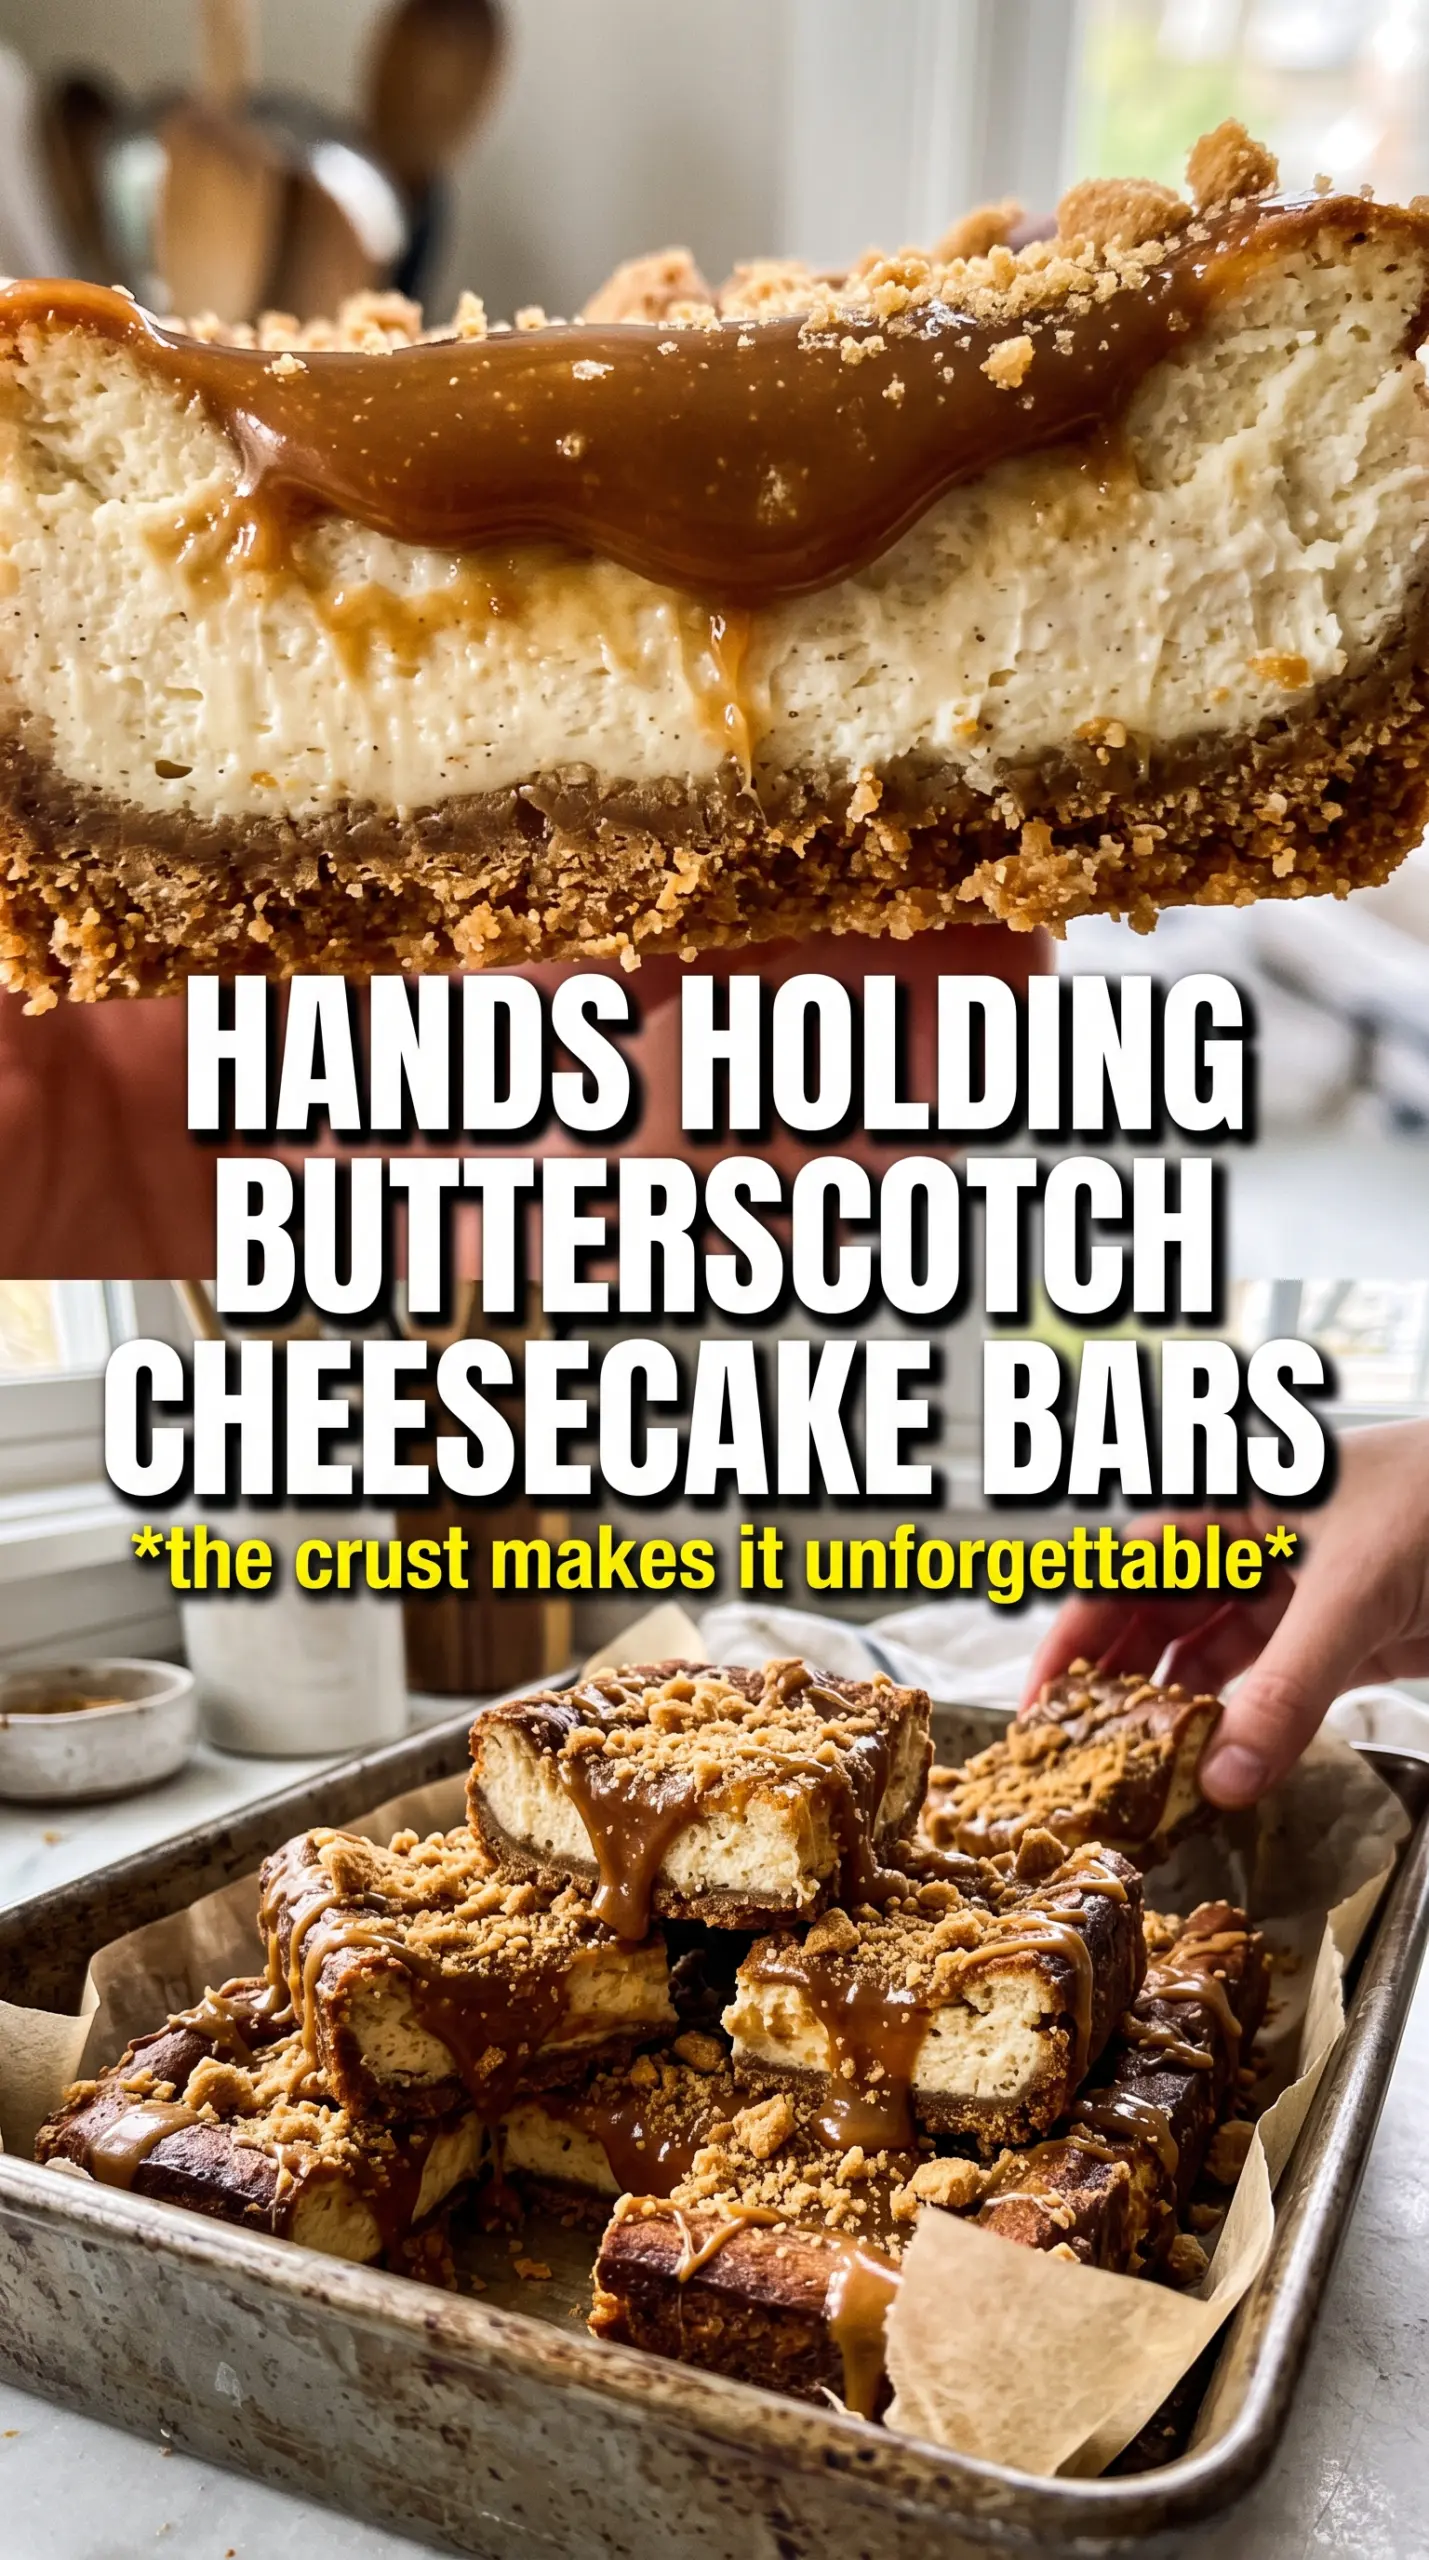
Butterscotch graham cracker cheesecake bars hit that sweet spot between rich and easy to serve. You get a sturdy, buttery crust, a smooth cheesecake layer with real butterscotch flavor baked right in, and a glossy drizzle on top that sets the whole thing off without turning it fussy. Cut into clean squares, they hold their shape well and still taste like something you’d happily sneak straight from the pan.
The crust matters here because it gives the bars their structure. Press it in firmly and pre-bake it so it stays crisp under the filling instead of going soft at the edges. The filling comes together best when the cream cheese is fully softened and the eggs go in one at a time; that keeps the batter smooth and helps prevent the little lumps that show up once the bars bake. The butterscotch chips get melted and cooled before they’re added, which keeps the cheesecake from getting grainy or overworked.
Below, I’ve included the little details that make these bars slice neatly and taste balanced, plus a few swaps if you need them. If you’ve ever had cheesecake bars that were too loose, too sweet, or hard to cut cleanly, this version fixes those problems.
The cheesecake layer baked up smooth and the butterscotch stayed bold without tasting too sweet. I chilled them overnight and the bars cut into perfect squares with that crisp graham crust still holding on the bottom.
Save these butterscotch graham cracker cheesecake bars for the nights when you want a creamy dessert with a crisp crust and a thick butterscotch finish.
The trick to cheesecake bars that slice cleanly instead of slumping
The most common problem with cheesecake bars is cutting into them too soon. Even when the center looks set in the oven, the filling still needs time to firm up as it chills. If you rush the rest, the bars will look soft at the cut edge and the crust may crack instead of giving you those neat squares you want.
The other thing that matters is not overbaking the filling. Pull the pan when the center still has a slight wobble; it should move like set custard, not ripple like liquid. Overbaking drives out moisture, which can leave you with a dry cheesecake layer that tastes dense instead of creamy. The chill time finishes the job, and that’s where the texture turns from good to fully sliceable.
What each layer is doing in these bars
- Graham cracker crumbs — These give the crust its classic toasted flavor and sandy crunch. Fresh crumbs from whole crackers are best, but store-bought crumbs work fine if they taste clean and not stale.
- Melted butter — This is what binds the crust and helps it bake into a firm base. There isn’t a real substitute here if you want that classic cheesecake-bar texture, though a good plant-based butter can work in a pinch.
- Cream cheese — This is the body of the filling, so use the full-fat block style if you can. Tub-style cream cheese is softer and can make the bars too loose.
- Butterscotch chips — Melted into the filling and the topping, they give the bars their signature flavor. Let the melted chips cool for a few minutes before stirring them in so they don’t seize the batter or warm the cream cheese too much.
- Sour cream — This adds a little tang and keeps the filling from tasting flat. Plain Greek yogurt can work, but the texture will be slightly firmer and the flavor a touch sharper.
- Butterscotch extract — This boosts the butterscotch flavor without adding more sweetness. If you can’t find it, use a little extra melted butterscotch chips, though the flavor will be softer.
Building the bars without breaking the filling
Pressing and baking the crust
Mix the graham crumbs, sugar, and melted butter until the crumbs look evenly moistened, then press them into the parchment-lined pan with real firmness. A loose crust falls apart when you slice the bars. Bake it for the full 10 minutes so it sets before the filling goes on; that short bake keeps the bottom from turning soggy under the cheesecake layer.
Mixing the cheesecake base
Beat the cream cheese and sugar until the mixture is smooth before the eggs go in. If you start with cold cream cheese, you’ll chase lumps the whole time and still see them after baking. Add the eggs one at a time on low speed, stopping as soon as they disappear, because too much air can make the bars puff and then sink.
Finishing and baking the filling
Stir in the sour cream, vanilla, melted butterscotch chips, and butterscotch extract just until combined. The filling should look glossy and evenly tan, with no streaks of unmixed cream cheese. Pour it over the crust and bake until the edges are set and the center has a small wobble in the middle; if the center is firm all the way through, the bars are already overdone.
Cooling before the drizzle
Let the pan cool completely before refrigerating, or condensation will collect on top and make the drizzle slide around later. Chill it for the full 3 hours so the filling firms enough to cut cleanly. Warm the butterscotch topping just until smooth, then drizzle it over the cold bars and finish with crushed graham crackers for a little texture on top.
How to change these bars without losing the texture
Gluten-free graham crust
Use gluten-free graham-style crumbs in the same amount. The crust will still bake up firm and buttery, and the rest of the recipe stays the same because the filling doesn’t depend on gluten at all.
Dairy-free version
Use a dairy-free cream cheese that comes in blocks, plant-based butter for the crust, and coconut cream in place of the sour cream. The texture will be a little softer and the flavor slightly different, but the bars will still slice well if you chill them fully.
Extra butterscotch finish
If you want a stronger butterscotch hit, add a few more chips to the drizzle instead of adding more extract to the filling. That keeps the cheesecake balanced and avoids the sharp, candy-like edge that can happen when extract gets overused.
Storage and Reheating
- Refrigerator: Store covered for up to 5 days. The crust stays best in the first 2 to 3 days, while the cheesecake layer gets a little firmer each day.
- Freezer: These freeze well. Cut into bars, wrap tightly, and freeze without the drizzle if you want the cleanest finish; thaw in the refrigerator overnight before topping.
- Reheating: Don’t reheat these. Cheesecake bars are meant to be served chilled, and warming them softens the filling too much and can make the crust greasy.