Glassy, tart-sweet cranberry sauce tucked into clean half-pint jars feels like the kind of pantry project that pays off long after the pot comes off the stove. The berries burst into a thick, spoonable sauce that sets up with enough body to stay put on the plate, but still keeps that bright cranberry pop you want alongside roast turkey, pork, or a simple slice of toast.
This version leans on orange juice for roundness and bottled lemon juice for safe canning acidity. That matters. Fresh cranberries bring plenty of natural acidity, but the added lemon juice keeps the finished jars in the safe zone and helps the sauce taste lively instead of flat. A little orange zest goes in at the end so the citrus stays fragrant instead of cooking off.
Below, I’ll walk through the point where the berries should burst but not collapse into jam, why hot jars matter, and the one processing step you don’t want to rush if you want a proper seal.
The sauce thickened beautifully in the pot and I loved that the orange zest stayed fresh tasting. Every jar sealed, and it was the perfect balance of tart and sweet.
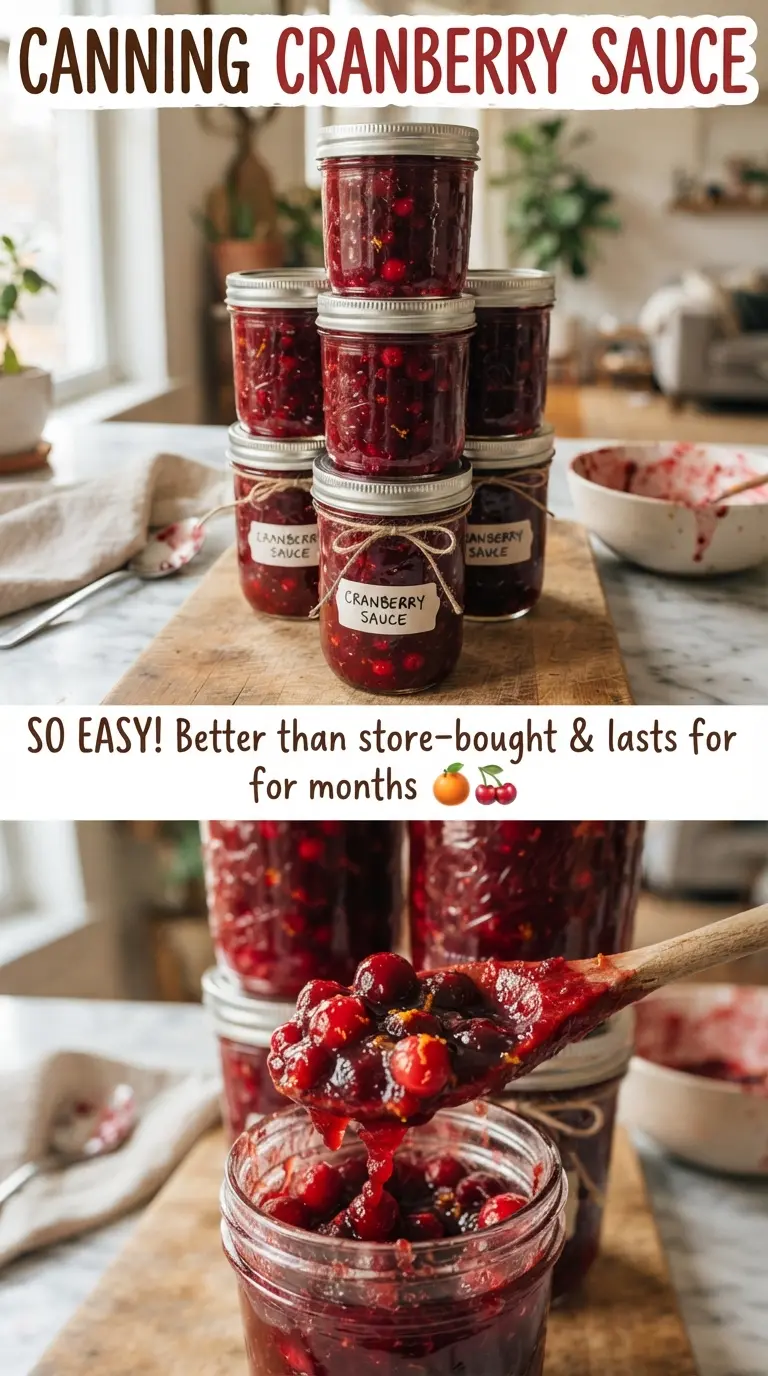
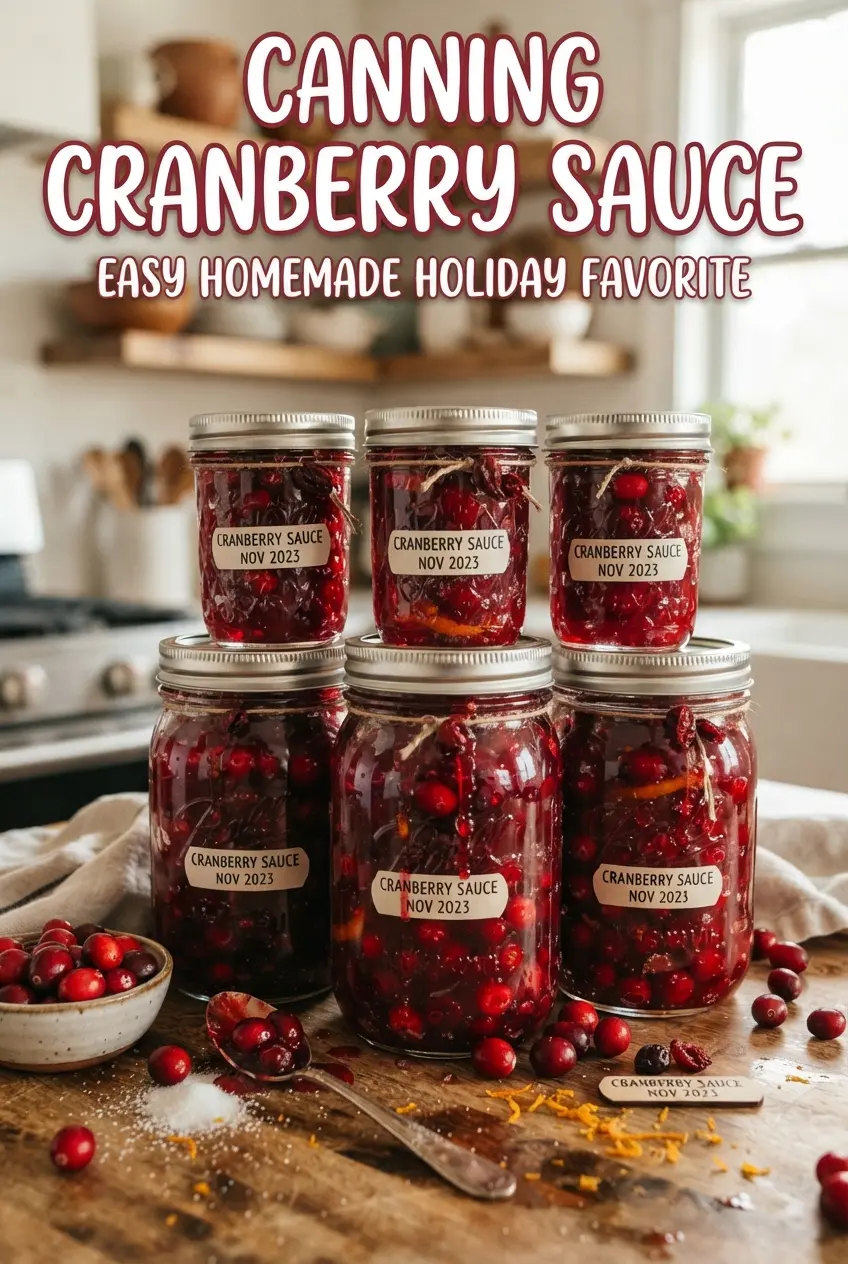
Canning Cranberry Sauce keeps that glossy whole-berry texture and bright orange finish right in the jar.
The Step That Keeps Cranberry Sauce From Going Thin in the Jar
Cranberry sauce can look perfect in the pot and still disappoint after processing if it never quite thickens before it’s ladled into jars. The berries need time to burst and release their pectin, and the liquid needs to reduce enough that the sauce coats a spoon instead of running off it. If you jar it too early, the sealed sauce can separate and look watery on top even though the flavor is fine.
The other place people lose the texture is by boiling too hard. A hard, rolling boil can smash the berries before the sugar has a chance to dissolve cleanly, which gives you a rougher sauce and more foam. A gentle boil is enough here. You want steady movement, lots of bubbles, and berries that pop while the liquid thickens around them.
- Fresh cranberries — These are the whole point of the recipe. Frozen cranberries work too, and you don’t need to thaw them first, but they may take a minute or two longer to burst.
- Orange juice — This softens the sharp edge of the berries and gives the sauce a rounder finish. Use juice without pulp for the smoothest syrup base.
- Bottled lemon juice — Don’t swap this for fresh lemon juice if you’re canning. Bottled juice has a standardized acidity that keeps the recipe safely tested.
- Orange zest — Add it at the end so the oils stay bright. If it goes in at the start, the citrus note cooks down and disappears.
What Each Ingredient Is Actually Doing in This Recipe
- Primary ingredient (the star) — Quality matters most. Choose the best you can find.
- Cooking medium (oil, butter, or broth) — This carries flavors and prevents dryness.
- Seasonings (salt, pepper, spices, herbs) — Layer flavors so nothing overpowers. Build depth gradually.
- Aromatics (garlic, onion, herbs) — Cook with fat to bloom flavors. Become the foundation.
- Supporting ingredients — Complement the main ingredient without overpowering it.
- Sauce or liquid (if applicable) — Brings flavors together. Balance richness with acid.
- Acid (lemon, vinegar, wine, or other) — Brightens and prevents flat-tasting results.
- Final finish (garnish, glaze, or sauce) — Prevents one-dimensional taste and adds visual appeal.
Building the Sauce, Filling the Jars, and Sealing Them Right
Starting With the Syrup Base
Bring the sugar, water, and orange juice to a full boil first, and stir until the sugar disappears completely. That gives you a clear base instead of grainy syrup clinging to the berries. If sugar crystals are still visible when the cranberries go in, they’ll take longer to cook down and can leave you with a sandy texture.
Cooking the Berries Until They Burst
Add the cranberries and lemon juice, then keep the pot at a gentle boil for 10 to 12 minutes. You want most of the berries to split open, with the sauce looking glossy and slightly thickened around the edges of the pot. If it still looks loose and soupy, keep cooking a few more minutes before adding the zest. The sauce thickens more as it cools, so stop when it’s slightly looser than the finished texture you want.
Jar Filling and Headspace
Ladle the sauce into hot half-pint jars and leave 1/4-inch headspace. That small gap matters because cranberry sauce expands in the canner, and too little room can keep the lids from sealing. Wipe the rims well before putting the lids on; even a smear of sauce can block a proper seal. Tighten the bands fingertip tight only. Cranking them down too hard can stop air from escaping during processing.
Processing and Cooling
Process the jars in a boiling water bath for 15 minutes, adjusting for altitude if needed. When the timer ends, turn off the heat and let the jars rest in the canner for 5 minutes before lifting them out. That short rest helps reduce siphoning, which is when liquid gets pulled out of the jars. Leave the jars alone for 24 hours. If you hear pinging, that’s a good sign, but don’t trust sound alone — check the seals after they’ve cooled completely.
How to Adjust This Cranberry Sauce Without Losing the Safe-Can Balance
Frozen cranberries work fine
Use them straight from the freezer. They may take a touch longer to burst, but the final texture is nearly the same as fresh. Don’t thaw them first or they’ll release extra water and thin the sauce before it reduces.
A lower-sugar version changes the texture
Cranberry sauce needs sugar for both sweetness and body. Cutting it a little is workable, but cutting it a lot gives you a sharper, looser sauce that won’t set up the same way. If you want less sweetness, reduce it modestly and cook the sauce a few extra minutes so some of the excess liquid evaporates before jarring.
Make it dairy-free and gluten-free without changing a thing
This recipe is naturally both dairy-free and gluten-free as written. That’s one reason it’s such a handy pantry staple for holiday tables and gifting. Just keep an eye on the labels for your juice and bottled lemon juice if you’re buying flavored or mixed varieties.
Storage and Reheating
- Refrigerator: Once opened, keep a sealed jar refrigerated and use within 2 to 3 weeks. The sauce will firm up a bit more in the cold.
- Freezer: Cranberry sauce freezes well in a freezer-safe container for up to 3 months, though sealed canned jars should never go in the freezer.
- Reheating: Warm only the amount you plan to serve, and do it gently on the stove or in the microwave. High heat can make it loose and syrupy, especially if it has already been chilled.
Questions I Get Asked About This Recipe
Canning Cranberry Sauce
Ingredients
Equipment
Method
- Wash 12 half-pint jars, lids, and bands, then keep the jars hot in simmering water until ready to fill.
- Ensure a boiling water bath canner is ready and filled with enough water to cover the jars by at least 1 inch.
- Bring sugar, water, and orange juice to a boil in a large pot, stirring until the sugar is fully dissolved.
- Add fresh cranberries and bottled lemon juice, then return to a gentle boil.
- Boil gently for 10-12 minutes, stirring occasionally, until the berries burst and the sauce thickens.
- Stir in orange zest after the sauce thickens, then keep the sauce hot while you fill the jars.
- Ladle hot cranberry sauce into the hot jars, leaving 1/4-inch headspace.
- Wipe the jar rims clean, then apply lids and bands and tighten fingertip tight.
- Process the filled jars in a boiling water bath canner for 15 minutes, adjusting time for altitude.
- Turn off the heat and rest the jars in the canner for 5 minutes.
- Lift jars out and cool undisturbed for 24 hours, without moving or tightening bands.
- Check that the lids sealed by pressing the center; store sealed jars in a cool dark place up to 1 year.