Caramel apple cheesecake bars hit that sweet spot between a pie, a cheesecake, and a hand-held dessert that slices cleanly enough to serve at a party without anyone fighting over the corners. The crust stays buttery and crisp under the filling, the cheesecake layer bakes up smooth instead of grainy, and the apple topping gives each bite enough structure to keep it from feeling heavy. The caramel drizzle on top pulls everything together.
What makes these bars work is the layering order. The crust gets a short pre-bake so it doesn’t turn soggy under the filling, and the apples are cooked briefly before they go on top, which takes the raw edge off without turning them to mush. A little sour cream in the cheesecake helps keep the texture creamy and gives the filling a cleaner tang that balances all the sugar.
Below you’ll find the trick to getting the bars to chill long enough to slice neatly, plus a few swaps that still keep the texture on track if you need to adapt the recipe.
The crust stayed crisp even after chilling overnight, and the apples kept just enough bite that the bars didn’t turn mushy. I cut them cold and the layers held perfectly.
Save these caramel apple cheesecake bars for the kind of dessert that slices cleanly, chills beautifully, and disappears fast.
The Chill Time Is What Gives These Bars Clean Slices
Most cheesecake bars fail at the very end, not in the oven. The filling can look set, but if you cut too soon, it smears, the caramel runs, and the crust gives way under the knife. These need a full chill so the cream cheese firms back up and the apple layer settles into the filling instead of sliding around on top.
The other thing that matters is baking to just-set, not browned and puffed. If the center still has a slight wobble when you pull the pan, that’s the right moment. Overbaking tightens the cheesecake and makes the texture dry instead of creamy, and that damage doesn’t get fixed by chilling.
What Each Layer Is Doing in the Pan
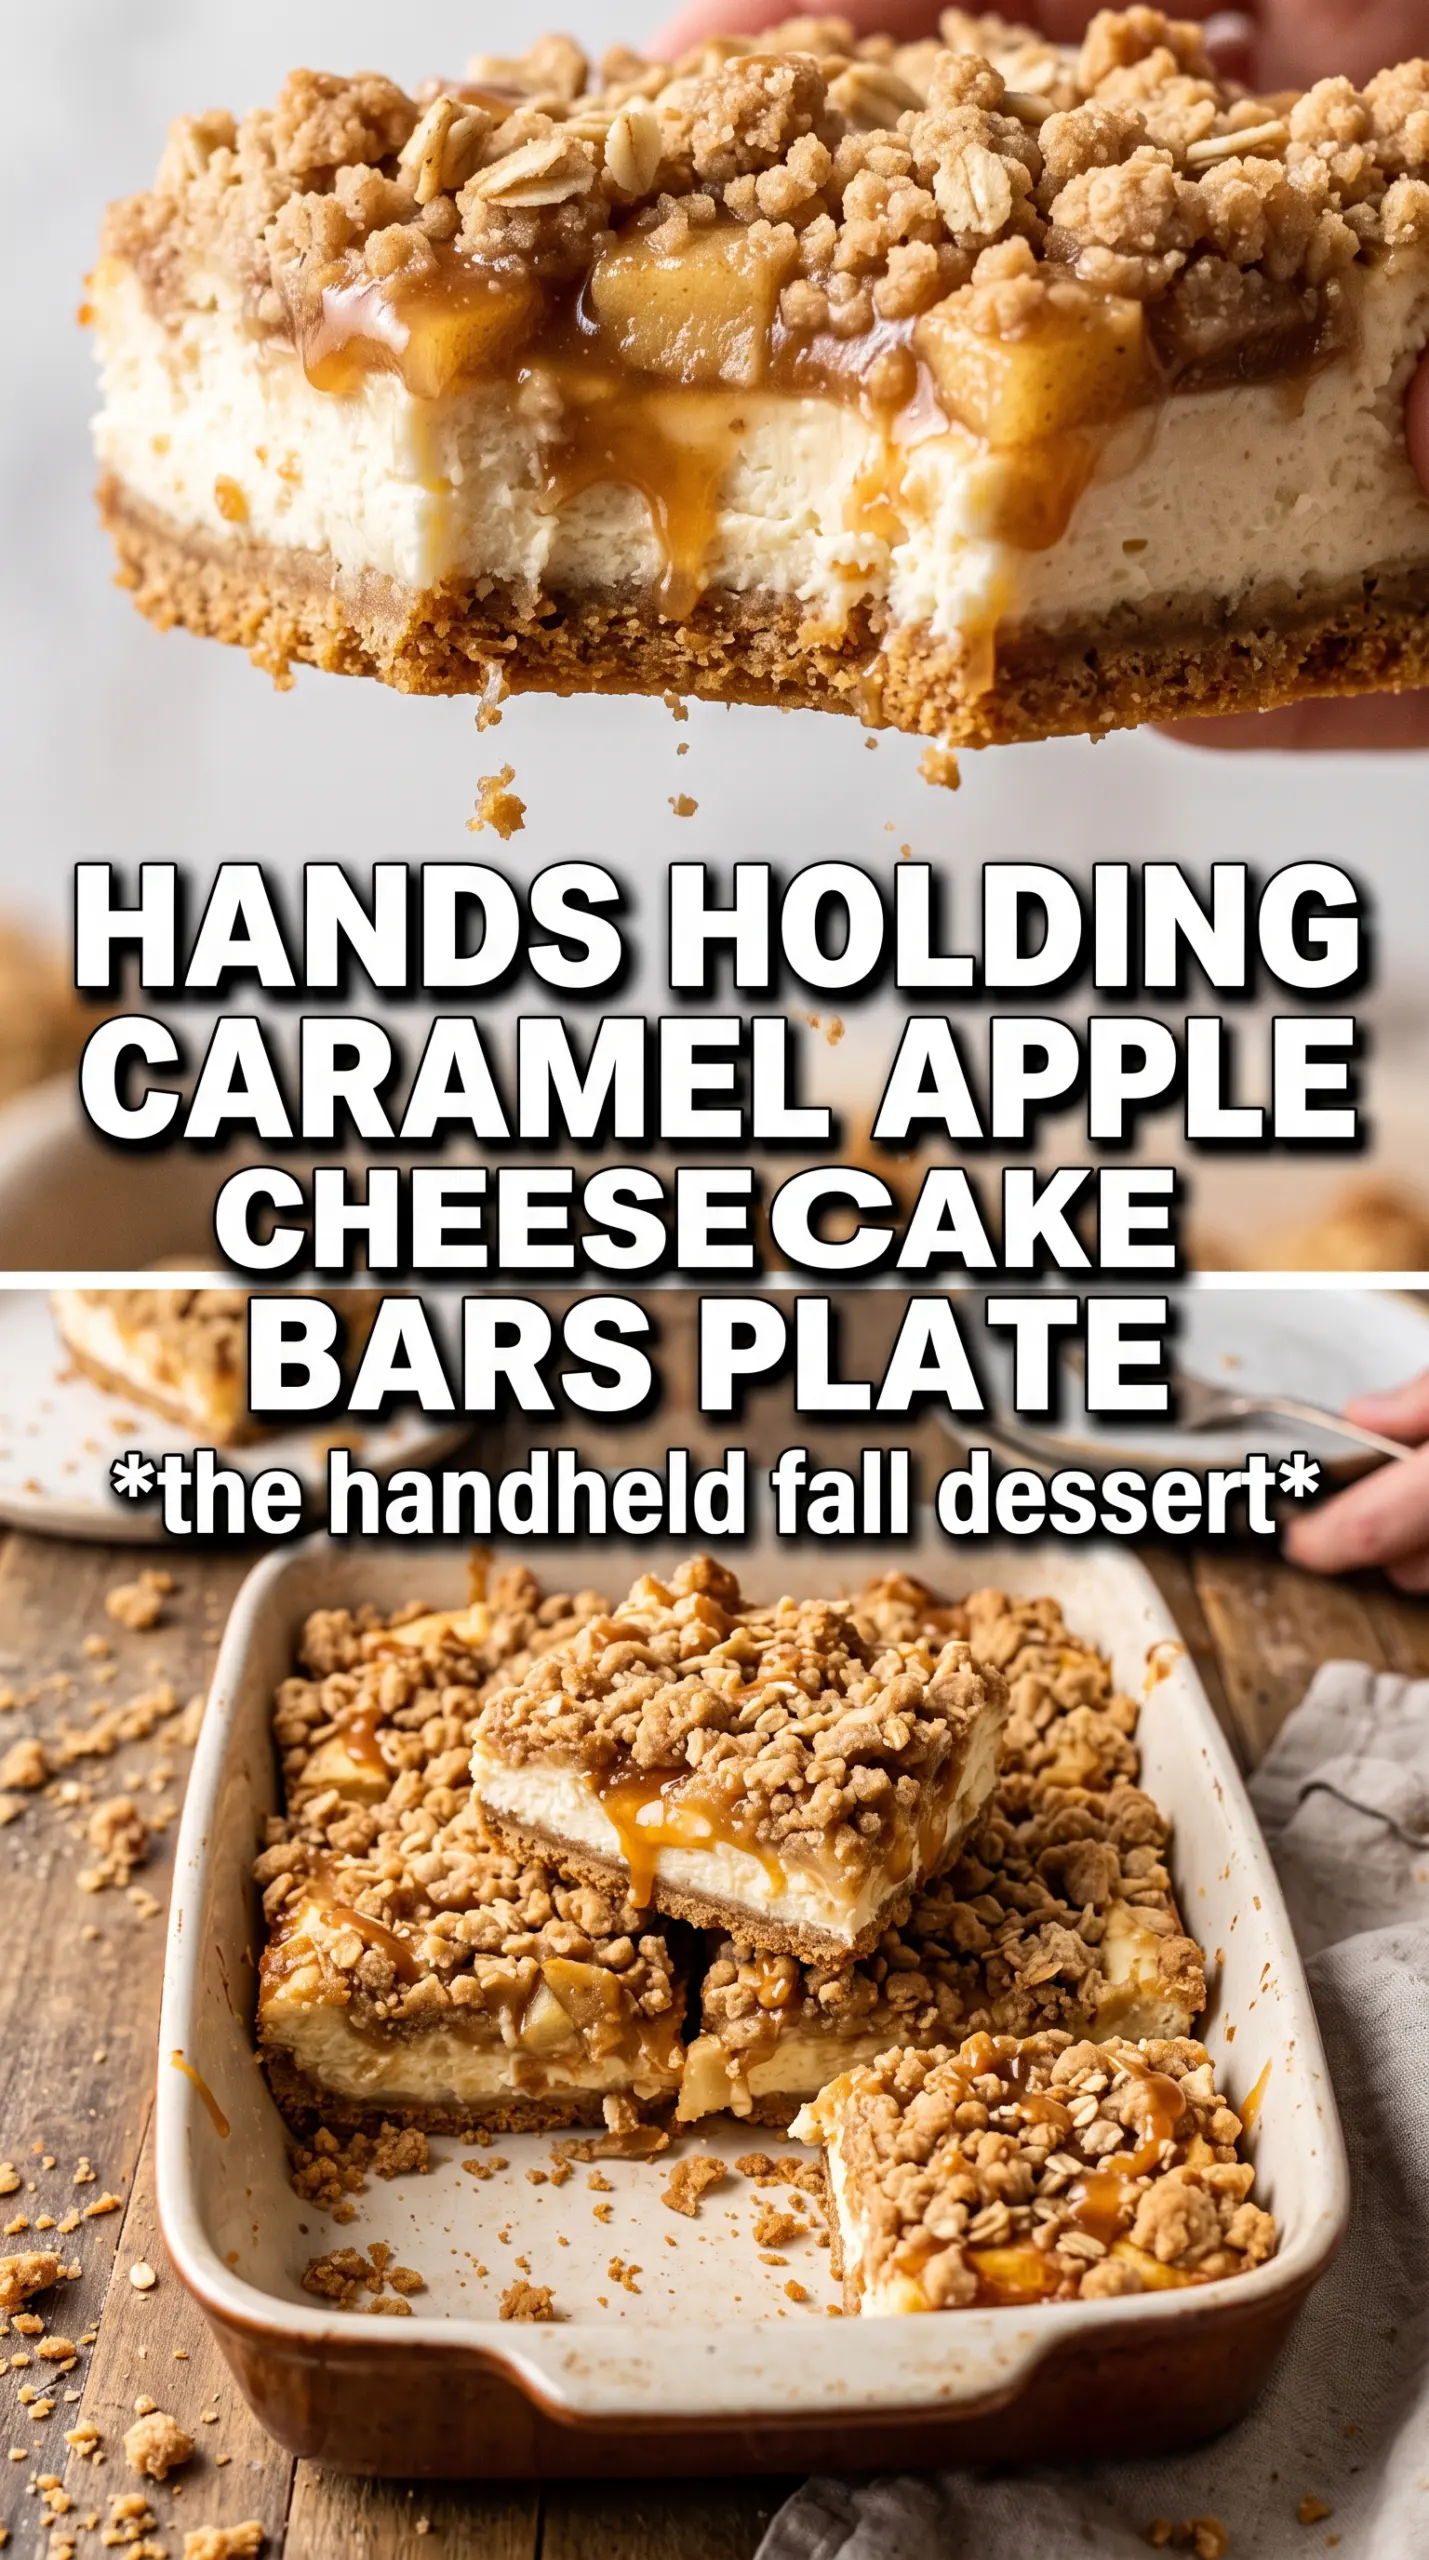
- Graham cracker crumbs — These give you the classic cheesecake-bar base: buttery, a little crunchy, and sturdy enough to hold the filling without getting dense. If you only have whole graham crackers, crush them finely so the crust packs evenly.
- Cream cheese — Use full-fat blocks here. Tub cream cheese has too much moisture and won’t set with the same clean slice. Let it soften at room temperature so it beats smooth instead of leaving little lumps behind.
- Sour cream — This is the quiet ingredient that keeps the filling from tasting flat. It loosens the batter just enough for a creamy bake and adds a gentle tang that cuts through the caramel.
- Apples — A firm baking apple matters more than the variety name. You want pieces that hold their shape after a quick sauté, not apples that collapse into jam. Peel them for the cleanest texture in the bars.
- Caramel sauce — Use a caramel that pours easily. If it’s very thick, warm it just enough to loosen before drizzling so it spreads in ribbons instead of tearing the surface.
Building the Layers Without Letting Them Leak or Sink
Pressing and Pre-Baking the Crust
Mix the graham crumbs, sugar, and melted butter until every crumb looks damp, then press the mixture firmly and evenly into the parchment-lined pan. A flat-bottomed measuring cup helps pack the edges tight so they don’t crumble when you lift out the bars. Bake it just long enough to smell toasted and look set around the edges. That short bake gives the crust enough structure to stay crisp under the filling.
Whipping the Filling Smooth
Beat the cream cheese and sugar first until the mixture looks silky before adding the eggs, vanilla, and sour cream. If the cream cheese is cold, you’ll end up chasing little lumps around the bowl and the filling won’t bake evenly. Add the eggs one at a time and stop mixing as soon as the batter turns glossy. Overmixing after the eggs go in adds air, and that air puffs up in the oven and collapses later.
Cooking the Apples Just Enough
Cook the diced apples with butter, brown sugar, and cinnamon over medium heat until they soften slightly and the pan smells like caramelized fruit, about five minutes. You want them tender at the edges but still holding a cube shape. If they cook all the way down in the pan, they’ll disappear into the cheesecake and the bars lose that layered bite. Drain off excess liquid if the apples release more juice than expected.
Baking Until the Center Barely Moves
Scatter the apples over the filling, add the streusel, and bake until the edges look set and the center gives only a slight jiggle when the pan is nudged. That’s the point where the cheesecake has enough structure to finish setting as it cools. Let the pan cool completely on the counter before moving it to the refrigerator, or condensation will form on top and soften the streusel. Drizzle with caramel only after chilling so it stays visible and doesn’t soak in.
Ways to Adjust the Bars Without Losing the Texture
Gluten-Free Crust Swap
Use gluten-free graham-style crumbs in the crust and replace the flour in the streusel with a 1:1 gluten-free baking blend. The bars still bake up with the same layered structure, though the streusel may be a little more delicate when you slice. Keep the chill time the same so everything firms properly before cutting.
Dairy-Free Version
Use dairy-free cream cheese, plant-based butter, and a dairy-free caramel sauce. The filling won’t taste exactly like classic cheesecake, but the bars still slice well if the substitute cream cheese is a firmer style meant for baking. Chill them fully or the center will stay too soft.
Apple-Cinnamon Extra Crunch
Add 1/2 cup chopped toasted pecans to the streusel for a deeper, nuttier top layer. The pecans keep the topping from feeling soft against the cheesecake and add a little crunch that plays well with the caramel. Chop them small so the bars still cut cleanly.
Storage and Reheating
- Refrigerator: Store covered for up to 5 days. The crust stays best on day 1 and 2, but the bars still hold their shape well after chilling.
- Freezer: These freeze well. Cut into bars, wrap individually, and freeze in a single layer before moving them to a container. Thaw in the refrigerator so the cheesecake doesn’t weep.
- Reheating: These are meant to be served cold or just slightly cool, not hot. If you want the caramel softer, let a bar sit at room temperature for 10 to 15 minutes before serving. Microwaving melts the filling and ruins the clean layers.
Questions I Get Asked About This Recipe
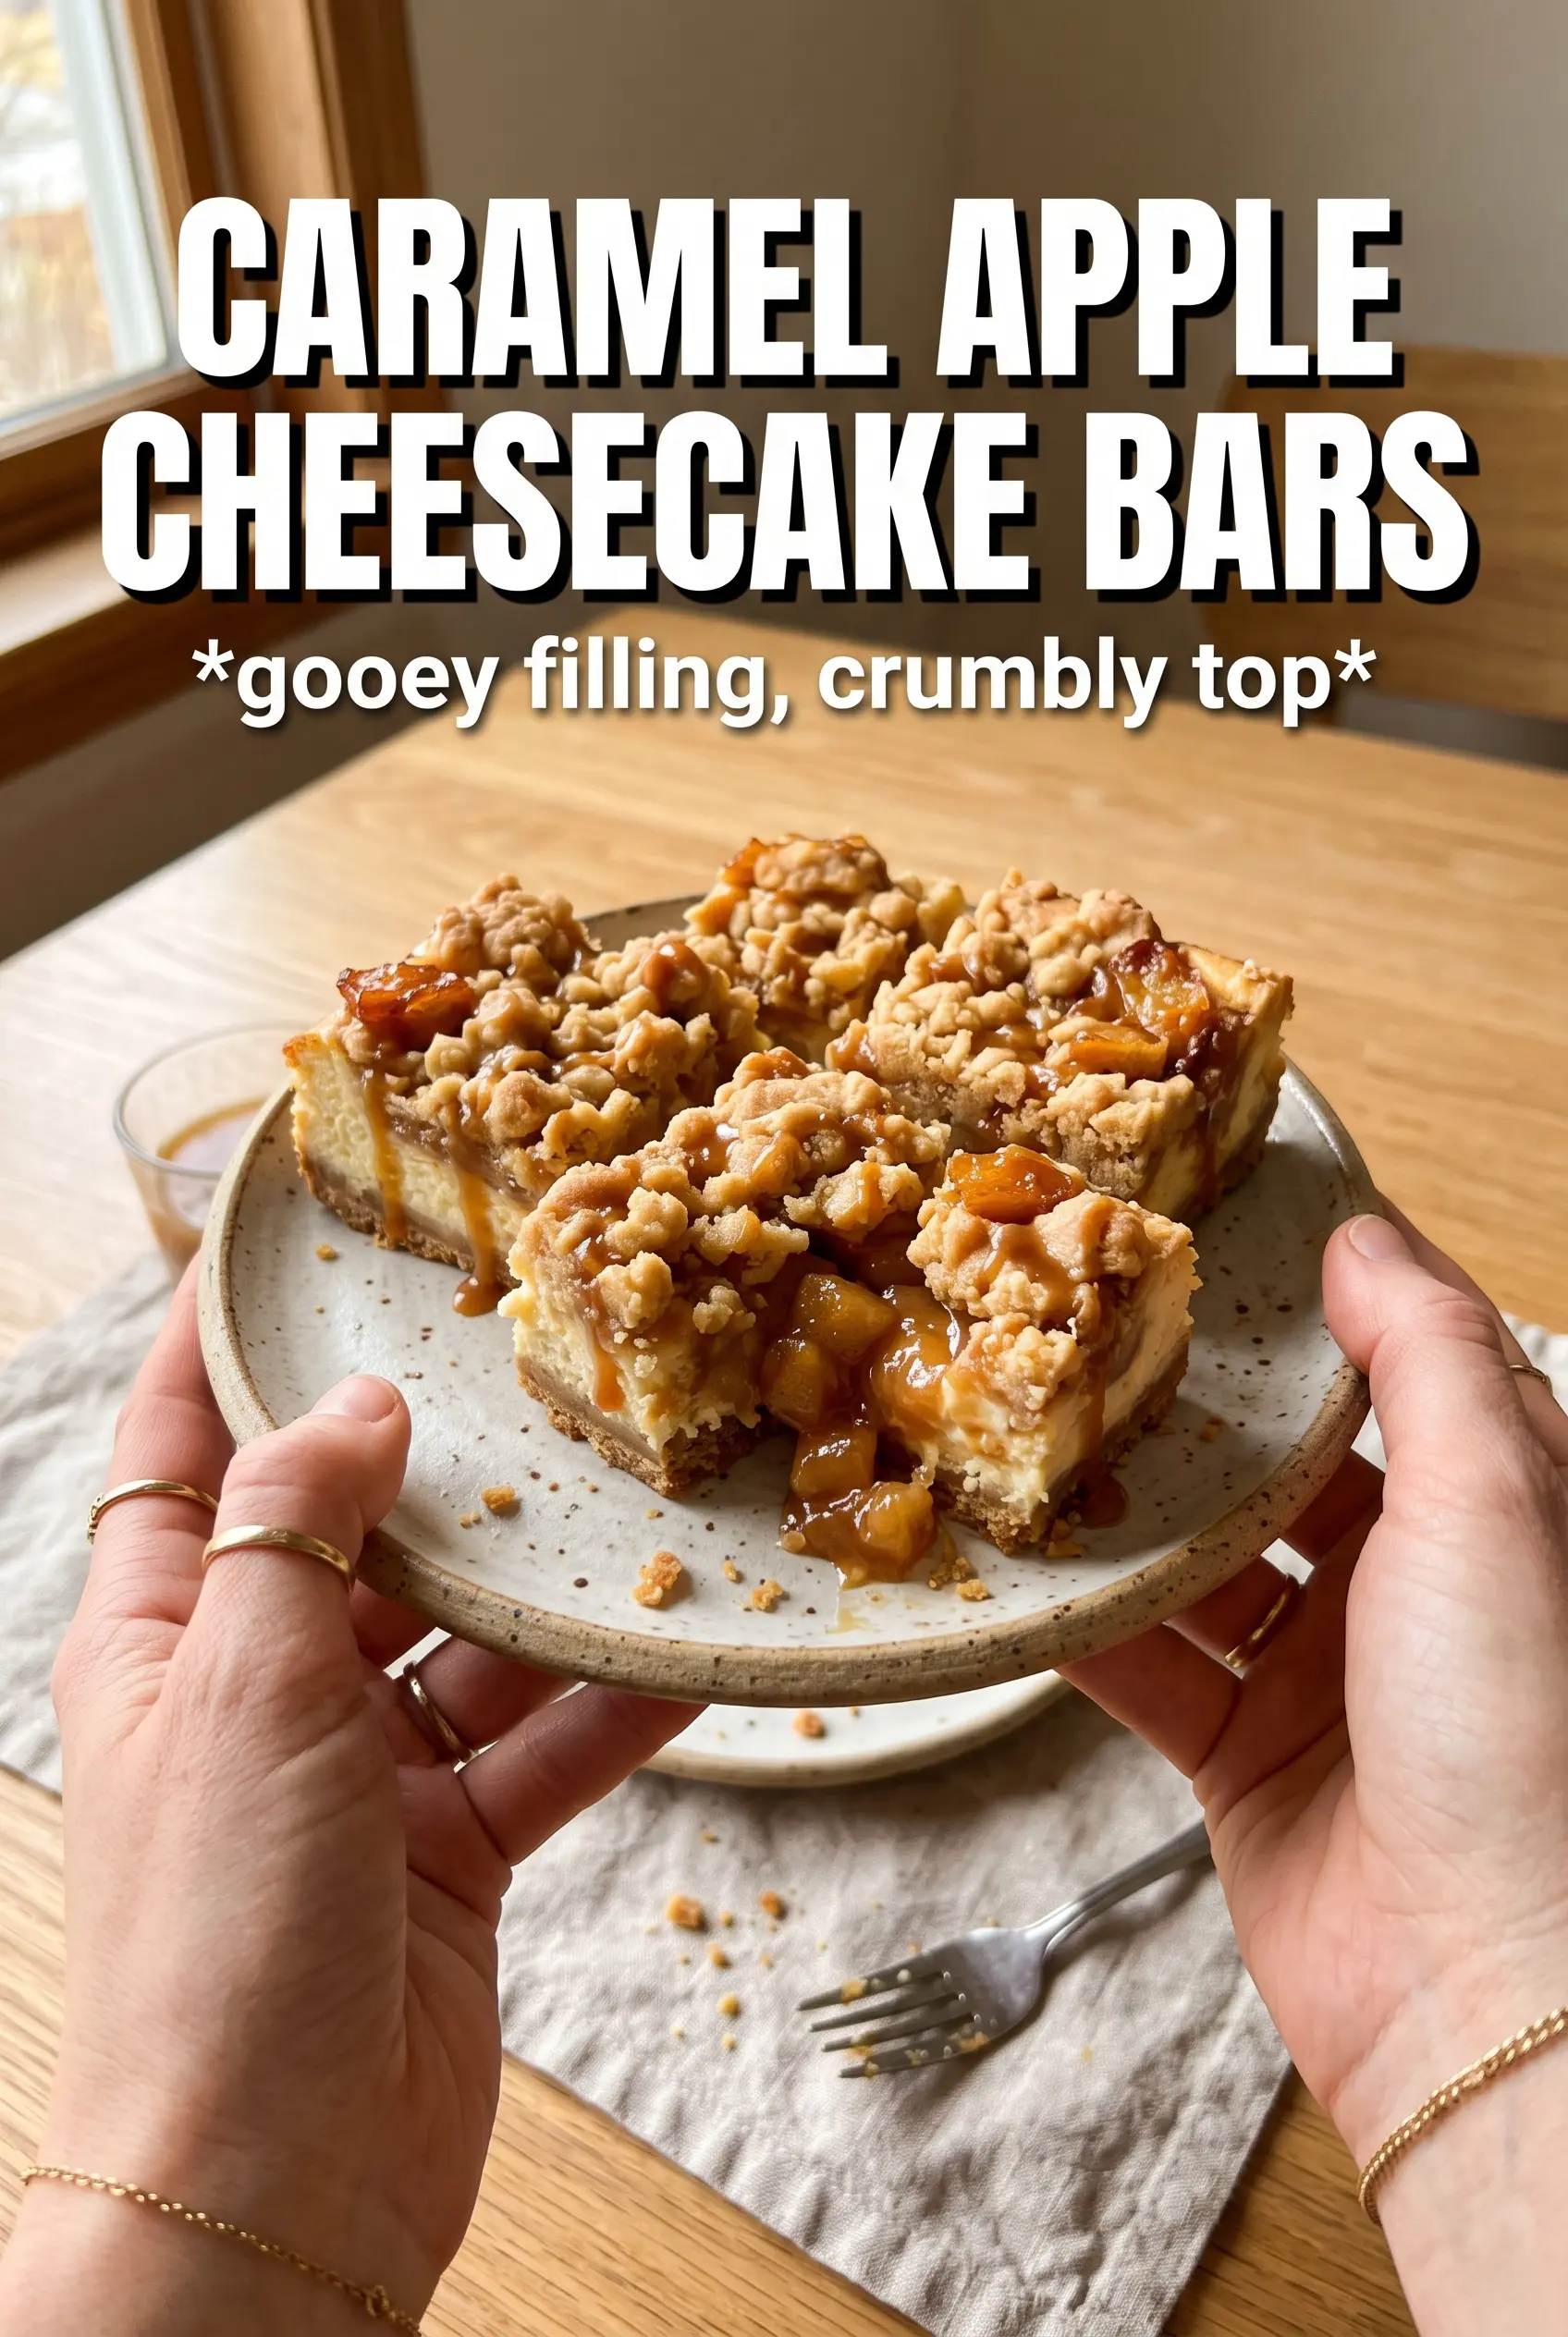
Caramel Apple Cheesecake Bars
Ingredients
Equipment
Method
- Preheat the oven to 325°F and line a 9x13 pan with parchment.
- Press the crust mixture into the lined pan and bake for 8 minutes.
- Beat the cheesecake filling ingredients until smooth, then pour over the hot crust.
- Cook the diced apples with 1 tablespoon butter, brown sugar, and cinnamon for 5 minutes, then scatter them over the cheesecake.
- Make the streusel and scatter it over the apples.
- Bake for 35-40 minutes, until the center is just set, then cool completely.
- Refrigerate for 3 hours to firm up the bars for clean slicing.
- Drizzle with caramel sauce before serving.