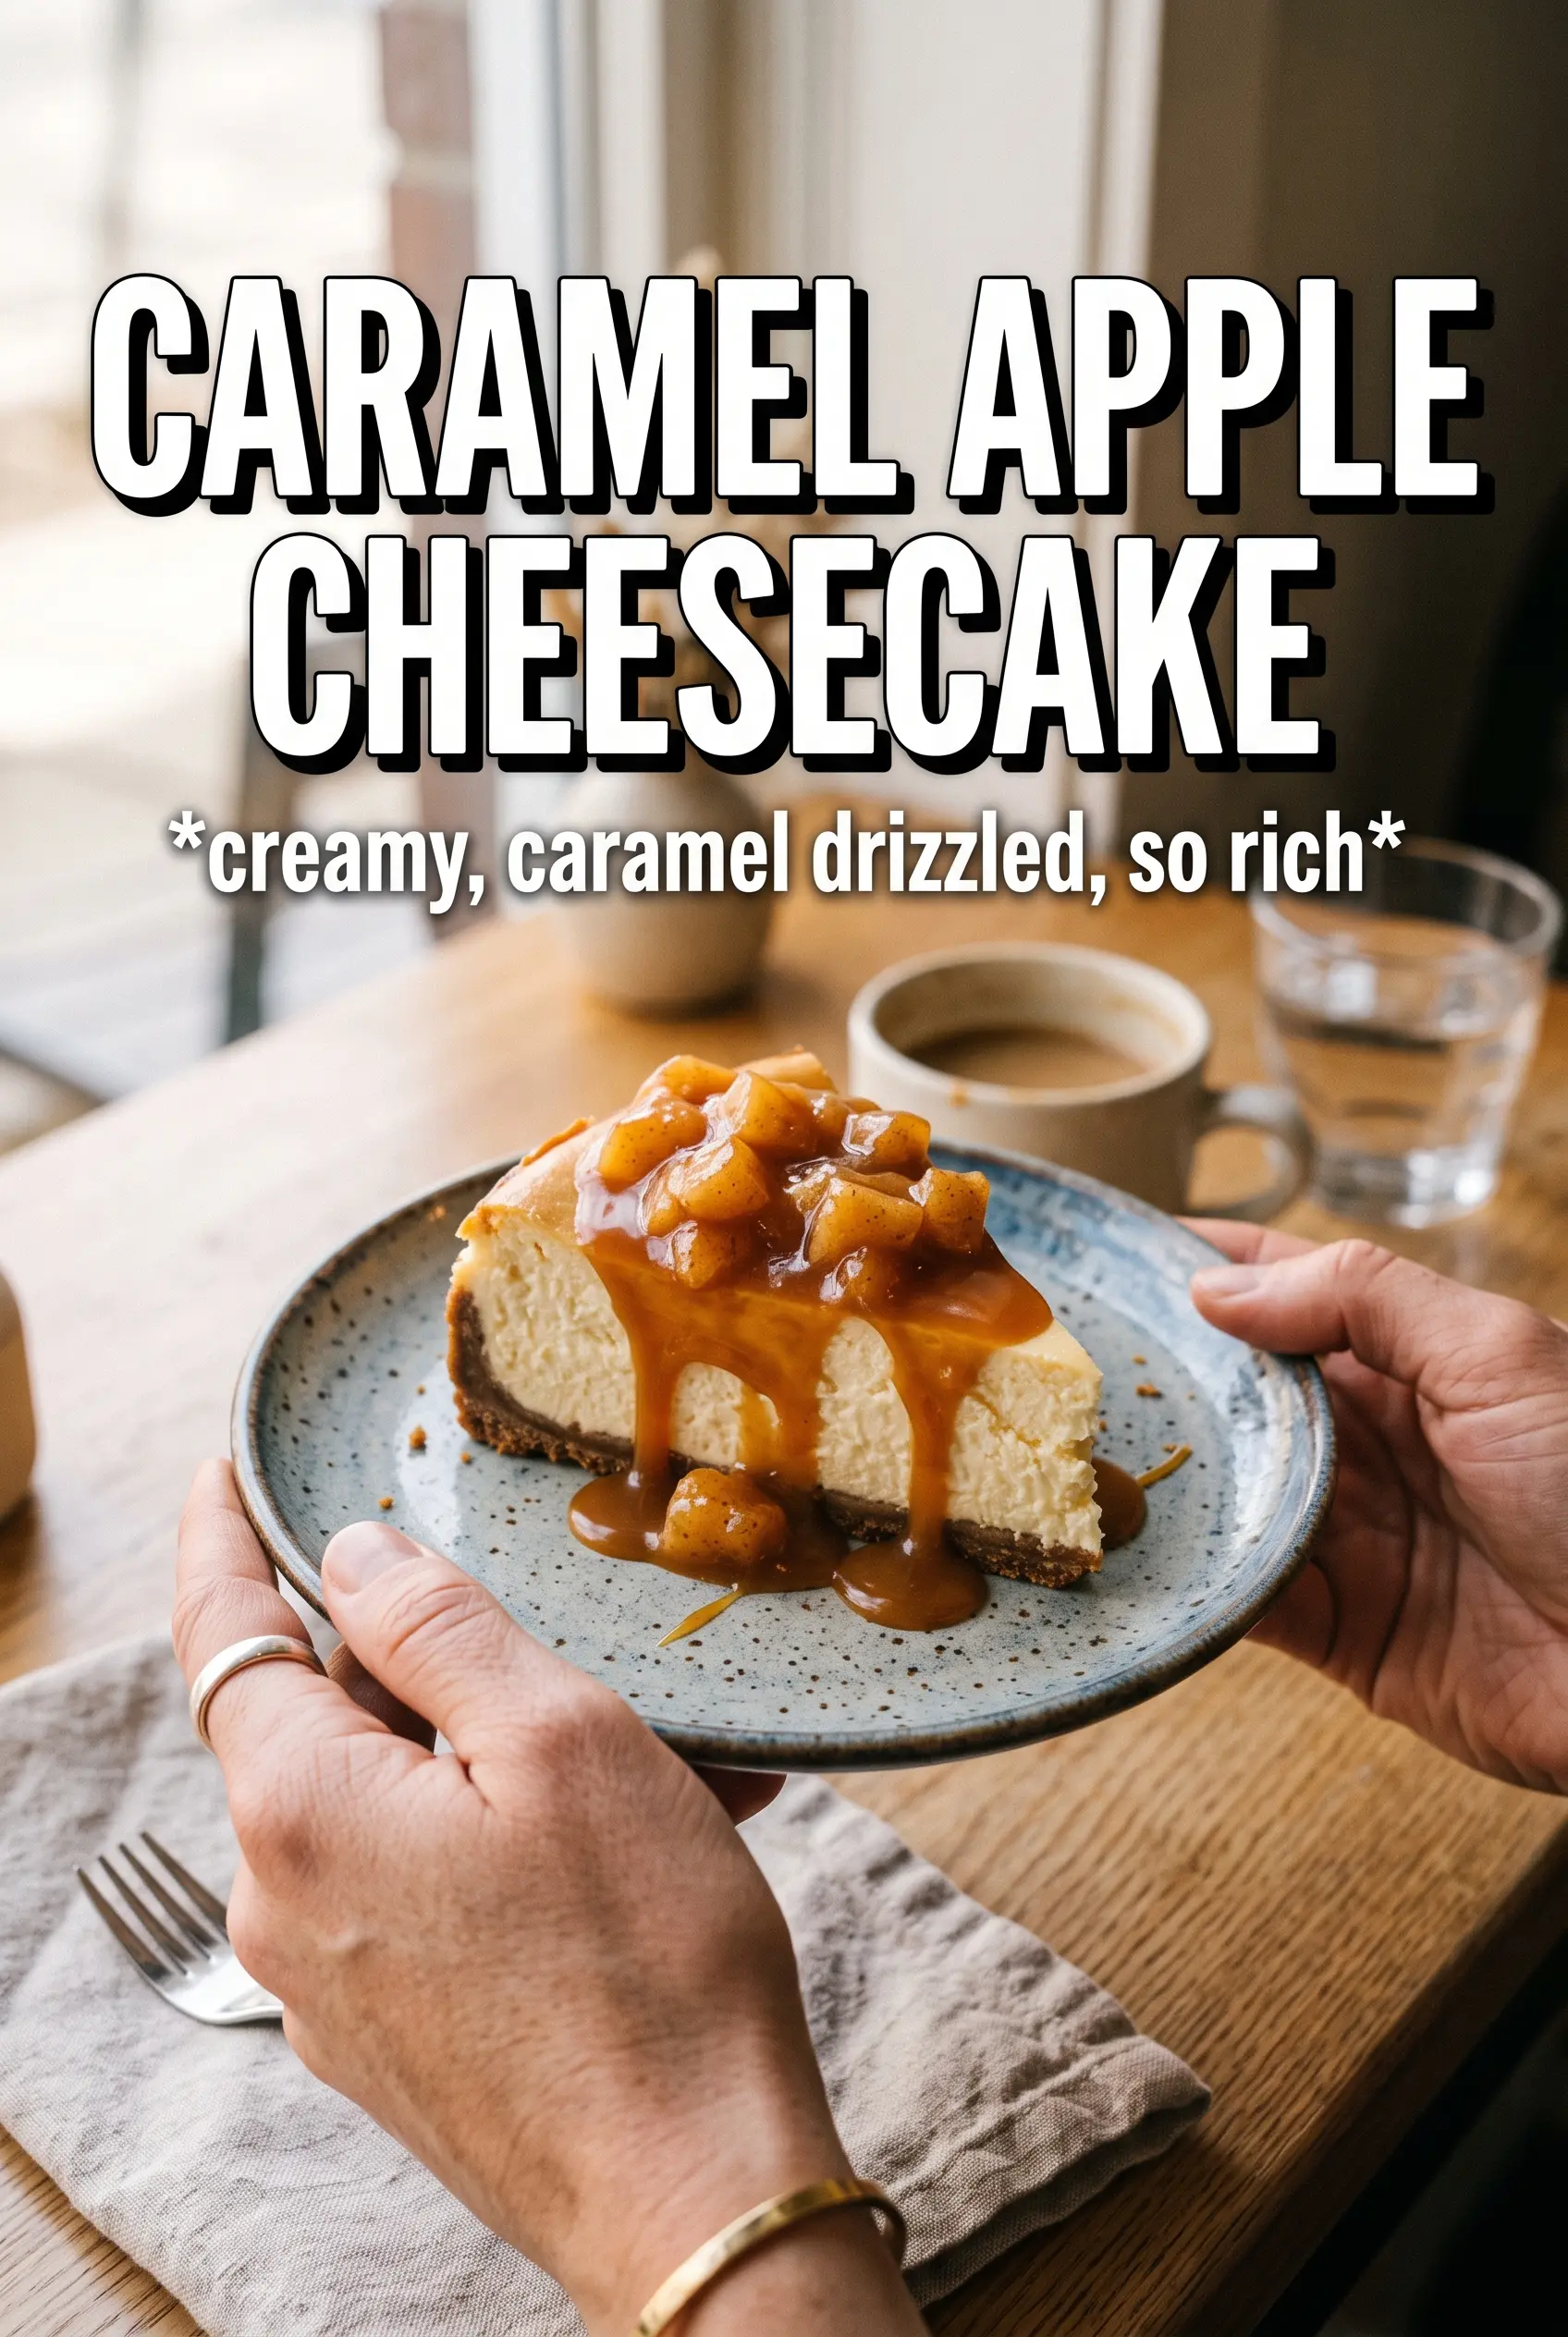
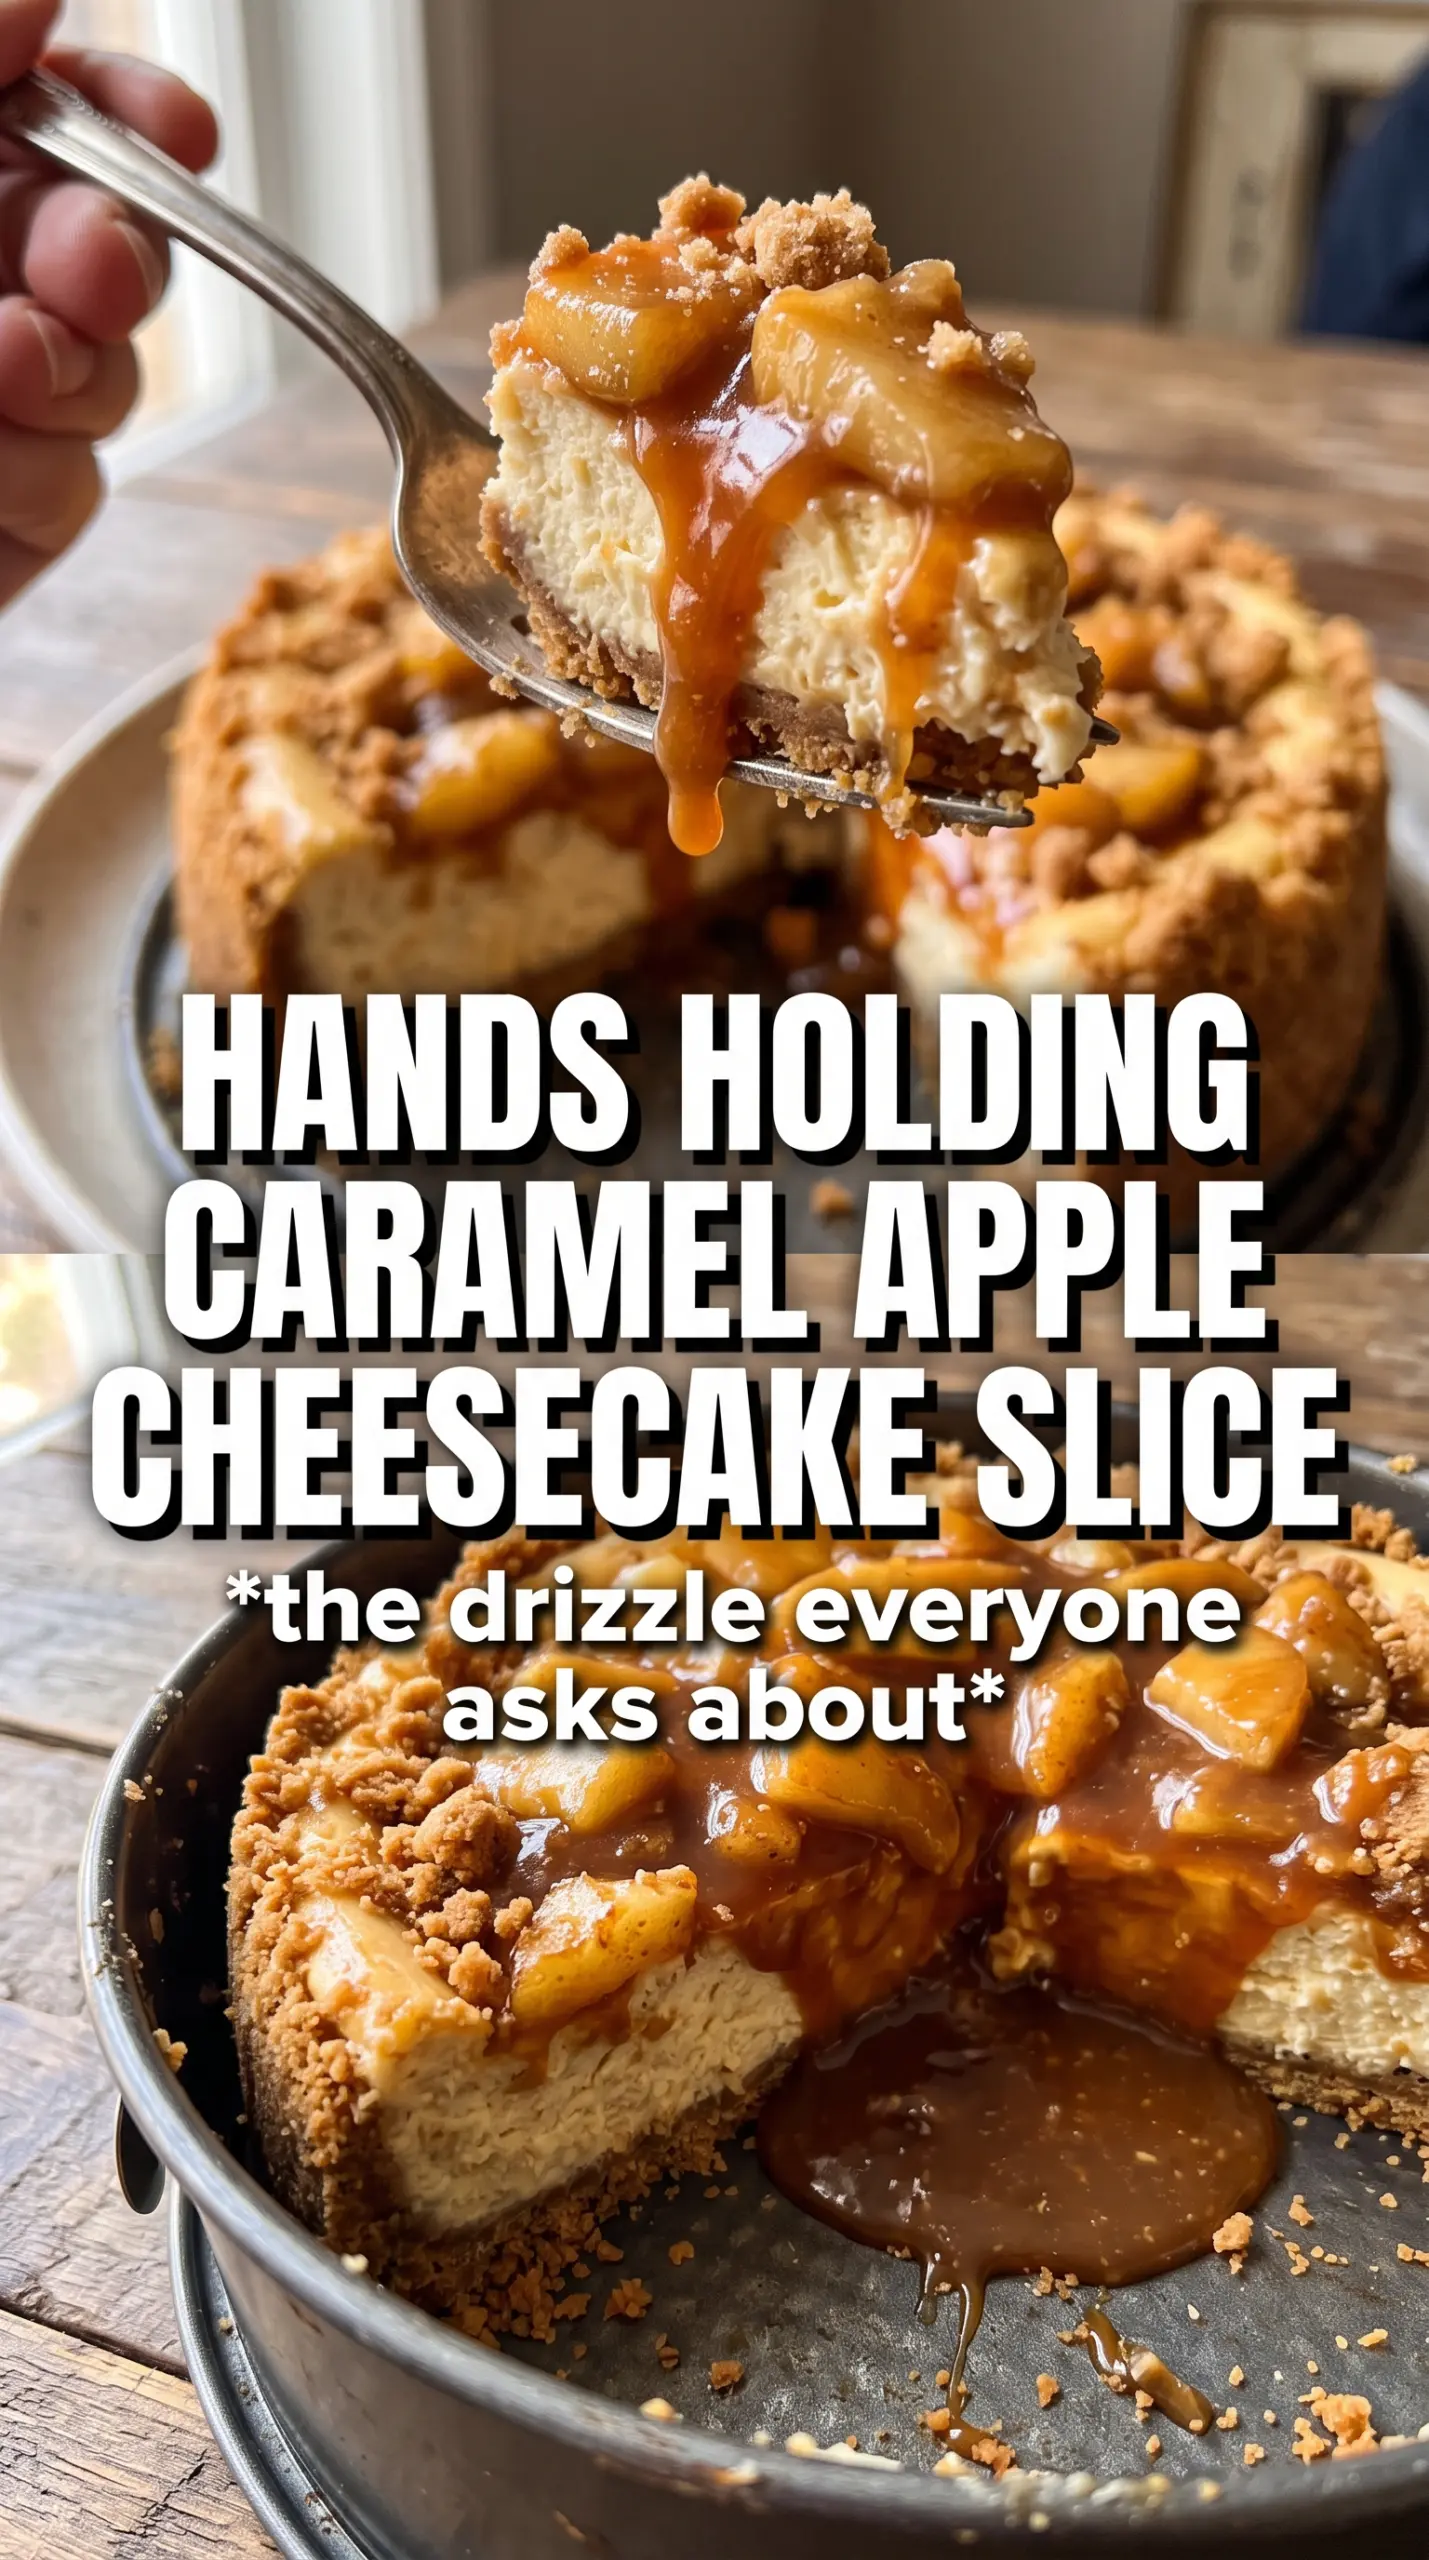
Caramel apple cheesecake earns its place at the table because it gives you all the parts people actually want: a crisp graham cracker crust, a dense but creamy cheesecake layer, soft spiced apples, and a buttery streusel that stays crunchy after baking. The caramel drizzle at the end pulls everything together without making the top soggy, so every slice gets that clean contrast of textures.
The part that matters most here is balance. The apple layer is cooked briefly before it goes on top, which keeps the fruit from weeping into the cheesecake and watering down the filling. The water bath matters too. It keeps the edges from overbaking before the center sets, which is what gives you that smooth, sliceable texture instead of a cracked, grainy top.
Below, I’ve laid out the small details that make this dessert behave the way it should, from keeping the streusel crisp to knowing exactly when the center is ready to come out of the oven.
The apple layer stayed thick and didn’t leak into the cheesecake, and the streusel still had a little crunch even after chilling overnight. My slices came out clean after six hours in the fridge.
Save this caramel apple cheesecake for the dessert table when you want a smooth cheesecake, tender apples, and a crisp streusel topping in every slice.
The Part That Keeps the Cheesecake Smooth Instead of Crackly
The biggest risk in a layered cheesecake like this is rushing the bake. If the oven runs hot or you pull it the moment the center looks set, the edges will overbake and the middle will seize as it cools. A water bath evens out that heat, and it matters here because you’ve got fruit and streusel on top, which already add weight and texture to the surface.
Let the apple mixture cool before it goes on the cheesecake. Warm filling softens the batter and can create a greasy top layer instead of a clean, even bake. The streusel should look sandy with visible butter bits before it goes on top; if you mix it until it turns into a paste, it bakes up dense instead of crumbly.
What Each Ingredient Is Actually Doing in This Recipe
- Primary ingredient (the star) — Quality matters most. Choose the best you can find.
- Cooking medium (oil, butter, or broth) — This carries flavors and prevents dryness.
- Seasonings (salt, pepper, spices, herbs) — Layer flavors so nothing overpowers. Build depth gradually.
- Aromatics (garlic, onion, herbs) — Cook with fat to bloom flavors. Become the foundation.
- Supporting ingredients — Complement the main ingredient without overpowering it.
- Sauce or liquid (if applicable) — Brings flavors together. Balance richness with acid.
- Acid (lemon, vinegar, wine, or other) — Brightens and prevents flat-tasting results.
- Final finish (garnish, glaze, or sauce) — Prevents one-dimensional taste and adds visual appeal.
What Each Layer Is Doing Here
- Graham cracker crumbs — These give you the classic cheesecake base with enough structure to hold a heavy filling. Use fine crumbs so the crust packs evenly and doesn’t crumble when sliced.
- Cream cheese — This is the body of the dessert, and full-fat blocks matter here. Tubs are too soft and can make the filling loose.
- Sour cream — It lightens the texture just enough and adds a little tang so the cheesecake doesn’t taste flat under all that apple and caramel.
- Apples — A firm baking apple is the right choice because it holds some shape after cooking. Softer apples can collapse into mush and turn the top muddy.
- Oats and flour — Together they make the streusel crisp and nubby. The oats add chew, while the flour helps the crumbs cling together in buttery clusters.
- Caramel sauce — Add this after chilling, not before baking. It finishes the dessert without burning or sinking into the top.
Building the Layers Without Letting Them Bleed Together
Pressing and Prebaking the Crust
Mix the graham crumbs, sugar, and melted butter until every crumb looks evenly moistened, then press it firmly into the springform pan. Go up the sides just a little if you want cleaner slices. The 10-minute bake sets the crust so it won’t turn pasty once the filling goes in, and it should smell toasty at the edges when it’s ready.
Cooking the Apples Until They’re Thick, Not Watery
Cook the diced apples with brown sugar, cinnamon, butter, and cornstarch until the juices turn glossy and thick enough to cling to the fruit. You’re not trying to fully soften them; you want them barely tender and well coated. If liquid is still pooling in the pan, keep cooking, because that extra moisture is what leaks into the cheesecake and makes the layers slide.
Mixing the Filling Without Trapping Air
Beat the cream cheese and sugar until smooth first, then add the eggs one at a time, followed by the sour cream, vanilla, and cinnamon. Stop mixing as soon as the batter looks uniform. If you whip too much air into it, the cheesecake rises fast, then falls and cracks as it cools.
Knowing When the Center Is Done
After the apple layer and streusel go on, bake the cheesecake in the water bath until the edges look set but the center still has a slight wobble. It shouldn’t slosh, but it also shouldn’t look rigid. Turn the oven off, crack the door if you can, and let it cool gradually so the top doesn’t split from the sudden temperature change.
Chilling Before the Caramel Goes On
Refrigerate the cheesecake for the full six hours, and longer if you can. A cheesecake that feels soft in the middle when you slice it hasn’t chilled long enough, even if it looks finished on top. Add the caramel right before serving so the drizzle stays clean and glossy instead of dissolving into the streusel.
How to Adapt This Dessert for Different Pans and Diets
Gluten-Free Version
Use gluten-free graham crackers for the crust and a cup-for-cup gluten-free flour blend in the streusel. The texture stays close to the original, though the streusel may brown a little faster, so watch the top during the last 10 minutes of baking.
Extra-Spiced Apple Layer
Add a pinch of nutmeg or allspice to the apples if you want a warmer, more bakery-style finish. Keep the cinnamon in the same range, or the filling starts to taste muddy instead of bright.
Make-Ahead Storage
Refrigerate the cheesecake, covered, for up to 4 days. It freezes better without the caramel drizzle; wrap individual slices tightly and thaw them in the refrigerator overnight. Reheat isn’t needed here — serve it cold or let it sit at room temperature for 15 to 20 minutes so the texture softens slightly.