Caramel fudge sets up with a glossy finish, a dense but tender bite, and that deep cooked sugar flavor that lands somewhere between candy and dessert. When it’s done right, each square cuts cleanly, holds its shape, and melts just slowly enough to leave a rich caramel note behind. The flaky sea salt on top keeps it from tasting flat and gives every piece a little crunch at the edge.
This version works because it leans on a candy thermometer instead of guesswork. That soft-ball stage is what gives the fudge structure without turning it hard and brittle. The sweetened condensed milk adds body and a creamy texture, while the corn syrup helps keep the sugar from crystallizing, which is the main reason homemade fudge can go grainy.
Below, I’ll walk through the point where most fudge recipes go wrong, how to tell the caramel is cooked enough, and a few smart ways to store or adapt the batch if you want to make it ahead.
The fudge set up with that perfect creamy pull instead of getting hard and crumbly, and the salt on top made the caramel flavor pop. I cut it after chilling and every square came out clean.
Love the glossy caramel finish and flaky sea salt on this fudge? Save it to Pinterest for the kind of dessert that slices cleanly and feels special with almost no fuss.
The Soft-Ball Stage Is the Whole Game Here
Caramel fudge doesn’t fail because the ingredients are wrong. It fails because the sugar mixture is pulled off the heat too early or cooked a few degrees too far. Between 238°F and 240°F, the syrup has enough concentration to set into a sliceable fudge, but it still keeps that creamy, chewy bite instead of turning dry and brittle.
The other mistake is letting sugar crystals form on the sides of the pan. Stirring constantly at the start helps everything dissolve evenly, and using a heavy-bottomed pan keeps the heat steady so the bottom doesn’t scorch before the center reaches temperature. Once it starts boiling, keep your focus on the thermometer, not the clock.
- Heavy-bottomed saucepan — This matters more than it sounds. Thin pans create hot spots, and hot spots give you burnt caramel at the edges before the center is ready.
- Candy thermometer — This is the difference between creamy fudge and a sticky pan of disappointment. If yours clips to the side, keep the tip in the syrup but off the bottom for an accurate read.
- Light corn syrup — It doesn’t make the fudge taste like corn syrup. It keeps the sugar from crystallizing, which is what gives the finished fudge that smooth, glossy cut surface.
What the Condensed Milk Is Doing Behind the Scenes

- Sweetened condensed milk — This is the ingredient that gives the fudge its dense, creamy body. There isn’t a clean substitute that behaves the same way, so use the real thing if you want the texture in the recipe card.
- Unsalted butter — Butter adds richness and helps the fudge feel silky instead of merely sugary. Unsalted is best here because it gives you control over the final balance, especially once the flaky sea salt goes on top.
- Vanilla extract — Add it off the heat. If you stir vanilla into a boiling mixture, much of the aroma cooks off before it can do any work.
- Flaky sea salt — This isn’t decoration. It sharpens the caramel flavor and gives each piece a little contrast right at the end.
Building the Caramel Without Letting It Break
Start with the pan and ingredients cold
Line the pan before you begin cooking, then butter it well. Candy waits for nobody once it reaches the right temperature, and having the pan ready keeps you from scrambling with a thickening mixture on the stove. Combine everything in the saucepan and stir until it looks uniform before the heat really takes over.
Bring it to a steady boil
Cook over medium heat and keep stirring as the mixture comes up. You’re looking for a full boil with bubbles breaking across the entire surface, not just around the edges. If the heat is too high, the bottom will darken and taste bitter before the rest of the pan reaches soft-ball stage.
Watch the thermometer, not the clock
Once it’s boiling evenly, the texture will change from loose and foamy to thicker and more satin-like. Keep stirring frequently as it cooks and pull it the moment it hits 238°F to 240°F. If you overshoot by much, the fudge tightens up and loses that creamy bite.
Finish it fast and let it set alone
Stir in the vanilla and salt off the heat, then pour immediately into the prepared pan. Sprinkle the flaky salt over the top while the surface is still warm enough to catch it. Let it cool at room temperature first, then refrigerate until fully set so the squares cut cleanly instead of smearing at the edges.
How to Adjust This Fudge Without Losing the Texture
Dairy-Free Version
This one is tricky because the condensed milk and butter are doing a lot of structural work. A dairy-free substitute can get you close, but expect a slightly softer set and a less buttery finish. Use a vegan condensed milk and a plant butter with a high fat content, then cook carefully to the same temperature so the texture still firms up.
Salted Caramel Swirl
Drizzle a little warm salted caramel over the poured fudge and swirl it lightly with a knife. The trick is to keep the swirl thin; too much and the top won’t set cleanly. This version gives you a stronger caramel hit and a marbled look without changing the base recipe.
Extra-Salty Finish
If you want the salt to stand out more, use a generous pinch of flaky salt on top right after pouring. Don’t mix extra table salt into the fudge itself unless you like a sharper, less rounded finish. The topping gives you control and keeps the interior balanced.
Storage and Reheating
- Refrigerator: Store in an airtight container for up to 2 weeks. The fudge stays firm and cuts best when chilled.
- Freezer: It freezes well for up to 3 months. Wrap the block or individual squares tightly, then thaw in the refrigerator so condensation doesn’t make the surface tacky.
- Reheating: This fudge isn’t meant to be reheated. If it’s too firm straight from the fridge, let it sit at room temperature for 10 to 15 minutes before serving for the best texture.
Answers to the Questions Worth Asking
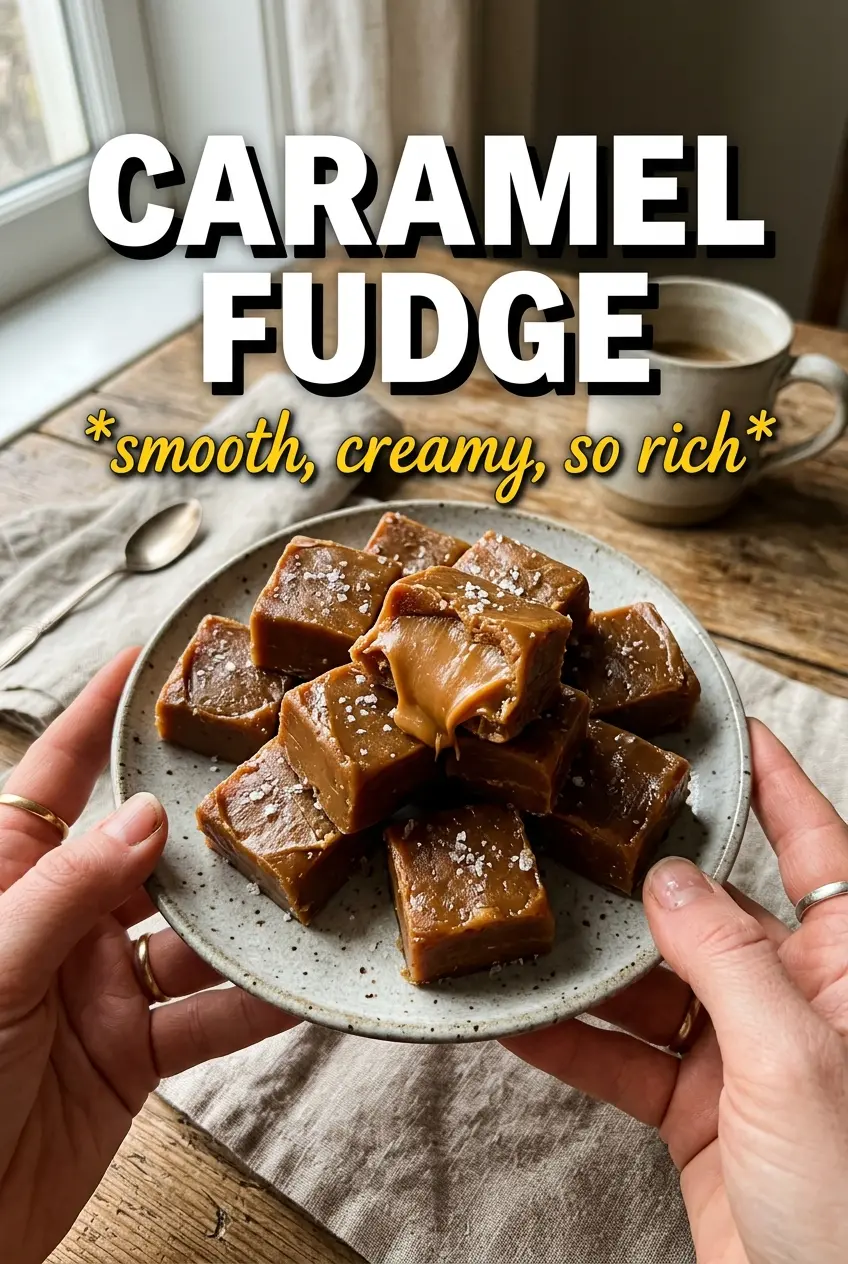
Caramel Fudge
Ingredients
Equipment
Method
- Line an 8x8 pan with parchment and butter generously, leaving parchment overhang for easy lifting.
- Set the prepared pan aside while you cook the caramel mixture.
- Combine granulated sugar, unsalted butter, heavy cream, light corn syrup, and sweetened condensed milk in a heavy-bottomed saucepan.
- Bring the mixture to a boil over medium heat, stirring constantly.
- Cook, stirring frequently, until the mixture reaches 238-240F (soft ball stage) on a candy thermometer.
- Remove the saucepan from heat, then stir in vanilla extract and salt.
- Pour the hot fudge into the prepared pan and sprinkle flaky sea salt for topping.
- Cool at room temperature for 1 hour, until the surface looks dull and less glossy.
- Refrigerate for 1 more hour until firm enough to cut clean squares.
- Lift the fudge from the pan using the parchment overhang and cut into squares with a sharp knife.