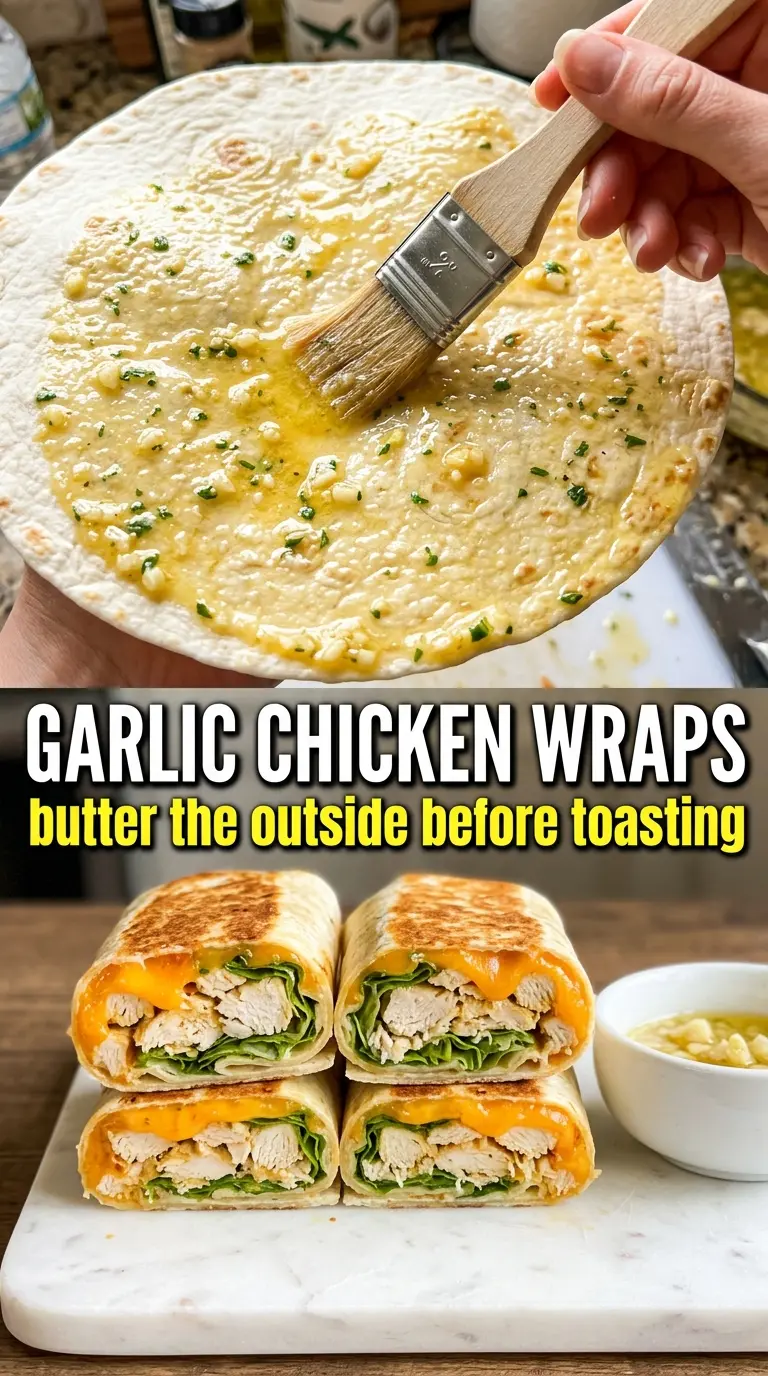
Golden tortillas, melted mozzarella, and garlicky chicken make these wraps land somewhere between a fast lunch and the kind of dinner people remember to ask for again. The outside toasts up crisp and the filling stays juicy, with enough cheese to hold everything together without turning the wrap soggy or heavy.
The trick is cooking the chicken first, then using the same skillet to bloom the garlic in the butter before tossing the chicken back through it. That keeps the garlic from burning and coats every strip with flavor instead of leaving it scattered in the pan. A little dressing on the tortilla adds creaminess and helps anchor the lettuce and tomatoes so the wrap eats neatly.
Below, I’ll walk you through the one pan move that keeps the garlic buttery and the filling balanced, plus a few smart swaps if you want to change up the cheese, dressing, or protein.
The chicken stayed juicy, the garlic butter tasted rich without burning, and the wrap crisped up perfectly in the skillet. My husband asked for it again the next night.
These cheesy garlic chicken wraps get their best texture from the skillet toast and the buttery garlic coating, so they’re worth keeping close for quick lunches and easy dinners.
The Reason the Garlic Stays Sweet Instead of Bitter
The biggest mistake with garlic butter filling is letting the garlic cook too long or too hot. Garlic turns bitter fast once it starts browning, and that bitterness gets louder once you wrap it in mild cheese and a soft tortilla. Cooking the chicken first, then dropping the heat down for the garlic, keeps the flavor round and savory instead of sharp.
Using the same skillet matters here. Those browned bits left behind from the chicken dissolve into the butter and give the garlic a deeper, fuller taste. If your pan looks dry before you add the garlic, the butter should sizzle gently, not spit and scorch.
- Chicken breasts — Cut into even strips so they cook at the same rate. Thin, uneven pieces dry out before the thicker pieces finish.
- Butter — This carries the garlic and helps the chicken pick up flavor. Olive oil works in a pinch, but you lose the rich finish that makes these wraps taste like more than just chicken in a tortilla.
- Mozzarella — It melts into long, stretchy strands and helps bind the filling. Pre-shredded is fine, though freshly shredded melts a little smoother.
- Ranch or Caesar dressing — This adds a creamy layer on the tortilla so the wrap doesn’t eat dry. Use whichever one you already like with chicken; Caesar gives a saltier, punchier bite, while ranch keeps it milder.
What Each Ingredient Is Actually Doing in This Recipe
- Primary ingredient (the star) — Quality matters most. Choose the best you can find.
- Cooking medium (oil, butter, or broth) — This carries flavors and prevents dryness.
- Seasonings (salt, pepper, spices, herbs) — Layer flavors so nothing overpowers. Build depth gradually.
- Aromatics (garlic, onion, herbs) — Cook with fat to bloom flavors. Become the foundation.
- Supporting ingredients — Complement the main ingredient without overpowering it.
- Sauce or liquid (if applicable) — Brings flavors together. Balance richness with acid.
- Acid (lemon, vinegar, wine, or other) — Brightens and prevents flat-tasting results.
- Final finish (garnish, glaze, or sauce) — Prevents one-dimensional taste and adds visual appeal.
Building the Wrap So It Toasts, Melts, and Stays Together
Searing the Chicken First
Cook the chicken in a hot skillet until the pieces are golden on the outside and reach 165°F in the center. You want actual browning here, not pale steamed chicken, because the toasted flavor is what gives the filling its backbone. If the pan is crowded, the chicken will steam and the wrap will taste flat, so give the strips enough room to make contact with the heat.
Turning the Butter into Garlic Filling
Once the chicken comes out, lower the heat and add the garlic to the remaining butter for about a minute. It should smell fragrant and look glossy, not brown. Stir the chicken back in right away, along with the parsley, so the garlic coats the meat before it has a chance to overcook.
Layering for a Clean Melt
Warm the tortillas first so they bend without cracking, then spread the dressing before adding cheese, chicken, lettuce, and tomatoes. The cheese goes under the chicken and on top of it a little if you want extra glue. If the filling is piled too far toward the center, the wrap won’t seal well and the toasted seam can split open in the skillet.
Toasting the Finished Wrap
Place the wrap seam-side down in a skillet over medium heat and let it stay put until the underside turns golden. Flip once and toast the second side just long enough to melt the cheese through. Press lightly with a spatula; if filling leaks out, the wrap is too full or the tortilla wasn’t warmed enough before rolling.
What to Change When You Want a Different Wrap Night
Make it dairy-free
Use a plant-based butter and a dairy-free shredded mozzarella that melts well. The wrap still toasts nicely, but the filling will be a little less rich, so keep the garlic coated chicken juicy and don’t skip the dressing layer.
Swap in grilled chicken thighs
Chicken thighs bring more moisture and a deeper savory taste. They’re forgiving if you cook them a minute longer, but they do release more fat, so drain the pan lightly before adding the butter and garlic.
Use provolone or a mozzarella-provolone blend
Provolone melts with a little more savory edge and gives the wrap a deli-style finish. It won’t stretch quite like straight mozzarella, but it tastes especially good with Caesar dressing.
Storage and Reheating
- Refrigerator: Store assembled wraps for up to 2 days, though the lettuce softens and the tortilla loses some crispness.
- Freezer: Not a great freezer recipe once assembled. The lettuce and tomatoes turn watery after thawing, but the cooked garlic chicken can be frozen separately for up to 2 months.
- Reheating: Reheat in a skillet over medium-low heat until the filling is warmed through and the tortilla crisps back up. Microwaving makes the wrap soft and can turn the cheese rubbery.
Answers to the Questions Worth Asking

Cheesy Garlic Chicken Wraps
Ingredients
Equipment
Method
- Season the chicken strips with salt and pepper. Cook them in 2 tablespoons butter in a skillet over medium-high heat for 5-6 minutes, stirring occasionally, until golden and cooked through to 165°F.
- In the remaining 2 tablespoons butter, cook the minced garlic for 1 minute over medium-high heat until fragrant. Toss the cooked chicken strips in the garlic butter, then stir in the chopped parsley so the chicken is evenly coated.
- Warm the tortillas until pliable. Spread ranch dressing over each tortilla in an even layer.
- Layer the shredded mozzarella, garlic chicken strips, romaine, and cherry tomatoes in a line across each tortilla. Roll tightly so the filling stays inside.
- Toast the wraps seam-side down in a skillet over medium heat for 2 minutes per side until the tortillas are golden and the cheese is melted. Keep the seam closed while toasting for cleaner slices.
- Slice the wraps diagonally and serve immediately. Serve hot so the mozzarella stays stretchy from the cut edge.