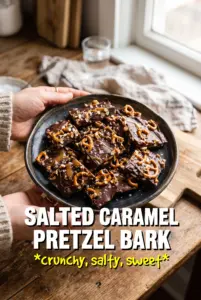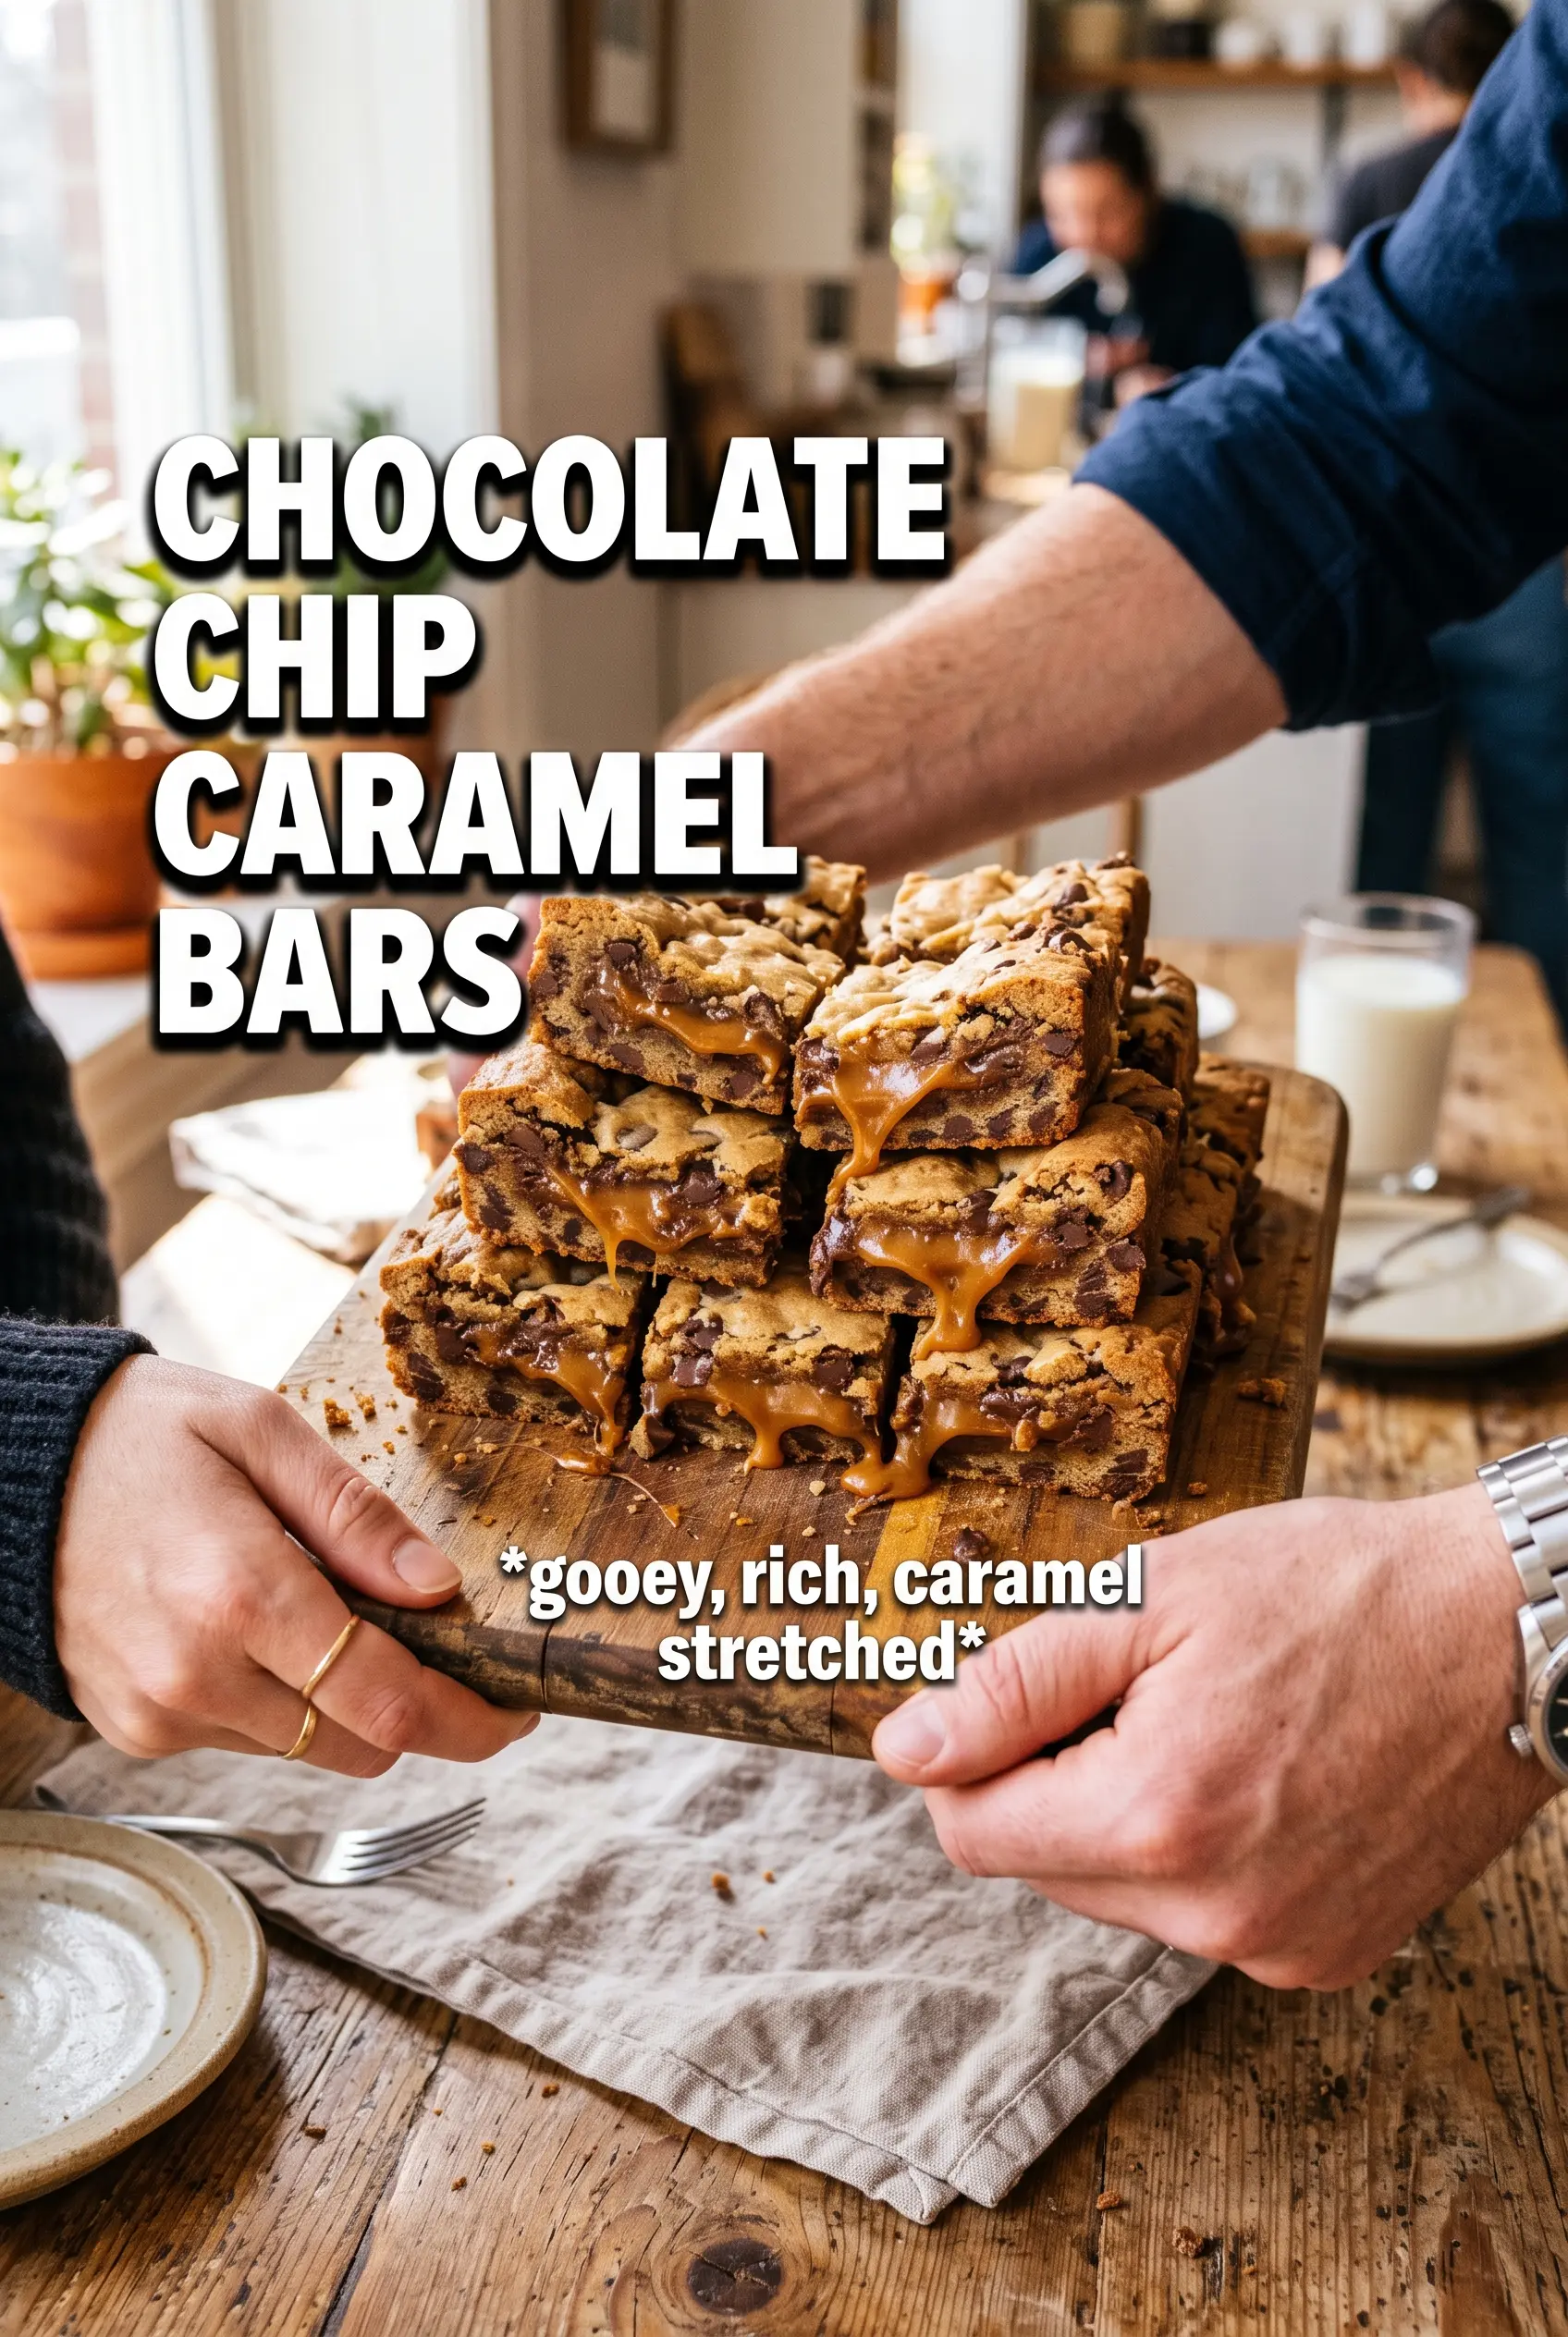
Chocolate chip caramel bars hit the sweet spot between a cookie bar and a candy bar: buttery, chewy edges, a soft oat-studded crumb, and a gooey caramel layer that settles into the middle without leaking out the sides. The chocolate chips melt just enough to give you pockets of richness in every bite, and the flaky salt on top keeps the whole pan from tasting flat. They slice cleanly once cooled, which is a small miracle for a bar this indulgent.
The key here is using the same dough for the base and the topping, but treating each layer differently. Pressing most of the mixture firmly into the pan gives you a sturdy base that can hold the caramel, while the loose crumbles on top bake into a rough, golden lid. Warming the caramel with cream is what makes it pourable and keeps it from turning into a sticky lump in the oven.
Below, I’ll walk through the part that matters most: how to keep the caramel centered and the bars from collapsing when you cut them. I’ve also included a few swaps and storage notes, because this is the kind of dessert people tend to make ahead for potlucks, bake sales, or a pan that quietly disappears over two days.
The caramel stayed in the middle instead of soaking the whole pan, and the bars held together beautifully once they cooled. I loved the oats in the crust with the chocolate on top.
Save these chocolate chip caramel bars for when you want a chewy oat crust, a molten caramel center, and a flaky-salt finish.
The Reason the Caramel Stays in the Middle Instead of Vanishing Into the Crust
The bars hold their layers because the base gets a head start in the oven before the caramel goes in. That brief bake firms up the bottom so it can support the filling instead of drinking it in. If you skip that step, the caramel slides downward and the bars bake up dense and muddy instead of distinct.
Heavy cream is the other important piece. It loosens the caramel just enough to pour across the hot base in a thin layer, which helps it settle into a smooth middle. Without that extra liquid, store-bought caramel can bake up stiff and patchy, and homemade caramel can set too fast once it hits the pan.
- Press the base firmly. A loose layer falls apart when you cut the bars. Compacting two-thirds of the mixture gives the caramel a stable floor.
- Bake the base before adding filling. Those 10 minutes set the structure and keep the caramel from soaking through.
- Let the bars cool completely. The caramel needs time to firm up. If you slice while the pan is warm, the layers smear.
What Each Ingredient Is Actually Doing in This Pan
- Rolled oats — These give the bars their chew and keep the crumb from tasting like plain cookie dough. Quick oats will work in a pinch, but the texture comes out tighter and less rustic.
- Brown sugar — This is what brings the deep, toffee-like note that works with the caramel. You can use dark brown sugar for a stronger molasses flavor and a slightly softer bake.
- Melted butter — Melted butter makes the mixture easy to toss together and creates a denser, chewier bar than creaming butter would. It also helps the topping crumble in uneven clumps, which is exactly what you want here.
- Caramel sauce — Use a sauce that pours smoothly. If yours is very thick, warm it slightly before mixing with the cream so it spreads in an even layer instead of tearing the base.
- Semi-sweet chocolate chips — Semi-sweet keeps the bars balanced. Milk chocolate works too, but the finished bars will lean sweeter and lose some contrast against the caramel.
Building the Layers So the Bars Bake Up Chewy, Not Soggy
Mix the Dough Until Every Oat Is Coated
Stir the flour, oats, sugars, baking soda, and salt together first, then drizzle in the melted butter and toss until everything looks evenly moistened. The mixture should look sandy and clumpy, not wet or paste-like. If you still have dry pockets at the bottom, keep tossing with a spatula rather than adding more butter. Too much butter turns the base greasy and keeps it from setting up properly.
Press and Par-Bake the Bottom Layer
Use about two-thirds of the mixture for the base and press it into the parchment-lined pan in a compact, even layer. You want it flat and firm, especially in the corners, because those spots tend to crumble first when you slice the bars. Bake it just until it looks set on top and the edges start to take on color. If it browns too much now, the final bake will push it into dry, hard territory.
Pour the Caramel While the Crust Is Hot
Whisk the caramel and cream together until smooth, then pour it over the hot base and spread it quickly to the edges. The heat from the crust helps the caramel level out on its own, which is why this step works best right after the pre-bake. Scatter the chocolate chips over the caramel while it’s still warm so they nestle in slightly instead of sitting on top like dry pebbles.
Finish With the Crumble Topping and Salt
Crumble the remaining dough over the chocolate chips, leaving some gaps so the caramel can peek through after baking. The topping should look uneven; that’s what gives you crisp bits alongside softer, chewy sections. Bake until the top is golden and the center no longer looks wet. The bars will still seem a little soft in the middle, but they firm up as they cool. Finish with flaky sea salt while the surface is warm so it sticks where you want it.
Three Ways to Adjust These Bars Without Losing What Makes Them Good
Dairy-Free Version
Use a plant-based butter that bakes well and swap the heavy cream for canned coconut cream or an unsweetened dairy-free creamer. The bars still set up, but the caramel layer will taste a little different and the topping may brown a touch faster, so start checking near the lower end of the bake time.
Gluten-Free Swap
Replace the all-purpose flour with a 1:1 gluten-free baking blend and use certified gluten-free oats. The texture will be a little more tender and less chewy, but the bars still slice cleanly if you let them cool all the way before cutting.
Extra Chocolate, Less Caramel
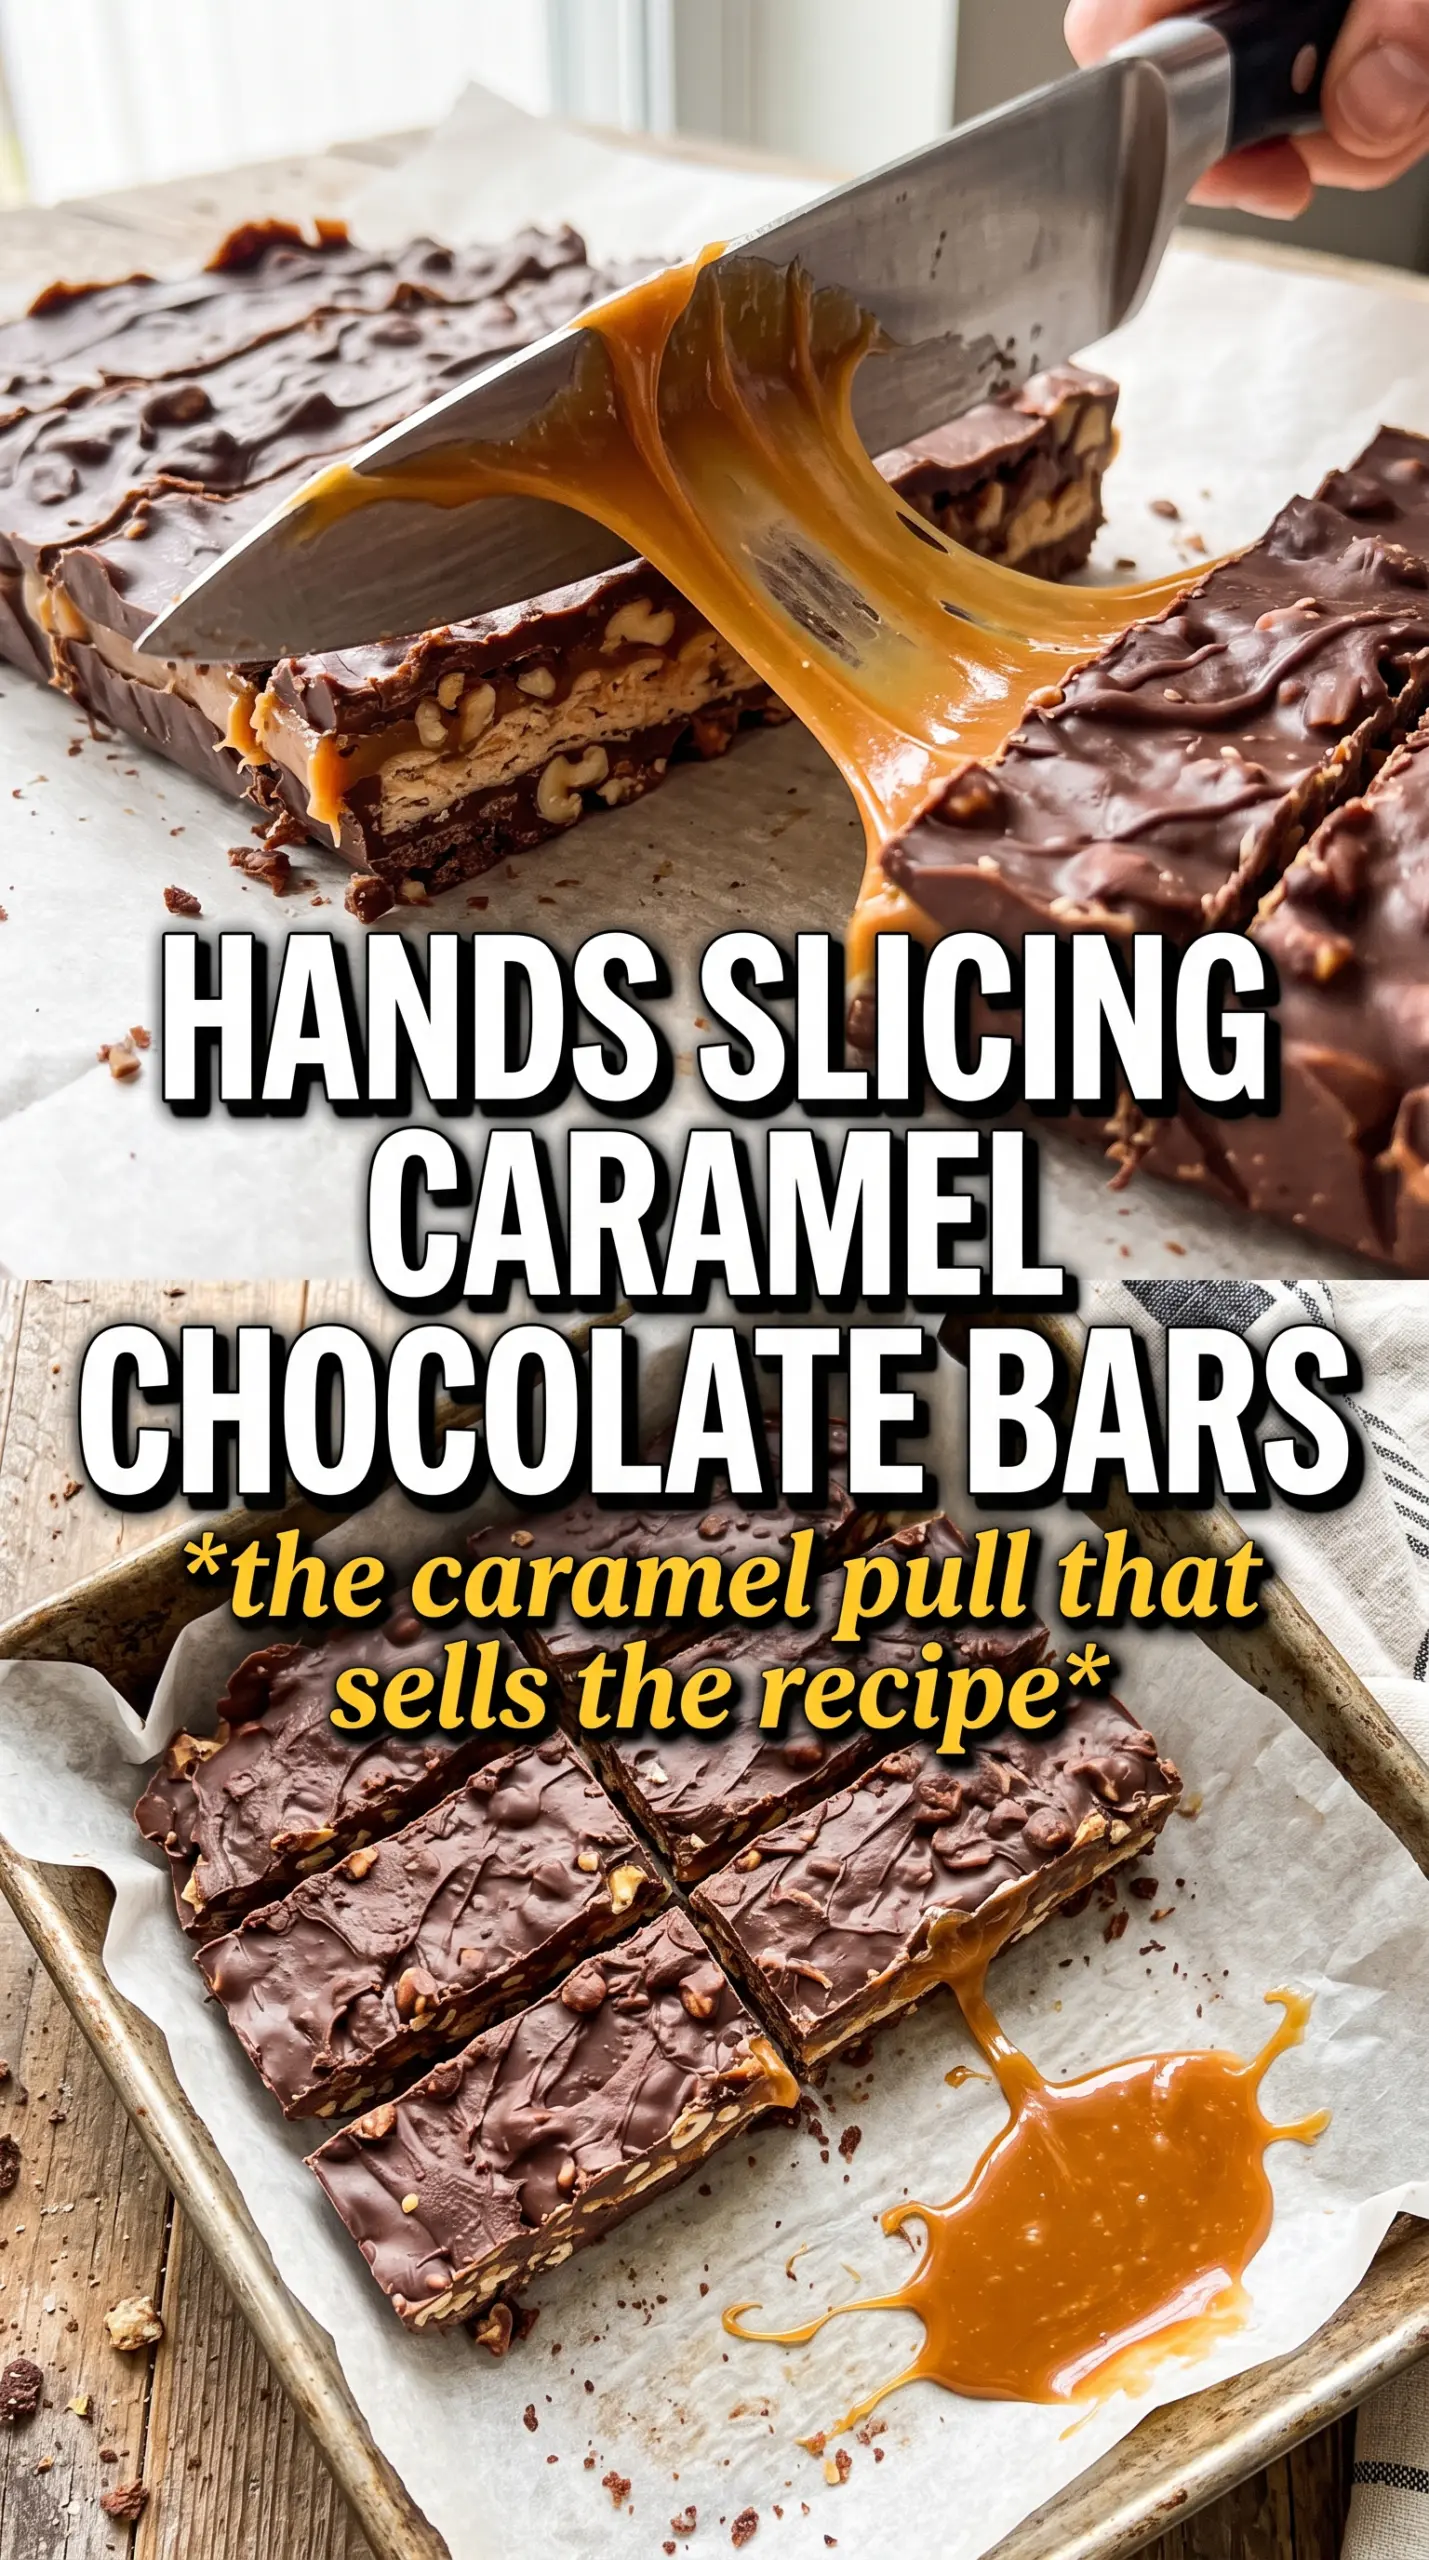
Swap half the caramel sauce for a thick chocolate-hazelnut spread warmed with a splash of cream. You’ll lose some of the classic gooey caramel pull, but you gain a richer, fudgier center that pairs well with the oat base.
Storage and Reheating
- Refrigerator: Store in an airtight container for up to 5 days. The caramel firms up in the fridge, so the bars will taste denser and cleaner when chilled.
- Freezer: These freeze well. Wrap individual bars tightly and freeze for up to 2 months, then thaw in the fridge so the caramel doesn’t turn sticky on the counter.
- Reheating: Warm a bar for 10 to 15 seconds in the microwave if you want the caramel soft again. Don’t overheat it or the chocolate chips will melt out of the topping and the base will turn greasy.