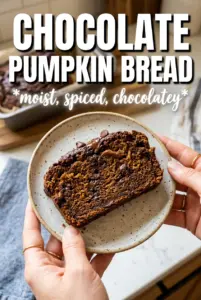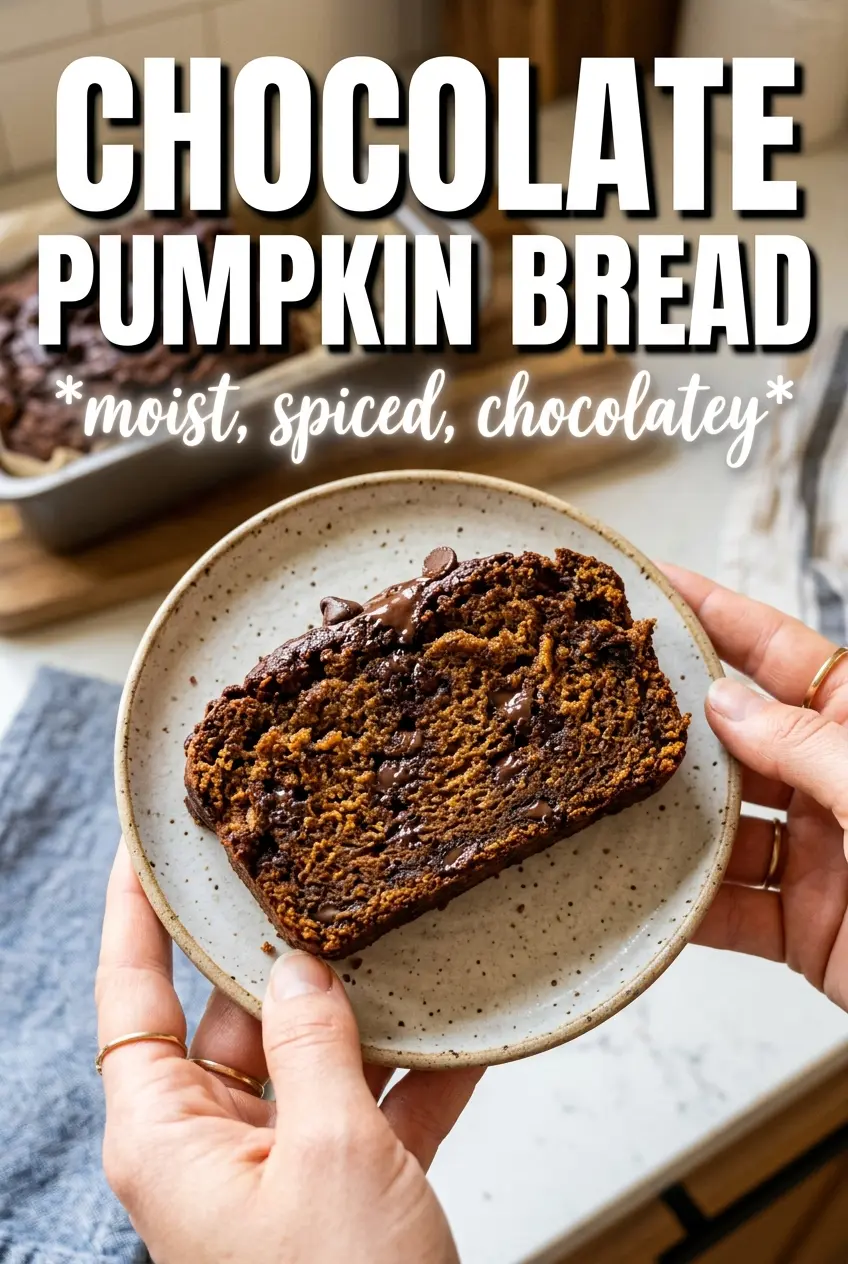
Chocolate pumpkin bread bakes up with a deep cocoa aroma, a soft, plush crumb, and enough chocolate in every slice to make it feel like a treat, not just another quick loaf. The pumpkin keeps it moist for days, while the cocoa and warm spice give it that dark, almost brownie-like flavor that makes people reach for a second piece before the first one is gone.
What makes this version work is the balance. Pumpkin puree brings moisture without thinning the batter, brown sugar adds a little caramel note, and the chocolate chips melt into little pockets instead of disappearing into the loaf. The glaze on top is optional in theory, but in practice it adds a glossy finish that makes the whole loaf taste finished, not plain.
Below, I’m walking through the ingredient choices and the few details that matter most, especially how to keep the center baked through without drying out the edges. If you’ve had pumpkin bread turn dull or dense before, this is the version that fixes that.
The loaf rose evenly, stayed moist for three days, and the chocolate glaze made the pumpkin flavor taste richer instead of hiding it.
Love the rich chocolate crumb and glossy glaze on this chocolate pumpkin bread? Save it to Pinterest for a loaf that stays moist, slices cleanly, and tastes even better the next day.
The reason pumpkin bread turns dense and how this loaf stays tender
The biggest mistake with chocolate pumpkin bread is treating it like a standard quick bread batter. Pumpkin brings a lot of moisture, and cocoa powder dries things out fast, so the batter needs just enough structure to hold together without getting overmixed into a tight loaf. That’s why this recipe leans on oil instead of butter and uses both baking soda and baking powder for lift.
Another thing that matters here is the chocolate distribution. Folding in chips at the end keeps the batter from getting overworked, and scattering the last handful on top gives you those glossy pockets on the surface instead of sinking everything to the bottom. If your loaf has ever baked up heavy in the middle, it was usually either too much mixing or not enough time in the oven for the center to set.
What each ingredient is doing in this chocolate pumpkin loaf
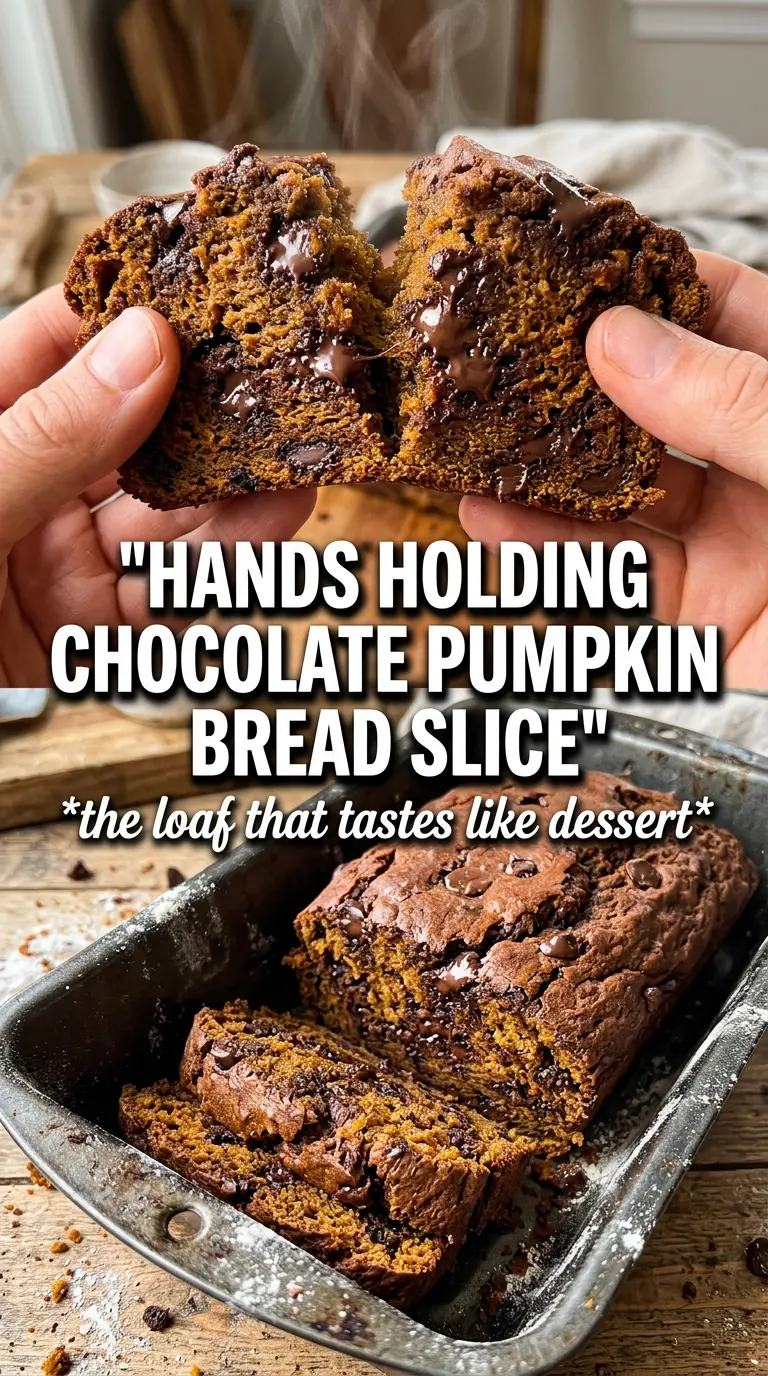
- Pumpkin puree — This is the moisture engine of the loaf. Use plain pumpkin puree, not pumpkin pie filling, because the filling already contains sugar and spices and will throw off both the texture and the flavor balance.
- Cocoa powder — Cocoa gives the bread its deep color and that almost brownie-like backbone. A natural cocoa powder works well here; Dutch-process will make it a little darker and smoother, but either one will work as long as you keep the leavening as written.
- Vegetable oil — Oil keeps the crumb soft even after the loaf cools. Butter can be used, but the texture turns a little firmer once chilled, which takes away from the plush, tender bite this bread should have.
- Brown sugar and granulated sugar — The granulated sugar sweetens cleanly, while the brown sugar brings moisture and a light molasses note that fits the pumpkin and chocolate. If you only use white sugar, the loaf tastes flatter.
- Dark chocolate chips — These are worth using if you want contrast against the sweet pumpkin batter. Semi-sweet chips work too, but dark chocolate keeps the bread from tasting overly sugary.
- Chocolate glaze — The butter and cream make the melted chips pourable and shiny. You can skip it, but the glaze gives the loaf that bakery-style finish and adds a little extra chocolate on top without changing the crumb.
Building the batter without overworking the loaf
Whisk the dry ingredients first
Start by whisking the flour, cocoa, baking soda, baking powder, spice, cinnamon, and salt until the mixture looks evenly colored. Cocoa tends to clump, and if those pockets stay hidden in the flour, they’ll leave dry streaks in the baked loaf. A quick whisk now gives you an even crumb later. This is also the point where the loaf starts to smell warmly spiced before it even hits the oven.
Mix the pumpkin base until it looks smooth
Whisk the pumpkin, sugars, oil, eggs, and vanilla until the mixture looks glossy and uniform. You’re not trying to whip in a lot of air; you just want the sugar dissolved enough that the batter doesn’t bake up grainy. If the eggs are cold, the mixture can look a little lumpy at first, so keep whisking until it smooths out. That smooth base is what gives the loaf its soft, even texture.
Fold, don’t beat, once the flour goes in
Add the dry ingredients to the pumpkin mixture and fold just until no dry flour remains. Stop as soon as the batter comes together, then fold in 1 cup of the chocolate chips. Overmixing at this stage is what makes quick breads tough and tunnelled. The batter should be thick and spoonable, not stretchy, and a few streaks are better than stirring until it looks perfectly slick.
Watch the center, not the clock
Pour the batter into the prepared loaf pan, scatter the remaining chips over the top, and bake until a toothpick comes out clean from the center. For me, that’s usually 60 to 65 minutes, but every oven runs a little differently, and cocoa batters can hide a wet center longer than plain bread batters do. If the top is dark enough before the center is done, lay a piece of foil loosely over it for the last stretch of baking. Let it rest in the pan for 15 minutes before glazing so the loaf sets enough to slice cleanly.
Three ways to change the loaf without losing the texture
Dairy-free version with the same tender crumb
The loaf itself is already dairy-free, so the only swap you need is in the glaze. Use a dairy-free butter and a splash of coconut cream or an unsweetened non-dairy creamer. The glaze will still set with a glossy finish, though it may be a little softer than the original.
Muffin-style bake for faster breakfasts
Spoon the batter into a lined muffin tin and bake until the centers spring back and a tester comes out clean, usually around 18 to 22 minutes. You’ll lose the dramatic loaf slices, but you gain faster baking and easier portioning. Keep an eye on them near the end because the chocolate chips on top can brown quickly.
Less sugar without changing the structure
You can cut the granulated sugar slightly, but don’t pull back too hard on the brown sugar because it helps with moisture and tenderness. If you reduce sugar too much, the loaf can bake up dry and taste more bitter from the cocoa. The chocolate chips already bring plenty of sweetness, so a modest reduction works better than a big one.
Gluten-free adaptation that still slices well
Use a cup-for-cup gluten-free flour blend that includes xanthan gum. The loaf will still be soft and chocolatey, but it may need a few extra minutes in the oven to set in the center. Let it cool fully before slicing so the crumb has time to firm up.
Storage and Reheating
- Refrigerator: Store sliced or unsliced in an airtight container for up to 5 days. The crumb stays moist, but the chocolate chips will firm up when cold.
- Freezer: Freeze the unglazed loaf or individual slices wrapped well for up to 3 months. Glaze after thawing for the best texture and appearance.
- Reheating: Warm slices in the microwave for 10 to 15 seconds or in a low oven until just heated through. Don’t overheat it or the chocolate will seize up and the loaf will dry out at the edges.