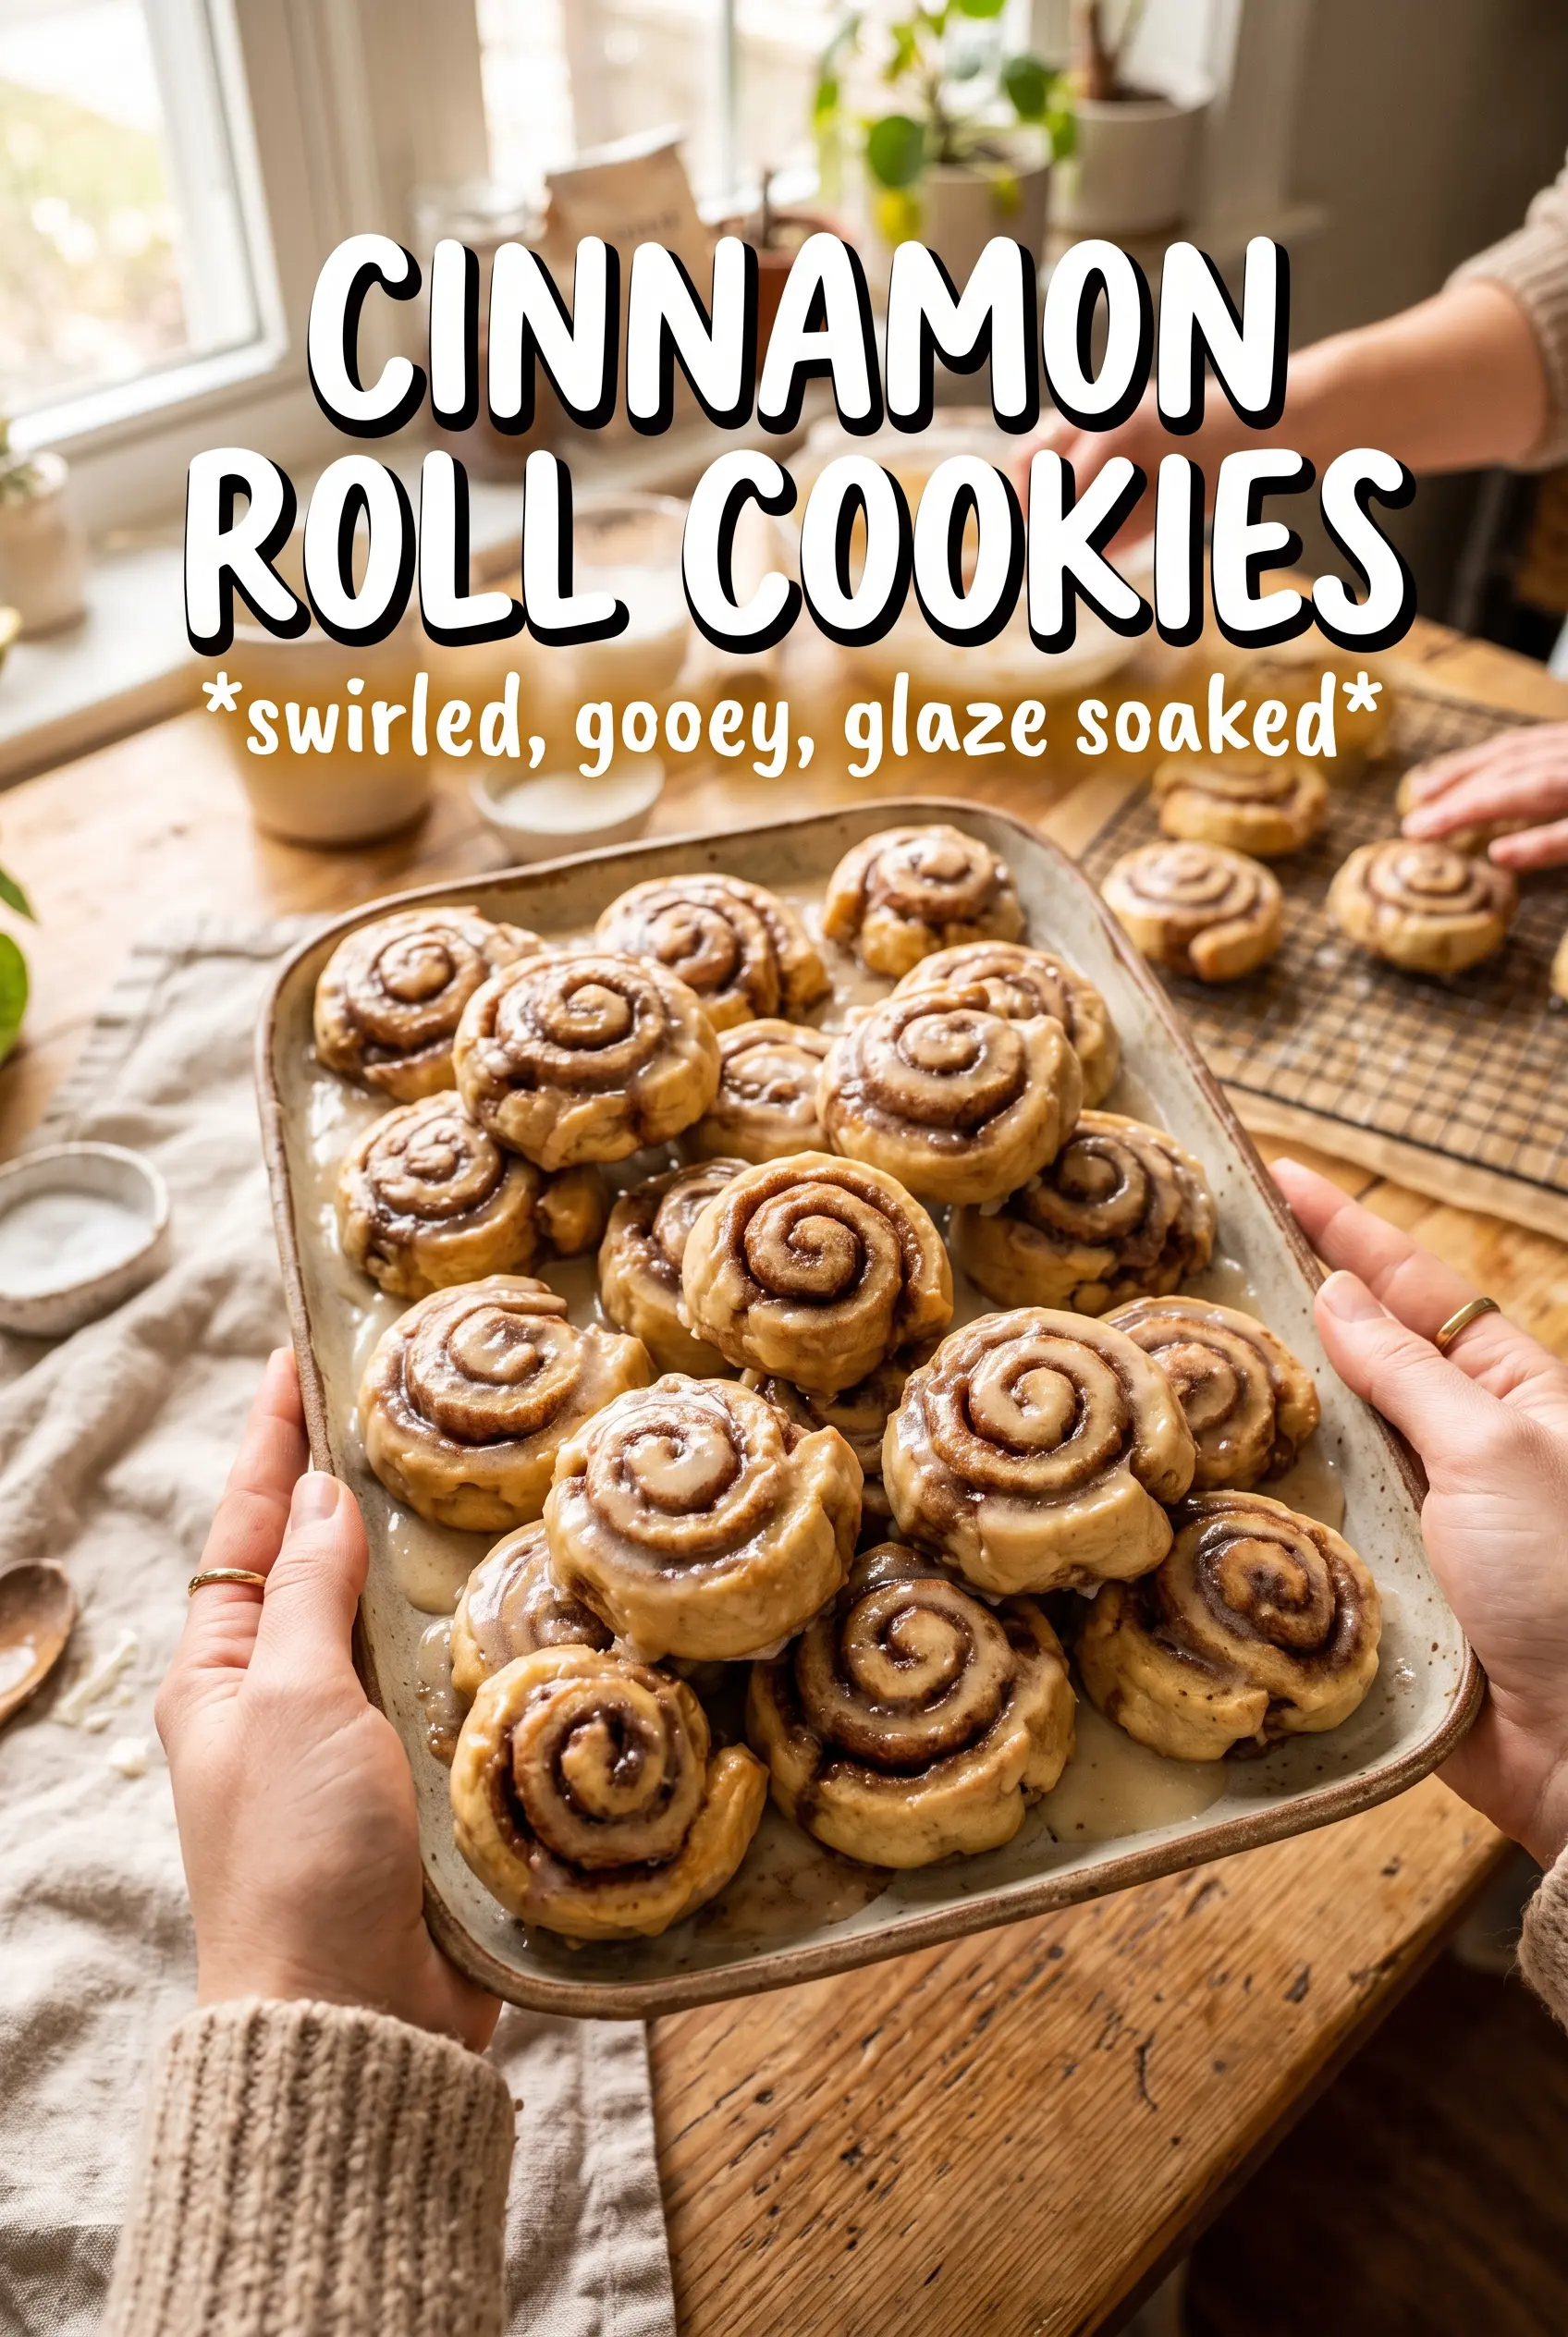
Cinnamon roll cookies deliver the same warm swirl and cream cheese finish people love in a bakery roll, but in a form you can bake faster and share more easily. The dough stays tender, the centers keep a soft bite, and each slice shows off that brown sugar cinnamon spiral instead of turning into a blended spice cookie.
What makes this version work is the balance between a sturdy cookie dough and a filling that stays spreadable but not runny. Chilling the logs before slicing keeps the rounds neat, and it also keeps the butter from leaking out too quickly in the oven. That’s what gives you clean spirals instead of flattened puddles with cinnamon stuck to the pan.
Below, I’ve included the small details that matter most: how thin to roll the dough, how tight the log should be, and when to glaze so the icing melts into the tops without disappearing completely.
The swirl held perfectly after chilling, and the glaze soaked into the warm cookies without making them soggy. I brought a batch to work and people kept asking if they came from a bakery.
Love the cinnamon swirl and cream cheese glaze? Save these cinnamon roll cookies for the next time you want bakery-style cookies with a soft center.
Why the Swirl Stays Sharp Instead of Blurring
The biggest risk with cinnamon roll cookies is a filling that melts out before the dough sets. That usually happens when the logs are rolled loosely or sliced while they’re still too soft. This dough needs that full hour of chilling so the butter firms up and the spiral holds its shape in the oven.
Rolling the dough between parchment helps you keep the rectangle even without adding extra flour, which can make the cookies dry. The filling should look like a thin, even layer, not a thick paste. If the cinnamon sugar is piled on, it will slide around when you roll the log and leave empty pockets in the cookies after baking.
- Chilling time — This is what turns a floppy log into clean slices. If you rush it, the cookies flatten and the swirl smears.
- Even rolling — A 10×8 rectangle gives you a tight spiral with enough dough around it to hold the filling in place.
- Softened butter in the filling — It helps the sugar stick to the dough, but it should be spreadable, not melted. Melted butter leaks and makes the cookie bottoms greasy.
What Each Ingredient Is Doing in the Spiral

- All-purpose flour — This gives the cookies enough structure to slice cleanly after chilling. Bread flour would make them tougher, and cake flour would be too delicate for the spiral.
- Unsalted butter — Use softened butter in both the dough and filling so everything creams and spreads evenly. Salted butter can work in a pinch, but the filling tastes cleaner with unsalted.
- Brown sugar — This is what creates the gooey cinnamon roll center. Packed brown sugar brings moisture and a deeper caramel note that granulated sugar can’t copy.
- Cinnamon — Two tablespoons sounds bold, and it should. The dough is mild enough to carry it, so the filling needs enough cinnamon to taste like an actual roll and not just a sweet cookie.
- Cream cheese — The glaze needs the tang. Regular icing tastes flat here, while cream cheese glaze cuts through the sweetness and ties the whole cookie together.
- Milk — Add it slowly so the glaze drizzles instead of runs off the cookies. A little more makes it thin enough for a glossy finish; less keeps it thick and bold on top.
Building the Logs So They Bake in Tight Spirals
Creaming the Dough Base
Beat the butter and sugar until the mixture looks pale and fluffy, not greasy. That step traps air, which gives the cookies a little lift instead of a dense, shortbread-like texture. Add the egg and vanilla once the base is smooth, then stop as soon as they disappear. If the mixture looks curdled for a moment, it usually comes back together when the flour goes in.
Rolling and Filling Without Gaps
Divide the dough in half before rolling so each log stays manageable and even. Spread the softened butter all the way to the edges, then layer on the brown sugar and cinnamon in a thin, even blanket. Leave the rectangle close to 10×8 inches and roll from the long side as tightly as you can without squeezing the filling out the ends. Any loose roll will open up in the oven and leave wide gaps in the spiral.
Chilling Before Slicing
Wrap the logs in parchment and chill until they feel firm all the way through. The dough should slice cleanly with almost no squishing under the knife. If the log fights back or flattens under pressure, give it more time. A sharp knife helps, but cold dough does most of the work for you.
Baking and Finishing Warm
Bake until the edges are just turning golden and the centers still look soft. They finish setting on the tray, so pulling them at the right moment keeps them tender instead of dry. Mix the glaze while the cookies bake, then drizzle it over the warm cookies so it melts into the swirls without soaking the whole cookie through. If the glaze seems too thick, add milk a teaspoon at a time.
How to Adapt These Cookies for Different Kitchens
Dairy-Free Version
Use plant-based butter in both the dough and filling, then swap the cream cheese and milk for dairy-free versions that are made for baking. The cookies will still slice well, though the glaze usually tastes a little softer and less tangy than the original.
Extra-Neat Slice-and-Bake Cookies
Chill the logs for closer to 90 minutes if you want the sharpest spirals possible. The longer chill gives you cleaner rounds and less spread, which is useful if you’re baking for a tray where presentation matters.
Bigger Cinnamon Flavor
Add an extra half teaspoon of cinnamon to the filling if you want the spice to read louder against the sweet dough. That gives the cookies a more bakery-style punch, but don’t overdo it or the filling can taste dusty instead of warm.
Storage and Reheating
- Refrigerator: Store in an airtight container for up to 5 days. The cookies stay soft, though the glaze firms up on top.
- Freezer: Freeze the unglazed baked cookies or the wrapped dough logs for up to 2 months. If freezing baked cookies, thaw at room temperature before glazing.
- Reheating: Warm cookies for 8 to 10 seconds in the microwave just to loosen the center. Longer heating melts the glaze and dries out the edges.