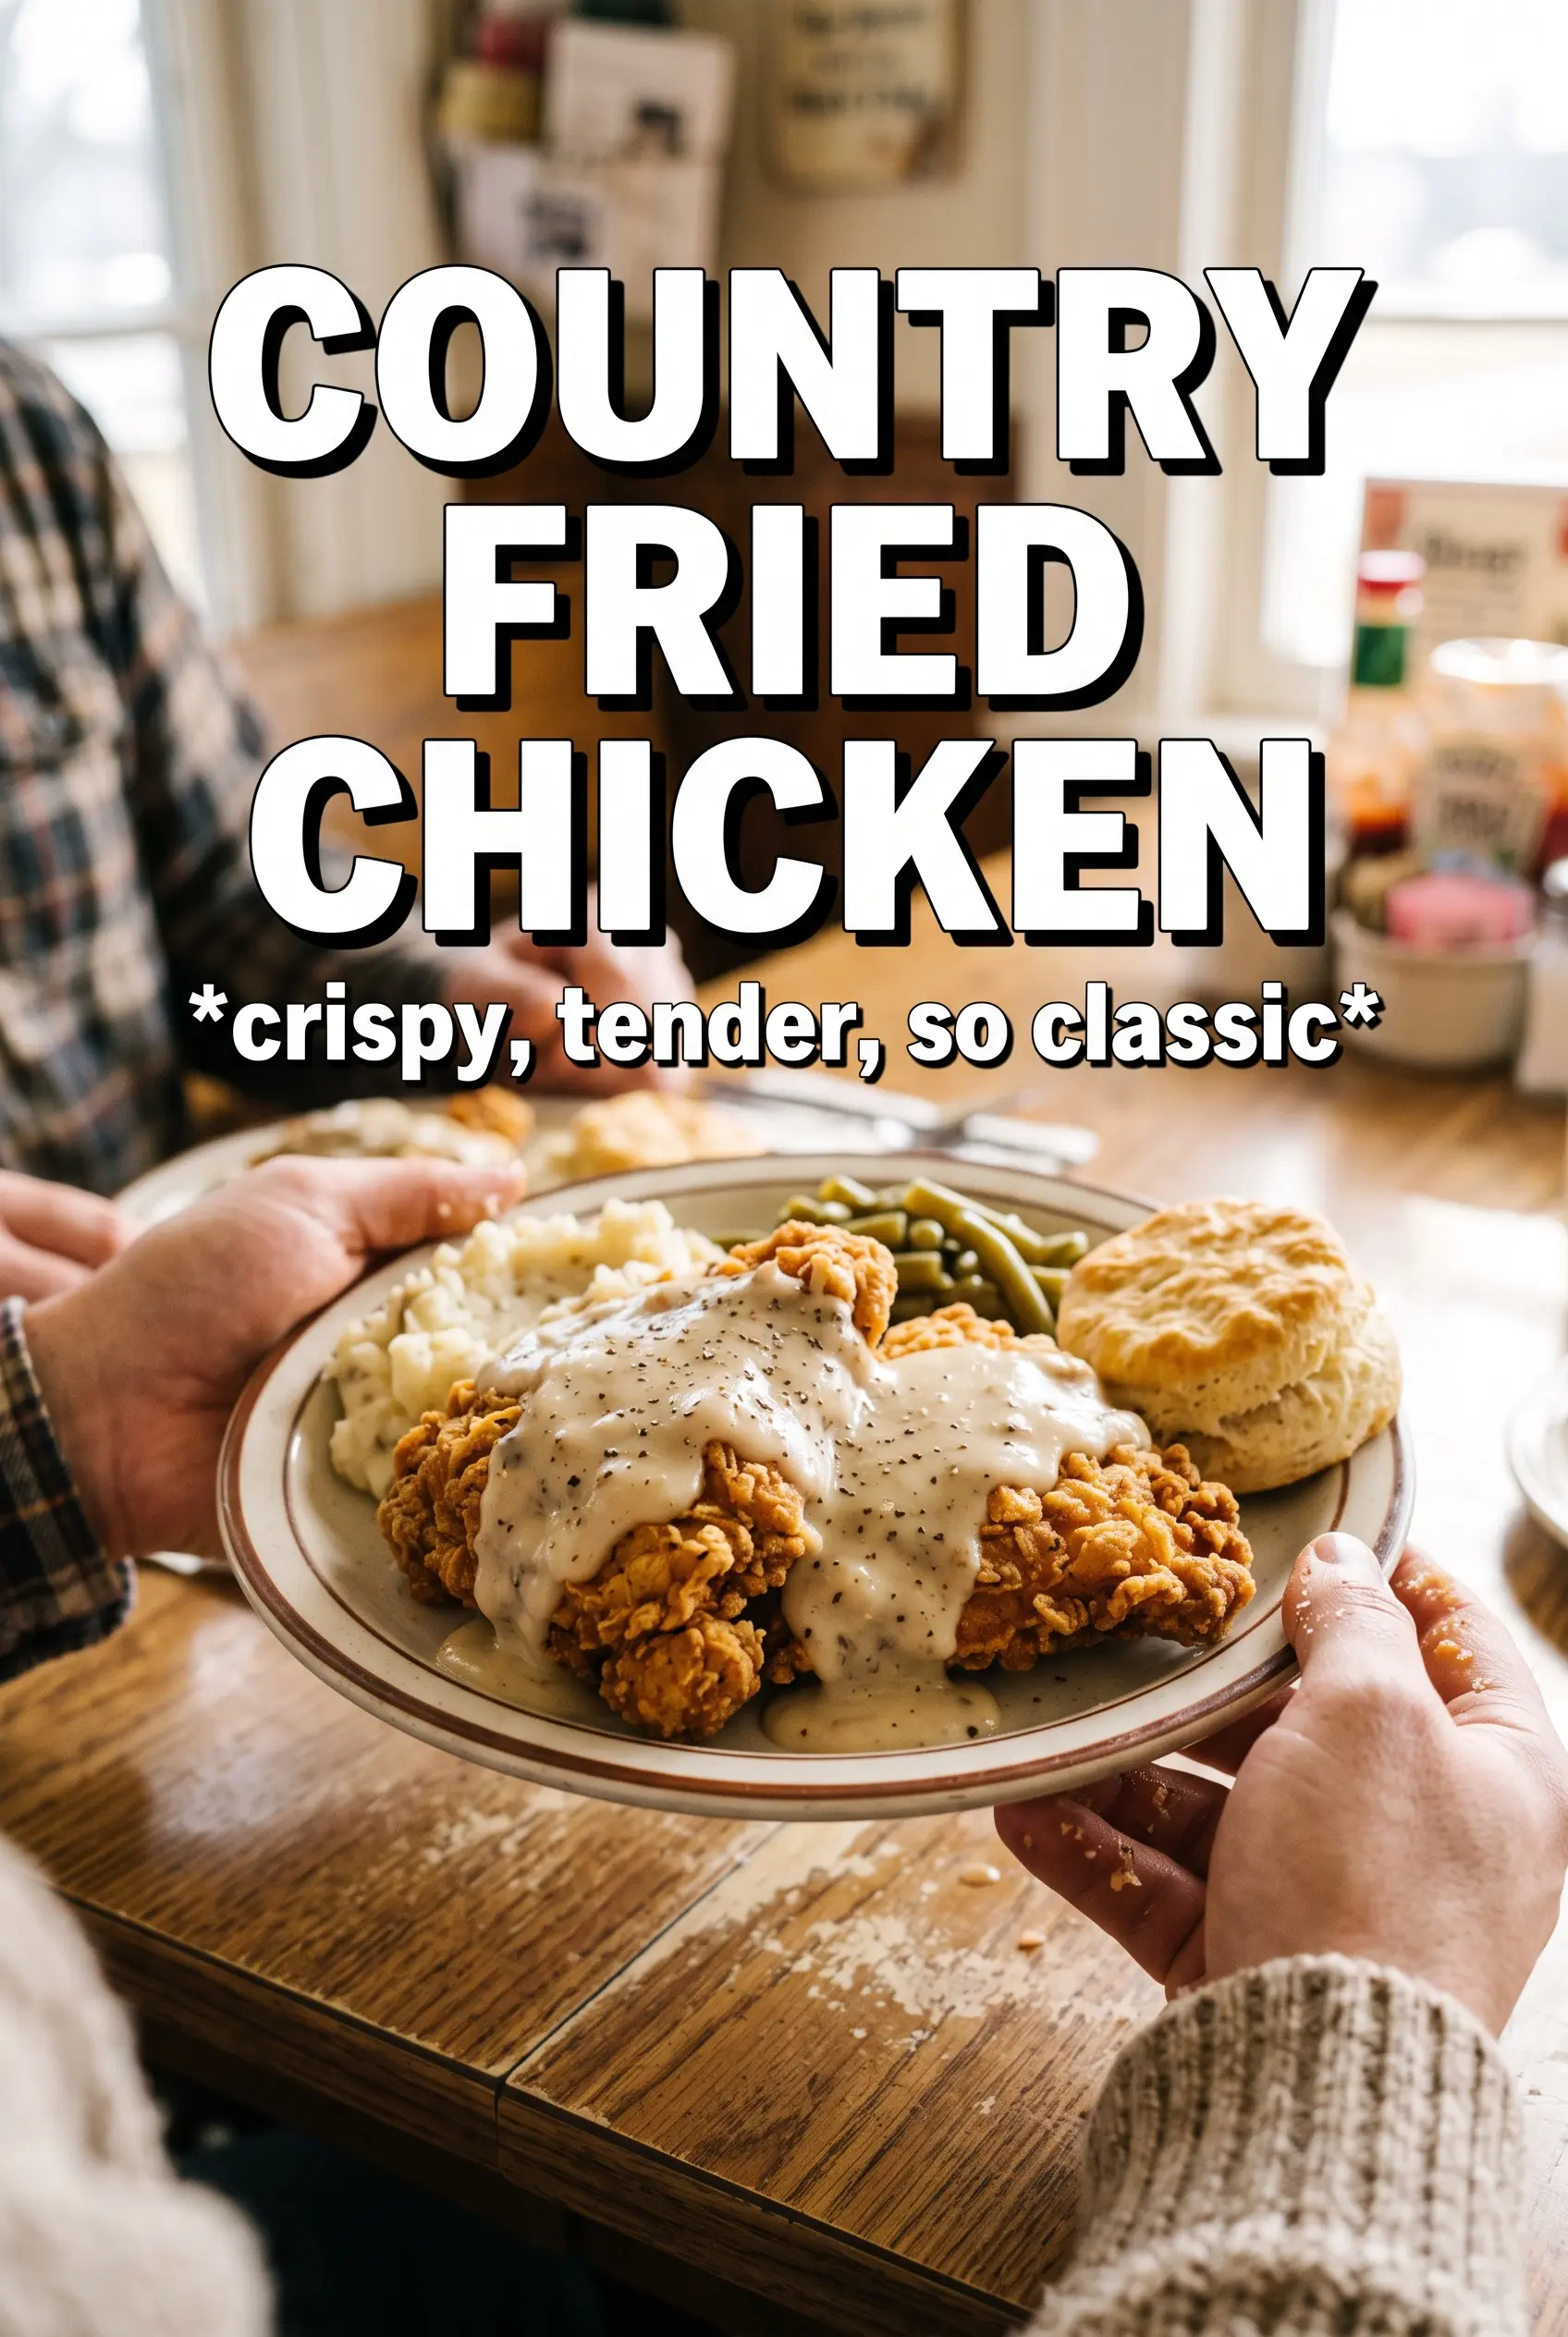
Country fried chicken lands on the plate with a crust that crackles when you cut into it, then gives way to juicy meat and a peppery gravy that settles into every ridge. The best version isn’t greasy or heavy. It’s crisp, deeply seasoned, and sturdy enough to stay crunchy under the gravy long enough for you to get a real bite of both.
The buttermilk soak does more than tenderize the chicken. It seasons the meat all the way through and gives the flour something to cling to, which matters when you want a crust that fries up with rough, craggy edges instead of a smooth shell. Cornstarch in the dredge keeps the coating lighter and more brittle, while the cast-iron skillet helps hold the oil temperature steady so the crust browns before the chicken overcooks.
Below, I’ll walk through the part that makes the biggest difference: how to keep the breading from sliding off, how to know the oil is at the right heat, and how to build a country gravy that stays silky instead of turning gluey.
The crust stayed shatteringly crisp even after I spooned on the gravy, and the chicken was cooked through in the time listed. My dad said it tasted like the kind he grew up eating.
Save this country fried chicken for the night you want a crunchy crust, peppery gravy, and real Southern comfort on one plate.
The Secret to a Craggy Crust That Actually Stays Put
Most fried chicken problems start before the chicken ever hits the oil. If the coating is thin, wet, or packed on unevenly, it sheds in the skillet and leaves you with pale patches instead of a solid crust. The buttermilk needs time to cling, and the dredge needs to be pressed on firmly enough that it picks up those rough, floury ridges that fry into crunch.
The other mistake is crowding the pan. When the oil temperature drops, the coating absorbs more fat before it has a chance to set, and that’s when the crust turns heavy. Fry in batches, keep the heat steady around 325°F, and give the chicken enough room to sizzle instead of steam.
What the Buttermilk, Cornstarch, and Spices Are Really Doing
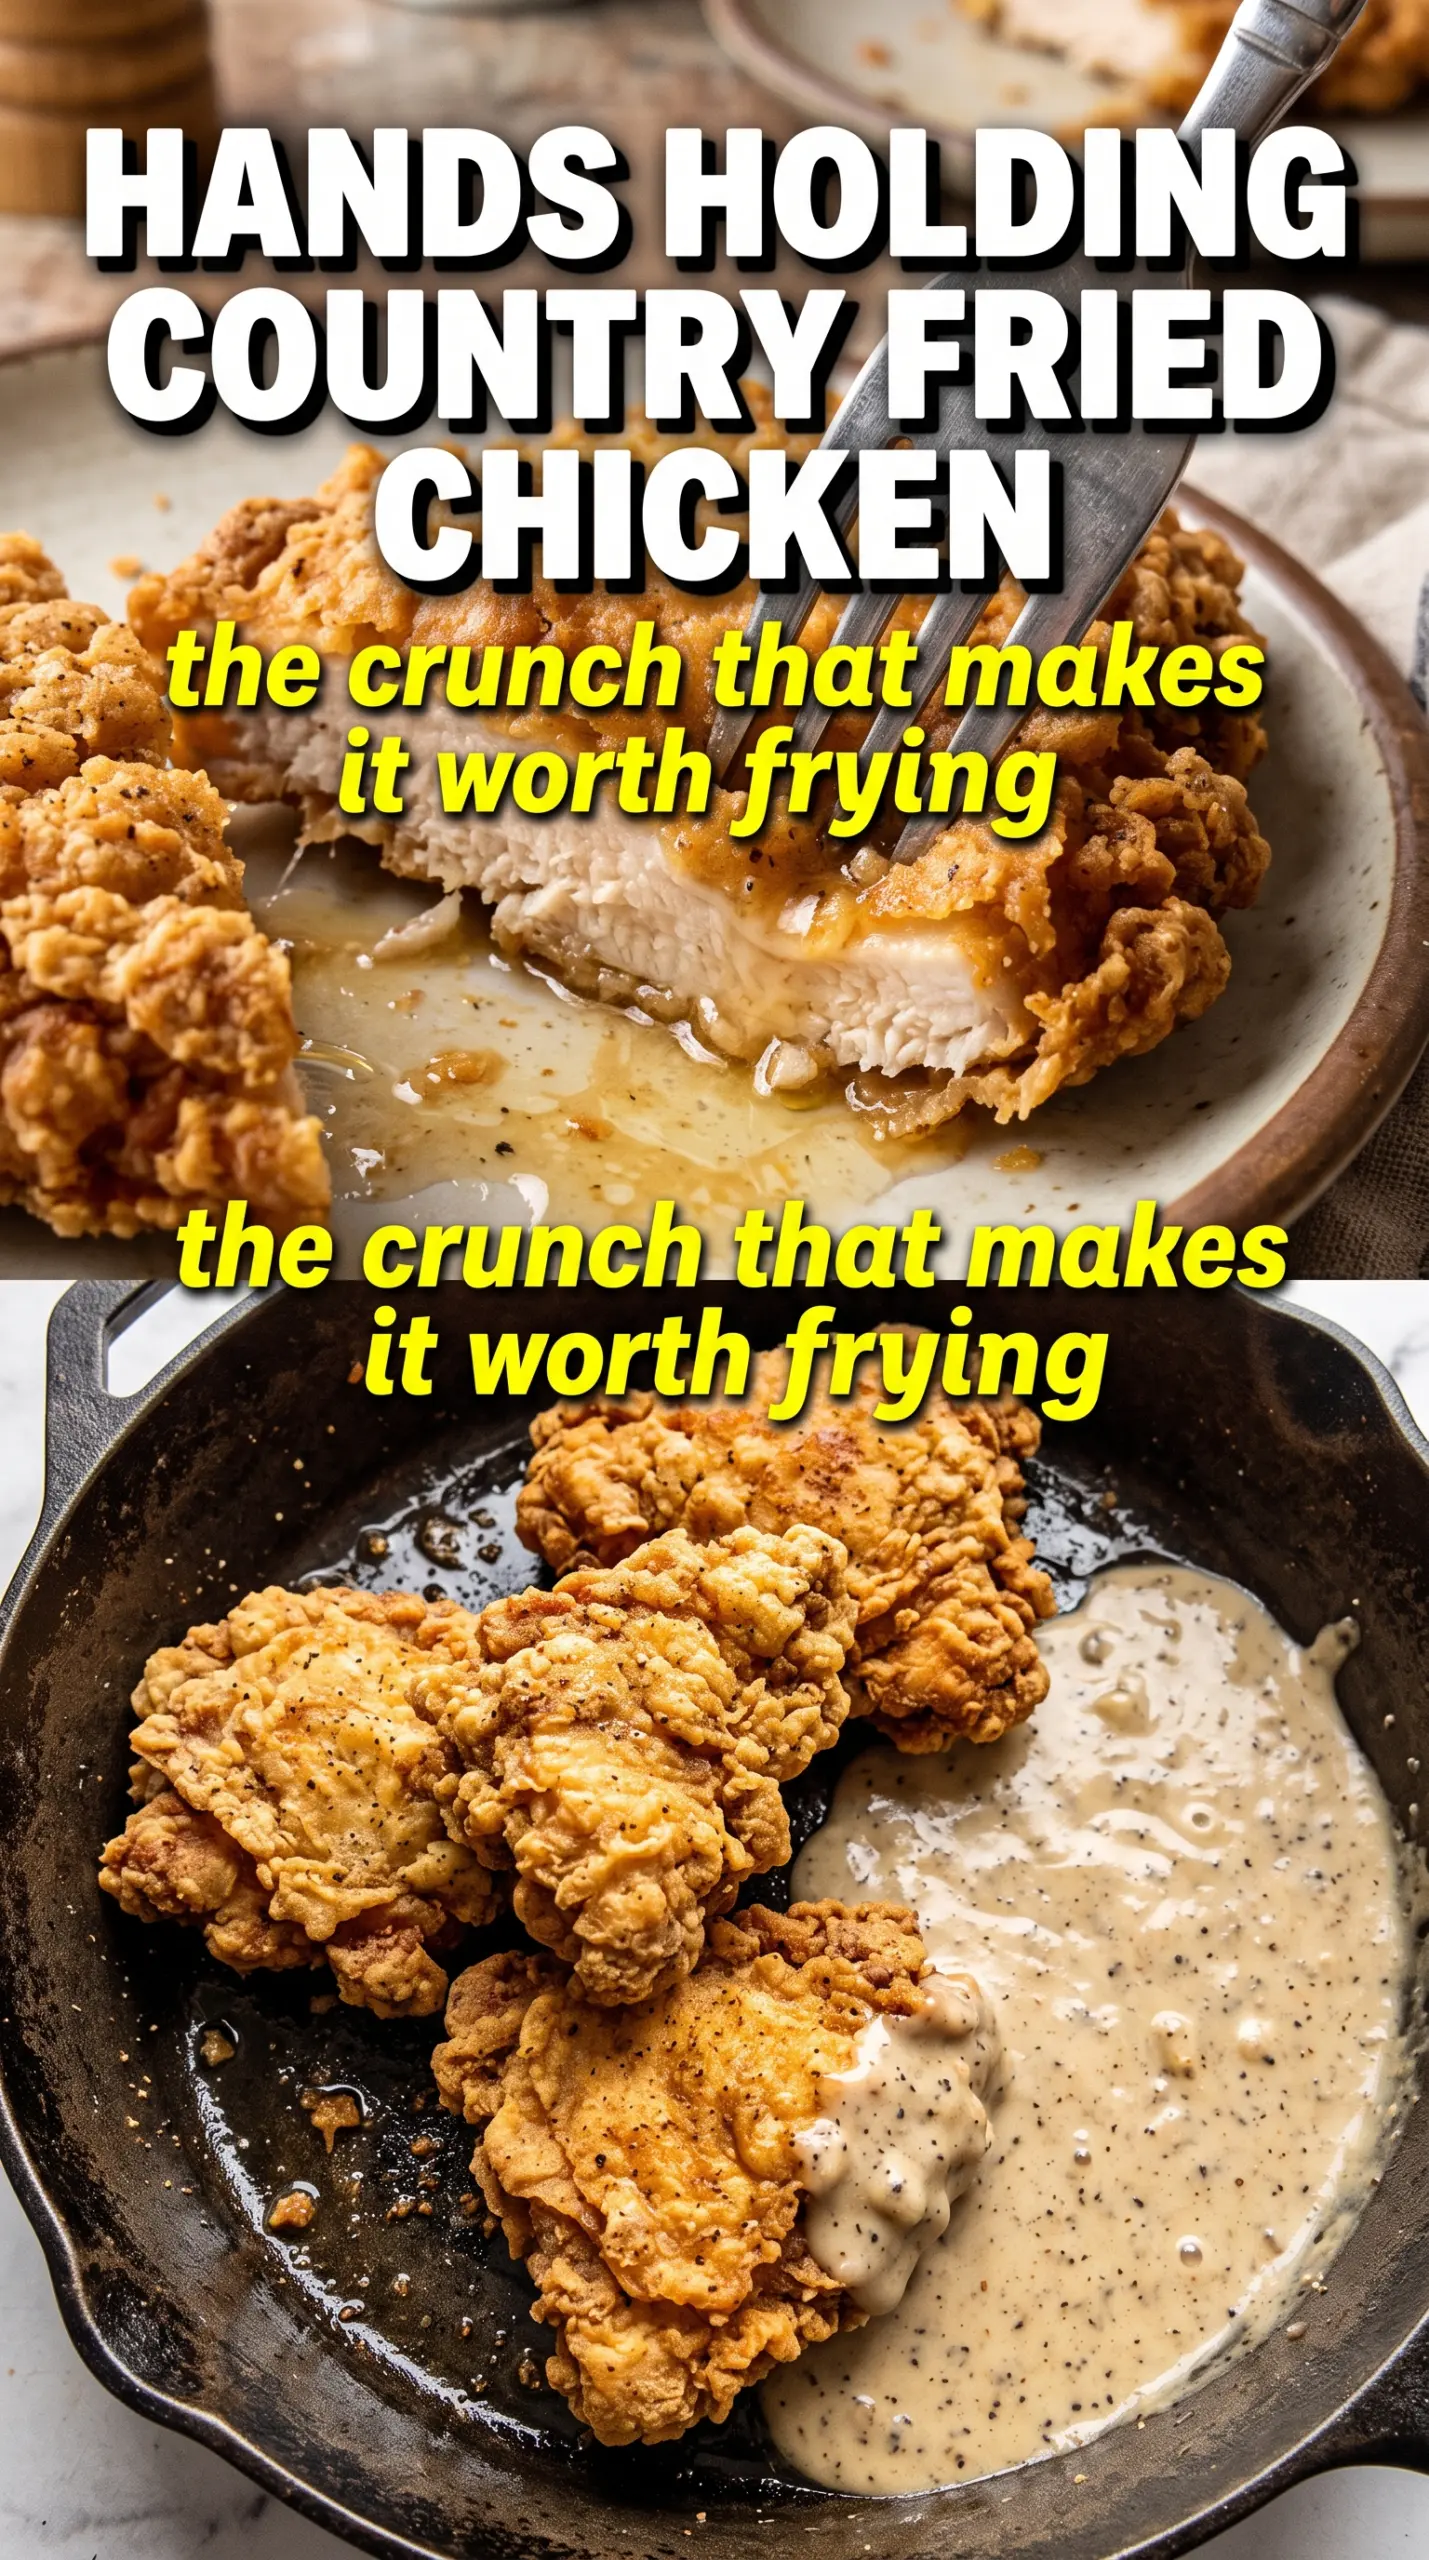
- Buttermilk — This is the backbone of the marinade. It tenderizes the chicken and gives the flour something tacky to hold onto. If you don’t have it, mix 2 cups milk with 2 tablespoons lemon juice or vinegar and let it sit 5 minutes before adding the chicken.
- Cornstarch — This is what keeps the crust light and crisp instead of thick and bready. You can skip it, but the coating won’t shatter the same way. That little bit of cornstarch is the difference between a crust that sounds crisp and one that just looks crisp.
- Smoked paprika and cayenne — These don’t just add heat. They give the flour a deeper color and a savory edge that keeps the chicken from tasting flat under the gravy. If you want less heat, cut the cayenne in half instead of leaving it out.
- Whole milk and chicken broth — The gravy needs both. Milk gives it body, and broth keeps it from tasting like plain white sauce. Skim milk will work in a pinch, but the gravy won’t be as silky.
Frying the Chicken and Pulling the Gravy Together in the Same Pan
Letting the Marinade Do Its Job
Coat the chicken in the buttermilk mixture and let it sit for at least an hour. That gives the salt time to season the meat and the buttermilk time to soften the surface just enough for the dredge to grab on. If you’re marinating overnight, keep it refrigerated and stir it once if the pieces settle. Pull the chicken out and let the excess drip off before dredging so the coating stays rough instead of gummy.
Pressing on the Dredge
Whisk the flour, cornstarch, and spices in a shallow bowl, then press each piece of chicken into it like you mean it. The goal is a thick, uneven coating with little floury bits hanging off the surface; those are the bits that fry into the best crunch. Set the coated chicken on a rack or plate for a few minutes before frying so the flour hydrates slightly and adheres better. If the coating looks patchy, dip that spot back into the dredge and press again.
Frying at a Steady 325°F
Use enough oil for shallow frying and keep the heat steady. Too hot, and the crust darkens before the meat cooks. Too cool, and the chicken turns greasy. A cast-iron skillet helps hold the temperature, but you still need to watch the color: the crust should turn a deep golden brown with darker ridges, and the chicken should reach 165°F in the thickest part without the breading burning.
Building the Gravy from the Pan Drippings
Pour off most of the oil, but leave the browned bits in the skillet. Melt the butter, whisk in the flour, and cook it for a minute or two until it smells a little nutty and looks pale beige. Add the milk and broth gradually while whisking so the sauce stays smooth. If the gravy turns lumpy, it usually means the liquid went in too fast or the heat was too high; keep whisking and let it simmer gently until it thickens.
How to Change the Dish Without Losing the Crunch
Gluten-Free Version
Swap the all-purpose flour for a 1:1 gluten-free flour blend that includes xanthan gum, and keep the cornstarch. The crust won’t have exactly the same structure, but it will still fry up crisp if you press it on well and let it rest a few minutes before frying. Use the same method for the gravy with a gluten-free flour blend or cornstarch slurry.
Lighter Heat, Same Flavor
Cut the cayenne in half or leave it out if you want the pepper to stay in the background. The smoked paprika and black pepper still give the dredge plenty of character, so the chicken won’t taste bland. Don’t reduce the salt too much or the crust ends up tasting dusty instead of seasoned.
Oven-Finished Chicken
If the pieces are browning too fast before they’re cooked through, transfer them to a 400°F oven after frying. Set them on a rack over a baking sheet so the bottom stays crisp. This won’t taste exactly like fully pan-fried chicken, but it solves the common problem of dark crust and underdone meat.
Storage and Reheating
- Refrigerator: Store the chicken and gravy separately for up to 3 days. The crust softens in the fridge, but it can crisp back up in the oven.
- Freezer: The fried chicken freezes well without the gravy. Cool it completely, wrap tightly, and freeze for up to 2 months. The gravy is better made fresh, since dairy sauces can turn grainy after freezing.
- Reheating: Reheat the chicken on a rack in a 375°F oven until hot and the crust wakes back up, usually 15 to 20 minutes. Rewarm the gravy slowly over low heat with a splash of milk or broth, whisking often so it stays smooth.
Answers to the Questions Worth Asking
Country Fried Chicken
Ingredients
Equipment
Method
- Stir buttermilk, hot sauce, salt, and black pepper together, then add the bone-in chicken pieces and coat well. Marinate for 1 hour or up to overnight in the fridge.
- Before dredging, remove the chicken from the marinade and let excess drip off. This helps the coating adhere and crisp.
- Whisk all-purpose flour, cornstarch, garlic powder, onion powder, smoked paprika, cayenne, salt, and black pepper in a shallow bowl until evenly mixed. Set it up next to the chicken for fast coating.
- Dredge the marinated chicken in the flour mixture and press to help it stick. Shake off loose coating so the crust stays crisp.
- Heat vegetable oil in a large cast-iron skillet to 325°F. Keep the temperature steady for an even, deeply golden crust.
- Fry the chicken for 12-15 minutes per side until deeply golden and cooked through, reaching 165°F internal. Adjust heat as needed to maintain 325°F.
- Melt butter in the skillet over heat, then whisk in flour and cook for 1-2 minutes. Stir until it smells nutty and the mixture looks smooth.
- Gradually whisk in whole milk and chicken broth, then cook until thick. Season with salt and lots of black pepper.
- Serve the fried chicken smothered in country gravy, spooning it over the top while hot. Finish with cracked black pepper for extra bite.