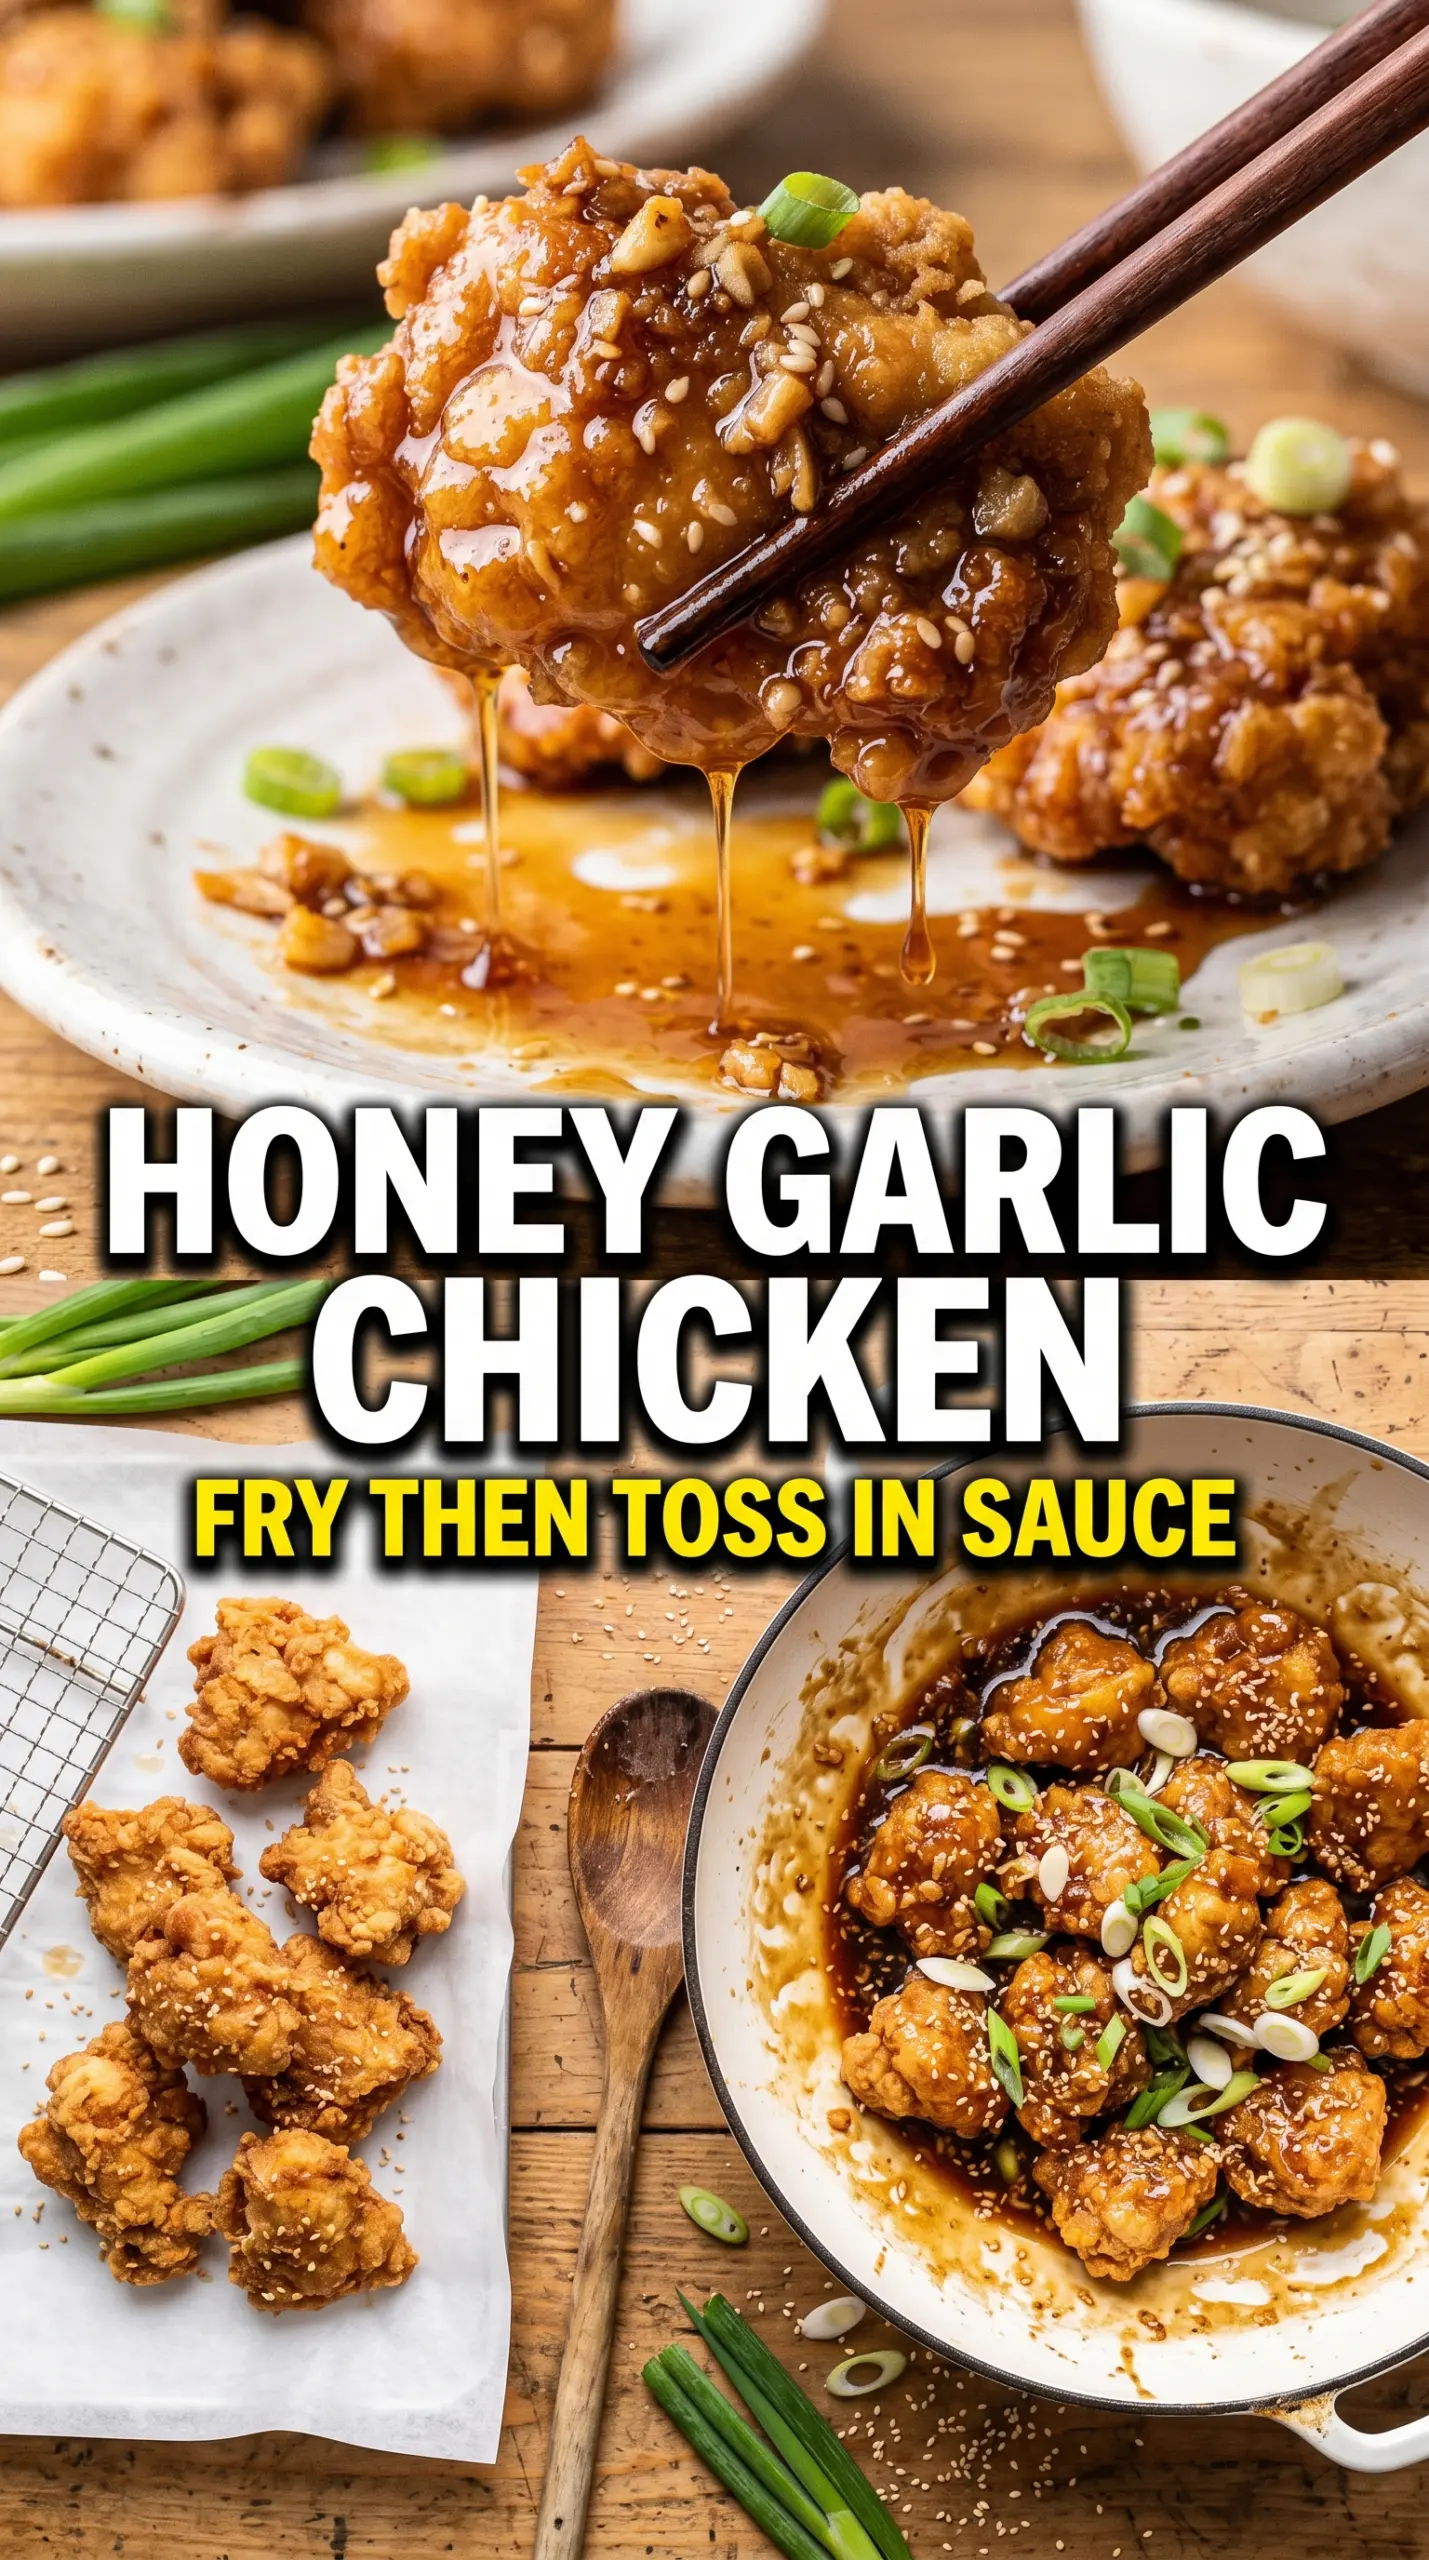
Shatteringly crisp chicken coated in a sticky honey garlic glaze is the kind of dinner that disappears fast, especially when the sauce clings to every craggy edge instead of sliding off into the bowl. This version gives you that deep amber shine without turning the chicken soft, so every bite keeps a little crunch under the sweet-salty coating.
The trick is in the contrast. A mix of cornstarch and flour builds a light crust that fries up with good texture, and the sauce gets cooked separately until it’s thick enough to coat a spoon before the chicken ever goes near it. That keeps the garlic bright, the honey glossy, and the coating from watering down the crust.
Below you’ll find the exact frying cues that matter, the sauce texture you’re aiming for, and a few smart swaps if you need to adjust for what’s in your kitchen. Once you’ve made it once, you’ll see why this one earns a repeat spot.
The chicken stayed crisp even after tossing it in the sauce, and the glaze thickened up into that sticky takeout-style coating instead of getting watery. My husband said the garlic honey sauce tasted better than our usual restaurant order.
Like this crispy Chinese honey garlic chicken? Save it to Pinterest for the night you want sticky sauce, crunchy chicken, and a fast takeout-style dinner.
The Reason the Chicken Stays Crispy Under the Sauce
The biggest failure point in honey garlic chicken is tossing fried chicken into sauce that’s still too thin. Thin sauce seeps into the crust and softens it almost immediately, which is how you end up with good flavor but poor texture. Here, the sauce is reduced first, then finished with a cornstarch slurry until it coats the back of a spoon and leaves a slow trail when you drag a spatula through it.
That thickened sauce has enough body to cling without soaking in. The other piece that matters is frying in batches at 375°F, because overcrowding drops the oil temperature and gives you pale, greasy coating instead of a crisp shell.
- Chicken thighs — Thighs stay juicier than breast meat and forgive the extra minute or two of frying. If you swap in breast, cut the pieces slightly larger so they don’t dry out before the coating browns.
- Cornstarch and flour — This combination gives the crust a light, shattery finish. Cornstarch brings crispness, while flour adds a little structure so the coating doesn’t fall apart in the sauce.
- Rice vinegar — This keeps the glaze from tasting one-note sweet. Apple cider vinegar works in a pinch, but rice vinegar has a cleaner edge that fits the sauce better.
- Sesame oil — Add it off the heat. If it cooks too long, the aroma fades fast, and you lose the nutty finish that makes the sauce taste complete.
What Each Ingredient Is Actually Doing in This Recipe
- Primary ingredient (the star) — Quality matters most. Choose the best you can find.
- Cooking medium (oil, butter, or broth) — This carries flavors and prevents dryness.
- Seasonings (salt, pepper, spices, herbs) — Layer flavors so nothing overpowers. Build depth gradually.
- Aromatics (garlic, onion, herbs) — Cook with fat to bloom flavors. Become the foundation.
- Supporting ingredients — Complement the main ingredient without overpowering it.
- Sauce or liquid (if applicable) — Brings flavors together. Balance richness with acid.
- Acid (lemon, vinegar, wine, or other) — Brightens and prevents flat-tasting results.
- Final finish (garnish, glaze, or sauce) — Prevents one-dimensional taste and adds visual appeal.
Frying, Glazing, and Tossing Everything Together Without Losing the Crunch
Build the Coating in the Right Order
Whisk the dry coating ingredients together first so the garlic powder and white pepper are spread evenly through the flour. Dip the chicken in the egg, then press it into the flour mixture until every surface looks dry and uneven; those rough edges are what turn crisp in the oil. If the coating looks pasty or clumped, shake off the excess egg before dredging again.
Fry in Hot Oil, Not Lukewarm Oil
Heat the oil to 375°F and keep the batches small enough that the temperature doesn’t crash. The chicken should sizzle immediately when it hits the pan and turn deep golden in 5 to 6 minutes, with the coating looking set and firm before you lift it out. If the oil is too cool, the crust absorbs oil instead of sealing, and the chicken turns heavy.
Cook the Sauce Until It Actually Clings
Combine the honey, soy sauce, garlic, and rice vinegar in a saucepan and let it simmer before the slurry goes in. Once the cornstarch mixture is added, keep stirring for 2 to 3 minutes until the sauce turns glossy and thick enough to coat the spoon in a smooth layer. Pull it from the heat before adding sesame oil so the flavor stays bright instead of getting cooked flat.
Toss Fast and Serve Right Away
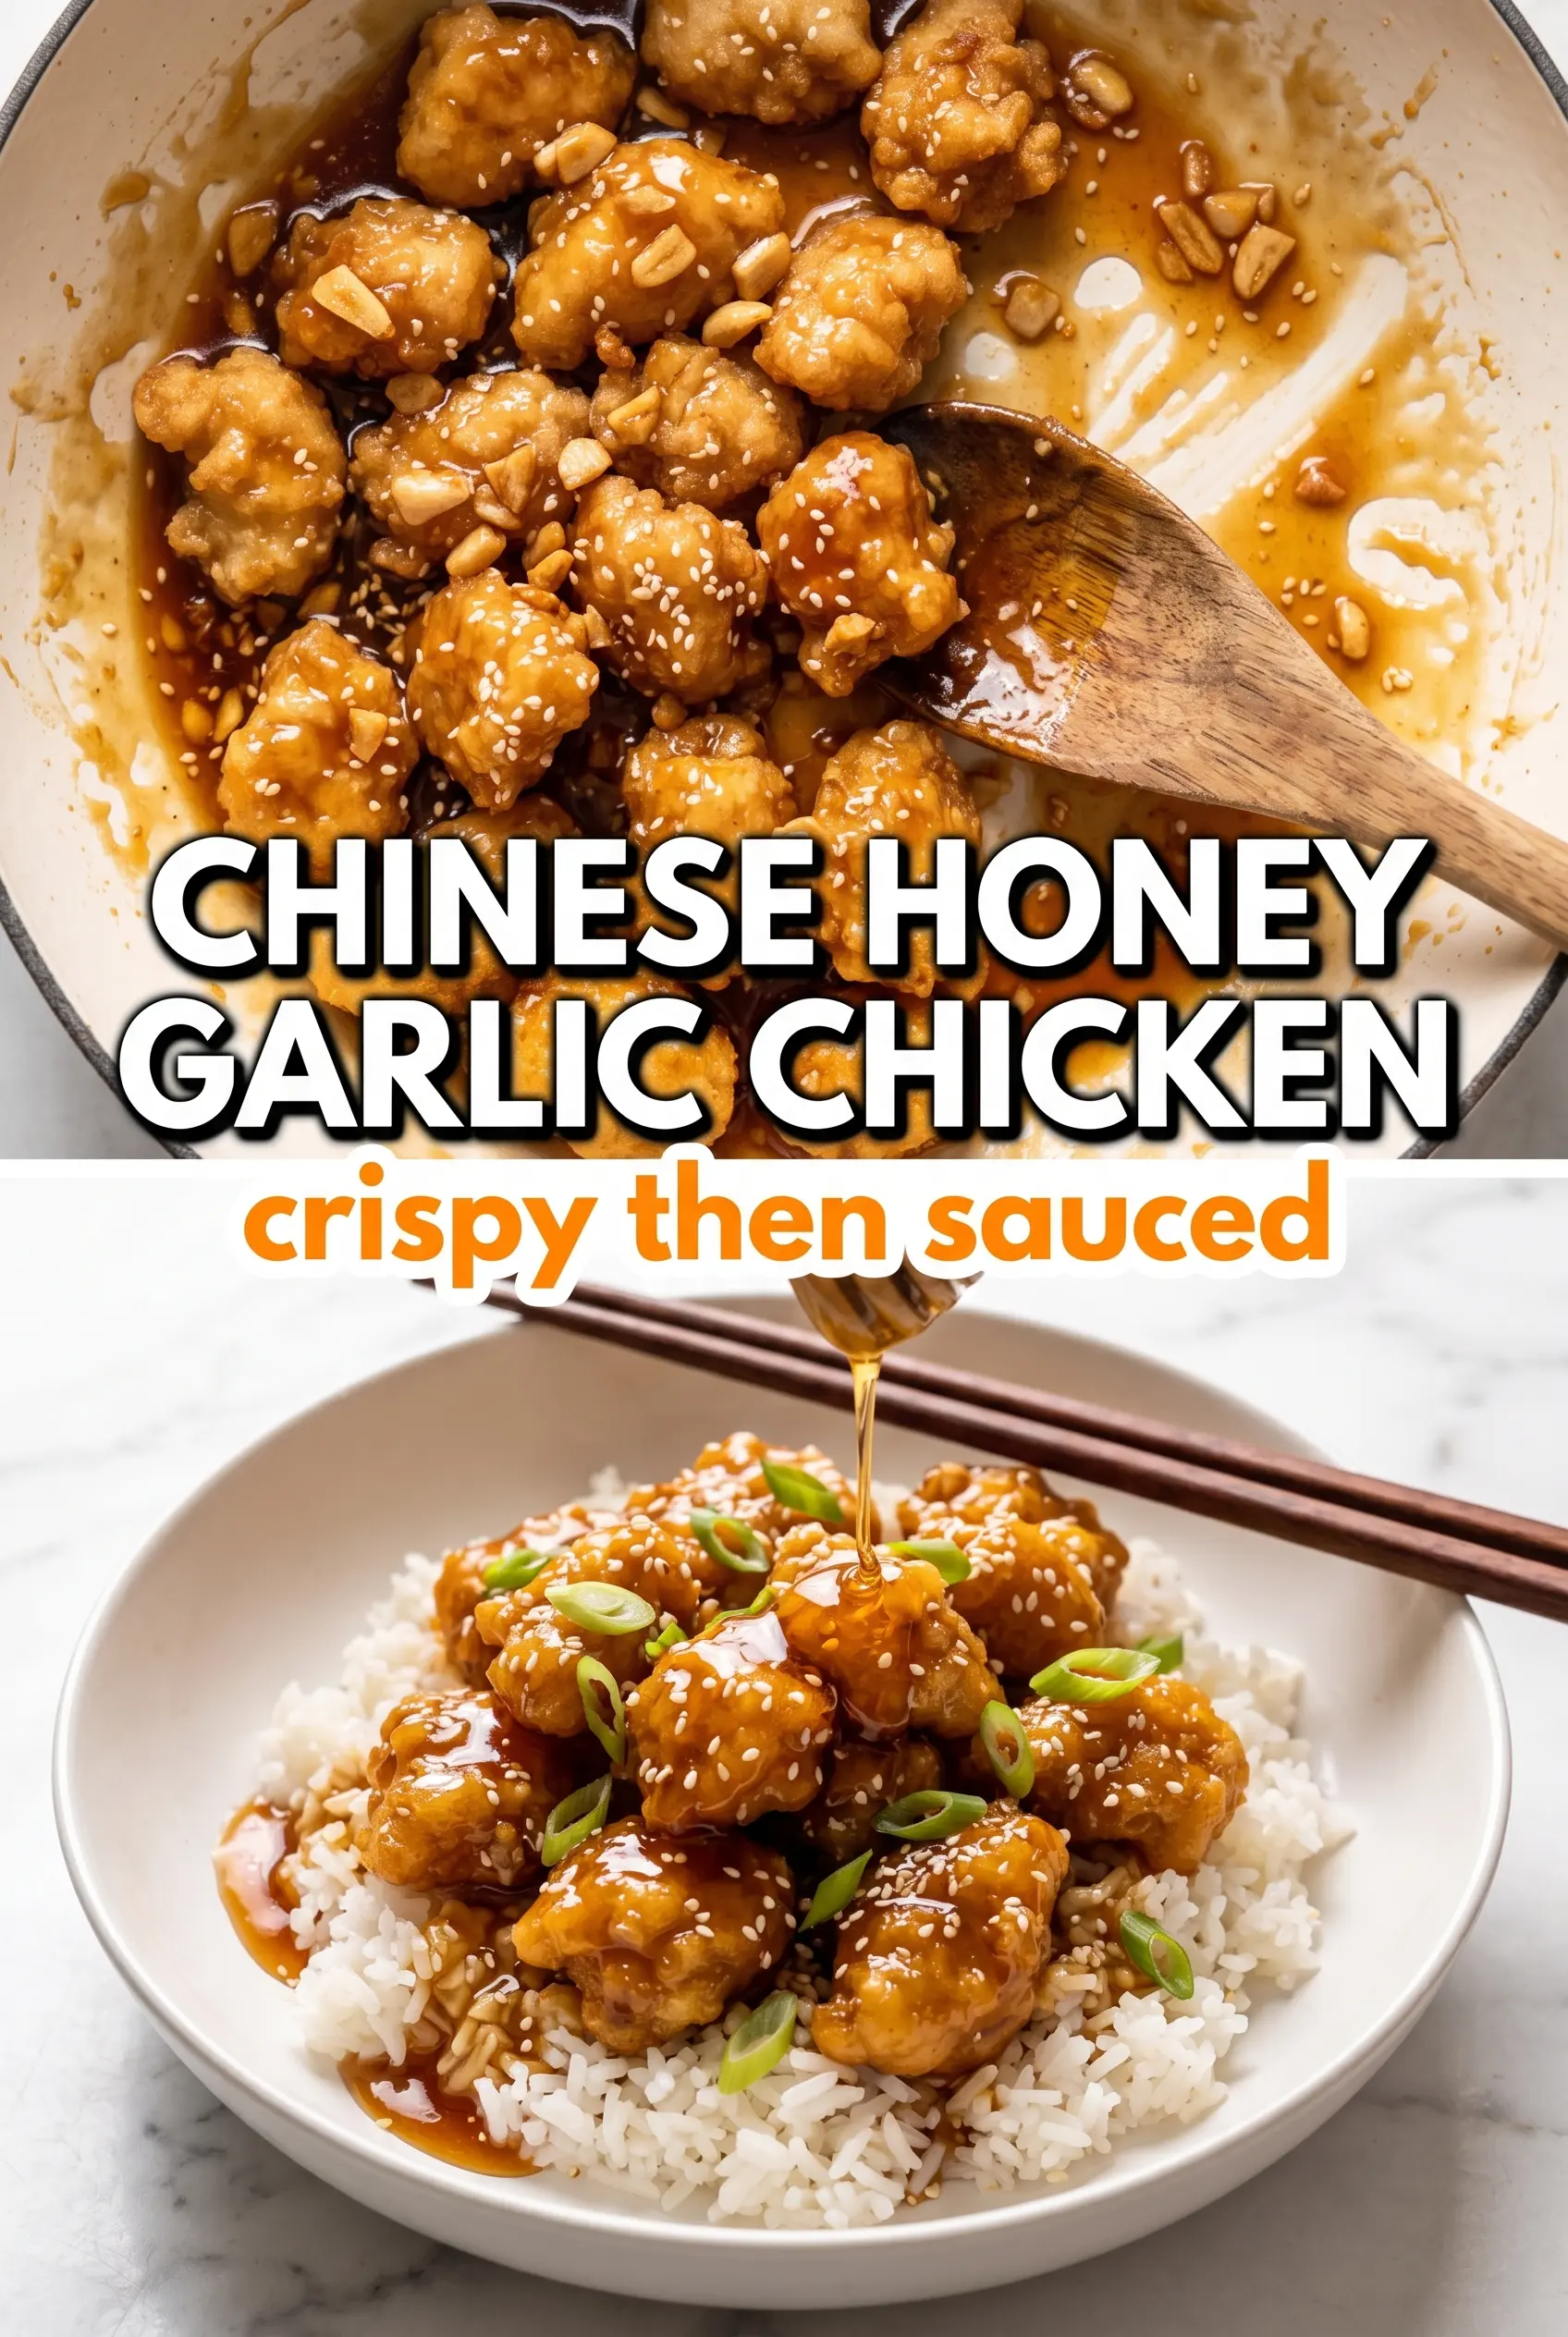
Add the fried chicken to the sauce and toss just until coated. You want every piece lacquered, not soaked. Serve it immediately over rice with sesame seeds and green onions, because the crust is at its best in the first few minutes after saucing.
How to Adapt This for a Lighter Dinner or a Different Pantry
Bake it instead of frying
Toss the coated chicken with a light spray of oil and bake it on a wire rack at 425°F until crisp and cooked through, about 18 to 22 minutes. You won’t get quite the same shatteringly crisp shell as frying, but you do get a good browned crust and less cleanup.
Make it gluten-free
Swap the all-purpose flour for a 1:1 gluten-free blend and use tamari instead of soy sauce. The texture stays close, though the crust may be a little more delicate, so let it fry until fully set before turning it.
Use chicken breast instead of thighs
Chicken breast works if you cut it into even, bite-size pieces and watch the frying time closely. It cooks faster and can dry out, so pull it as soon as the coating is deep golden and the center is no longer pink.
Turn up the garlic and heat
Add another clove or two of garlic and a pinch of red pepper flakes to the sauce for more bite. The extra heat works well against the honey, but add the flakes while the sauce simmers so they bloom instead of tasting raw.
Storage and Reheating
- Refrigerator: Store leftovers in an airtight container for up to 3 days. The crust softens as it sits, but the flavor stays strong.
- Freezer: Freeze the fried chicken and sauce separately if you want the best result. The sauce freezes well; the coated chicken will lose some crunch, but it can still be reheated successfully.
- Reheating: Reheat the chicken on a wire rack in a 400°F oven or air fryer until hot and re-crisped, then toss with warmed sauce. Don’t microwave it together, or the coating will turn soggy fast.
Questions I Get Asked About This Recipe
Crispy Chinese Honey Garlic Chicken
Ingredients
Equipment
Method
- Whisk together cornstarch, flour, garlic powder, salt, and white pepper in a bowl, then keep it ready for dredging. Use the dry mix as your coating so the crust turns shatteringly crisp.
- Dip the beaten egg-coated chicken pieces into the flour mixture, pressing lightly so every piece is evenly covered. Place coated pieces on a sheet pan as you work.
- Heat 2 inches of vegetable oil in a Dutch oven to 375°F. Maintain the temperature so the exterior browns fast while the inside cooks through.
- Fry chicken in batches for 5-6 minutes at 375°F until deeply golden and cooked through, then transfer to a drain area. Avoid overcrowding so the oil temperature doesn’t drop.
- In a saucepan, combine honey, soy sauce, garlic, and rice vinegar, then bring to a simmer while stirring. Simmering helps the garlic mellow and the sauce start to thicken.
- Stir in the cornstarch slurry and cook 2-3 minutes at a simmer until thickened and glossy. Watch for a smooth, clingy consistency that coats the back of a spoon.
- Remove from heat and stir in sesame oil. This keeps the sauce aromatic while preserving its shine.
- Toss the crispy chicken in the honey garlic sauce until fully coated, working quickly to keep the crust crisp. Add more time only if you want thicker sauce coverage.
- Serve the honey garlic chicken over steamed rice with sesame seeds and green onions. The garnishes add freshness and a nutty finish to the caramelized sauce.