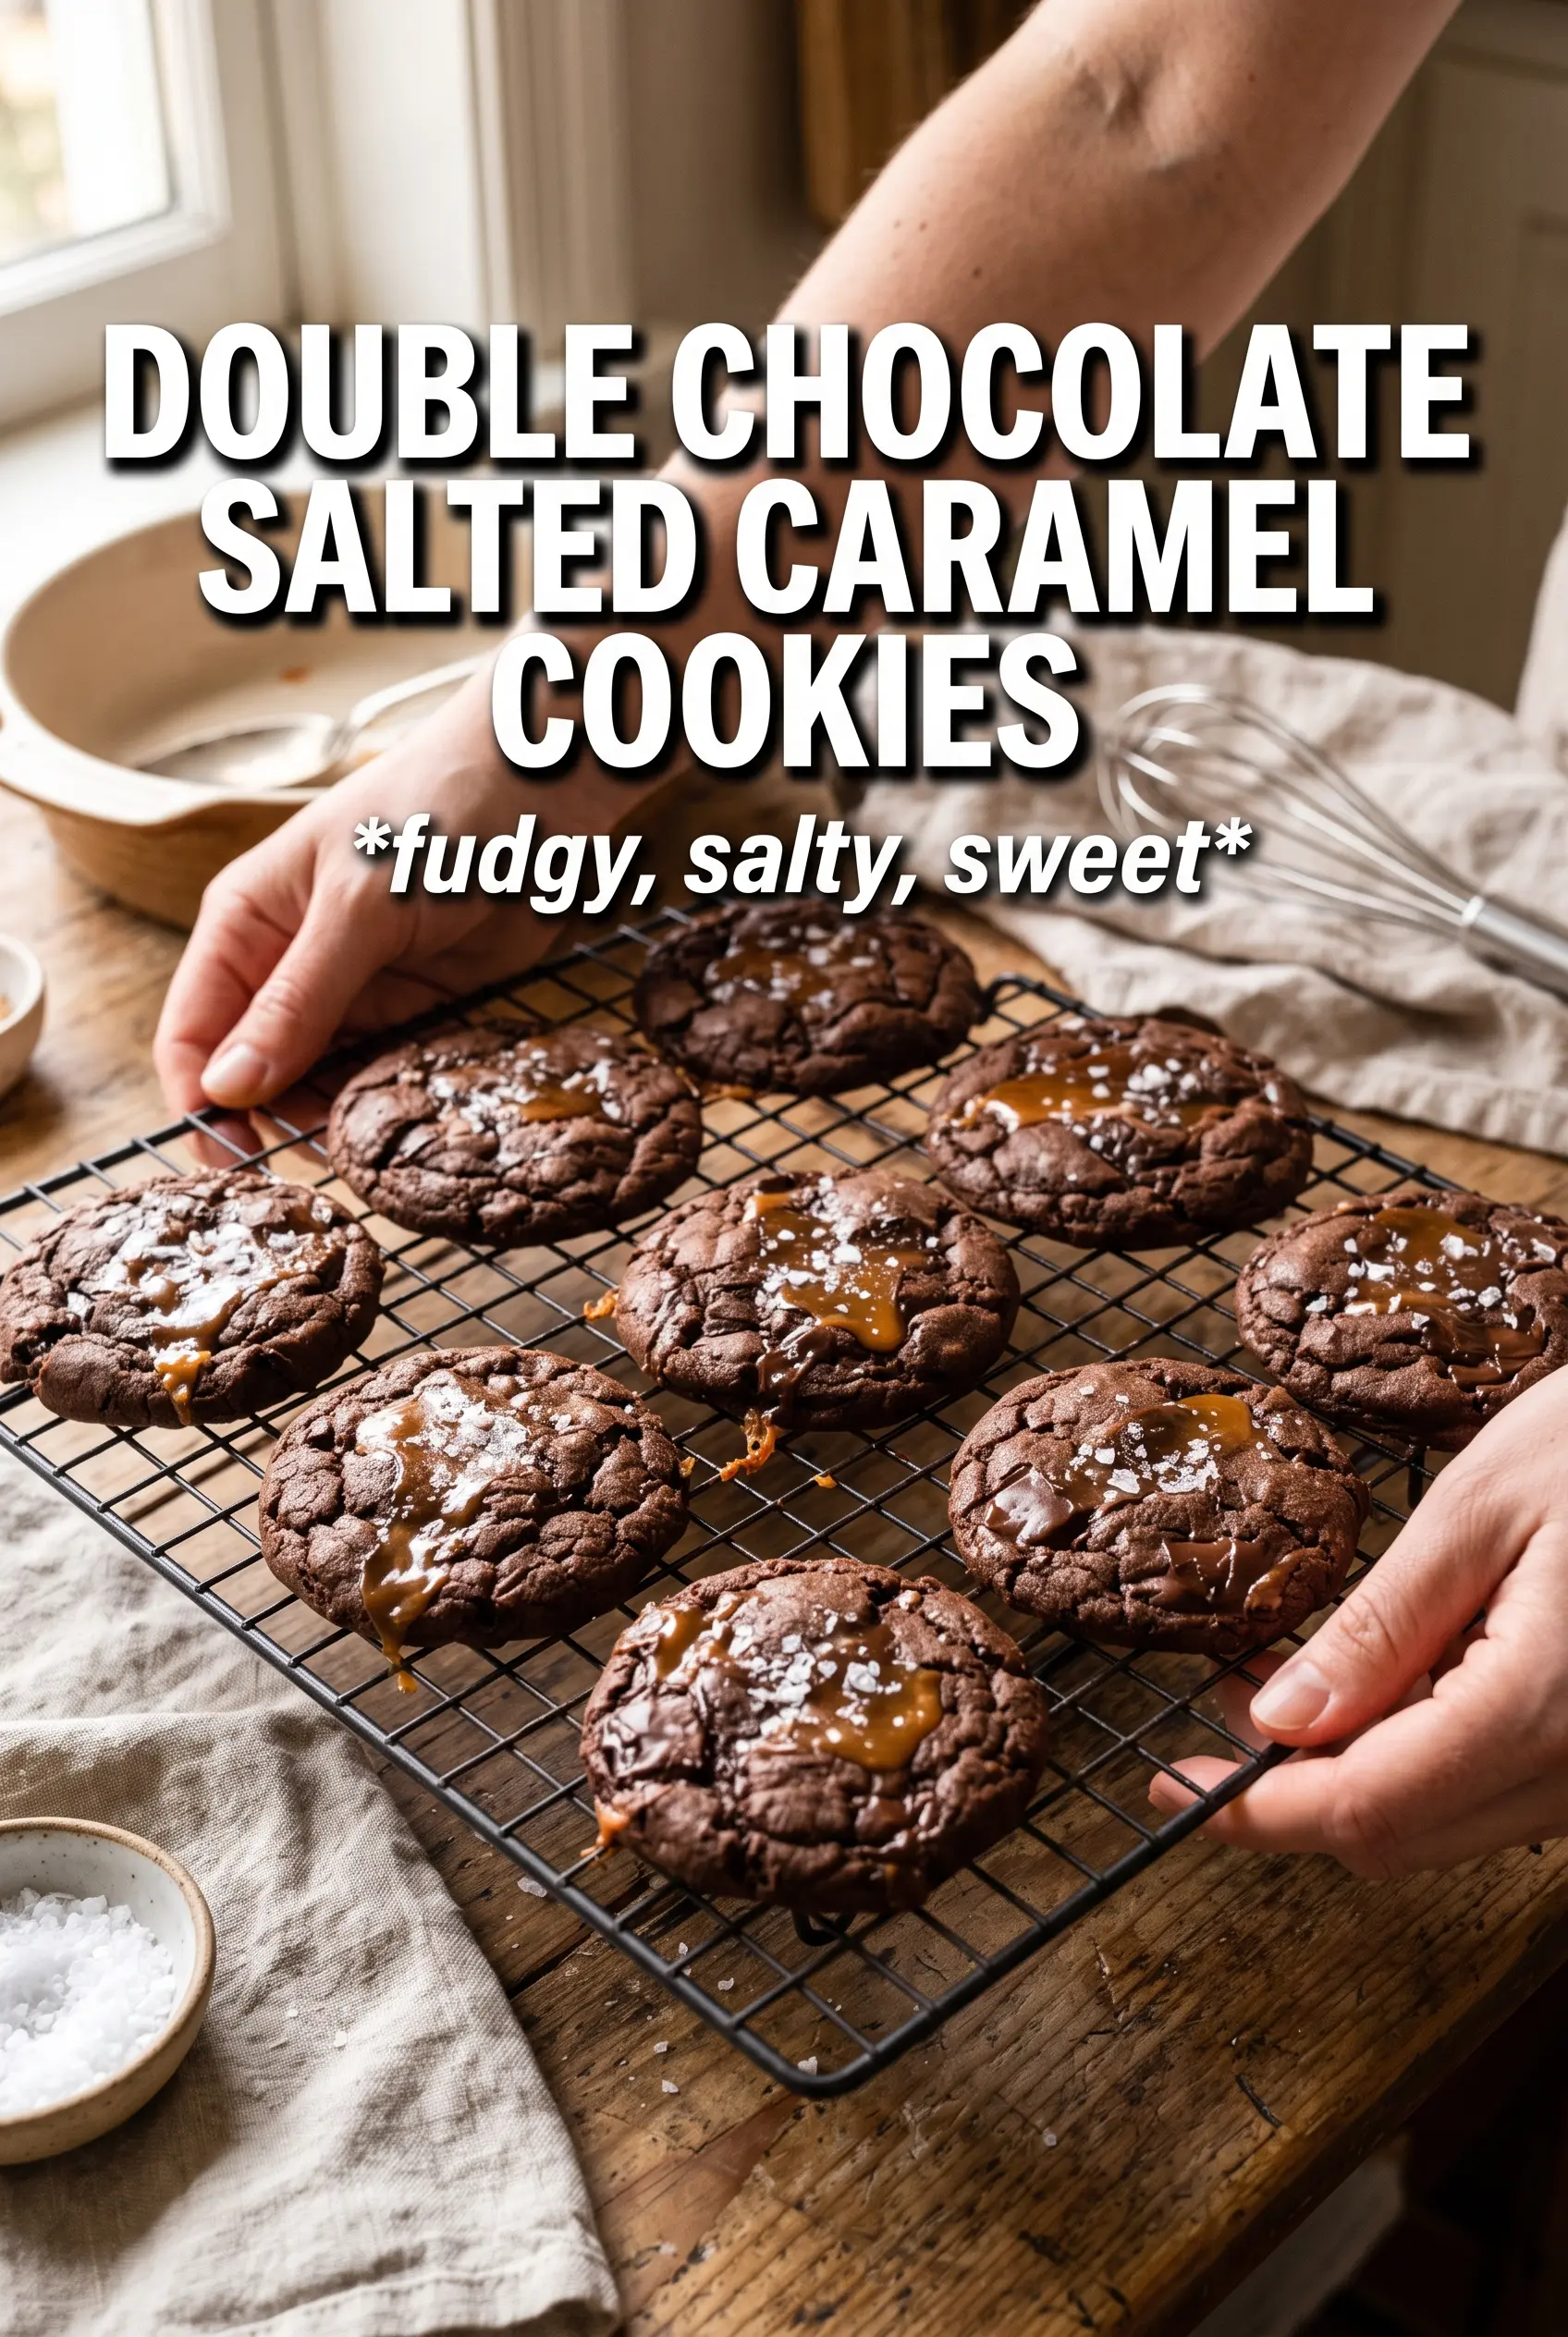
These double chocolate salted caramel cookies bake up with crisp edges, fudgy centers, and a molten caramel pocket that stays soft long after the cookies come out of the oven. The dark chocolate dough keeps the sweetness in check, while the flaky sea salt on top makes the caramel taste deeper and a little more grown-up. They’re the kind of cookie that disappears fast because every bite gives you chocolate, chew, and that glossy caramel pull.
What makes this version work is the balance in the dough. Cocoa adds structure and bitterness, so the cookies don’t turn sugary or flat, and the brown sugar brings enough moisture to keep the centers tender. Wrapping the caramel completely inside the dough matters more than people think — if it peeks out, it leaks onto the pan instead of staying tucked into the middle where it belongs.
Below, I’ve included the small things that keep the caramel from escaping and the cookies from baking up dry. A few minutes of shaping pays off here, and once you know what the dough should look like, these become easy to repeat.
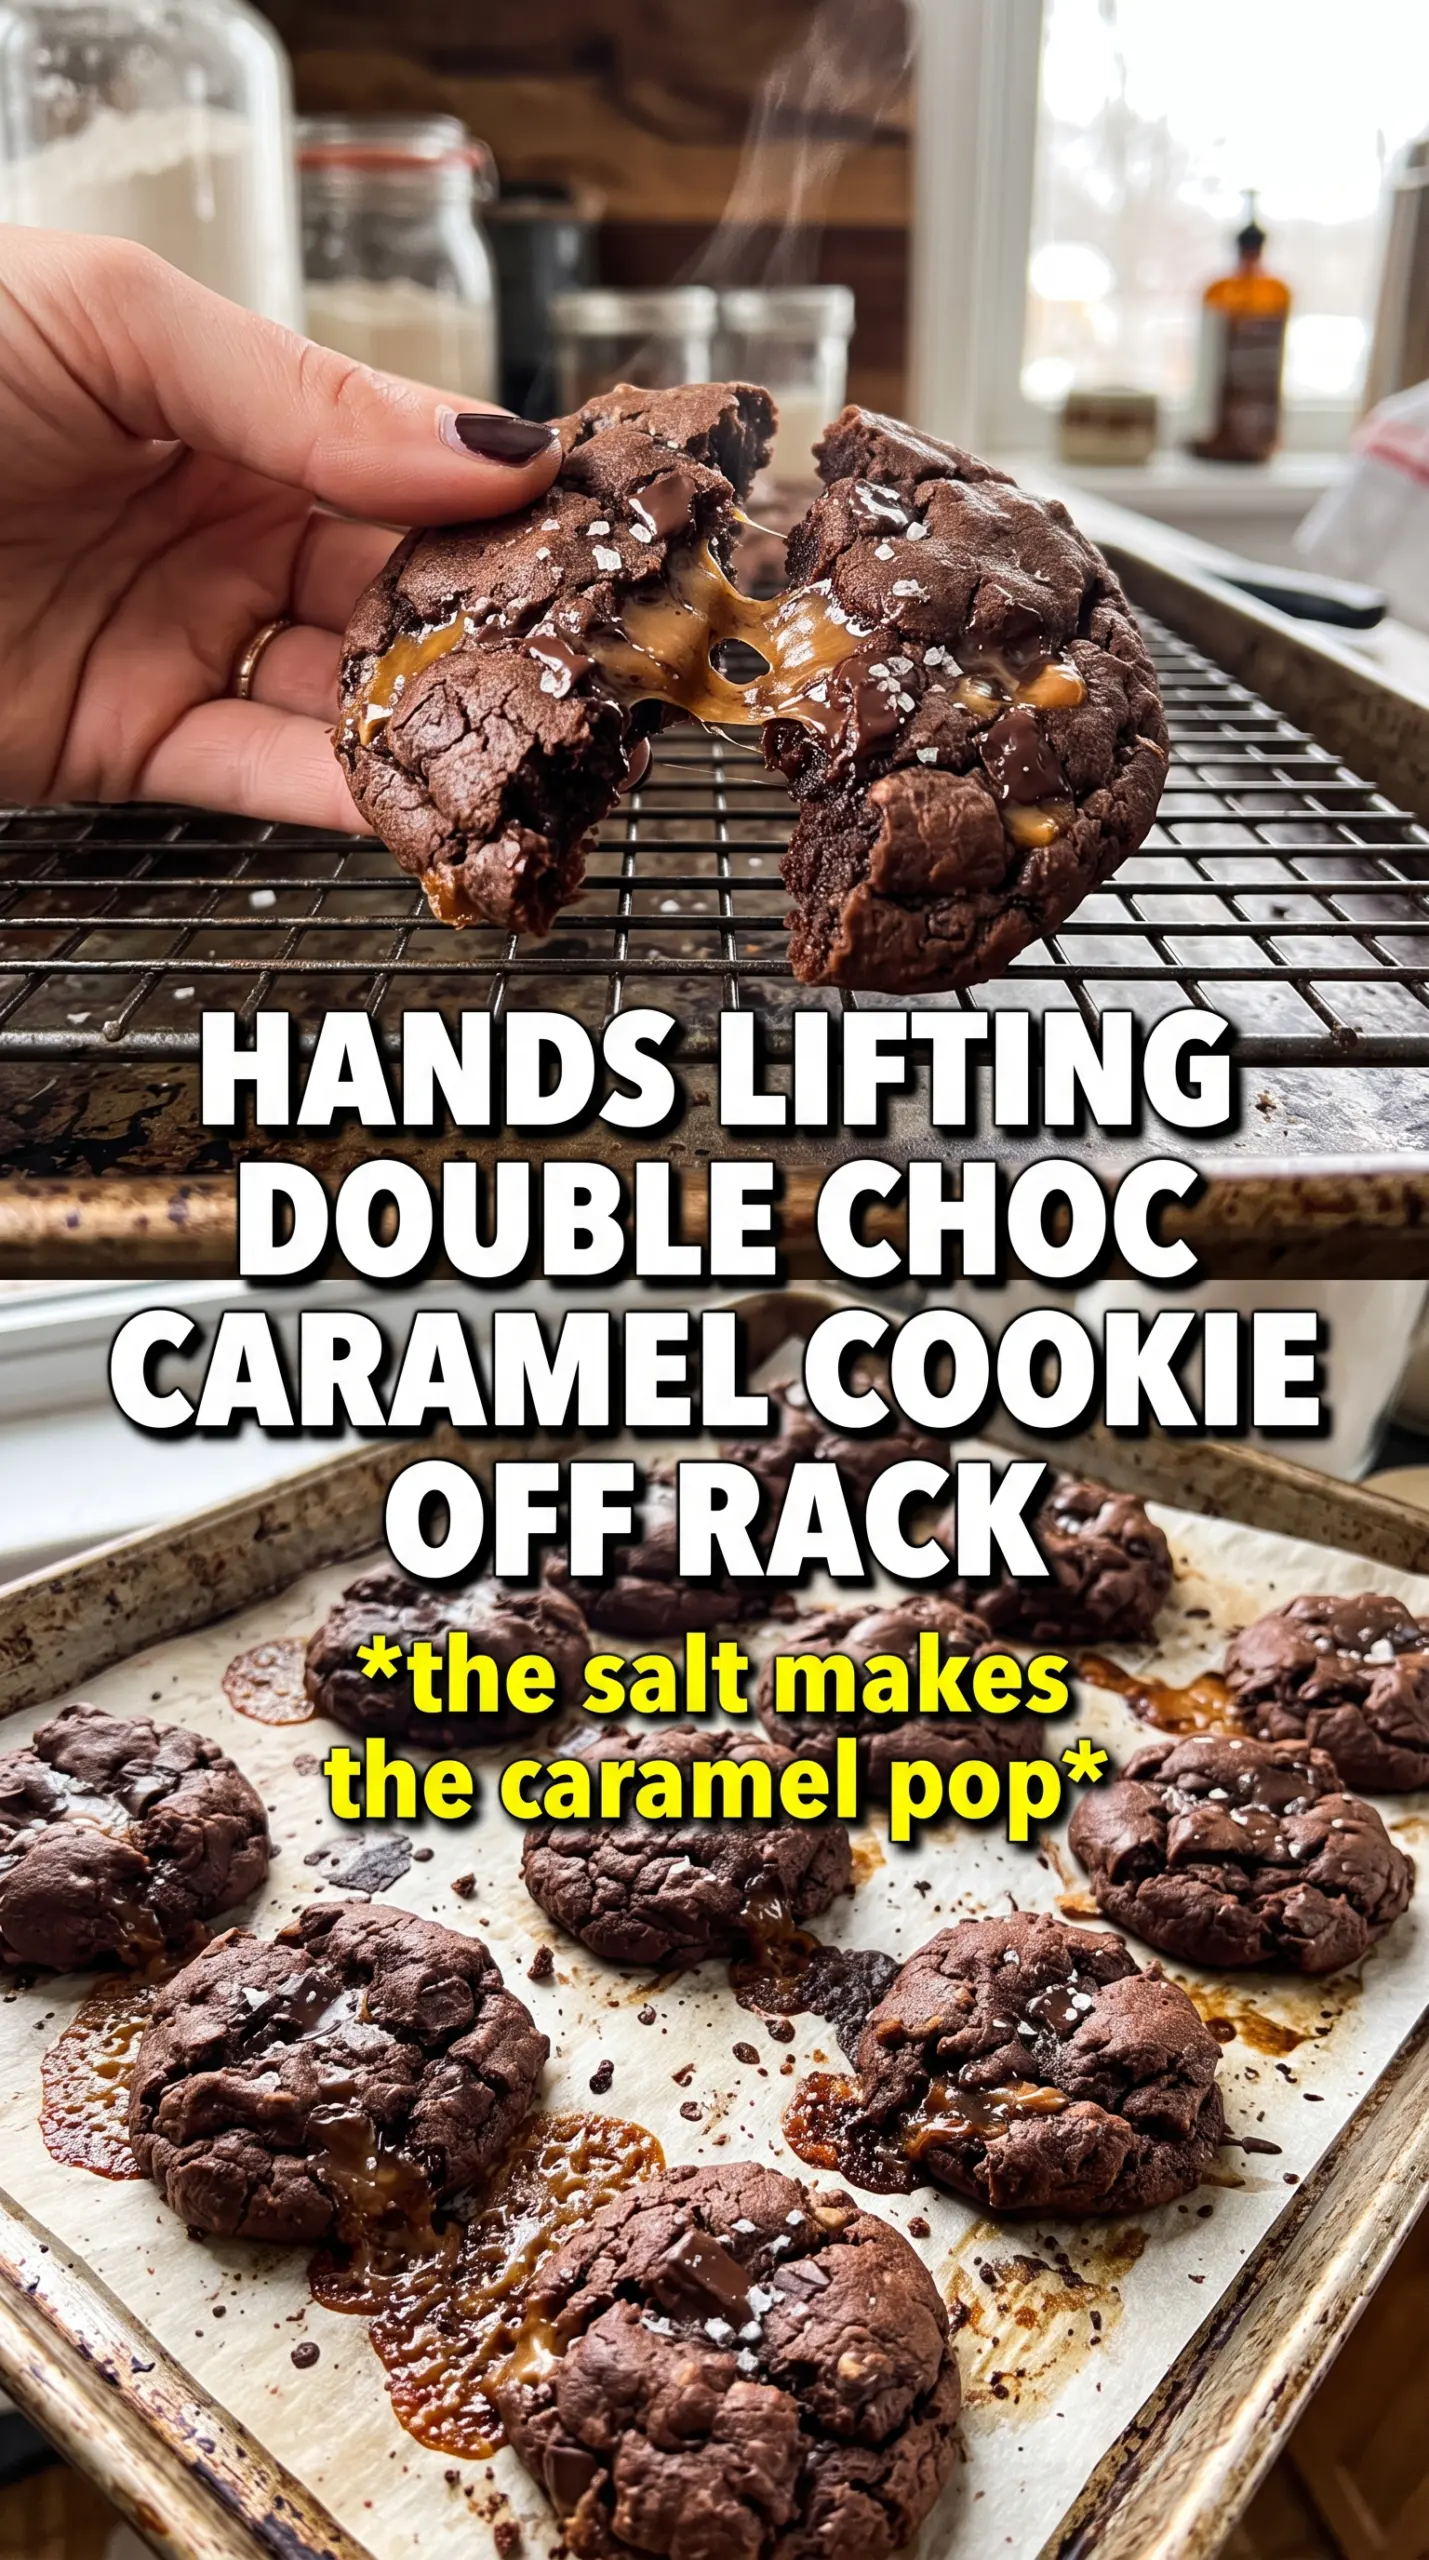
The caramel stayed soft in the center and didn’t all run out onto the pan. I baked mine at 11 minutes and the edges were set while the middle stayed fudgy. My kids kept sneaking them off the cooling rack.
Save these double chocolate salted caramel cookies for the day you want a fudgy center, gooey caramel, and a salty chocolate finish in one bite.
The Part Most Cookie Recipes Get Wrong: Keeping the Caramel Inside
The hardest part of a stuffed cookie like this isn’t mixing the dough. It’s sealing the caramel so it melts into a pocket instead of escaping through a crack in the dough and burning on the pan. If the dough is too warm or the caramel sits near the edge, it leaks. That’s how you end up with cookies that taste great but look messy and leave behind hard candy on the baking sheet.
This dough needs to be soft enough to wrap, but not sticky enough to smear. Chilling isn’t required for the whole batch, but if your kitchen is warm or the dough feels greasy, a 10-minute rest in the fridge helps the caramel stay enclosed. Bake them just until the edges look set; if you wait for the centers to look fully done, the caramel has already overcooked and the cookies will dry out.
- Shaping matters more than size. Two-tablespoon scoops are the sweet spot here because the dough is large enough to fully cover one caramel candy without making the cookies giant and underbaked.
- Seal every seam. Pinch the dough closed over the caramel, then roll it smooth in your palms. Any thin spot becomes a leak point in the oven.
- Underbake on purpose. The cookies finish setting as they cool on the pan, which keeps the centers soft instead of cakey.
What Each Ingredient Is Actually Doing in These Cookies
- Cocoa powder gives the cookies their deep chocolate base and helps balance the sweet caramel. A standard unsweetened cocoa works well; Dutch-process cocoa will taste smoother and darker, but either one can work as long as you keep the measurement the same.
- Brown sugar adds moisture and chew, which is what keeps the dough soft around the caramel. Granulated sugar helps the edges spread and crisp a little, so don’t swap all of it for brown sugar unless you want a thicker, denser cookie.
- Dark chocolate chips add little pockets of melted chocolate so the cookies don’t rely only on the dough for chocolate flavor. Use a good-quality chip if you can, because the chips stay partly intact and their flavor comes through.
- Soft caramel candies are the whole trick here. Use a caramel that melts smoothly, not a hard caramel or a chewy candy that stays tight and stiff in the middle.
- Flaky sea salt goes on right after baking while the surface is still warm. That little hit of salt sharpens the caramel and keeps the cookie from tasting one-note sweet.
Building the Cookies So the Centers Stay Fudgy
Mix the Dry Ingredients First
Whisk the flour, cocoa powder, baking soda, and salt together before anything else touches the bowl. That breaks up cocoa lumps and distributes the baking soda evenly, which keeps the cookies from having bitter spots or uneven rise. If the cocoa isn’t fully blended, you’ll see streaks in the dough and get dry pockets in the finished cookies.
Cream the Butter and Sugars Until Light
Beat the softened butter with both sugars until the mixture looks paler and a little fluffy. This step traps air and gives the cookies some lift, so don’t rush past it or the dough will bake up heavy. Add the eggs one at a time, then the vanilla, and stop as soon as the mixture looks smooth and glossy.
Wrap the Caramel Cleanly
Fold in the chocolate chips, then scoop the dough into portions and flatten each one slightly in your palm. Set a caramel in the center, pull the dough up and around it, and pinch every seam shut before rolling it into a smooth ball. If the caramel is exposed, it will melt out instead of staying tucked into a soft center.
Bake Just Until the Edges Set
Put the dough balls on parchment-lined sheets with enough space for spreading, then bake until the edges look set and the tops lose their raw shine. The centers should still look soft when they come out. The caramel inside is hot and molten at this point, so leave the cookies on the pan for about 8 minutes before moving them.
How to Adapt These for Different Kitchens and Different Cravings
Gluten-Free Version
Use a good 1:1 gluten-free baking flour in place of the all-purpose flour. The cookies will still bake up rich and fudgy, though the texture may be a little more tender and less chewy. Let the dough sit for 10 minutes before scooping so the flour can hydrate.
Dairy-Free Swap
Use a solid plant-based butter that’s made for baking and check that your caramel candies are dairy-free. The structure stays close to the original, but the flavor will be a little less rich and the cookies may spread a touch more, so watch the oven closely near the end.
Extra-Chocolate Finish
Press a few extra chocolate chips into the tops of the dough balls before baking. They melt into those puddled pockets you see in bakery cookies and make the chocolate flavor feel stronger without changing the texture of the center.
Storage and Reheating
- Refrigerator: Store in an airtight container for up to 5 days. The caramel will firm up as they chill, but the cookies stay soft once warmed.
- Freezer: Freeze baked cookies for up to 2 months, or freeze the shaped dough balls before baking. If baking from frozen, add 1 to 2 minutes and watch for set edges.
- Reheating: Warm a cookie in the microwave for 8 to 10 seconds to soften the caramel again. Too long and the caramel will turn scorching hot while the cookie itself dries out.
Questions I Get Asked About This Recipe
Double Chocolate Salted Caramel Cookies
Ingredients
Equipment
Method
- Preheat your oven to 375°F, then line baking sheets with parchment for easy release.
- Whisk all-purpose flour, cocoa powder, baking soda, and salt until evenly combined.
- Beat unsalted butter, brown sugar, and granulated sugar until very light and fluffy, then beat in the eggs and vanilla extract until smooth.
- Fold the dry ingredients into the wet ingredients just until no dry streaks remain, then fold in the dark chocolate chips.
- Scoop 2-tablespoon portions, flatten slightly, place one soft caramel candy in the center, and wrap dough around it to seal.
- Roll each filled portion into a ball and set them on the baking sheet, spaced apart for spreading.
- Bake at 375°F for 10-12 minutes until the edges are set, with caramel still gooey in the center.
- Sprinkle the cookies immediately with flaky sea salt, then cool for 8 minutes before eating.