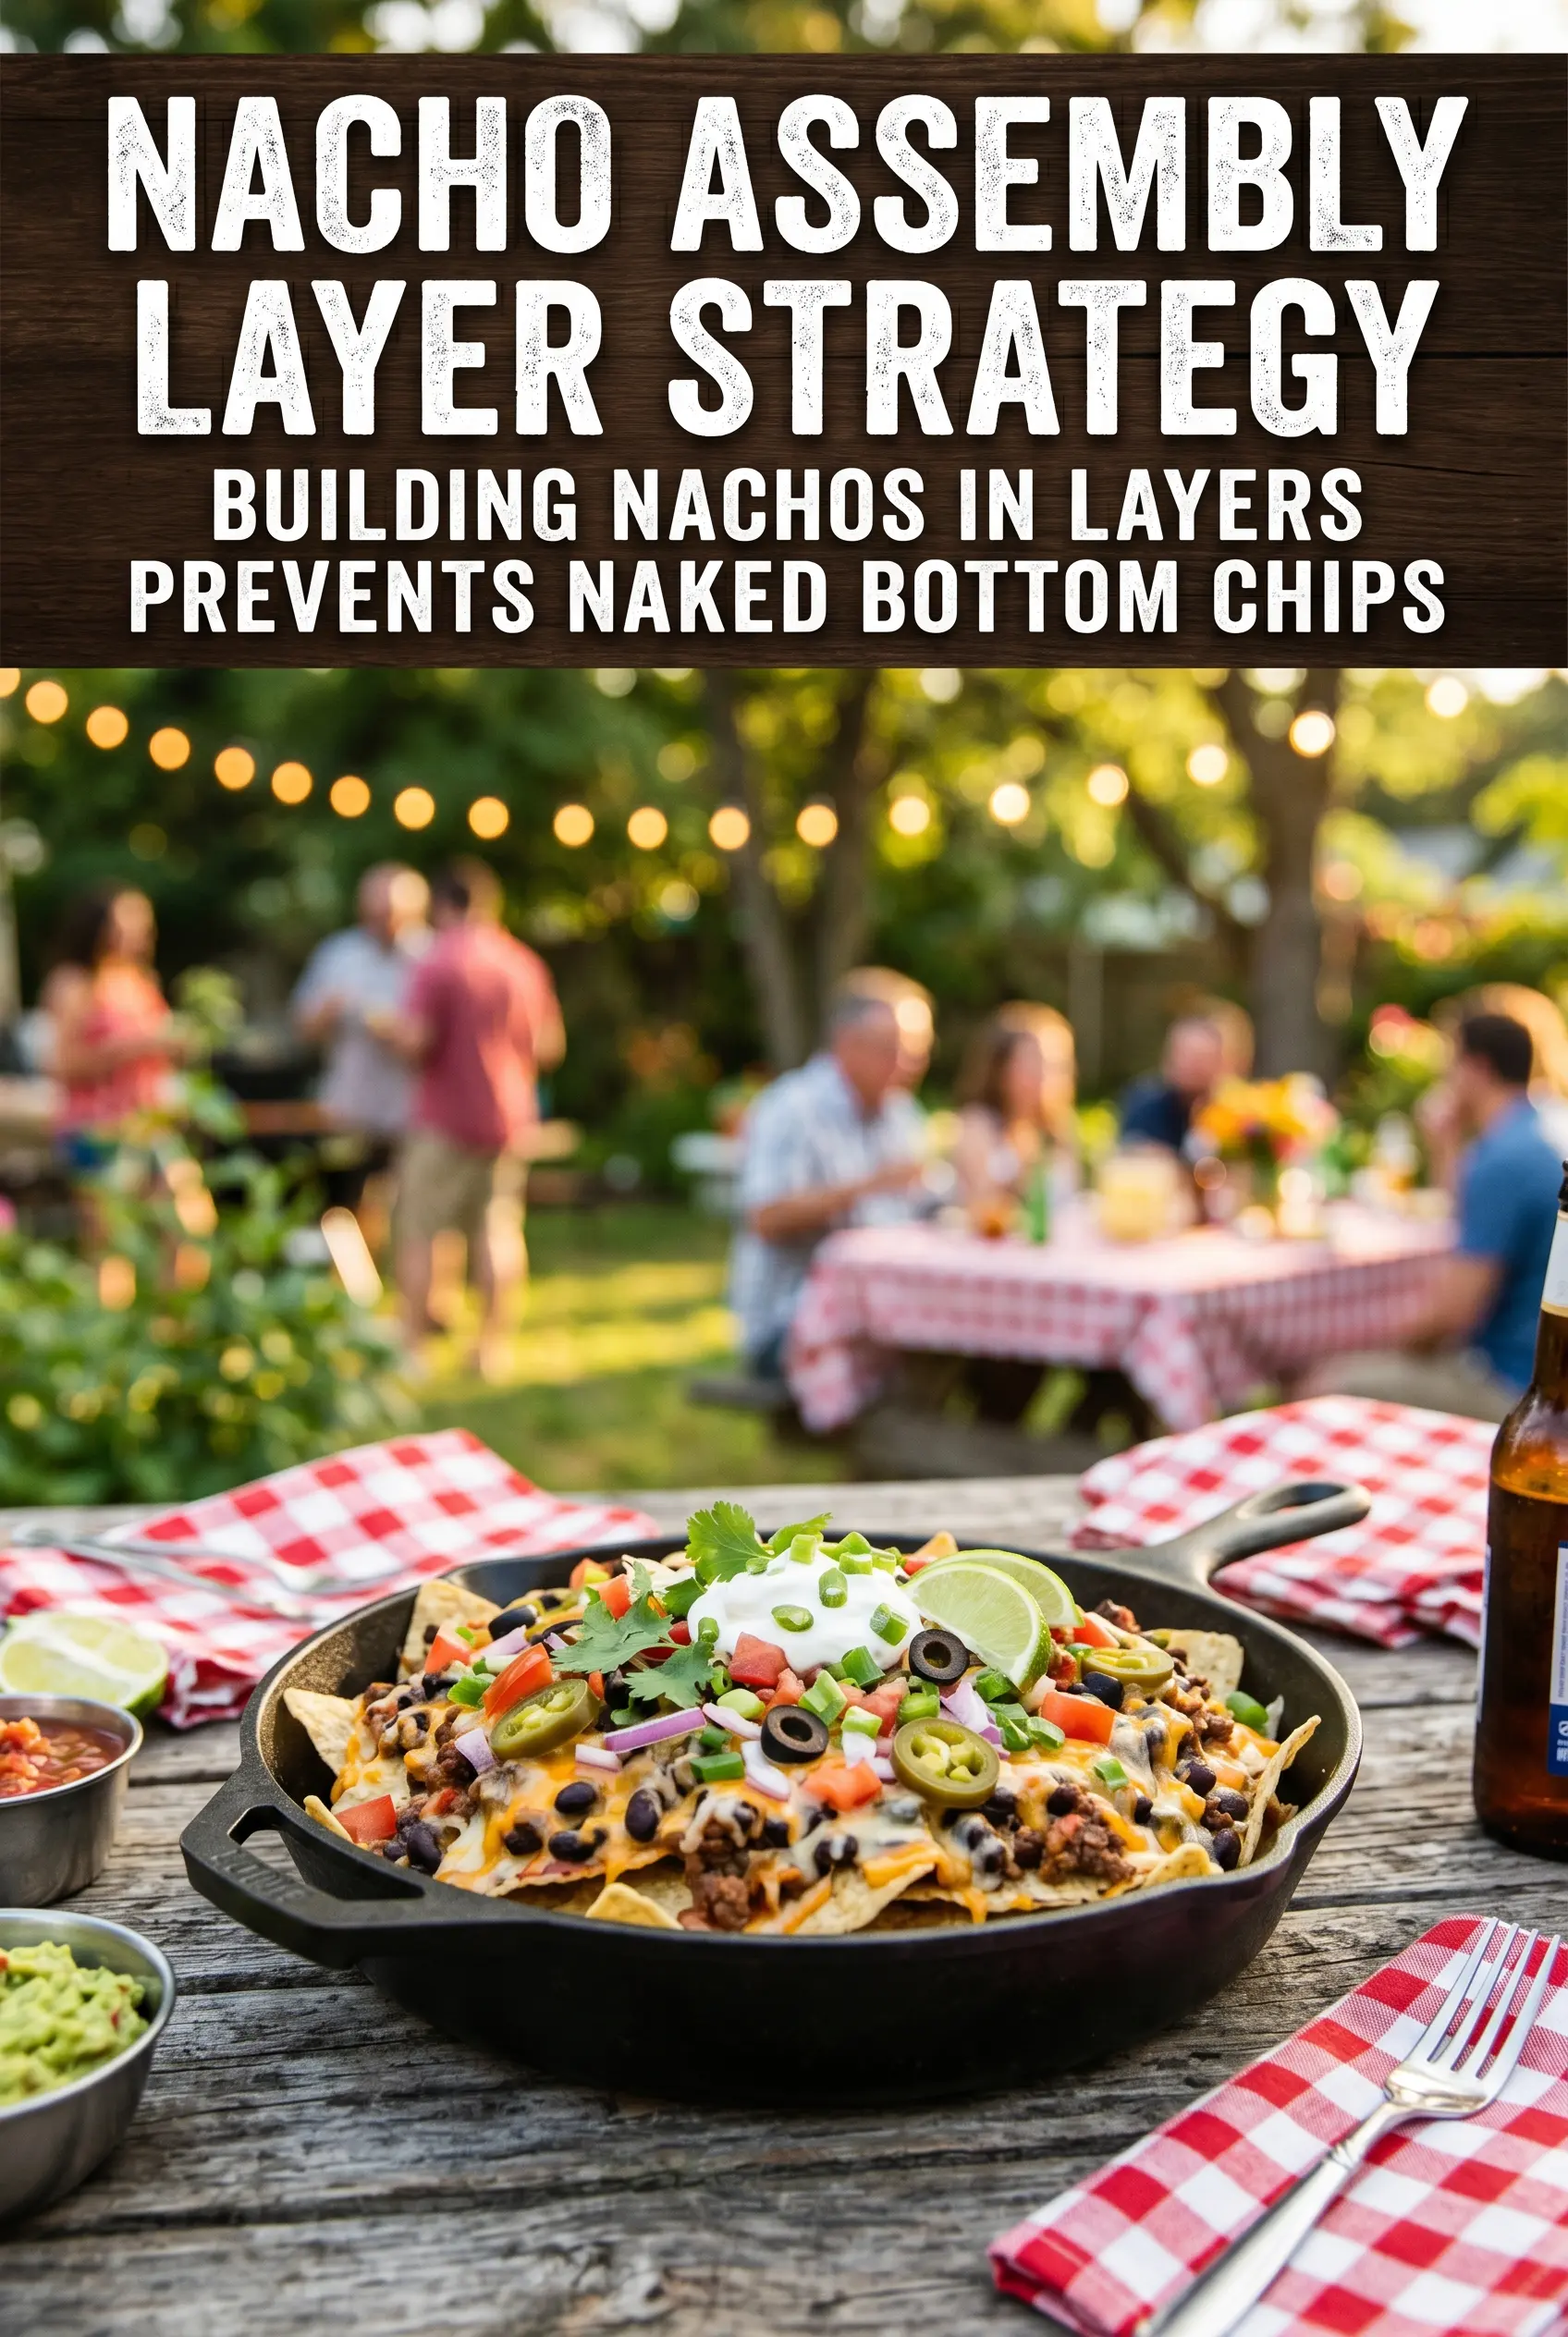
Layered nachos hit the table at their best when the chips stay crisp under a blanket of melted cheese and the toppings still taste fresh, not soggy. The trick is building them in stages instead of dumping everything on at once. That gives you pockets of beef, beans, and jalapeños tucked under the cheese while the cold toppings go on after the broil, which keeps every bite balanced.
This version leans on a sturdy chip, a well-seasoned beef mixture, and a fast broil so the cheese melts before the chips have time to soften. Black beans add enough body to make the platter feel generous without turning it heavy, and the toppings are chosen to give you creaminess, acidity, heat, and freshness in the same pan. If you’ve ever had nachos go limp before the last person reached the tray, the order below fixes that.
The chips stayed crisp under all that cheese, and the beef with the black beans made it feel like a full meal instead of just a snack. I loved that the tomatoes and guacamole went on at the end so everything still tasted fresh.
These loaded nachos keep the chips crisp, the cheese melty, and the toppings bright right up to the last handful.
The Fastest Way to Keep the Chips Crisp Under All That Cheese
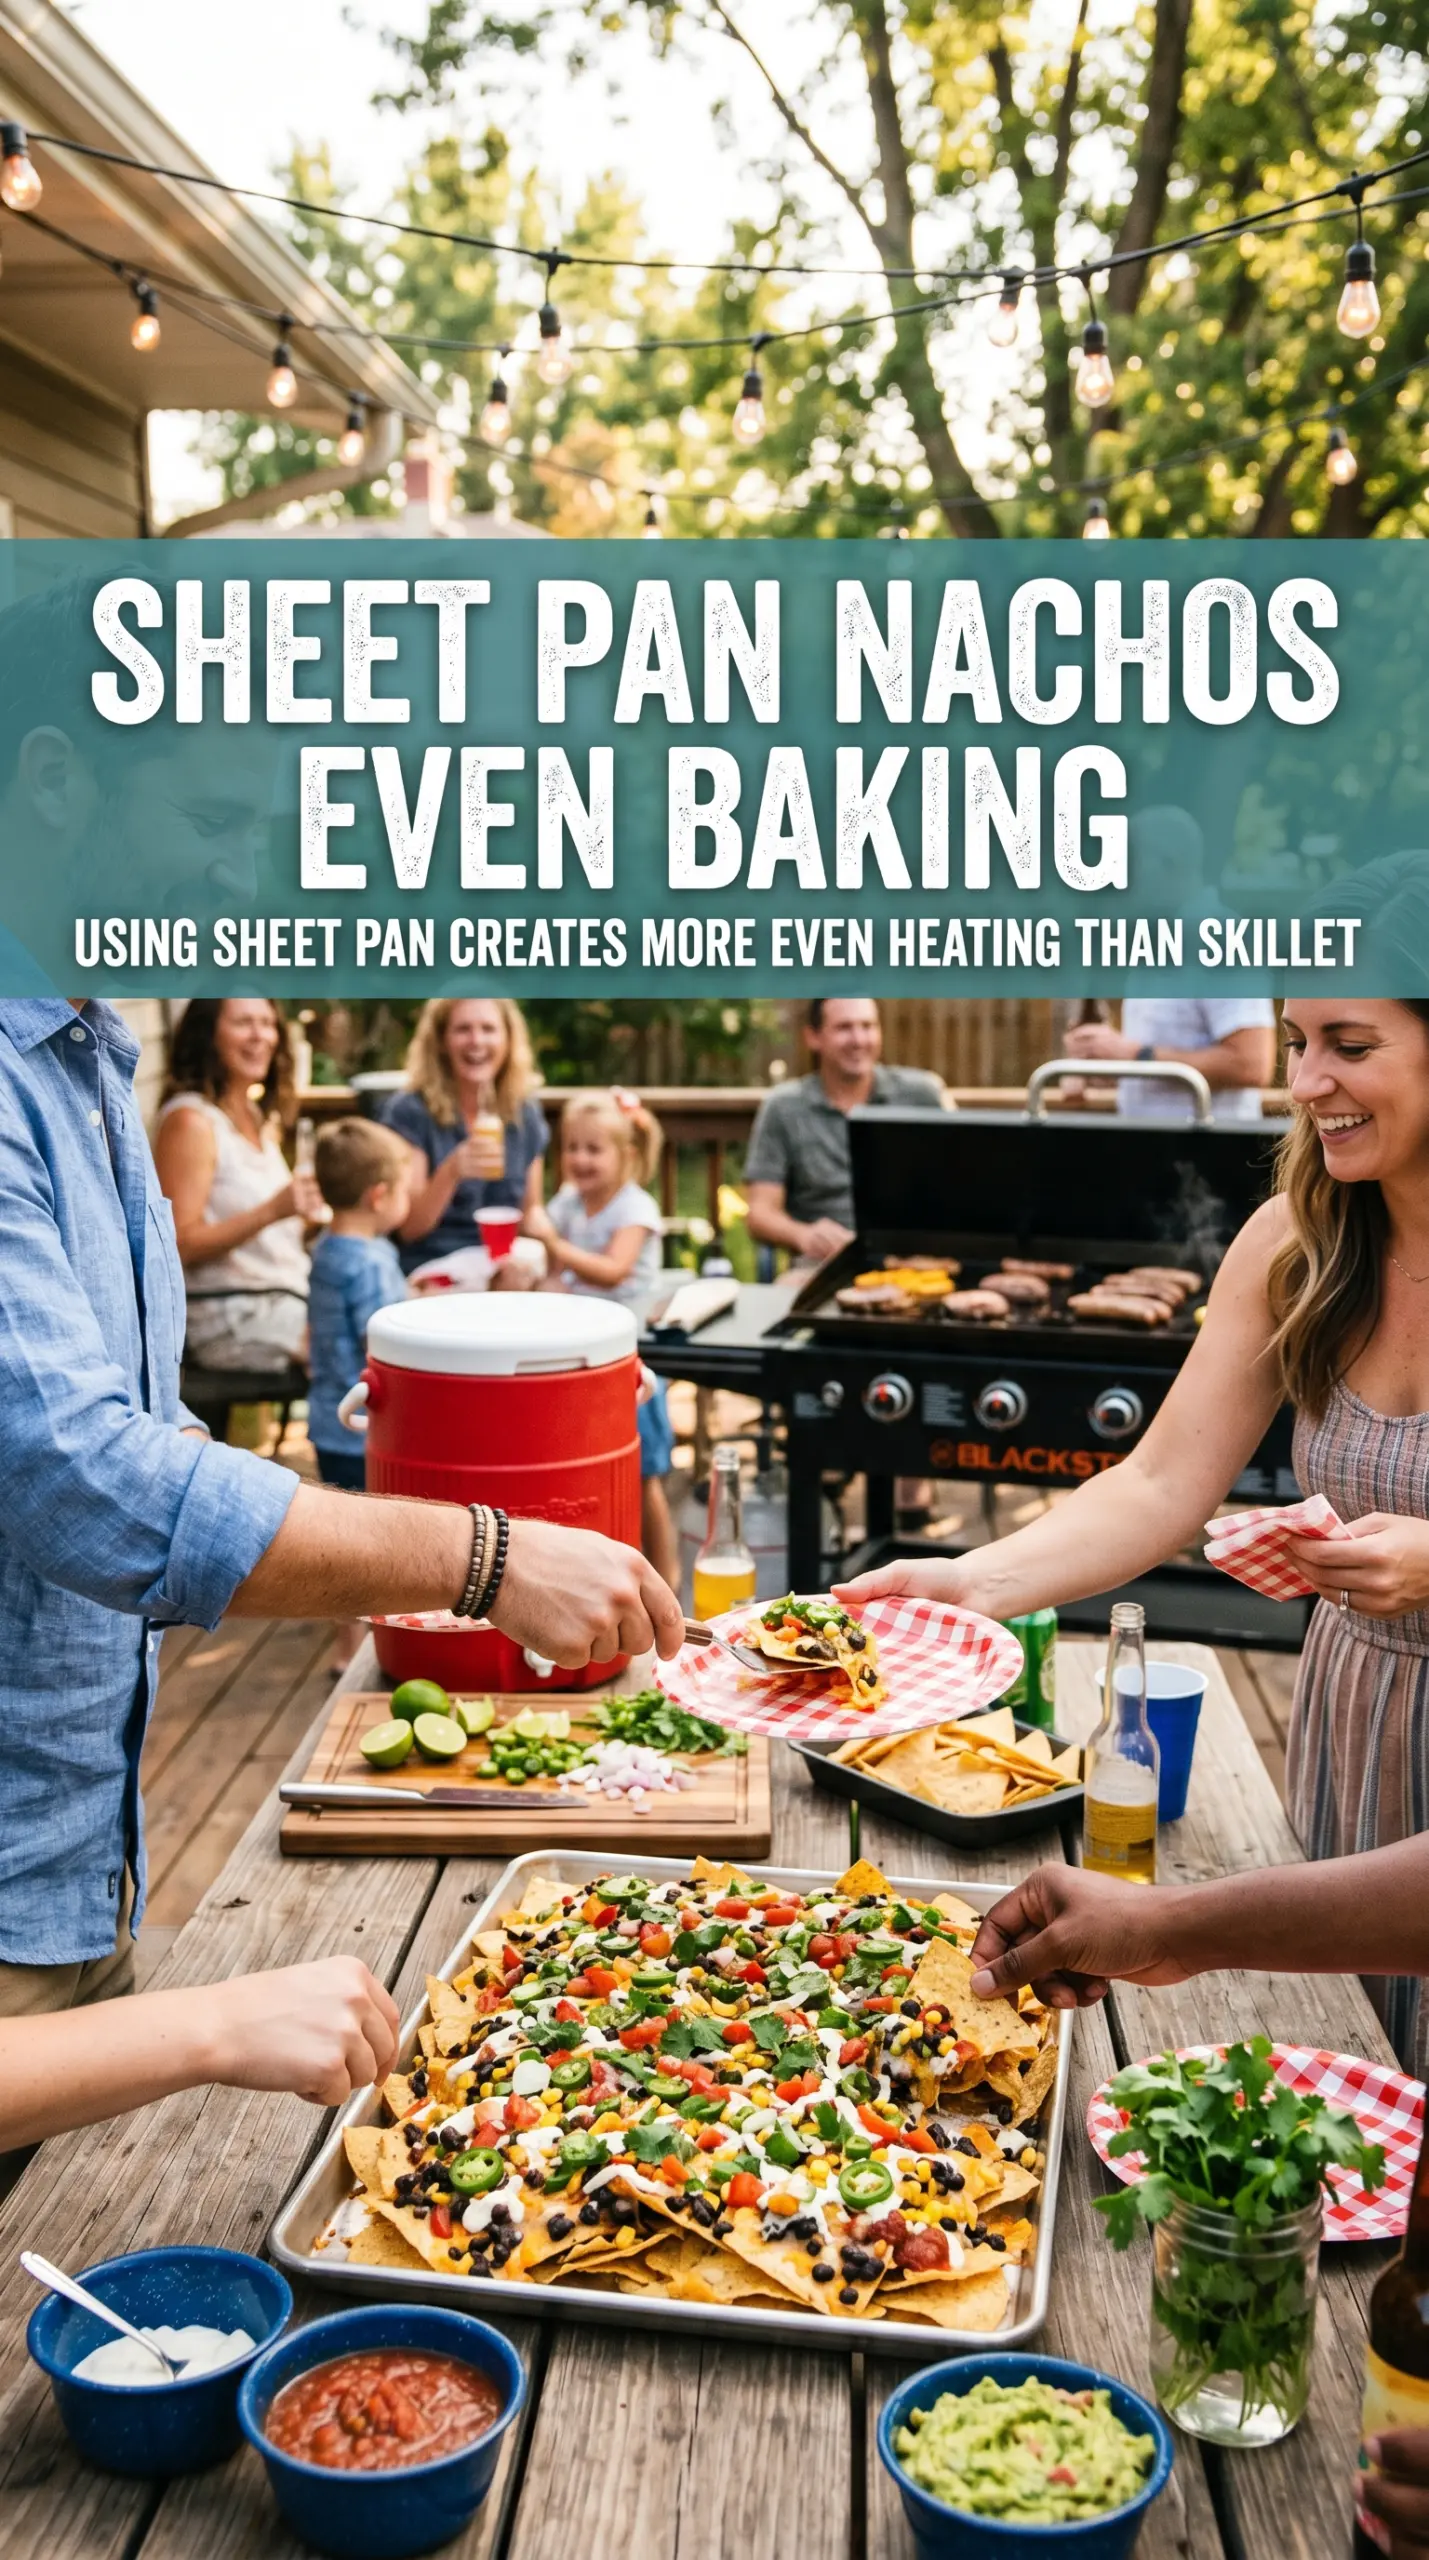
Nachos fail when they’re treated like a casserole. Chips absorb moisture fast, especially once meat, beans, and salsa are involved, so the whole job is about timing and layering. The chips need a thin, even base; the cheese needs direct contact with the toppings; and the cold ingredients belong on top only after the broiler comes off. That order gives you melted cheese and distinct textures instead of one soft pile.
Another common mistake is piling everything in one heavy mound. That looks generous, but it traps steam and makes the middle soggy before the edges even melt. Spread the chips across a large baking sheet in a single layer, and use enough cheese to reach the corners. A good nacho tray should have some chips peeking out, not a thick blanket that seals everything underneath.
What Each Topping Is Actually Doing on This Nacho Platter
- Tortilla chips — Use sturdy chips, not the thinnest bag in the pantry. They need enough structure to hold cheese and toppings without snapping the second you lift them. Restaurant-style chips with a good salt level work best.
- Mexican cheese blend — This is the melt that ties everything together. A pre-shredded blend is convenient and works well here, but if you shred it yourself, it melts a little smoother because there’s less anti-caking powder in the mix.
- Ground beef — This gives the nachos enough heft to feel like an actual snack meal. Brown it until there’s no moisture left in the pan before adding seasoning; wet beef turns the chips soft fast.
- Black beans — These add texture and make the platter more substantial without much extra work. Drain and rinse them well so you’re not adding bean liquid to the tray.
- Jalapeños — Fresh or pickled both work. Fresh jalapeños bring a cleaner heat, while pickled slices add more tang. Either way, keep them under the cheese so they soften slightly in the oven.
- Tomatoes, sour cream, guacamole, salsa, cilantro — These finish the dish after baking. Cold toppings go on last because they bring freshness, acidity, and creaminess that balance the salty cheese and beef. If you add them before broiling, they lose their contrast and the whole tray tastes flatter.
Building the Tray So Nothing Turns Limp
Brown the Beef Until It’s Dry, Not Watery
Cook the beef in a skillet over medium-high heat until it’s deeply browned and there’s no pink left. If there’s excess grease or moisture in the pan, drain it before adding the taco seasoning. The seasoning should cling to the meat, not simmer in liquid, or the filling slides off the chips instead of staying put.
Layer for Melt, Not for Volume
Spread the tortilla chips across a large baking sheet in one even layer. Sprinkle on half the cheese first, then add the seasoned beef, black beans, and jalapeños, and finish with the remaining cheese. That top layer of cheese acts like glue and keeps the fillings anchored during the broil.
Broil Just Until Bubbling
Slide the tray under the broiler and watch it closely. It usually takes 3 to 5 minutes, but broilers vary and the difference between melted and scorched is seconds, not minutes. Pull the pan the moment the cheese is fully melted and bubbling at the edges; if the cheese starts to brown hard, the chips underneath are already past their best texture.
Finish Fast With the Cold Toppings
The second the tray comes out, add tomatoes, olives, sour cream, guacamole, salsa, and cilantro. Do this while the cheese is still hot so the toppings settle into it slightly, but don’t wait around. Once the steam cools, the cheese firms up and the toppings won’t nestle in as nicely.
How to Adapt These Nachos for a Crowd, a Shortcut, or a Lighter Plate
Use ground turkey instead of beef
Ground turkey works well if you want a lighter tray, but it needs a little help. Add the taco seasoning once the turkey is fully cooked and drained, and don’t let it dry out in the pan. The flavor stays savory, though the finish is a bit leaner and less rich than beef.
Make them vegetarian
Skip the beef and add an extra half can of black beans, or fold in crumbled sautéed mushrooms for more texture. You’ll lose some of the meaty heft, but the cheese, beans, and toppings still make a complete plate. A squeeze of lime at the end matters even more here because it gives the beans lift.
Make them gluten-free
This recipe is naturally gluten-free as long as your taco seasoning and chips are certified gluten-free. That’s the part people miss. The rest of the ingredients are already doing the work, so there’s no sacrifice in texture or flavor.
Keep the toppings separate for serving later
If the nachos need to sit out for a party, hold the tomatoes, sour cream, guacamole, salsa, and cilantro until right before serving. The baked base can stay warm for a short while, but the fresh toppings should be added at the last minute so the chips don’t steam under them.
Storage and Reheating
- Refrigerator: Store leftovers for up to 2 days, but expect the chips to soften.
- Freezer: Not a good freezer recipe. The chips and fresh toppings don’t thaw well, and the texture falls apart.
- Reheating: Reheat the baked beef-and-cheese portion on a sheet pan in a 375°F oven until hot. Add fresh toppings after reheating. The common mistake is microwaving the whole tray, which makes the chips rubbery and the salsa watery.
Answers to the Questions Worth Asking
Easy Nachos
Ingredients
Equipment
Method
- Brown the ground beef in a skillet over medium-high heat. Stir in the taco seasoning and cook according to the package directions until thickened.
- Spread the tortilla chips on a sheet pan in an even layer. Make sure most chips touch the pan for crisp edges.
- Sprinkle half the shredded Mexican cheese blend over the chips. Cover the surface so the cheese melts into a binder layer.
- Add the seasoned beef, black beans, and jalapeños over the first cheese layer. Distribute evenly so every bite has toppings.
- Top with the remaining shredded Mexican cheese blend. Keep it as a full blanket so it melts and bubbles across the platter.
- Broil at 500°F for 3-5 minutes until the cheese is melted and bubbly. Watch closely so chips don’t darken too much.
- Remove the nachos from the oven and immediately top with the diced tomatoes, black olives, sour cream, guacamole, and salsa. The contrast keeps toppings fresh instead of soggy.
- Garnish with fresh cilantro and serve with lime wedges. Squeeze lime over the top just before eating.