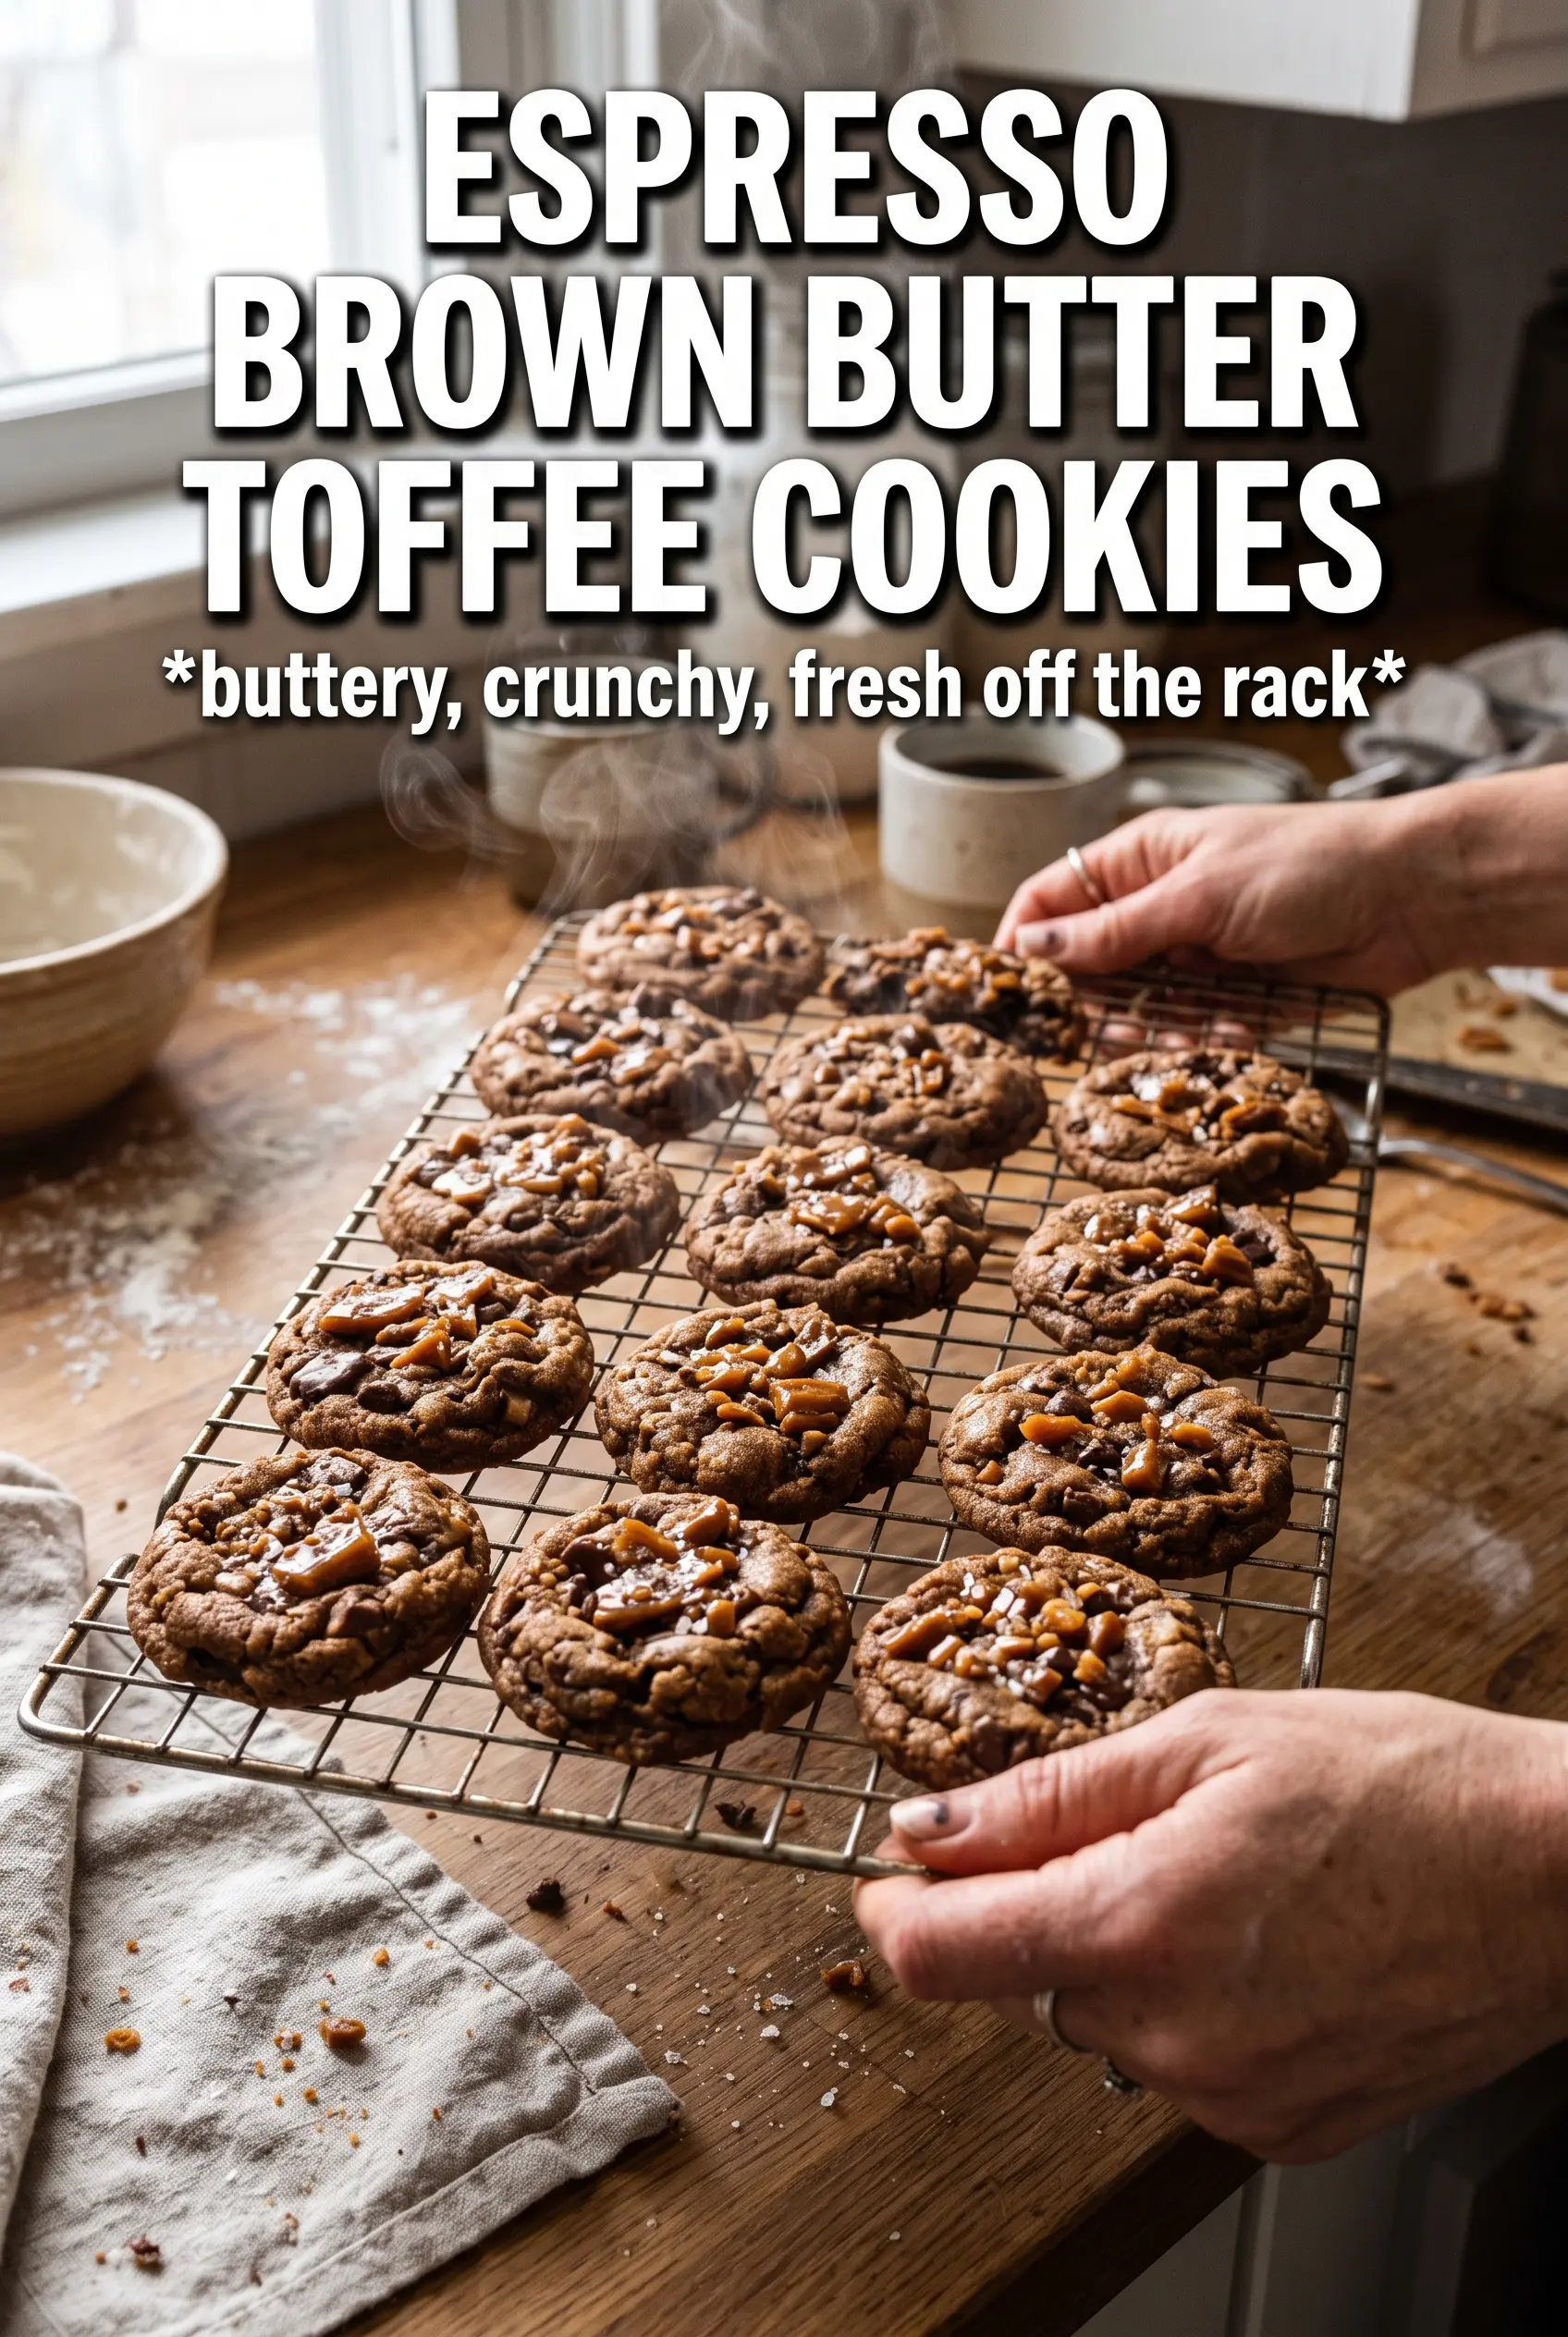
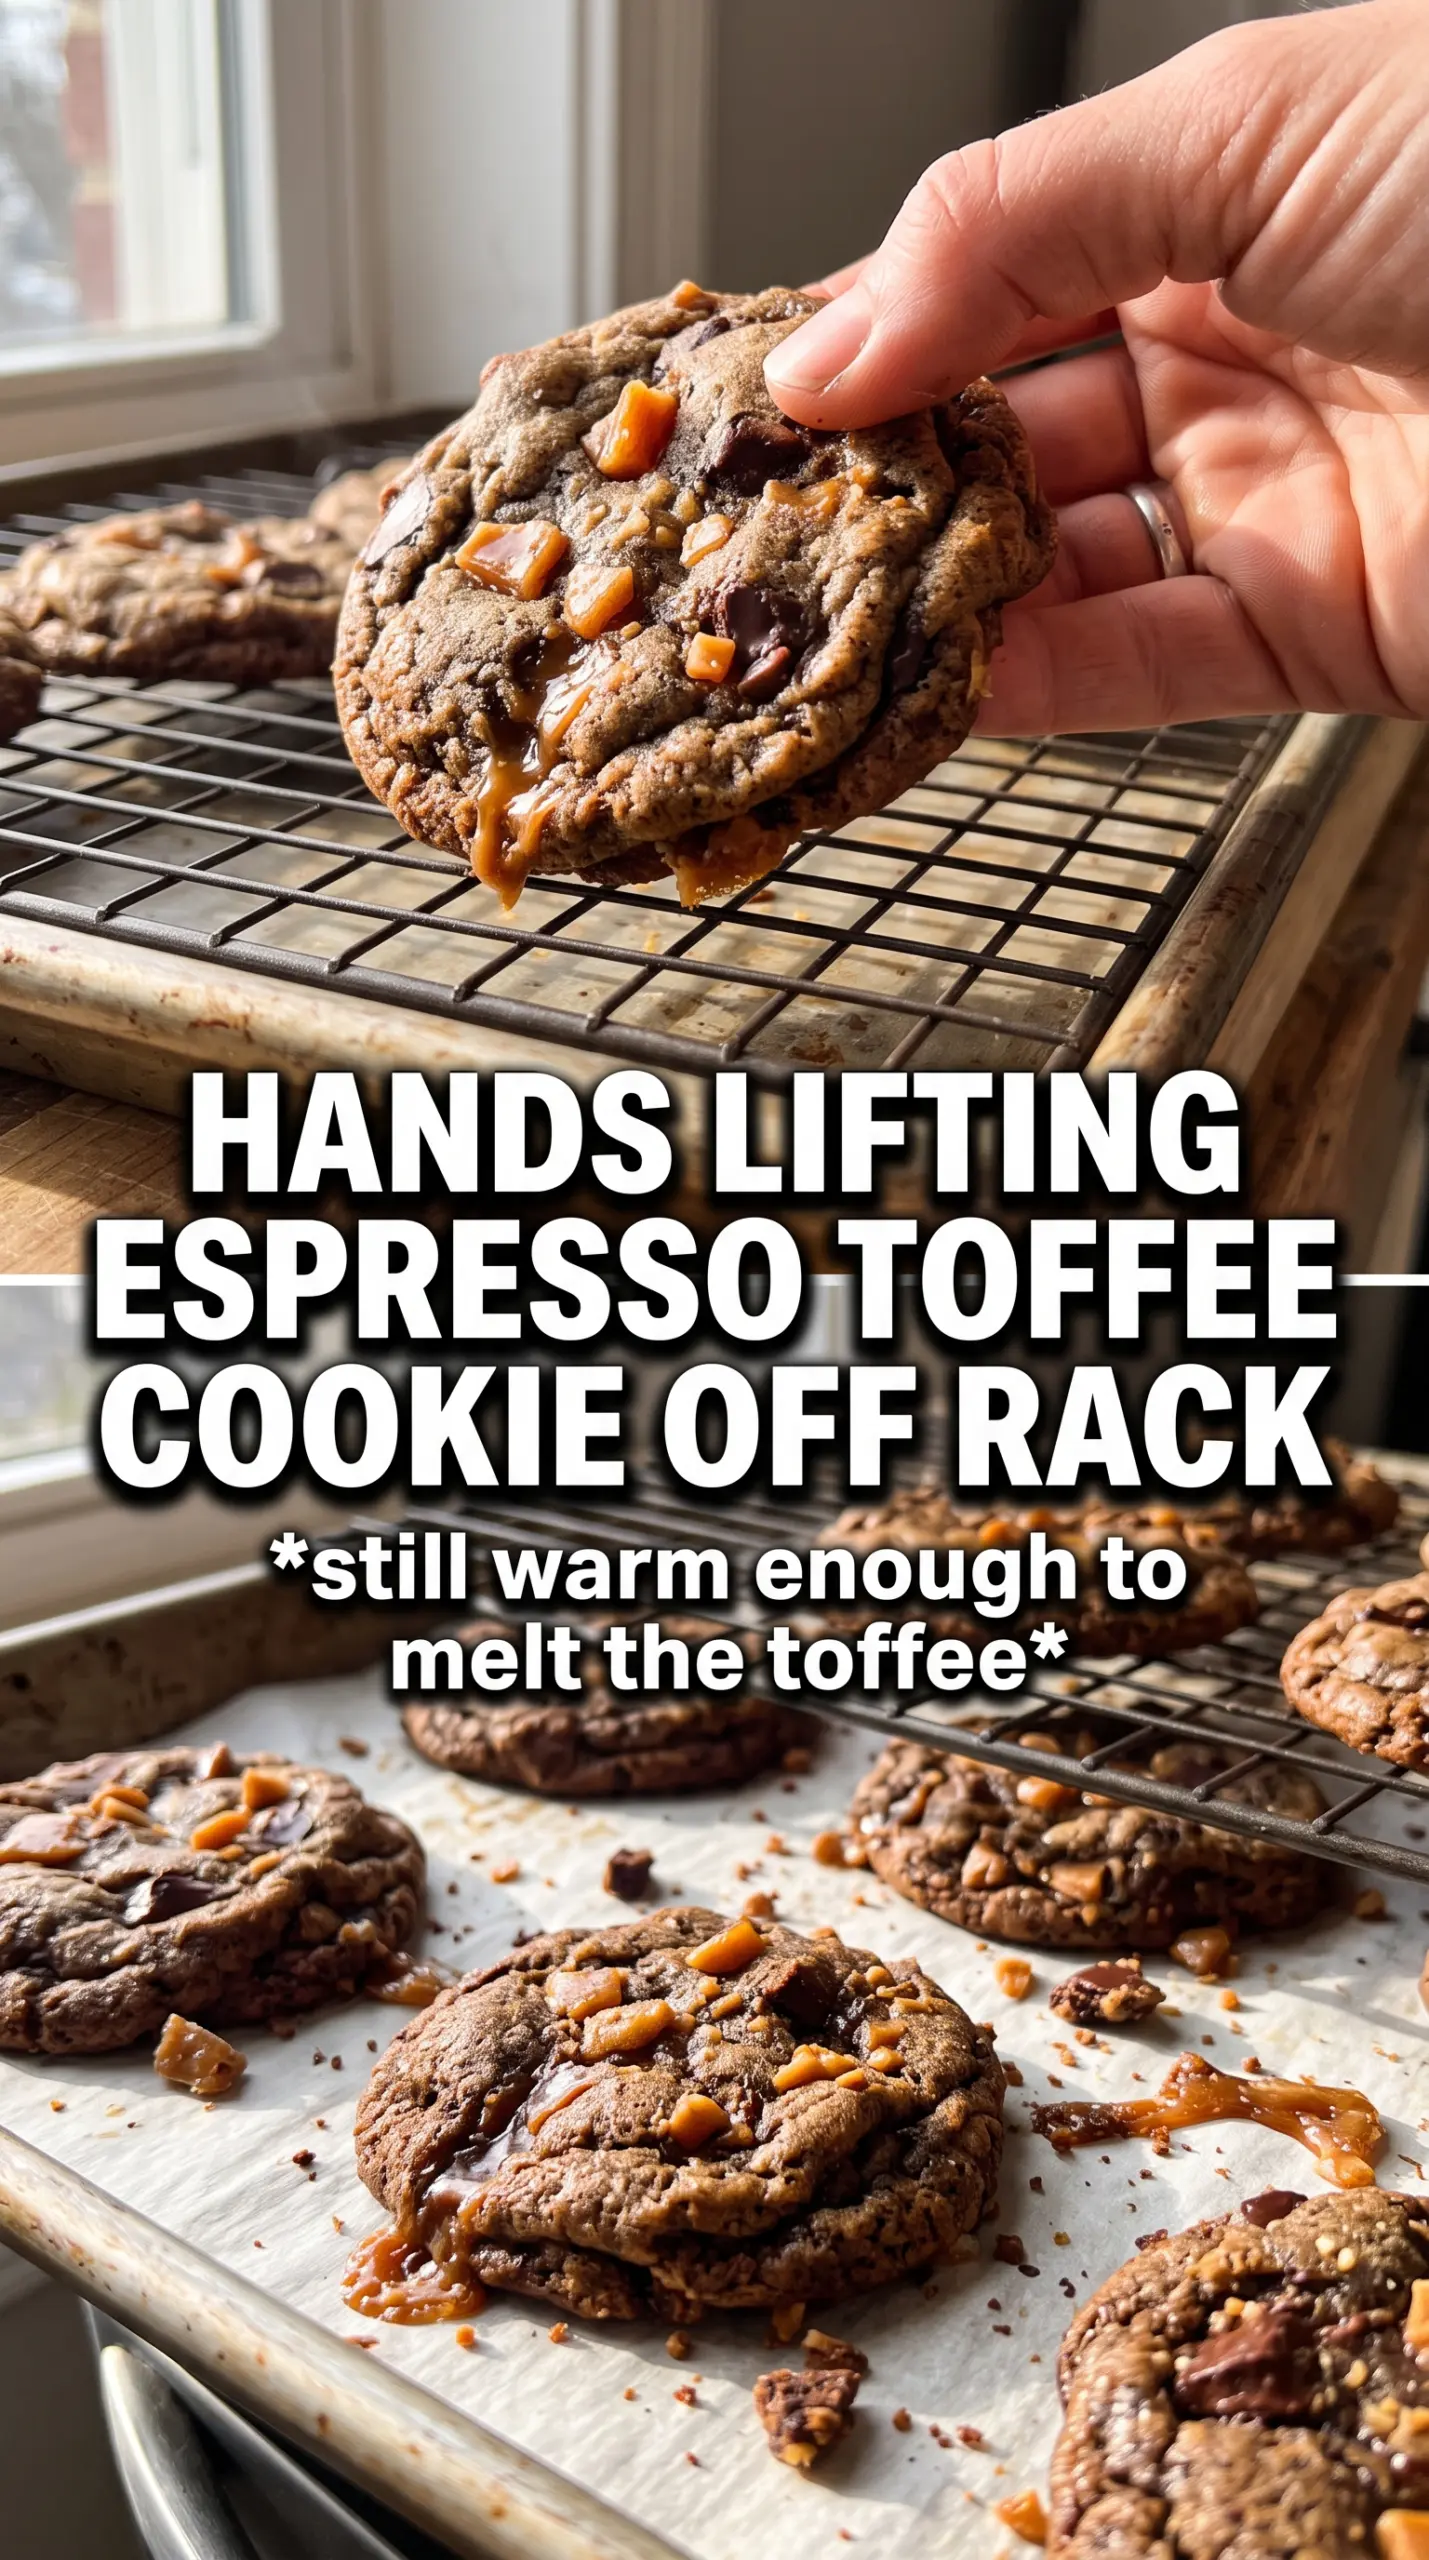
Espresso brown butter toffee cookies bake up with crisp edges, chewy centers, and those little crackly pockets of toffee that melt into the dough just enough to turn each bite extra rich. The brown butter brings a toasted, nutty depth, and the espresso doesn’t make these taste like coffee cake or a latte cookie — it sharpens the chocolate and keeps the sweetness in check.
The part that makes this recipe worth repeating is the butter. Browning it first changes the whole cookie, but it has to cool all the way back to solid before you mix the dough. That step gives you the deep flavor without turning the cookies greasy or flat. I also like using both brown sugar and granulated sugar here: the brown sugar keeps the centers soft, while the white sugar helps the edges bake up with a little snap.
Below, I’ll show you exactly when the brown butter is ready, what the dough should look like before it goes into the oven, and how to keep the toffee from disappearing into the bake.
The brown butter flavor came through beautifully, and the cookies stayed chewy in the middle even after cooling. My husband kept grabbing the ones with the biggest toffee puddles.
Save these espresso brown butter toffee cookies for the moments when you want a chewy cookie with crisp edges, toasted butter flavor, and a little salted crunch.
The Part Most Cookie Recipes Skip: Browning the Butter Without Ruining the Dough
Brown butter is what gives these cookies their deep, toasted backbone, but it also changes the texture of the dough in a way people don’t always plan for. Once the water cooks off, the butter goes from foamy to golden with brown flecks on the bottom, and that is your cue to stop. If you let it keep going, the butter turns bitter fast, and the whole batch tastes scorched instead of nutty.
The other piece people miss is cooling. You don’t want warm brown butter going into the sugar because it can melt the structure before the flour even has a chance to hydrate. Let it cool until it firms back up to a scoopable solid. That sounds fussy, but it gives you cookies that spread just enough without going thin and oily.
- Watch the color, not the clock. The butter can brown in a few minutes or take a bit longer depending on your pan. Use the smell and the brown specks at the bottom as your signal.
- Cool it all the way back down. Scoopable solid butter creams with the sugars the way this dough needs. Liquid butter makes denser, flatter cookies.
- Espresso powder is doing more than adding coffee flavor. It deepens the chocolate and toffee notes without turning the cookies into mocha cookies.
- Toffee bits go in at the end. Fold them in after the flour is almost combined so they stay in chunks instead of dissolving into the dough.
What Each Ingredient Is Actually Doing in These Cookies
- All-purpose flour — This gives the cookies their structure without making them cakey. The amount here is set for a chewy center, so don’t add extra unless the dough is clearly too wet from under-cooled butter.
- Baking soda — It helps the cookies spread and brown. There isn’t a good substitute if you want the same edges and lift.
- Espresso powder — Use instant espresso powder, not brewed coffee. Brewed coffee adds moisture; the powder gives concentrated flavor without changing the dough.
- Brown butter — This is the whole point. You can use plain softened butter in a pinch, but you lose the toasted flavor that makes these stand out.
- Brown sugar and granulated sugar — Brown sugar keeps the centers soft and a little chewy, while granulated sugar helps the tops crackle and the edges crisp.
- Toffee bits — Heath-style bits melt into buttery pockets and give the cookies those crisp, caramelized spots. If you chop up a candy bar instead, use small pieces so you still get even distribution.
- Dark chocolate chips — They keep the cookies from tasting one-note sweet and work especially well with the espresso. Semi-sweet works too, but milk chocolate will pull the flavor in a much sweeter direction.
- Flaky sea salt — This goes on at the end, not in the dough. It stays bright and crunchy on top instead of disappearing into the batter.
Getting the Dough, Scoop, and Bake Right
Whisk the Dry Ingredients First
Mix the flour, baking soda, espresso powder, and salt before you touch the butter and sugars. That keeps the espresso and baking soda evenly distributed, which matters because you don’t want one cookie bitter and another bland. If you skip this, the espresso can clump and you’ll see dark streaks in the dough.
Cream the Solid Brown Butter and Sugars
Beat the cooled brown butter with both sugars until the mixture looks fluffy and a little lighter in color. The butter should still hold shape but press easily against the side of the bowl. If it’s too soft or partially melted, chill it longer; otherwise the cookies will spread too fast in the oven.
Fold Just Until the Flour Disappears
Add the dry ingredients and mix only until no dry streaks remain, then fold in the toffee bits and chocolate chips. Overmixing at this point tightens the dough and makes the cookies tougher. The finished dough should look thick, scoopable, and a little glossy from the brown butter.
Bake for Set Edges and Soft Centers
Scoop the dough into 2-tablespoon rounds and bake until the edges are golden but the centers still look slightly underdone. That underbaked center is what gives you the chewy middle after cooling. Pull them when they look a touch puffed and soft in the center; if you wait until they look fully done, they’ll end up dry once they cool.
Finish with Salt While They’re Hot
Sprinkle flaky salt on the cookies the second they come out of the oven. The heat helps it stick, and the salt gives each bite a sharp little edge against the caramel and chocolate. Let them sit on the pan for 5 minutes before moving them so the bottoms can set without breaking apart.
How to Adapt These Cookies Without Losing the Brown Butter Character
Gluten-Free Version
Use a 1:1 gluten-free baking blend that includes xanthan gum. The cookies will still spread and brown, but the centers may be a little more delicate, so let them cool fully on the pan before moving them.
Dairy-Free Version
Use a plant-based butter that browns well, then cool it the same way. You won’t get the exact same nutty depth as real butter, but you can get close if the butter substitute has a rich, salted flavor and a lower water content.
Extra-Toffee, Less Chocolate
Cut the chocolate chips back to 1/4 cup and add the missing amount back as toffee bits. The cookies will taste sweeter and more caramel-forward, with a lighter chocolate note and a little more crunch in every bite.
Storage and Reheating
- Refrigerator: Store baked cookies in an airtight container for up to 5 days. They stay chewy, though the toffee bits soften a little.
- Freezer: Freeze baked cookies for up to 2 months, or freeze dough balls and bake from frozen with 1 to 2 extra minutes added to the bake time.
- Reheating: Warm a cookie in a 300F oven for 3 to 4 minutes or microwave it for about 10 seconds. Too much heat melts the chocolate and makes the edges go greasy instead of crisp.