
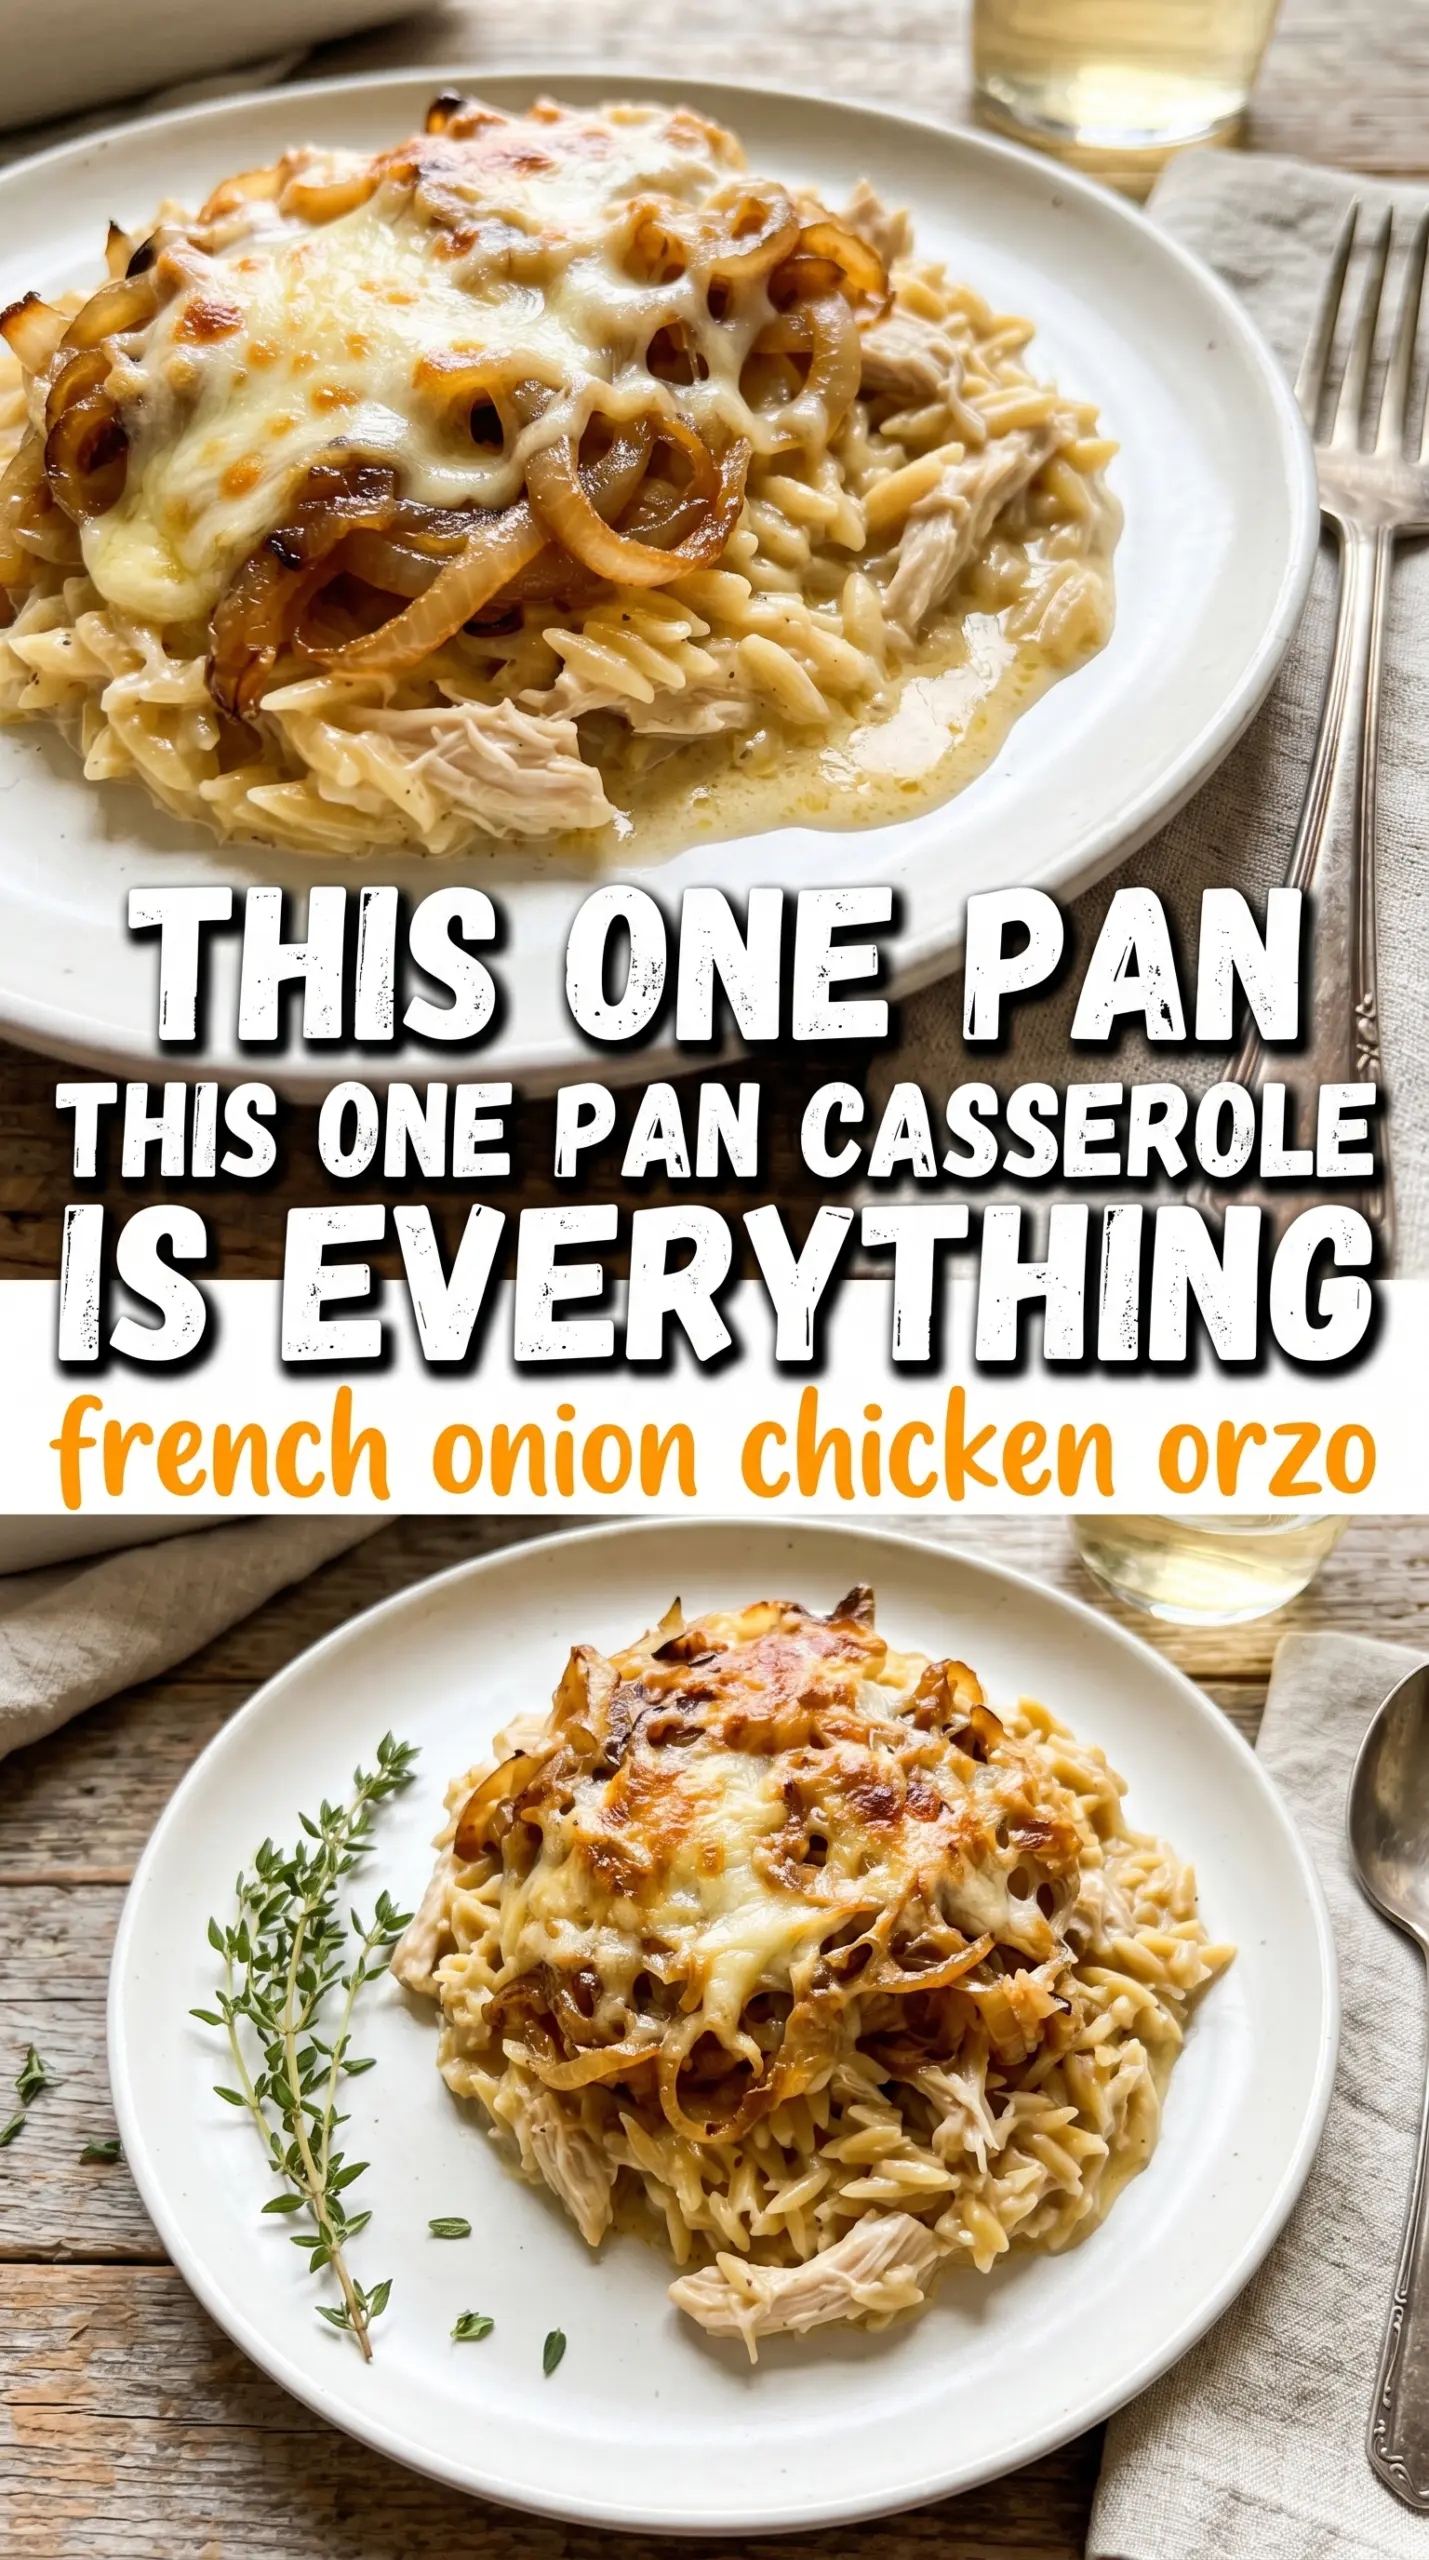
Golden, bubbling, and built for second helpings, this French Onion Chicken Orzo Casserole has the kind of deep savory flavor that tastes like it took all afternoon, even though the active work stays under an hour. The onions cook down until jammy and sweet, the chicken stays tender, and the orzo turns creamy right in the pan so every bite picks up the broth, thyme, and melted Gruyère.
What makes this version work is the order. The onions need time to caramelize before anything else goes in, because that slow browning is where the dish gets its French onion character. The chicken only needs a short sear, just enough to add color before the orzo finishes cooking in the broth. If you rush the onion step, the whole casserole tastes flatter; if you let it go deep and brown, the final dish tastes layered instead of one-note.
Below you’ll find the exact cues I use to know when the onions are ready, why the broth ratio matters with orzo, and the easiest swaps if you need to work with what you already have in the kitchen.
The onions turned silky and sweet, and the orzo soaked up the broth without going mushy. I added a little extra thyme at the end and my husband went back for a second bowl before I even sat down.
Like this French Onion Chicken Orzo Casserole? Save it for the nights when you want caramelized onions, creamy orzo, and a bubbling Gruyère top in one pan.
The Step Most Casseroles Skip: Caramelizing the Onions Until They Taste Sweet, Not Just Soft
The onions are the backbone here. If they stay pale, the casserole tastes like chicken and pasta with cheese on top; once they turn deeply golden and sticky, they bring that classic French onion depth that makes the whole dish taste finished. Low heat matters more than speed. High heat burns the edges before the onions collapse, and burnt onion tastes sharp instead of sweet.
The other trap is adding the chicken too early. The onions need enough room in the pan to brown, which is harder to do if you’re trying to cook everything at once. Build the onion flavor first, then sear the chicken in the same skillet so the browned bits stay in the dish. Those bits disappear into the broth and carry the flavor across the whole casserole.
What Each Ingredient Is Actually Doing in This Casserole
- Yellow onions — These are non-negotiable for the French onion flavor. Sweet onions can work, but yellow onions hold up better through the long cook and give you a deeper, more balanced caramelized flavor.
- Beef broth and chicken broth — The beef broth gives the dish that classic French onion backbone, while the chicken broth keeps it from tasting too heavy. If you only have chicken broth, the casserole still works, but it will taste lighter and less like French onion soup.
- Orzo — Orzo is what turns this from a skillet chicken dish into a casserole. It absorbs the broth as it bakes and gives the pan a creamy, risotto-like texture without constant stirring.
- Gruyère — This melts smoothly and brings the nutty, slightly salty finish you want. Swiss cheese is the best substitute if Gruyère is hard to find, but avoid pre-shredded cheese if you can; it doesn’t melt as cleanly.
- Worcestershire sauce — Just a tablespoon gives the broth a deeper savory edge. Don’t skip it unless you have to; it rounds out the onions and makes the sauce taste less flat.
Building the Casserole So the Orzo Stays Tender and the Cheese Bakes Evenly
Caramelizing the Onions Slowly
Melt the butter and olive oil together, then add the onions with a pinch of salt. That salt helps pull out moisture, which gets the onions moving before they start browning. Stir them occasionally and let them sit long enough to take on color; if you stir constantly, they soften but never really caramelize. You’re looking for a deep amber color and a jammy texture that clings to the spoon.
Searing the Chicken in the Onion Pan
Push the onions to the side and add the chicken pieces in a single layer. Give them just enough time to pick up gold on the outside; they don’t need to cook through yet because the oven finishes the job. If the pan looks crowded, the chicken will steam instead of sear, and that robs the casserole of flavor. Once the garlic goes in, keep it brief so it doesn’t burn in the hot pan.
Letting the Orzo Cook in the Broth
Stir in the orzo, both broths, Worcestershire, and thyme, then bring everything to a simmer before the skillet goes into the oven. The liquid should look loose at this stage. Orzo thickens fast, and if the pan goes into the oven dry or barely wet, it can grab on the bottom before the center finishes cooking. By the time it comes out, the pasta should be tender and the sauce should look creamy, not soupy.
Finishing Under a Gruyère Blanket
Scatter the cheese evenly over the top so it melts into one golden lid instead of clumping in patches. Bake uncovered until the cheese is bubbling at the edges and the orzo is cooked through. Let the casserole rest for five minutes before serving. That short rest helps the sauce settle so your spoon pulls out creamy orzo instead of a loose pool at the bottom of the pan.
Three Practical Ways to Adapt This French Onion Chicken Orzo Casserole
Use rotisserie chicken for a faster bake
Skip the raw chicken sear and stir in about 3 cups of shredded rotisserie chicken with the broth and orzo. The casserole gets on the table faster, but you’ll lose the browned chicken flavor from the skillet, so keep the onions extra deep and don’t skimp on the thyme.
Make it gluten-free with a pasta swap
Use a gluten-free orzo-style pasta and check the broth and Worcestershire label carefully. Gluten-free pasta can turn soft faster than regular orzo, so start checking a few minutes early and pull the casserole once the center is just tender.
Swap the cheese for a milder finish
If Gruyère isn’t in the fridge, use Swiss or a blend of Swiss and mozzarella. Mozzarella gives you more stretch, but less nutty flavor, so keep some Parmesan on hand if you want to bring back a little of that savory edge.
Storage and Reheating
- Refrigerator: Store covered for up to 4 days. The orzo will thicken as it sits, so expect a creamier, less loose texture on day two.
- Freezer: It freezes well, but the pasta softens a bit after thawing. Cool completely, portion into airtight containers, and freeze for up to 2 months.
- Reheating: Reheat covered in the oven at 350°F with a splash of broth stirred in first. The common mistake is blasting it uncovered in the microwave, which dries out the chicken and tightens the pasta too much.