Gnocchi chicken pot pie lands somewhere between the comfort of a classic pot pie and the kind of dinner that disappears fast because the filling is extra creamy and the topping bakes up deeply golden. The gnocchi change the whole texture of the dish: they turn tender in the sauce, hold onto all that chicken-and-vegetable richness, and make every spoonful feel a little more substantial than a standard pot pie filling.
What makes this version work is the order. The vegetables cook first so they soften and sweeten before the sauce goes in, and the flour gets a full minute in the butter so it loses that raw taste and thickens cleanly. The gnocchi go in uncooked, which lets them absorb flavor as the casserole bakes instead of turning mushy from extra boiling. That keeps the filling creamy without becoming heavy.
Below, I’ve included the one step that keeps the sauce smooth, the ingredient swap that works if you only have biscuits, and the reheating method that keeps the top from going limp.
The sauce thickened up beautifully and the gnocchi stayed tender without falling apart. My husband kept going back for “just one more scoop,” which never happens with chicken pot pie at our house.
Save this gnocchi chicken pot pie for the nights when you want creamy filling, tender gnocchi, and a crisp golden top in one dish.
The Shortcut That Keeps the Filling Creamy Instead of Starchy
The biggest risk in a dish like this is that the sauce turns gluey before it ever hits the oven. Gnocchi bring their own starch, and if the filling gets too thick on the stove, it can set up like paste once it bakes. The goal is a sauce that coats the back of a spoon but still flows when you stir it.
That’s why the broth and cream go in gradually. When the liquid is added slowly, the flour base stays smooth and the sauce thickens evenly. If you dump it in all at once, the flour can seize into small lumps that are hard to cook out later. Keep the simmer gentle. A hard boil can tighten the sauce too much and make the gnocchi bloat before the top browns.
What Each Ingredient Is Actually Doing in This Pot Pie
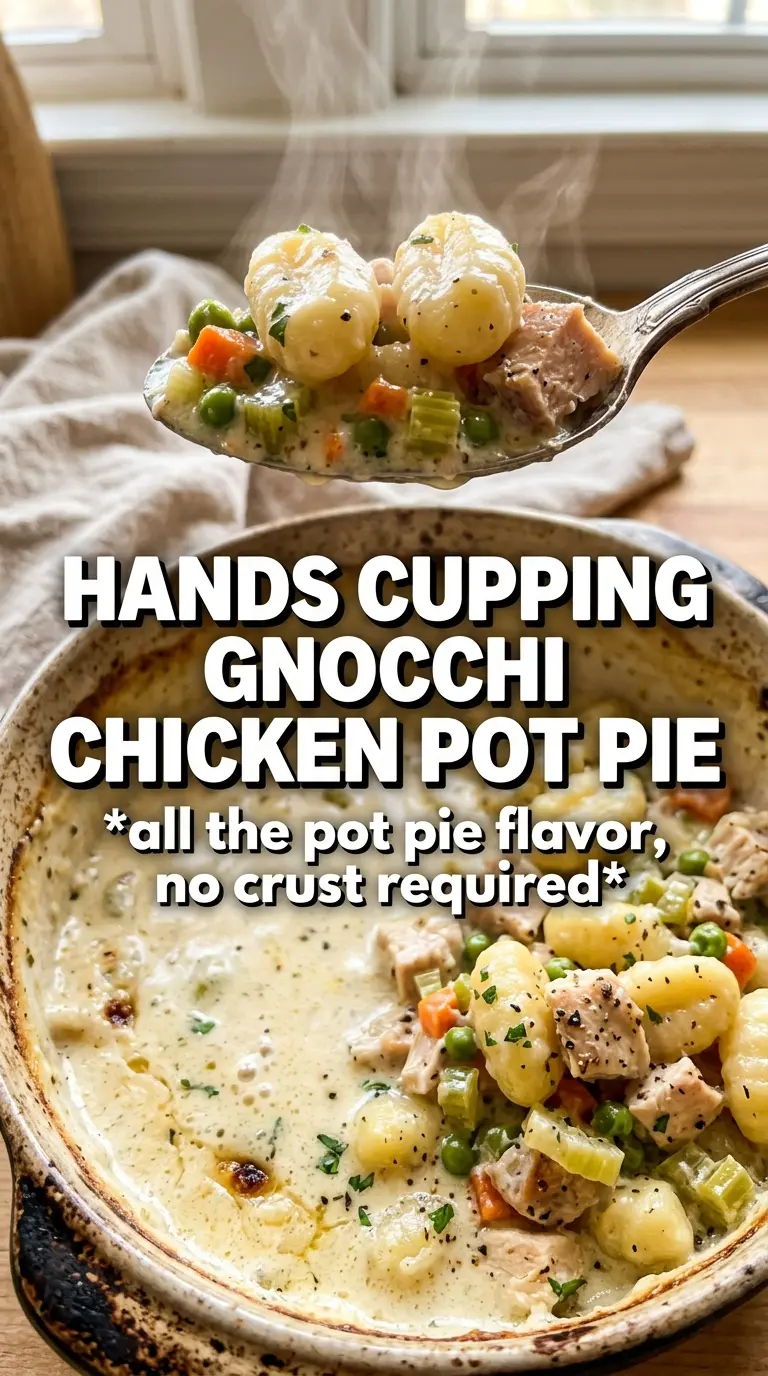
- Potato gnocchi — These replace the usual biscuit-and-filling separation with little soft dumplings that soak up the sauce. Shelf-stable, refrigerated, or vacuum-packed gnocchi all work; just use them straight from the package. Don’t boil them first.
- Cooked shredded chicken — This is the fastest path to a deep, savory filling. Rotisserie chicken is perfect here because it already has good seasoning and won’t dry out in the oven. Dice or shred it into bite-size pieces so it distributes evenly.
- Butter, flour, broth, and cream — This is the sauce backbone. Butter carries the vegetables, flour thickens, broth adds savory depth, and cream finishes the filling with that classic pot-pie richness. Half-and-half can stand in for cream, but the sauce will be a little lighter and slightly less silky.
- Puff pastry or biscuits — Puff pastry gives you a crisp, shattery lid, while biscuits bake into a more rustic, breadier top. Puff pastry needs to stay cold until it hits the oven; warm pastry can slump instead of puff.
Building the Filling Before the Top Goes On
Softening the Vegetables First
Start with the onion, carrots, and celery in butter and cook them until the onion is translucent and the carrots have started to lose their raw edge. That takes about 5 minutes over medium heat, and it matters more than it sounds. If the vegetables stay crunchy now, they’ll still taste undercooked after the bake. The pan should smell sweet and savory, not browned or scorched.
Turning the Butter Into a Proper Base
Add the garlic and thyme, then whisk in the flour and cook it for a full minute. The mixture will look pasty and cling to the vegetables, which is exactly what you want. That short cook time removes the raw flour taste and sets up the sauce so it thickens smoothly once the broth and cream go in. If the flour looks dry or starts sticking, lower the heat before adding liquid.
Finishing the Sauce and Folding in the Gnocchi
Pour in the broth gradually while whisking, then add the cream and let the mixture simmer until it thickens enough to coat a spoon. Stir in the chicken, peas, and uncooked gnocchi, then season well with salt and pepper. The filling should look loose enough to bubble around the edges in the oven, not so thick that the gnocchi sit in a mound. If it seems too tight, add a splash more broth before baking.
Baking to a Golden Top
Spoon the filling into a baking dish, cover it with puff pastry or biscuit dough, and brush the top with egg wash. Bake until the crust is deep golden and the filling is actively bubbling at the edges. That bubbling is the sign the sauce is hot all the way through and the gnocchi are tender. If the top browns before the filling bubbles, tent it loosely with foil and keep baking.
How to Change This Dish Without Losing What Makes It Work
Use biscuits for a more rustic finish
Biscuits give you a softer, breadier top with more contrast against the creamy filling. Drop them over the filling in spaced mounds so steam can escape between them. They won’t be as crisp as puff pastry, but they do add a cozy, dinner-casserole feel.
Make it gluten-free with one smart swap
Use gluten-free gnocchi and thicken the filling with a 1:1 gluten-free flour blend instead of all-purpose flour. The sauce will still set up nicely, but it may need an extra minute or two of simmering before baking. Skip any biscuit or pastry topping unless you’re using a gluten-free version that bakes well.
Go dairy-free without thinning the filling too much
Swap the butter for olive oil or a dairy-free butter and use full-fat unsweetened oat cream or canned coconut cream in place of heavy cream. The filling will taste a little less rich, but it will still be velvety if you keep the simmer gentle. Avoid thin plant milks; they don’t give the same body.
Stretch it for a bigger crowd
Add another cup of chicken and a little extra broth if you want the filling to feed more people without getting dry. Use a deeper baking dish and give yourself a few extra minutes in the oven so the center heats through. The crust should still be the last thing you judge, but the bubbling edge tells you the middle is ready.
Storage and Reheating
- Refrigerator: Store covered for up to 4 days. The topping softens as it sits, but the filling stays creamy.
- Freezer: Freeze the baked filling without the top if you can. Puff pastry doesn’t stay crisp after freezing and reheating, but the filling freezes well for up to 2 months.
- Reheating: Reheat in a 350F oven, covered loosely with foil, until hot in the center. The microwave works in a pinch, but it makes the topping chewy and can overcook the gnocchi.
Answers to the Questions Worth Asking
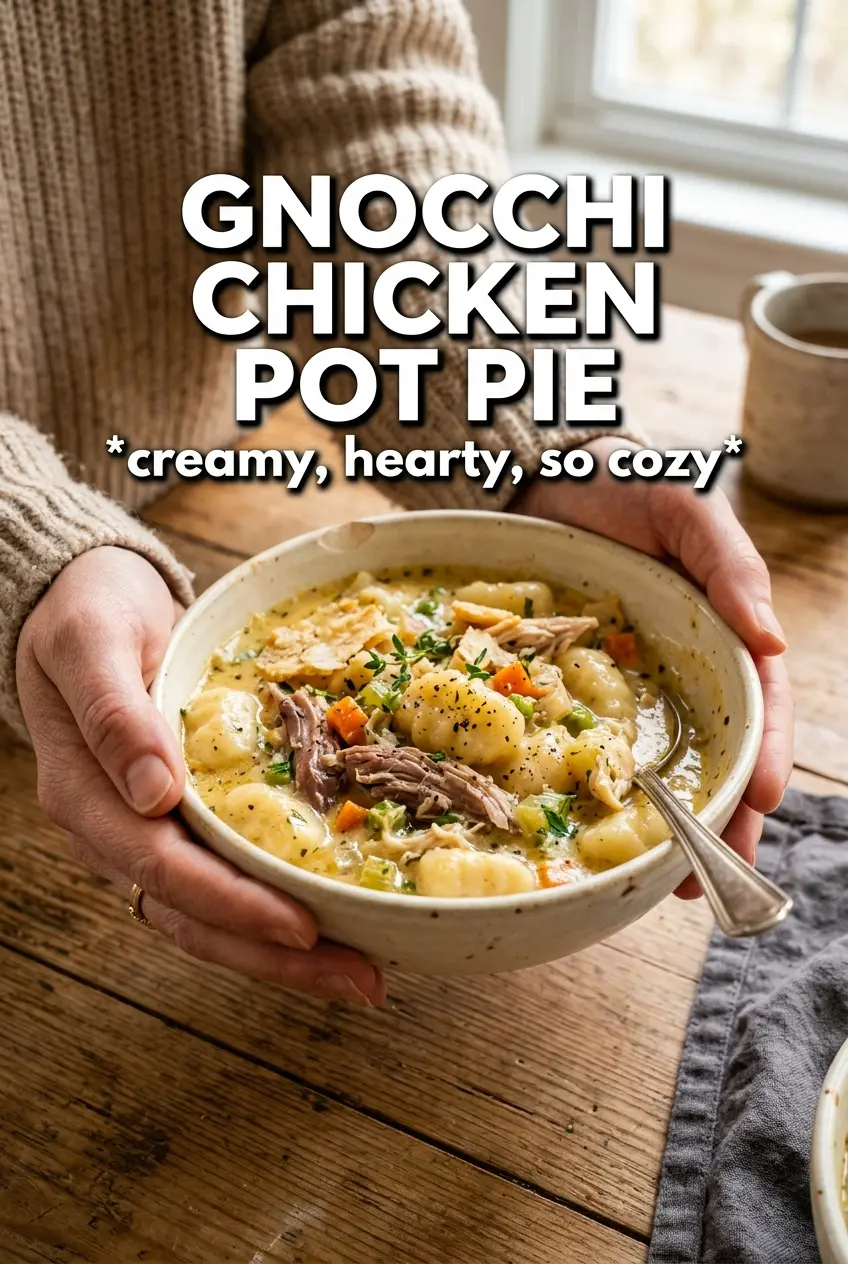
Gnocchi Chicken Pot Pie
Ingredients
Equipment
Method
- Preheat the oven to 400F, then set a Dutch oven over medium heat and melt the butter. You should see the butter foam slightly as it heats up.
- Add the onion, carrots, and celery to the Dutch oven and sauté for 5 minutes. Stir occasionally until the vegetables soften and smell fragrant.
- Add the garlic and thyme and cook for 30 seconds, just until fragrant. The garlic should look lightly golden at the edges.
- Whisk in the flour and cook for 1 minute while stirring. The mixture should turn a shade darker and smell nutty but not burnt.
- Gradually whisk in the chicken broth and heavy cream, scraping up any browned bits. Bring to a simmer and cook 5-10 minutes, until thickened enough to coat the back of a spoon.
- Fold in the shredded chicken, frozen peas, and uncooked gnocchi and season with salt and pepper. Simmer 3-5 minutes until the peas are tender and the sauce looks cohesive around the gnocchi.
- Pour the filling into a baking dish and spread it into an even layer. The surface should be level so the crust bakes uniformly.
- Top with puff pastry or refrigerated biscuits, sealing the edges lightly to the dish. Aim for even coverage with a few small gaps for steam.
- Brush the pastry with egg wash using a light, even coat. The top should look glossy.
- Bake for 25-30 minutes at 400F until golden and bubbly around the vented areas. Let it stand 5 minutes before serving so the filling sets slightly.