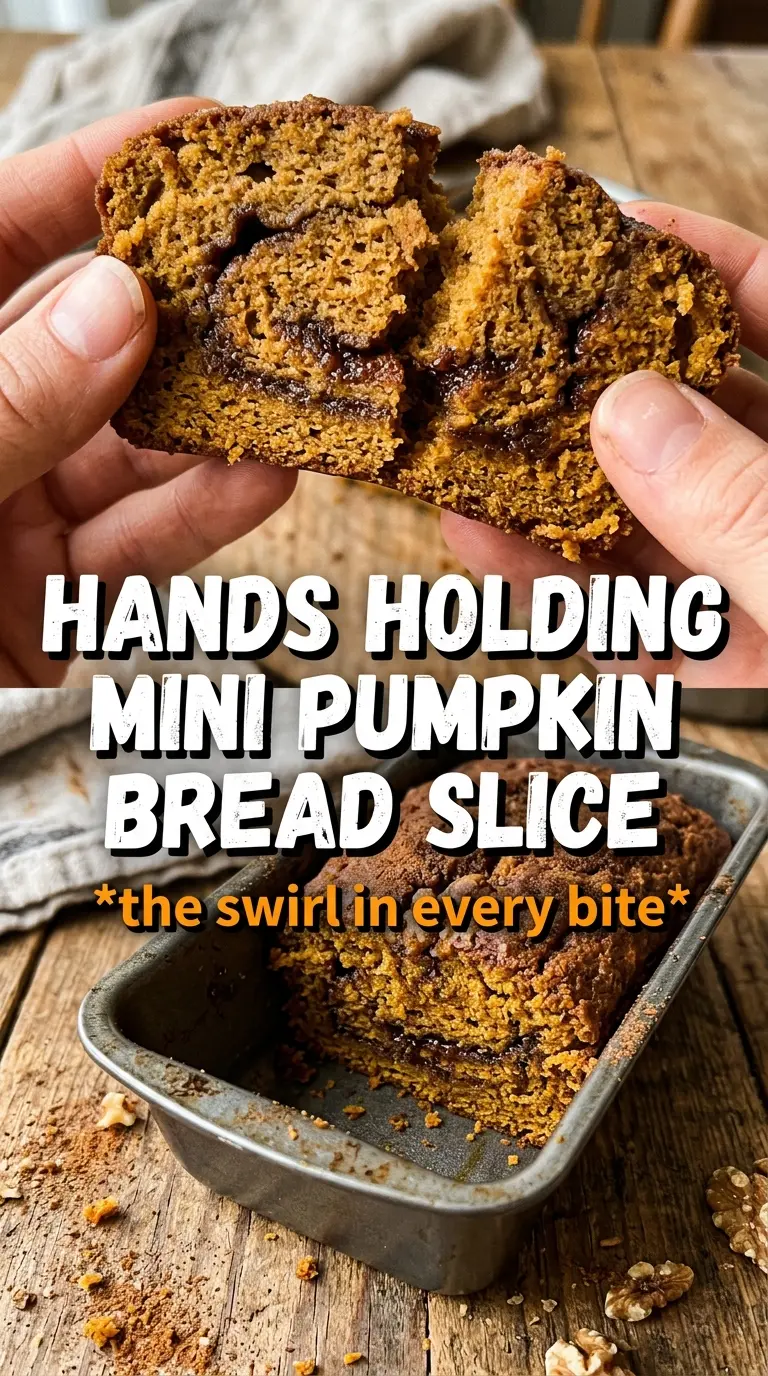
Mini pumpkin bread bakes up with a tender, moist crumb and a ribbon of cinnamon sugar that runs through every slice. The little loaves rise into neat domes, the tops turn golden, and that first bite gives you soft pumpkin spice bread followed by a sweet swirl that tastes like the best part of a coffee cake.
What makes this version worth keeping is the balance. The pumpkin puree brings moisture without making the crumb heavy, while the oil keeps the texture soft for days. The batter stays simple, but the cinnamon swirl is mixed separately so it stays distinct instead of disappearing into the loaf. That little step gives you the marbled look and the pockets of brown sugar that make each slice feel special.
Below, I’ve included the small details that matter most: how to swirl without overmixing, what the glaze should look like before you drizzle it, and how to keep the mini loaves from baking up dry around the edges.
The cinnamon swirl stayed in a perfect ribbon and the mini loaves were done right at 30 minutes. The glaze set just enough to drip without soaking in, and the texture stayed soft the next day.
Save this mini pumpkin bread with cinnamon swirl for the mornings when you want a soft, spiced loaf with a bakery-style ribbon and quick cream cheese glaze.
The Swirl That Stays Distinct Instead of Melting Away
The most common mistake with cinnamon swirl bread is stirring the swirl mixture into the batter too much. That turns the loaf muddy instead of marbled. Here, the batter goes into the pan first, then the swirl is added in spoonfuls so it sits in pockets and streaks through the center as the loaf rises.
The other thing that matters is thickness. The swirl needs enough brown sugar to stay ribbon-like, but not so much liquid that it sinks straight to the bottom. A small amount of melted butter binds it just enough to hold together without thinning the batter around it.
- Pumpkin puree — Use plain canned pumpkin, not pumpkin pie filling. Pie filling already has sugar and spices added, which throws off both the texture and the flavor balance.
- Vegetable oil — Oil keeps these mini loaves soft after baking. Butter gives you more flavor, but it also firms up once the bread cools, and these loaves are best when they stay tender for days.
- Brown sugar — This does two jobs here: it sweetens the bread and deepens the pumpkin flavor. In the swirl, it melts into little caramel pockets that make the slices look and taste better.
- Cream cheese glaze — The glaze is optional, but it adds a tangy finish that balances the sweetness. Soften the cream cheese first or you’ll fight lumps for too long and end up with a gritty drizzle.
- Pumpkin pie spice and cinnamon — Both matter. Pumpkin pie spice gives the warm background note, while the extra cinnamon sharpens the swirl so it still stands out after baking.
What Each Ingredient Is Actually Doing in This Recipe
- Primary ingredient (the star) — Quality matters most. Choose the best you can find.
- Cooking medium (oil, butter, or broth) — This carries flavors and prevents dryness.
- Seasonings (salt, pepper, spices, herbs) — Layer flavors so nothing overpowers. Build depth gradually.
- Aromatics (garlic, onion, herbs) — Cook with fat to bloom flavors. Become the foundation.
- Supporting ingredients — Complement the main ingredient without overpowering it.
- Sauce or liquid (if applicable) — Brings flavors together. Balance richness with acid.
- Acid (lemon, vinegar, wine, or other) — Brightens and prevents flat-tasting results.
- Final finish (garnish, glaze, or sauce) — Prevents one-dimensional taste and adds visual appeal.
Getting the Mini Loaves Out of the Oven Without Dry Edges
Mix the batter just until it comes together
Whisk the dry ingredients first so the baking soda and spices are evenly distributed, then fold them into the pumpkin mixture until no streaks of flour remain. The batter will be thick and glossy, and that’s what you want. If you keep mixing after the flour disappears, the bread can turn tight instead of soft. A few gentle folds are enough.
Layer the swirl instead of stirring it through
Fill each mini loaf pan halfway, then add spoonfuls of the cinnamon mixture across the top. Use a toothpick or the tip of a knife to drag a few slow figure-eights through the batter. Stop before it disappears completely. You want visible ribbons, not a uniform brown batter.
Watch the tops, not just the timer
Mini loaves can go from perfect to dry fast, so start checking near the end of the bake time. A toothpick should come out clean or with a few moist crumbs, and the tops should spring back when lightly touched. If the centers still look wet but the tops are browning, tent loosely with foil for the last few minutes.
Glaze while the loaves are warm
Whisk the glaze until smooth and spoon it over the loaves while they’re still warm, not piping hot. Warm bread helps the glaze settle into the top without running off completely. If the glaze is too thick, add a few drops of milk. If it’s too thin, sift in a little more powdered sugar until it drizzles in slow ribbons.
How to Adapt These Mini Pumpkin Loaves for Different Kitchens
Dairy-Free Version
The loaf itself is already dairy-free, so the only swap is the glaze. Use a dairy-free cream cheese and plant milk, then adjust the thickness with powdered sugar. The result stays tangy and glossy, though a little less rich than the original.
Skip the Glaze for a Less Sweet Breakfast Loaf
Leave off the cream cheese glaze and the bread reads more like a classic breakfast loaf than a dessert. The cinnamon swirl still gives you plenty of sweetness, and the top bakes into a nice crust that slices cleanly once cooled.
Make It Into One Standard Loaf
You can bake this in a 9×5-inch loaf pan instead of mini pans, but the bake time will be longer and the center will need careful checking. Start testing well before the top looks deeply browned, because pumpkin loaves are easy to overbake once the edges set.
Storage and Reheating
- Refrigerator: Store covered for up to 5 days. The crumb stays moist, though the glaze will firm up in the fridge.
- Freezer: Freeze the unglazed loaves tightly wrapped for up to 2 months. The glaze can be made fresh after thawing so it stays smooth.
- Reheating: Warm slices in the microwave for 10 to 15 seconds or in a low oven until just heated through. Don’t blast them too long or the edges dry out before the center is warm.
Questions I Get Asked About This Recipe
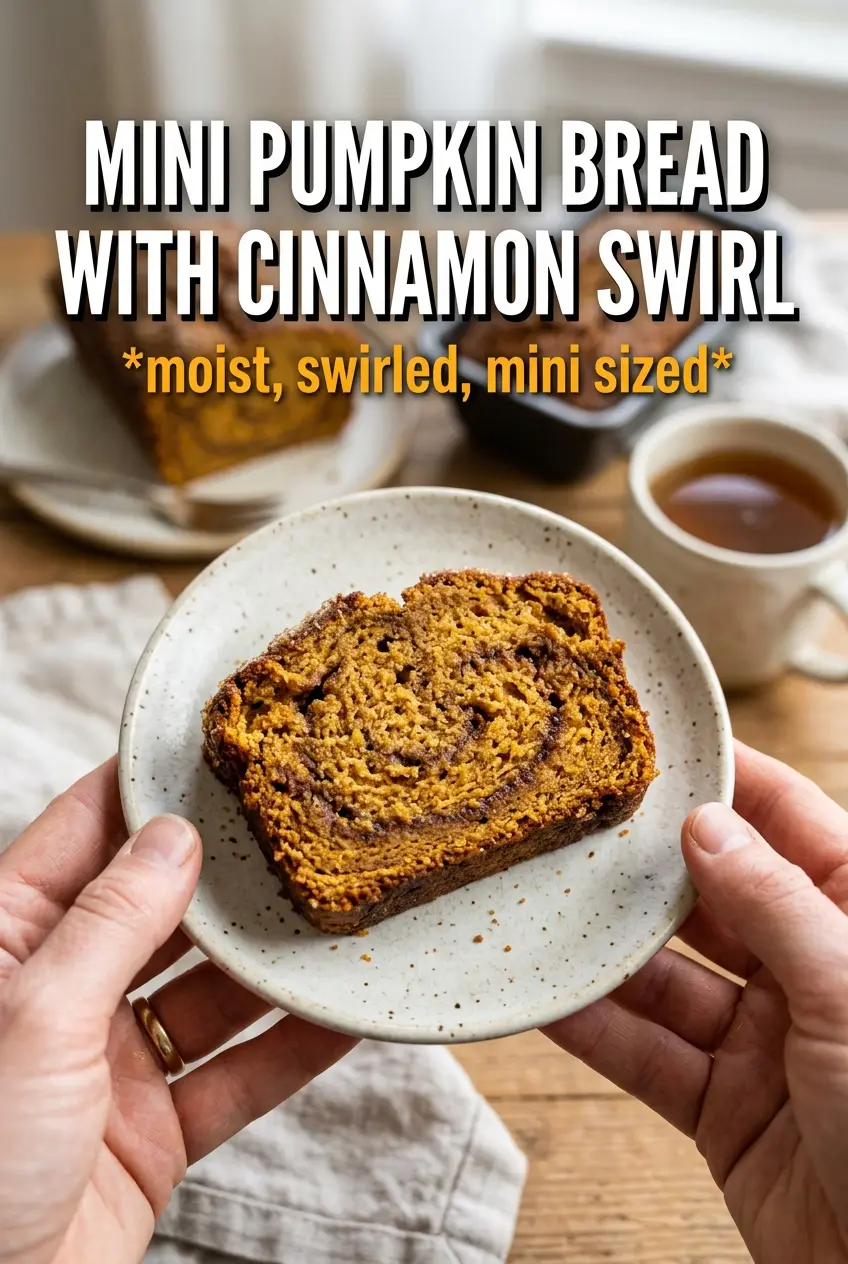
Mini Pumpkin Bread With Cinnamon Swirl
Ingredients
Equipment
Method
- Preheat the oven to 350F and grease 6 mini loaf pans so the bread releases cleanly.
- Whisk all-purpose flour, baking soda, pumpkin pie spice, cinnamon, and salt in a bowl until evenly combined.
- Whisk pumpkin puree, granulated sugar, brown sugar, packed, vegetable oil, eggs, and vanilla extract until smooth.
- Fold the flour mixture into the pumpkin mixture just until no dry streaks remain.
- Mix brown sugar, packed, cinnamon, and melted butter for the swirl until it forms a thick paste with a brown, speckled look.
- Fill each mini loaf pan halfway with batter so there is room for the swirl layer.
- Drop spoonfuls of cinnamon swirl mixture onto the batter and use a toothpick to swirl through in quick figure-eight motions.
- Top each pan with the remaining batter to cover the swirl layer.
- Bake at 350F for 28-32 minutes, until a toothpick inserted in the center comes out clean.
- Stir powdered sugar, cream cheese, and milk into a smooth glaze, then drizzle it over the warm mini breads.