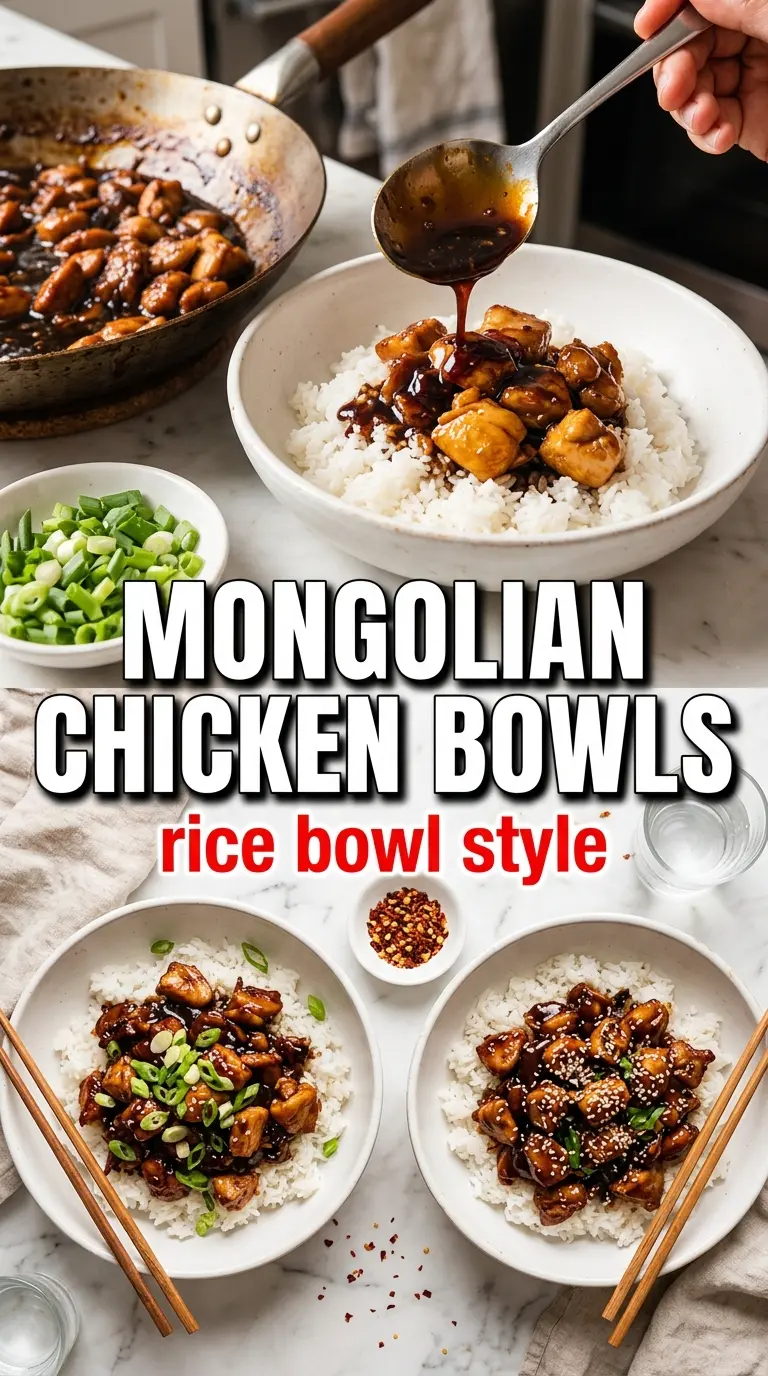
Crispy-edged chicken coated in a dark, sticky Mongolian sauce has a way of disappearing fast. The best versions hit that sweet-salty balance without turning cloying, and the chicken stays seared at the edges instead of getting soft under the sauce. Poured over steamed rice, it tastes like takeout in the best possible way, only fresher and with a lot more control over the texture.
What makes this version work is the sequence. The chicken gets dusted with cornstarch before it hits the pan, which helps it brown and gives the sauce something to cling to. The sauce is also built in the same skillet, so the garlic, ginger, and browned bits from the chicken all fold into the final glaze instead of being left behind.
Below, I’ll walk through the part that matters most: getting the sauce glossy without making it too thin, plus a few smart swaps if you want to use chicken thighs or dial back the heat.
The chicken got that crisp edge even under the sauce, and the glaze thickened up in minutes instead of turning watery. My husband asked if I could put this on the weekly menu.
Save this Mongolian chicken for the nights when you want glossy takeout-style chicken with crisp edges and a fast soy-ginger glaze.
The Trick to Keeping Mongolian Chicken Crisp Under the Sauce
The failure point in Mongolian chicken is usually the same: the sauce goes in before the chicken has enough color, and the whole dish turns soft instead of glossy and crisp. Cornstarch on the chicken helps, but only if the pan is hot enough to brown it before the sauce starts. If the chicken steams, the coating turns pasty and the final glaze slips right off.
The other place things go sideways is the sauce thickness. You want it to boil long enough for the cornstarch slurry to do its work, but not so long that it turns tight and candy-like. The ideal texture clings to the chicken in a shiny layer and leaves a trail for a second before settling back into the pan.
- High heat matters here because it creates those deeply golden edges that stand up to the sauce.
- Don’t crowd the pan or the chicken will release moisture and lose its crust.
- Pull the chicken before building the sauce so the garlic and ginger can bloom in the pan without scorching.
- Add the slurry at the boil so the sauce thickens fast and stays glossy instead of going cloudy.
What the Cornstarch, Hoisin, and Sesame Oil Are Doing Here
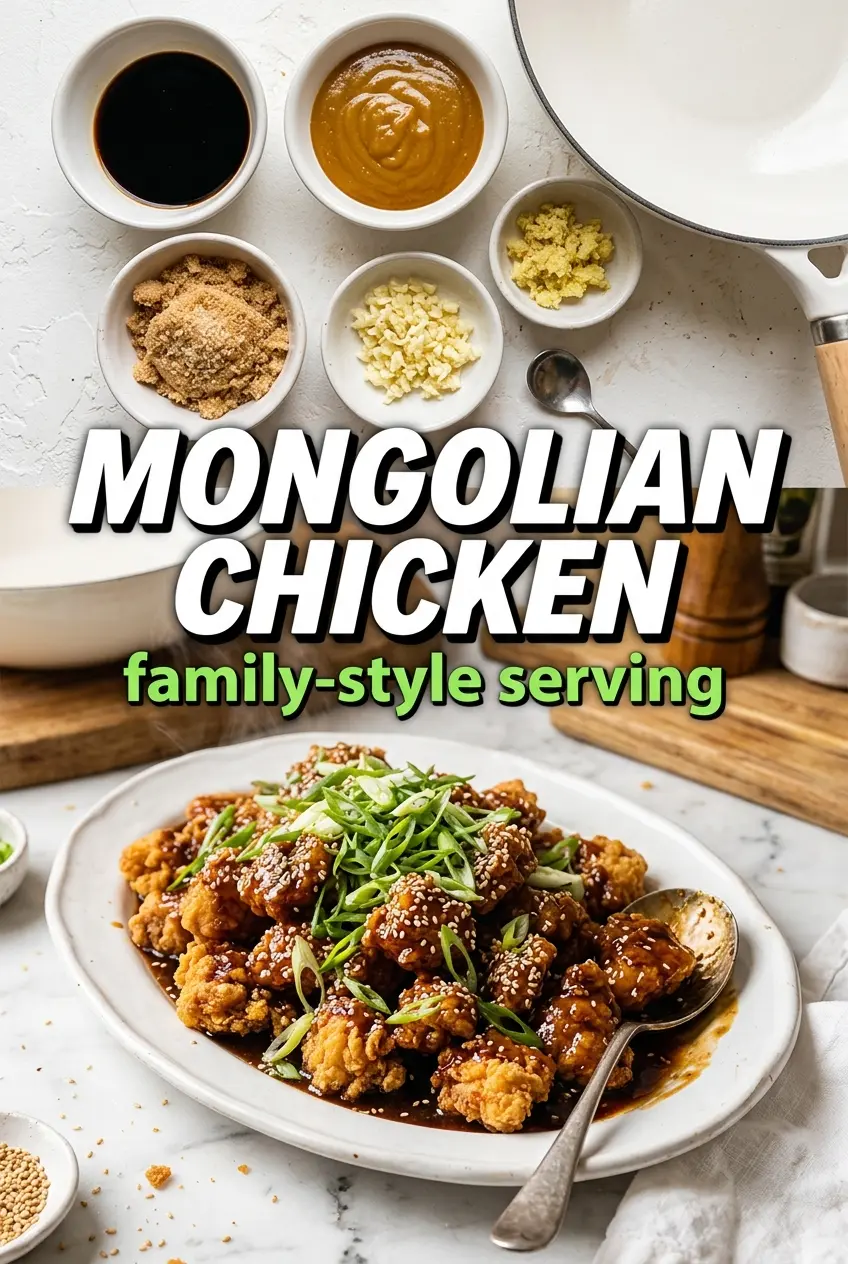
- Cornstarch is doing two jobs: it helps the chicken brown and it thickens the sauce just enough to coat every piece. There’s no real substitute for the crisping effect, though arrowroot works in a pinch if you keep the heat moderate.
- Soy sauce gives the dish its salty backbone and deep color. Use a regular all-purpose soy sauce here; low-sodium is fine if that’s what you keep on hand, but the sauce may need a little extra reduction.
- Hoisin sauce adds body and that round, savory-sweet note that makes the glaze taste finished. Skip it and the sauce leans flatter, so if you need a substitute, a little extra brown sugar plus a touch more soy is the closest backup.
- Fresh ginger and garlic matter because they’re added to the hot pan right after the chicken comes out, which wakes up their flavor without burning them. Mince the garlic finely and grate the ginger so they blend into the sauce instead of staying in sharp little pieces.
- Sesame oil is a finishing note, not the cooking oil. Too much makes the dish taste heavy, so keep it measured and add it to the sauce, not the skillet.
Building the Sauce So It Stays Sticky, Not Thin
Coating the Chicken First
Toss the sliced chicken with cornstarch, salt, and pepper until every piece looks lightly dusted. The coating should be thin and even, not clumpy. If it sits in thick patches, it won’t brown cleanly and those spots can taste a little chalky.
Getting the Sear
Heat the oil until it shimmers, then add the chicken in a single layer. Let it sit long enough to form a crust before turning it; if it sticks at first, it usually means it just needs another minute. You’re after a deep golden edge, not pale cooked chicken.
Making the Glaze
Once the chicken is out, add the garlic and ginger and stir them for about 30 seconds, just until fragrant. Pour in the sauce mixture and let it come to a real boil before adding the slurry. The sauce should go from thin to syrupy in a minute or two; if it still looks watery, keep it at a boil and stir until it coats the back of a spoon.
Finishing the Dish
Return the chicken and green onions to the pan and toss until everything is coated and the onions are just softened. The green onions should stay bright at the edges with a little char, not collapse into the sauce. Serve it right away over rice, because the glaze thickens fast as it cools.
How to Adapt This Mongolian Chicken for Different Weeknights
Chicken thighs instead of breasts
Boneless skinless thighs work well if you want a juicier bite and a little more forgiveness in the pan. They take a minute or two longer to cook, but they stay tender even if they get a little extra heat. The sauce and method stay the same.
Gluten-free version
Use a gluten-free soy sauce or tamari and check that your hoisin is labeled gluten-free. The texture stays the same, and the sauce still thickens beautifully because the cornstarch is doing the work.
Less spicy, same flavor
Leave out the red pepper flakes if you want the sauce to stay kid-friendly or just softer around the edges. You’ll lose a little heat, but the soy, garlic, ginger, and sesame still give you plenty of depth.
Storage and Reheating
- Refrigerator: Store leftovers in an airtight container for up to 4 days. The coating softens a bit, but the flavor stays strong.
- Freezer: It freezes, but the chicken won’t keep its crisp edge. Freeze in a sealed container for up to 2 months, then thaw in the fridge before reheating.
- Reheating: Warm it in a skillet over medium-low heat with a splash of water until the sauce loosens and the chicken heats through. The microwave works in a pinch, but it softens the coating faster.
Questions I Get Asked About This Recipe
Mongolian Chicken
Ingredients
Equipment
Method
- Toss the thinly sliced chicken with cornstarch, salt, and pepper until every piece looks coated and lightly dusty. Set aside while you make the sauce.
- Whisk soy sauce, brown sugar, water, hoisin sauce, sesame oil, and red pepper flakes until the sugar looks mostly dissolved and the mixture turns glossy and dark.
- Heat the vegetable oil in a large skillet or wok over high heat until shimmering. Cook the chicken for 3-4 minutes per side until deeply golden and cooked through, then remove to a plate.
- Add garlic and grated fresh ginger to the same pan and stir-fry for 30 seconds until fragrant but not browned. Keep the heat high so the aromatics cook quickly.
- Pour in the prepared sauce and bring it to a boil, stirring to lift any browned bits from the pan. The liquid should look darker and slightly thicker.
- Stir in the cornstarch slurry and cook for 1-2 minutes until the sauce turns glossy, sticky, and coats the back of a spoon.
- Return the chicken to the pan and add the 2-inch green onion pieces, then toss until the chicken is glazed and the onions look slightly charred at the edges.
- Serve the Mongolian chicken over steamed rice and spoon extra dark, sticky sauce over top. Finish with sesame seeds so they cling to the glazed surface.