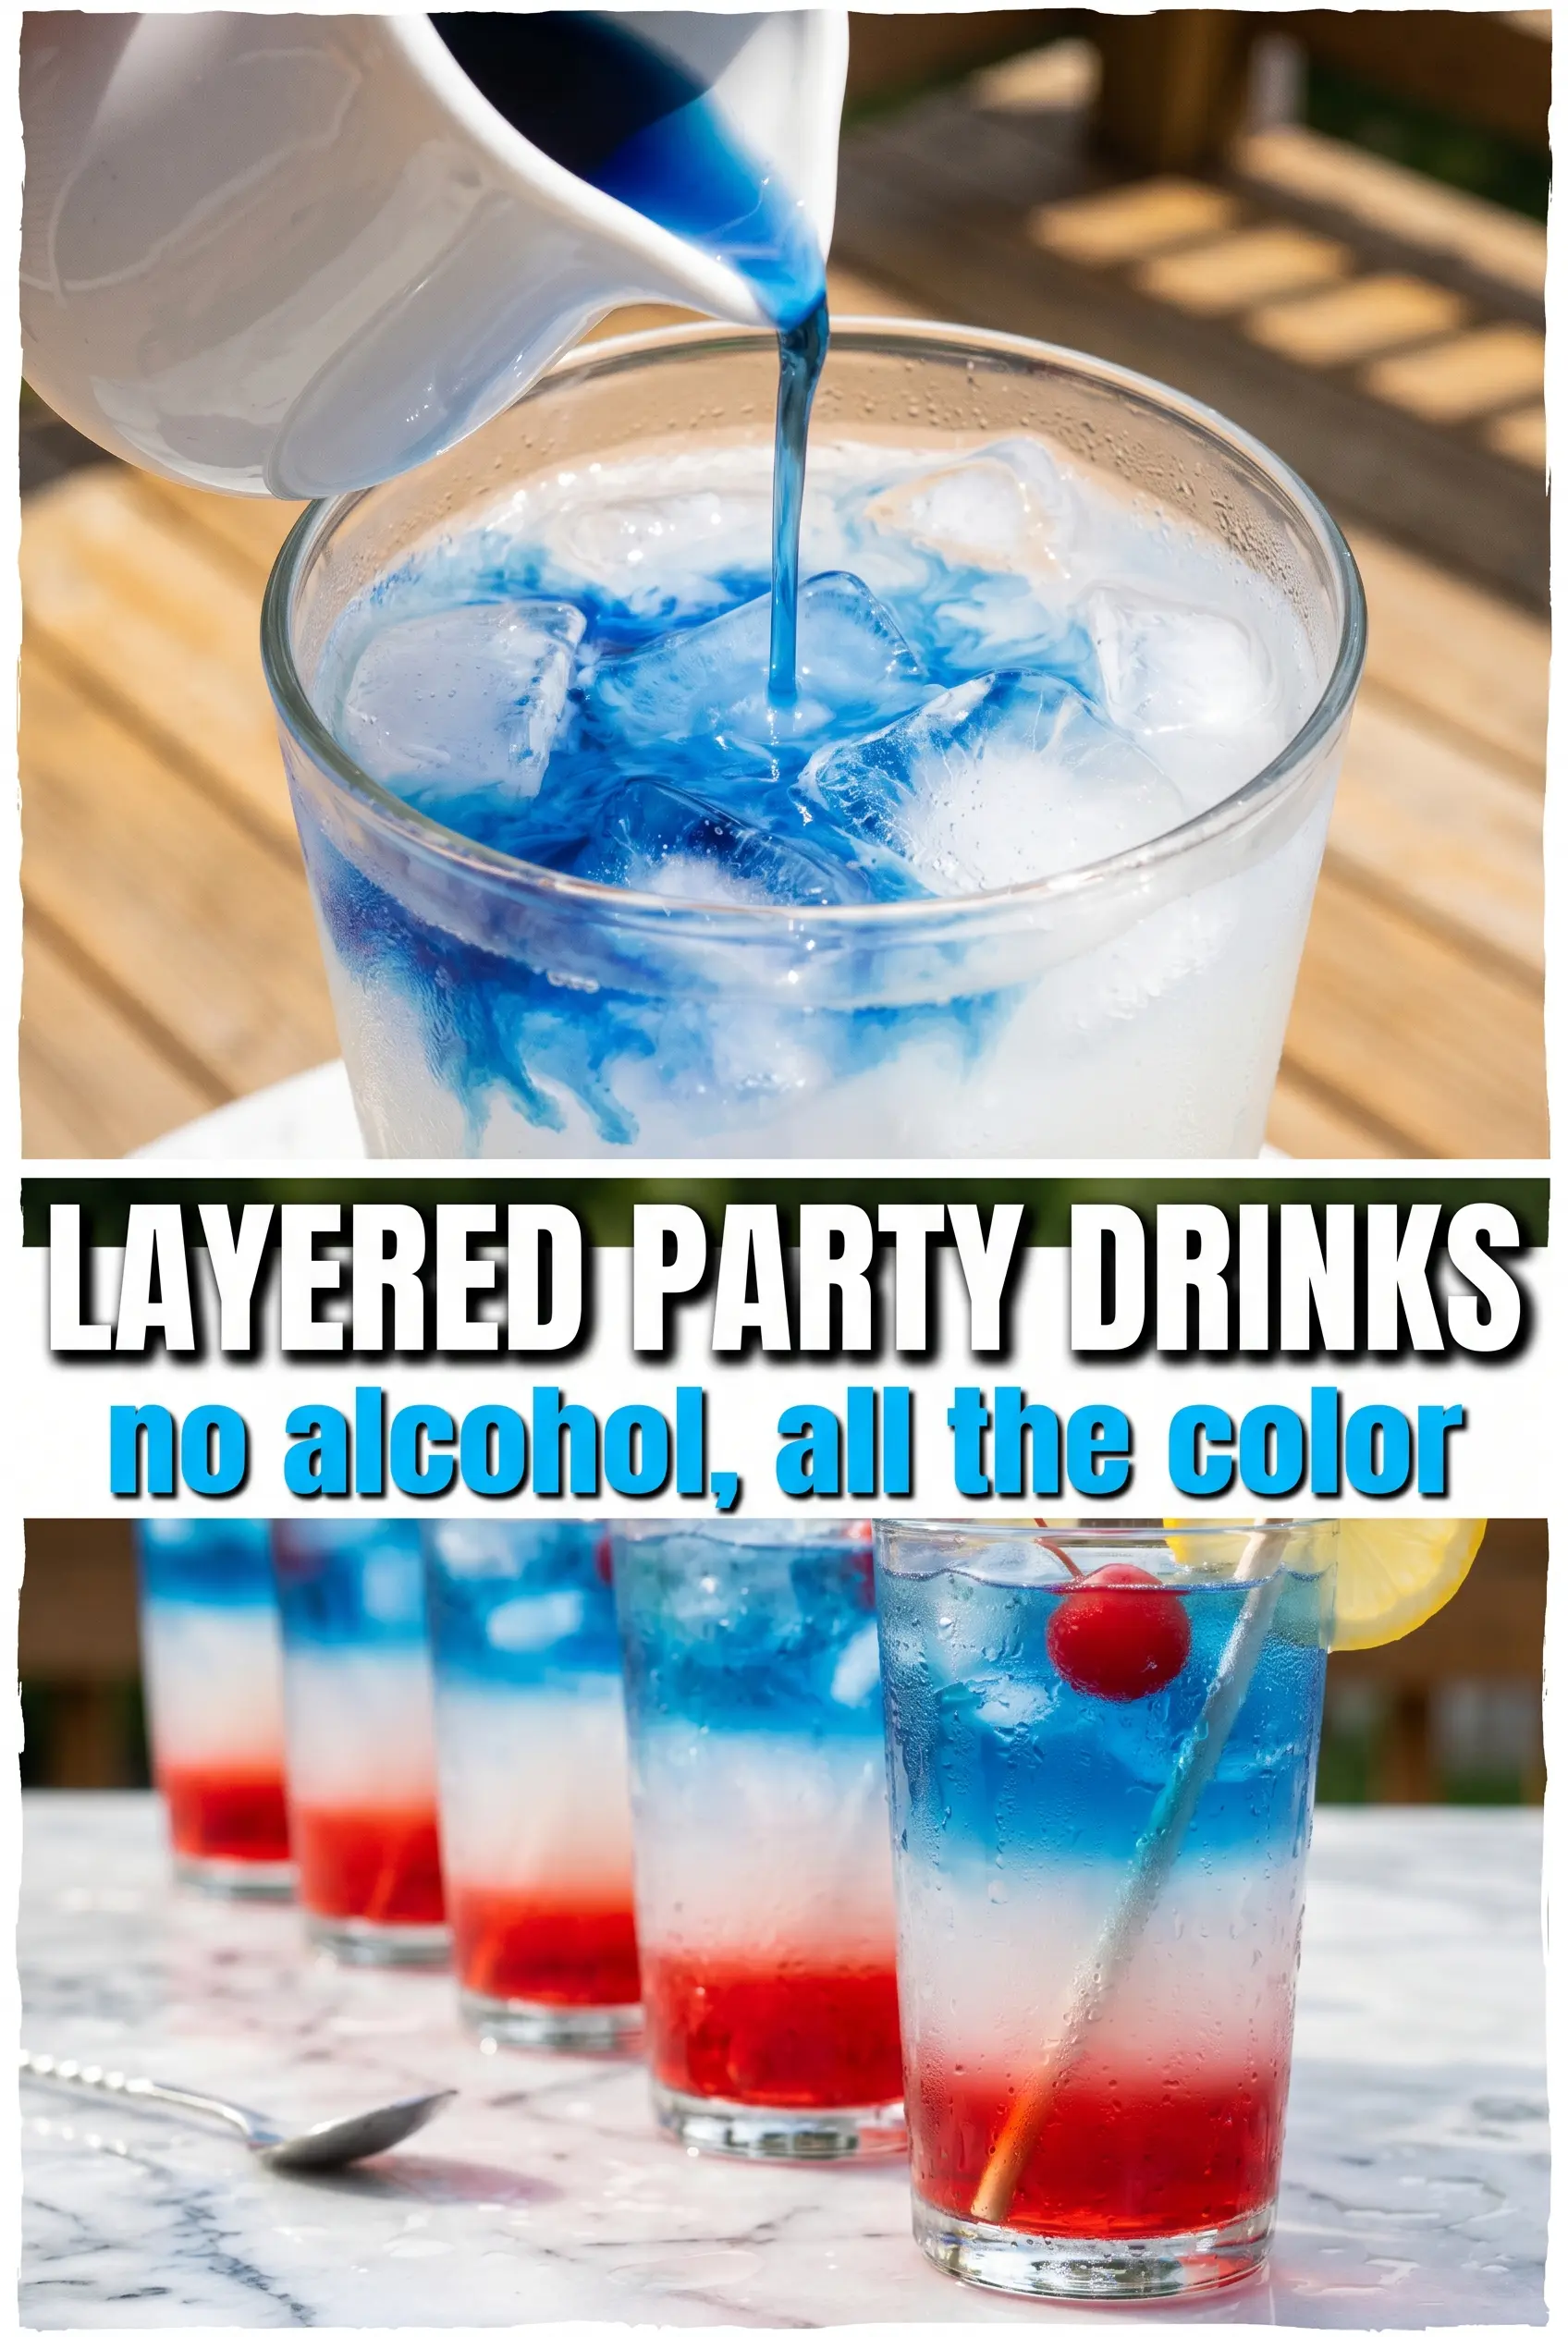
Three-layer mocktails like this always get the same reaction: people pause before they sip. The deep red bottom, bright yellow middle, and electric blue top stay crisp in the glass long enough to make the drink feel special, even though it takes only a few minutes to build. Served over plenty of ice in a tall clear glass, it looks party-ready without any complicated ingredients or alcohol.
The trick is in the density and the pour. Grenadine sinks on its own, chilled lemonade sits neatly above it when you pour slowly, and the blue raspberry drink floats best when it’s added gently over the back of a spoon. Cold ingredients matter here because warm liquid blends faster, and a glass packed with ice helps each layer settle before the next one goes in.
Below, I’ll walk you through the one step that keeps the colors sharp, the ingredient swap that works if you can’t find blue raspberry lemonade, and a few variations for parties, holidays, and kid-friendly gatherings.
The layers stayed separate until the last sip, and the blue drink floated on top just like the photo. I used the back of a spoon and it worked on the first try.
Like this layered mocktail? Save it to Pinterest for parties when you want a colorful non-alcoholic drink that looks impressive in a clear glass.
The Part That Keeps the Colors From Bleeding Together
Layered drinks look simple until the middle turns muddy. The difference is speed and pour control. Each liquid needs to go in slowly, over cold ice, so it settles into place instead of crashing through the layer below it. The spoon isn’t decorative here; it spreads the pour and softens the impact, which is what keeps the red, yellow, and blue bands clean.
If the layers blur, the usual culprit is a warm ingredient or a pour that’s too fast. Start with a glass packed nearly to the top with ice cubes. That gives each layer a chance to chill and separate before the next one lands. The first layer can handle a little more direct pouring because grenadine is dense enough to sink on its own.
What Each Ingredient Is Actually Doing in the Glass
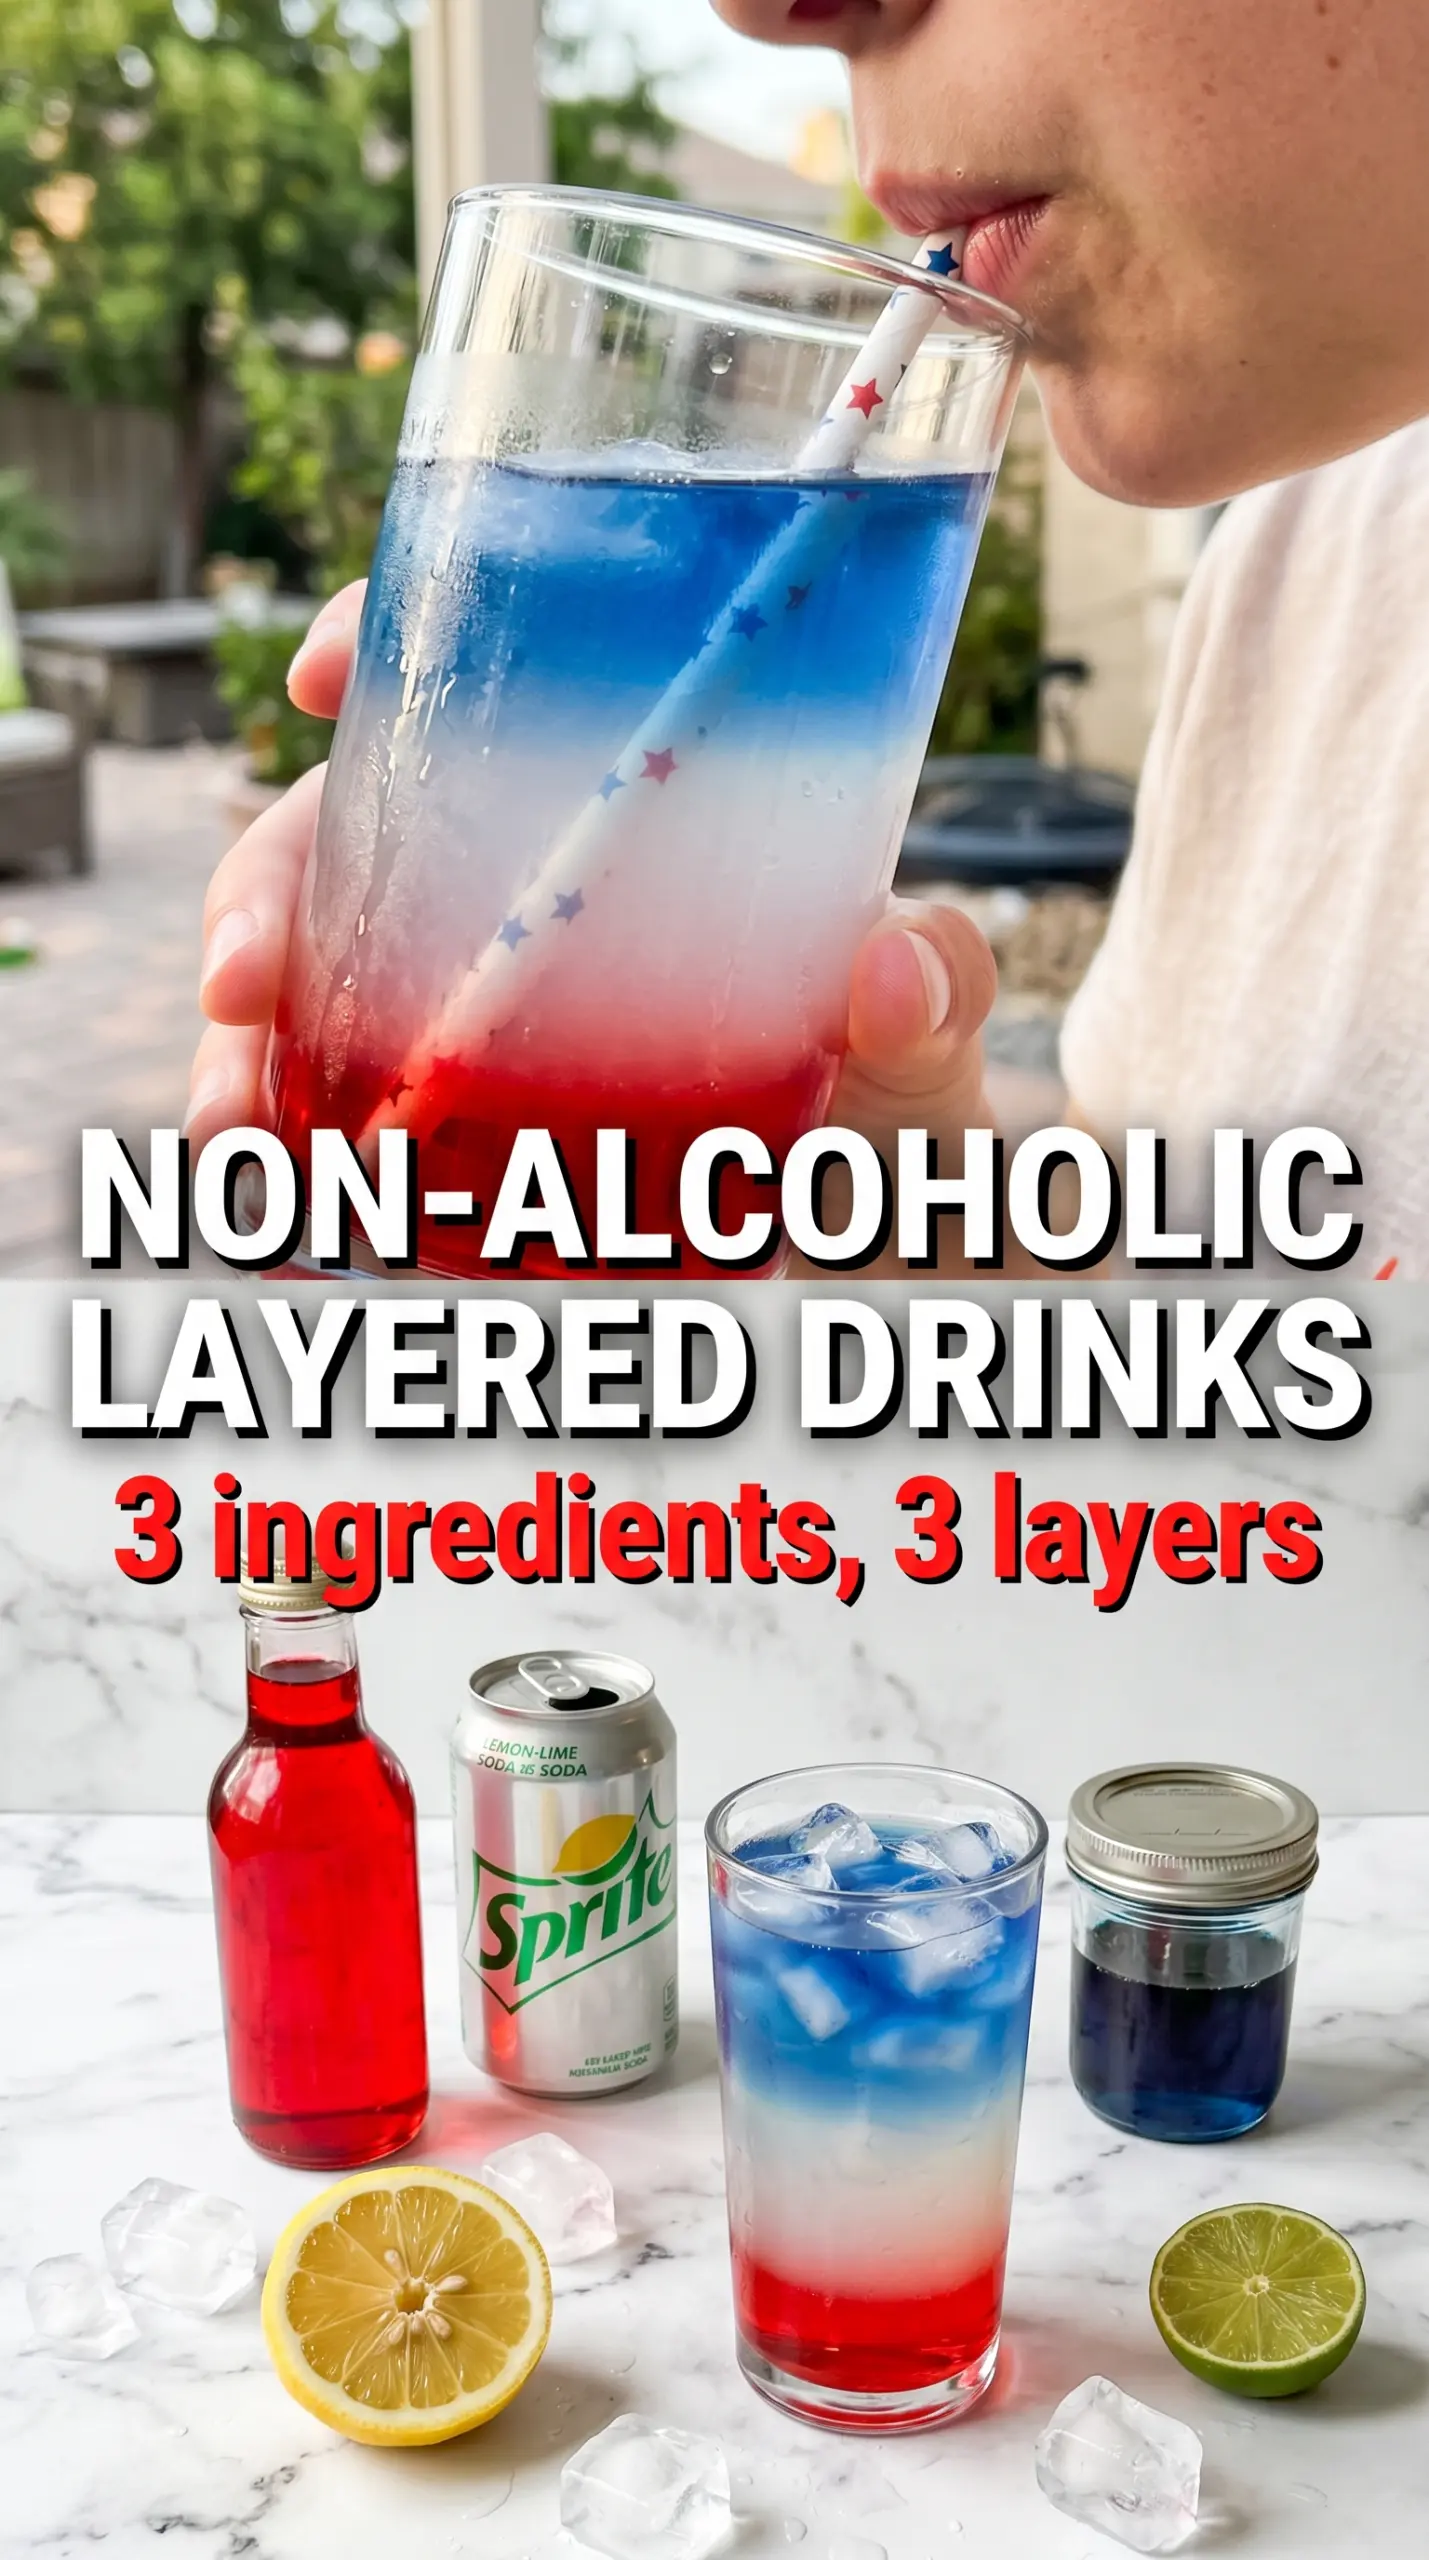
- Grenadine syrup — This is the heaviest layer and the color anchor at the bottom. Real grenadine gives you that deep red look and a pomegranate note that reads better than a generic cherry syrup. There isn’t a true substitute for the density, so if you swap it, expect the bottom layer to be less defined.
- Lemonade, chilled — Cold lemonade sits between the other two liquids and gives the drink its bright middle band. Freshly mixed lemonade works, but bottled lemonade is fine as long as it’s cold and not pulpy. Anything warm or thickened will mix more quickly and blur the layers.
- Blue raspberry sports drink or blue raspberry lemonade — This is the top layer and the one that gives the drink its bold finish. Blue raspberry sports drink usually floats cleanly because it’s light and cold, while blue raspberry lemonade can add a little more tang. If you can’t find either one, any similarly light blue drink will work, but the color and sweetness may shift.
- Ice cubes — Ice does more than chill the drink. It helps each layer break gently and stay separate, especially in a tall narrow glass. Crushed ice softens the look too much, so use cubes if you want those clear bands.
Building the Layers Without Stirring Them Together
Start With the Base
Fill a tall clear glass almost to the top with ice cubes. That packed column of ice is what gives the drink structure and slows down the pours. Pour the grenadine straight over the ice and let it drop to the bottom on its own. If it hangs up in the ice for a second before sinking, that’s normal.
Add the Middle Layer Slowly
Hold a spoon just above the ice and pour the chilled lemonade over the back of it. The liquid should glide off in a thin stream, not splash. If you pour too high or too fast, the lemonade will cut through the grenadine and cloud the drink. Keep the stream small and steady, and stop as soon as the middle layer looks even.
Float the Blue Layer on Top
Use the same spoon method for the blue raspberry drink, pouring it gently so it rests on top. This is the easiest layer to rush and the one most likely to sink if the pour is aggressive. Serve right away with a maraschino cherry and striped straw. Once the drink sits too long, the ice starts to melt and the colors soften together.
How to Change the Drink for Parties, Holidays, or a Dairy-Free Crowd
Make It a Bigger Batch for a Pitcher Table
This drink is best assembled one glass at a time, not pre-layered in a pitcher. If you need to serve a crowd, chill all three liquids ahead of time and set up a small build-your-own station with ice, glasses, and garnish. That keeps the layers sharp and saves you from watching the colors blend before anyone gets a glass.
Use Sparkling Lemonade for a Lighter Finish
Swap the still lemonade for chilled sparkling lemonade if you want a little fizz in the middle layer. The bubbles make the drink feel more festive, but they also make the layers a touch less stable, so pour even more slowly. It’s a good trade when you want a brighter, more playful sip.
Keep It Fully Dairy-Free and Vegan
The base recipe already fits a dairy-free and vegan table as written, as long as your chosen drinks don’t contain unexpected additives. Skip any garnish that uses whipped cream and stick with the cherry and straw. That keeps the drink bright, simple, and inclusive without changing the layering technique.
Adjust the Colors for a Different Theme
The method works with any three drinks that have different densities and colors. A red, yellow, and blue combination makes the strongest visual contrast, but you can swap in other chilled juices or sports drinks as long as you keep the heaviest liquid on the bottom and pour the lightest one last. The exact shades will change, but the clean layered look stays the same.
Serve It Immediately
This drink doesn’t hold its layered look for long once the ice starts melting, so build it right before serving. If you’re making several at once, line up the glasses and work in a steady rhythm. The colors stay sharpest in tall glasses with plenty of ice and no stirring.
Questions I Get Asked About This Recipe
Non-Alcoholic Layered Drinks (Virgin Jewel-Tone Mocktail)
Ingredients
Method
- Fill a tall clear glass with ice cubes almost to the top, so the cold helps the layers stay distinct. Visual cue: you should see the ice packed high enough to support the floating pours.
- Pour grenadine syrup slowly over the ice so it sinks to the bottom as the first layer. Visual cue: a deep red pool should form at the base without streaking upward.
- Gently pour chilled lemonade over the back of a spoon held just above the ice to create a clean middle layer. Visual cue: the lemonade should land softly and sit over the red layer with a clear boundary.
- Pour the blue raspberry drink over the spoon in the same way to float it as the top layer. Visual cue: a bright blue cap forms above the lemonade without mixing.
- Garnish with a maraschino cherry and a striped straw and serve immediately without stirring. Visual cue: all three layers remain clearly stacked when you tilt the glass.