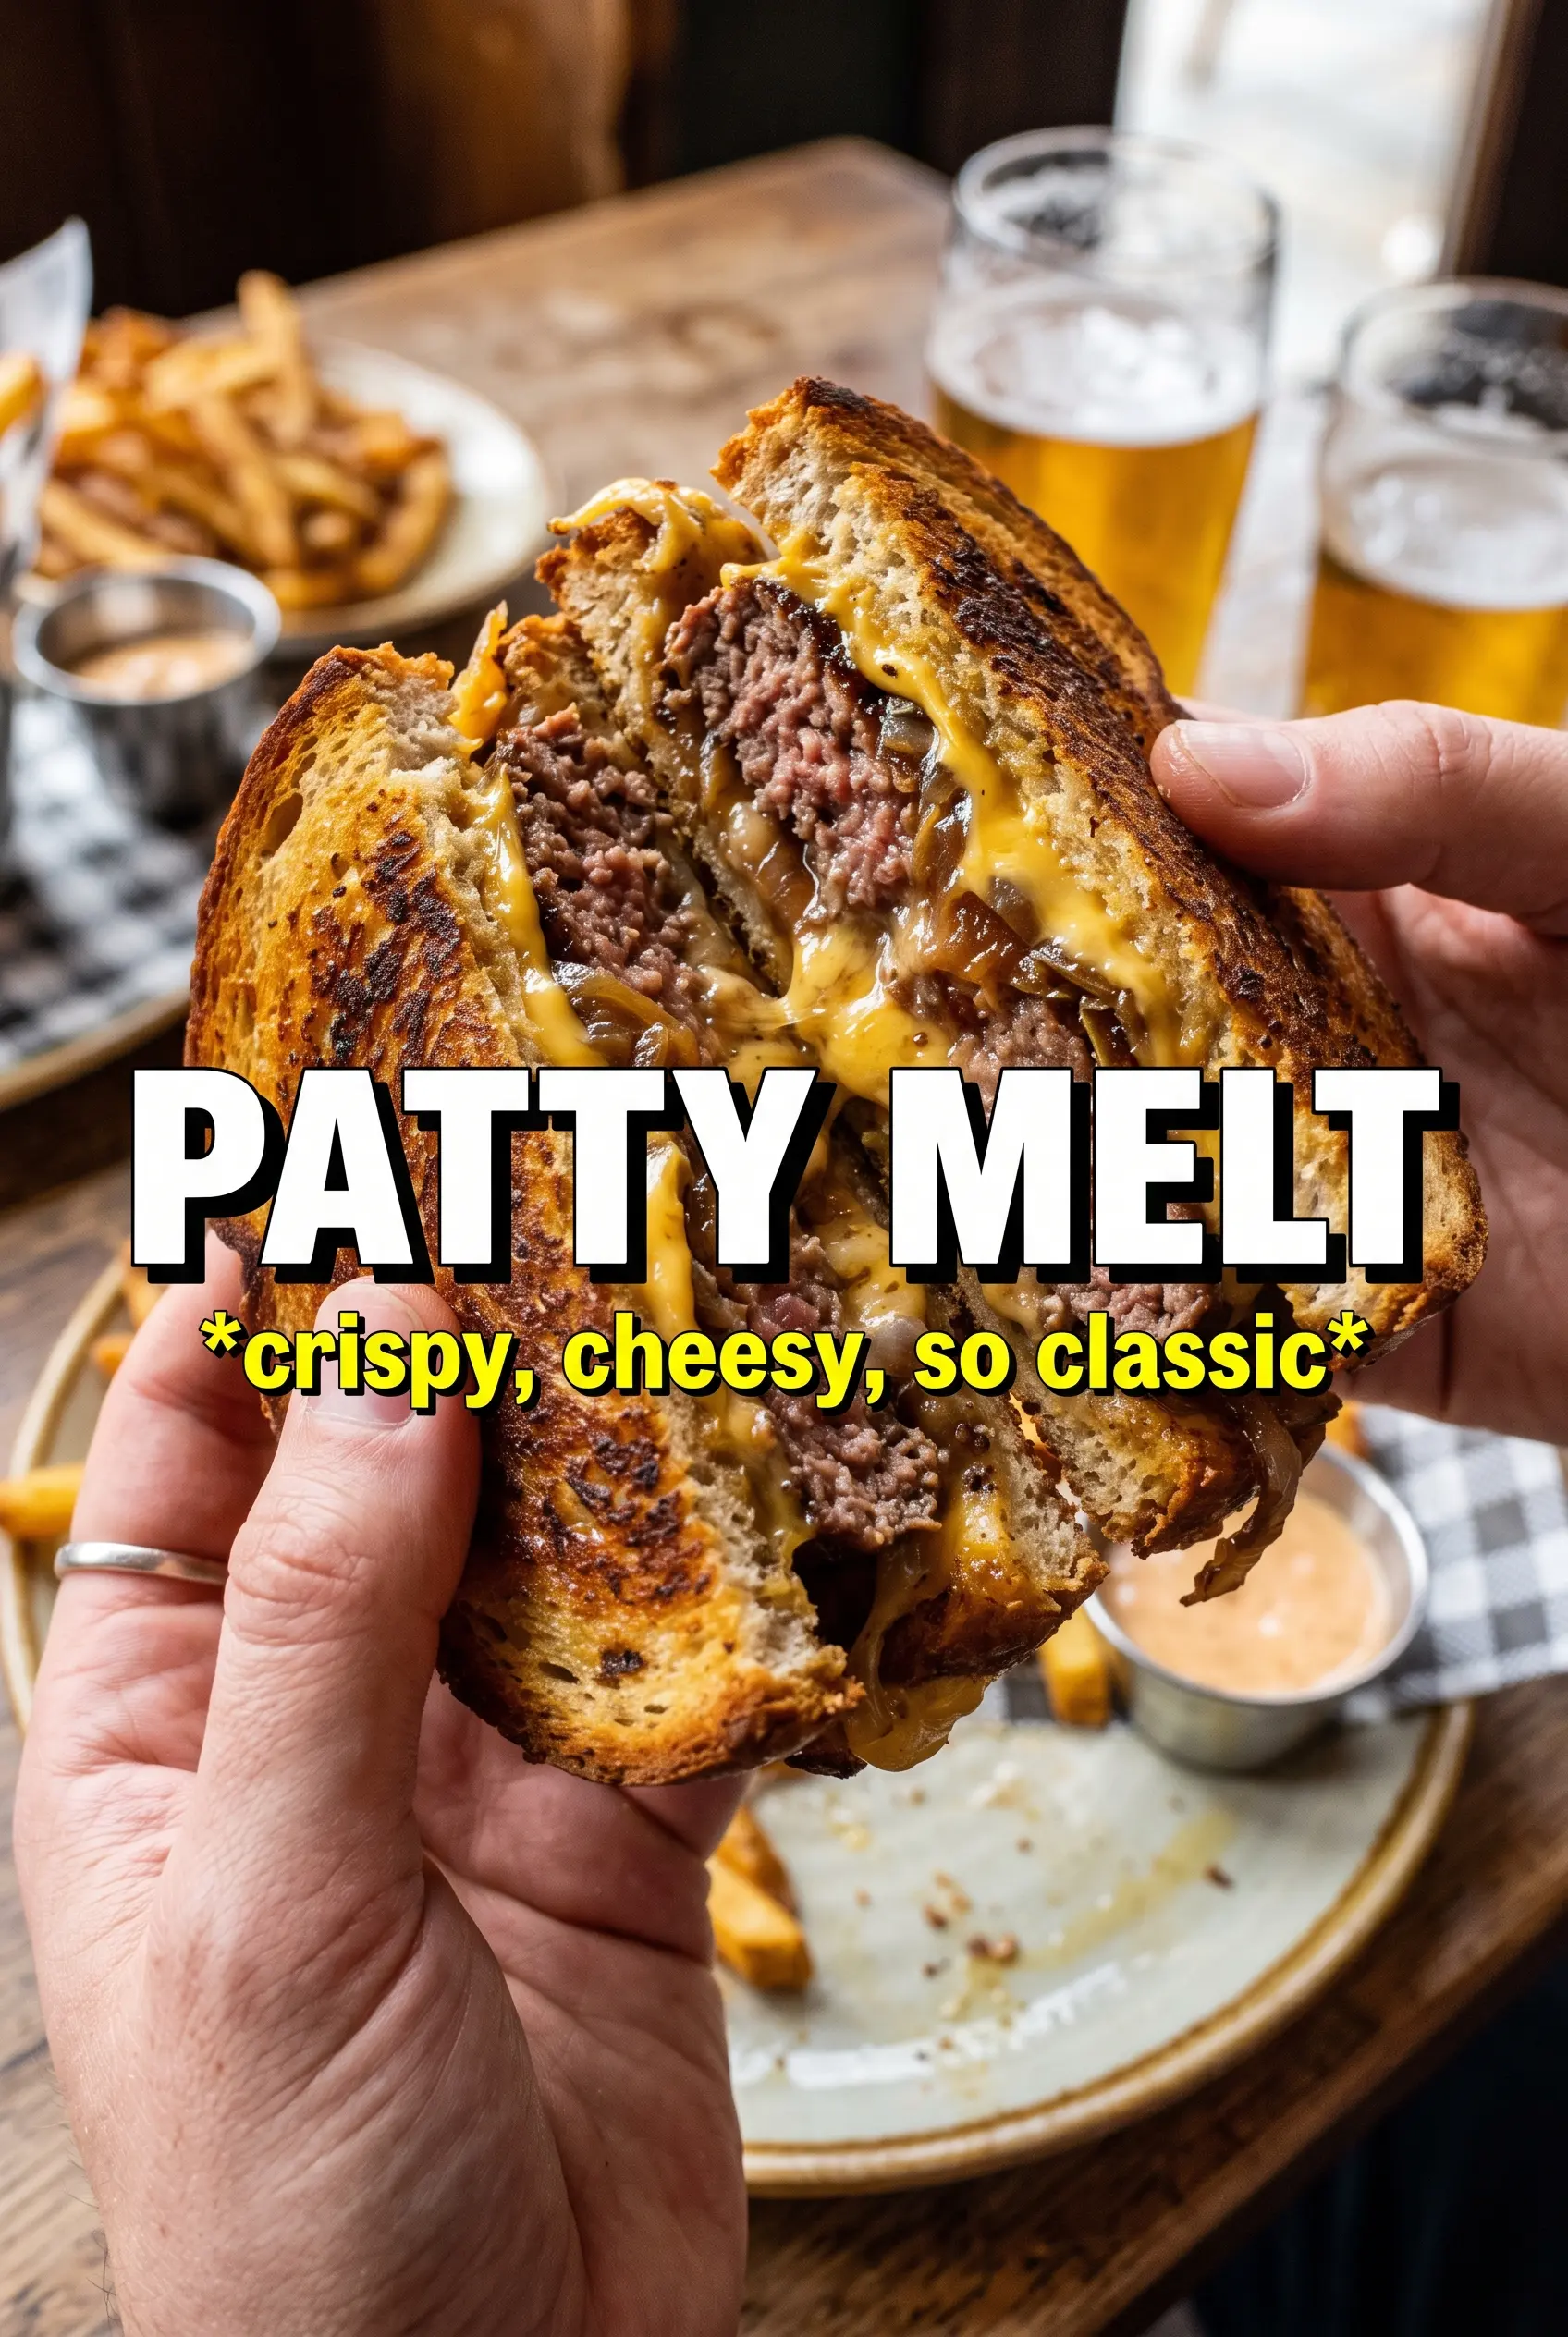
A patty melt lands somewhere between a diner burger and grilled cheese, and that’s exactly why it works. The rye gets crisp and buttery, the onions turn sweet and jammy, and the two cheeses melt into the beef so every bite feels stacked and complete. When it’s done right, the sandwich holds together just long enough to make the first cut across the diagonal, then gives way to that juicy, molten center.
The trick is building each layer with a job to do. The onions need enough time to lose their sharp edge and turn almost spreadable. The beef needs a hard sear so it stays beefy instead of steaming, and the bread needs a light toast before the final press so it can survive the cheese melt without turning soggy. I also like using both Swiss and cheddar or American, because one brings the nutty melt and the other brings the creamy stretch.
Below you’ll find the timing that keeps the onions from rushing, the skillet move that gives the bread its crunch, and a few swaps for when you want the same diner-style payoff with what’s already in the fridge.
The onions turned sweet and jammy in the time you said, and the double cheese melt kept the sandwich from falling apart when I sliced it.
Save this patty melt for the nights when you want crispy rye, melty Swiss and cheddar, and onions that taste like they cooked all afternoon.
The Part People Rush: The Onions Need Time to Go Sweet, Not Brown
The onions are what turn this from a beef sandwich into a patty melt. If they go in hot and fast, they scorch at the edges before the centers soften, and you get sharp onion strips instead of the deep, sweet layer that makes the sandwich taste like a diner version of itself. Medium-low heat gives the water time to cook out slowly, which is what creates that soft, almost spreadable texture.
Don’t crowd them too much if your skillet is on the smaller side, because piled onions steam before they caramelize. A little patience here pays you back in every bite. They should look deeply golden, sticky, and reduced to a fraction of their original volume before you move on.
What Each Ingredient Is Actually Doing in a Patty Melt
- 80/20 ground beef — This ratio has enough fat to stay juicy when you smash it thin in a hot pan. Leaner beef can work, but it eats drier and loses some of the diner-style richness that makes the sandwich worth making.
- Rye bread — Rye is traditional for a reason. It brings a savory edge that stands up to the beef and onions, and it toasts into a sturdy crust that won’t collapse under the cheese. If you swap it, choose another bread with enough structure to hold a heavy filling.
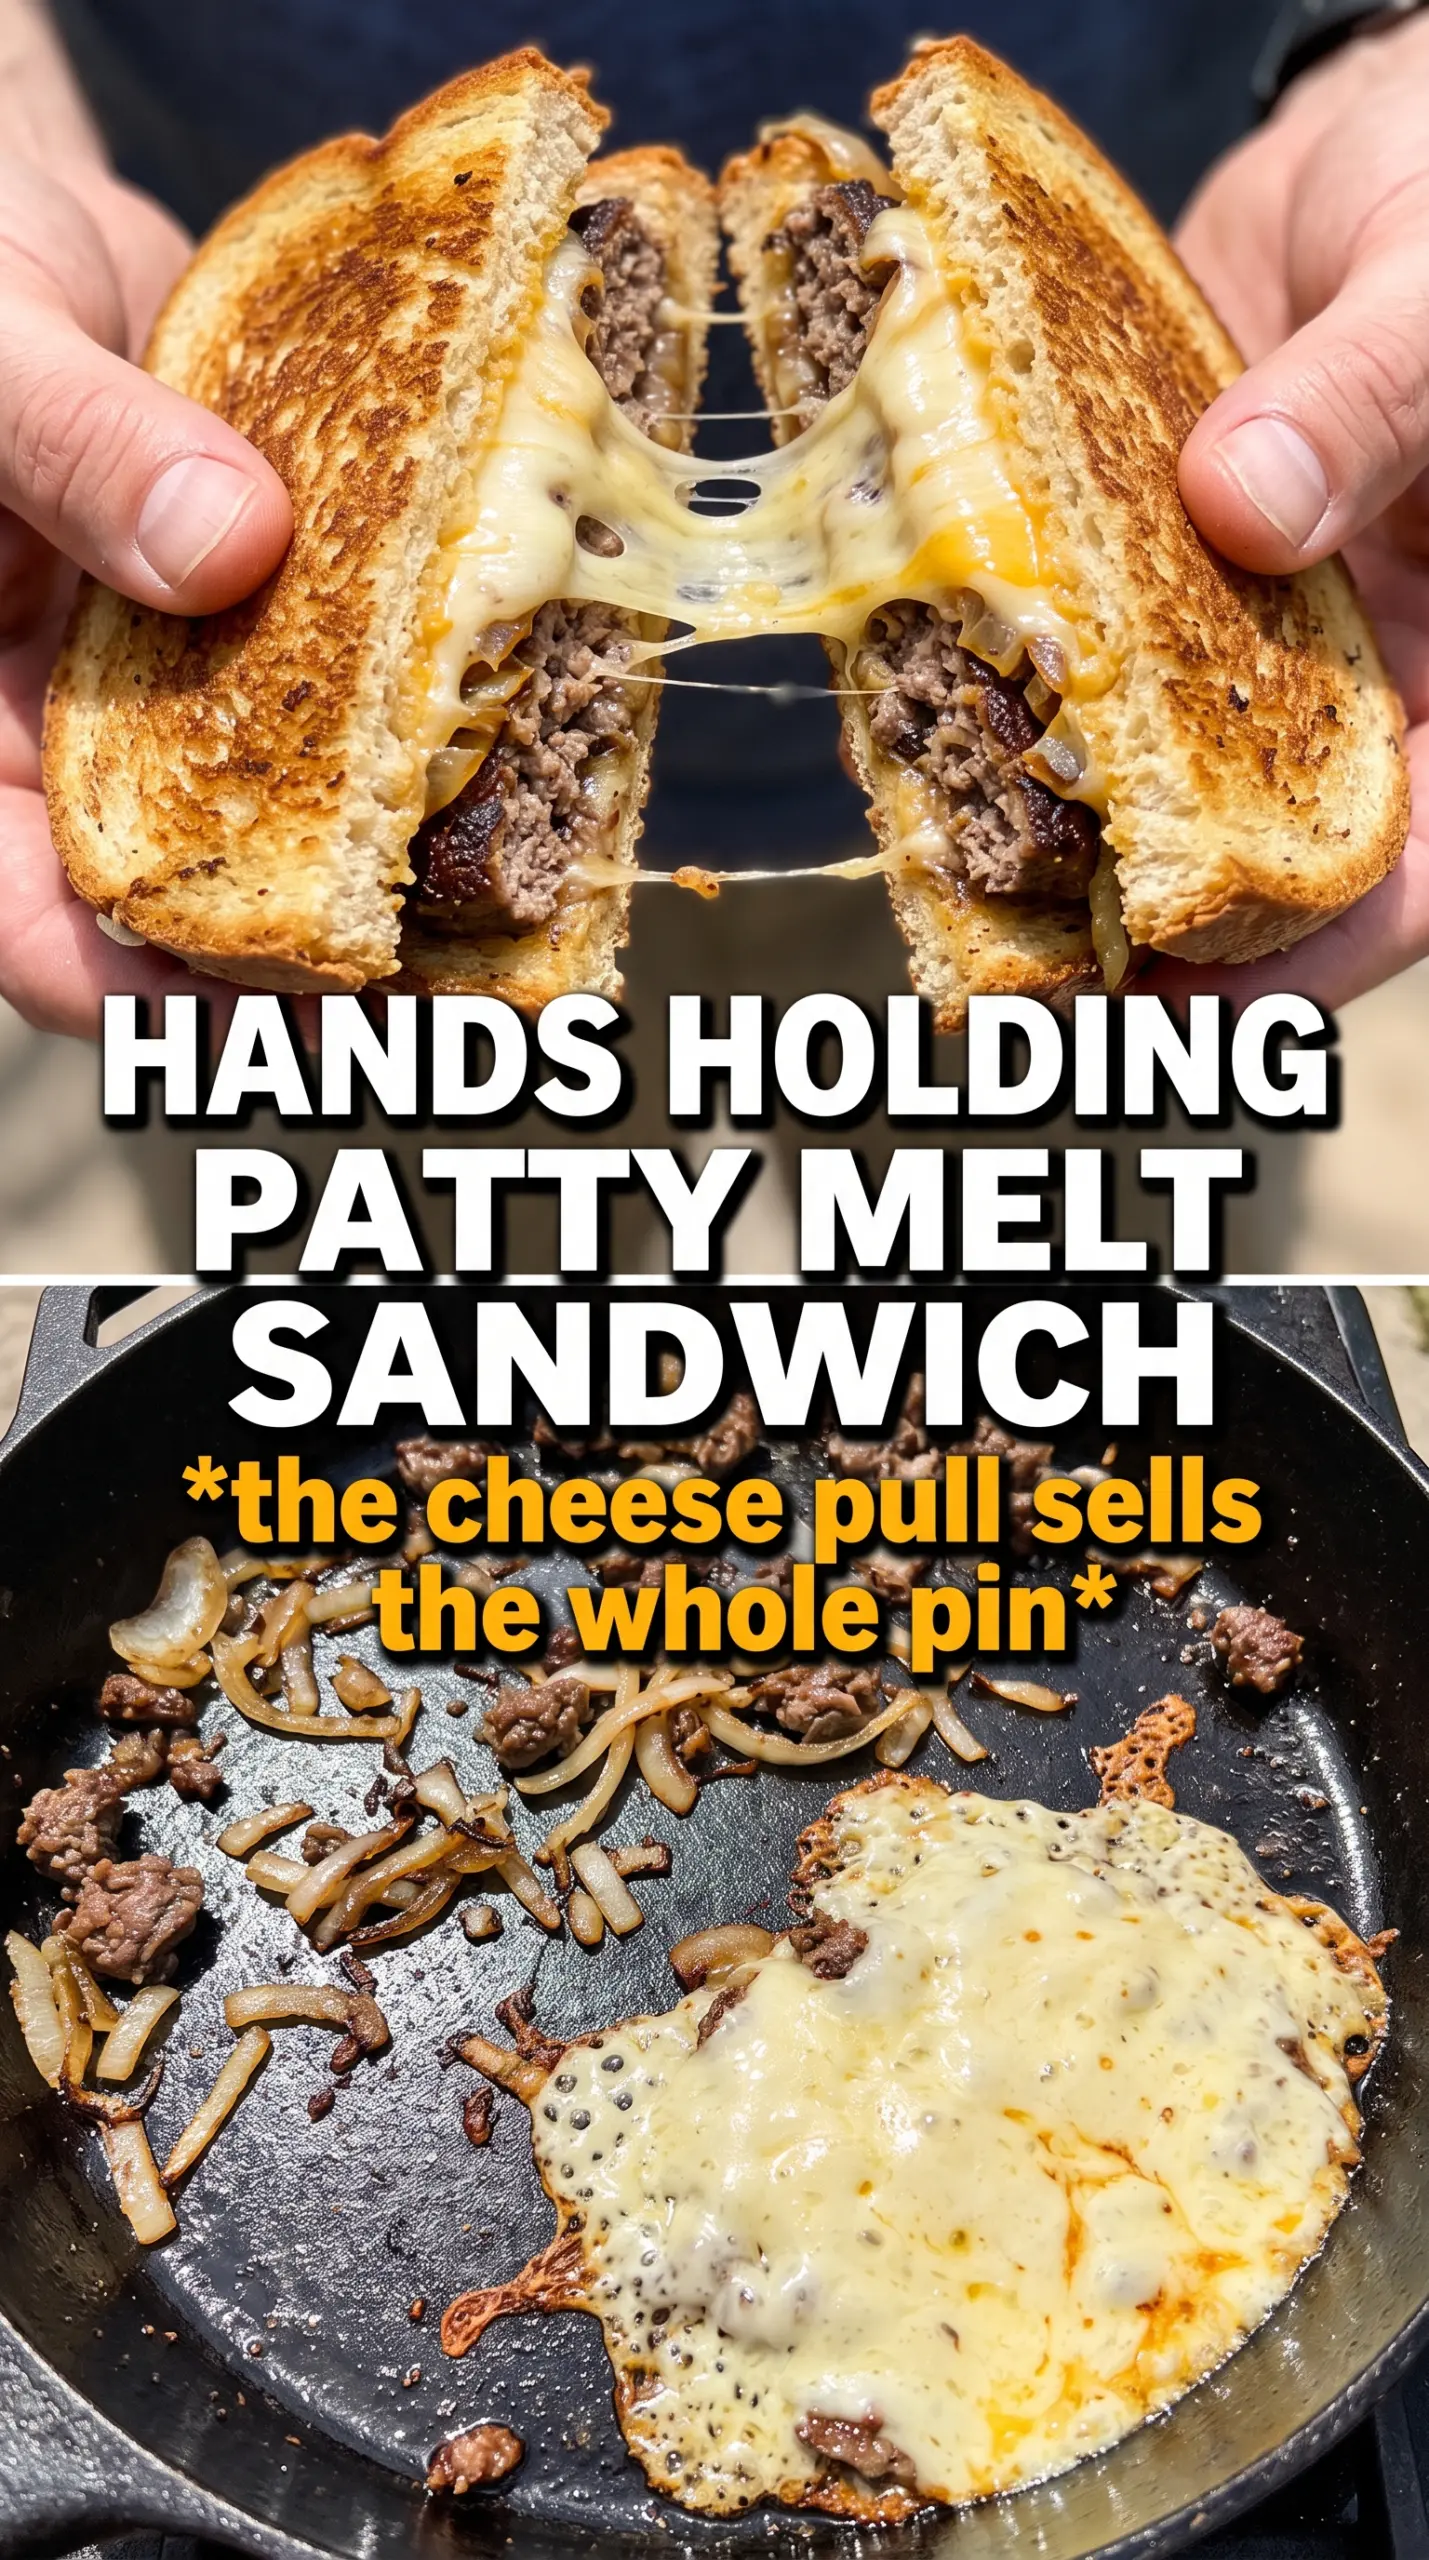
- Swiss plus cheddar or American — Swiss gives you that nutty melt, while cheddar or American adds creamier stretch and a little extra salt. Using both keeps the sandwich from tasting flat. If you only use one cheese, the texture is still fine, but the flavor won’t be as layered.
- Worcestershire sauce — This adds a little deep, savory tang directly to the beef and again in the sauce. It’s one of the easiest ways to make the filling taste seasoned all the way through, not just salted on the surface.
- Butter — Butter gives the bread its crackly, even browning and helps the onions cook down without sticking. You can use a little oil in a pinch, but you’ll lose some of that rich, diner-style finish.
How to Build the Sandwich So the Bread Stays Crisp
Caramelizing the Onions First
Start the onions before anything else so they have time to finish while you handle the beef and bread. Cook them in butter over medium-low heat, stirring now and then, until they turn deep golden and soft enough to mound on a spoon. If the pan starts to look dry before they’re ready, add another small knob of butter instead of turning up the heat. High heat gives you browned edges and raw centers, which is the wrong texture for this sandwich.
Searing the Beef Thin and Fast
Divide the beef into loose balls, season it, and smash it onto a hot cast iron skillet the moment it hits the pan. You want thin patties with lacy edges and a dark crust, so don’t press them repeatedly once they’re set or you’ll squeeze out the juices. Two to three minutes per side is usually enough. If the patties stick, they’re not ready to flip yet; once they sear properly, they release cleanly.
Toasting, Filling, and Pressing
Toast the buttered rye in the same skillet until the cut sides are golden, then build each sandwich with sauce, onions, patty, cheese, more onions, and the top slice. The second pass in the skillet is what melts everything together, so press the sandwich gently and cook until the cheese is visibly soft and the bread is crisped again. If the heat is too high here, the bread darkens before the cheese catches up. Lower the burner and give it another minute if needed.
How to Adapt This for Different Kitchens and Different Eaters
Gluten-Free Version
Use a sturdy gluten-free sandwich bread that can handle buttering and pressing without crumbling. The flavor still works, but the bread won’t have rye’s signature bite, so choose a loaf with enough structure to crisp well in the skillet.
Dairy-Free Swap
Use a plant-based butter for the bread and onions, then pick a dairy-free meltable cheese that behaves well under heat. The result won’t be quite as rich, but the skillet-toasted texture and onion-beef combination still land the way a patty melt should.
Make It Spicier
Add a pinch of cayenne to the beef or a little hot sauce to the special sauce. That gives the sandwich more lift without changing the structure, which is what you want when the onion and cheese are already doing the heavy work.
Storage and Reheating
- Refrigerator: Store cooked components separately for up to 3 days. The bread softens if you assemble too early, so keep the onions and patties apart until you’re ready to reheat.
- Freezer: The patties freeze well, but the assembled sandwiches don’t. Freeze the cooked patties between pieces of parchment, then thaw and reassemble with fresh bread and cheese.
- Reheating: Warm the patties and onions in a skillet, then rebuild and toast the sandwich from there. Microwaving the whole thing makes the bread limp and the cheese uneven, which is the fastest way to lose the crisp edge that makes a patty melt worth eating.