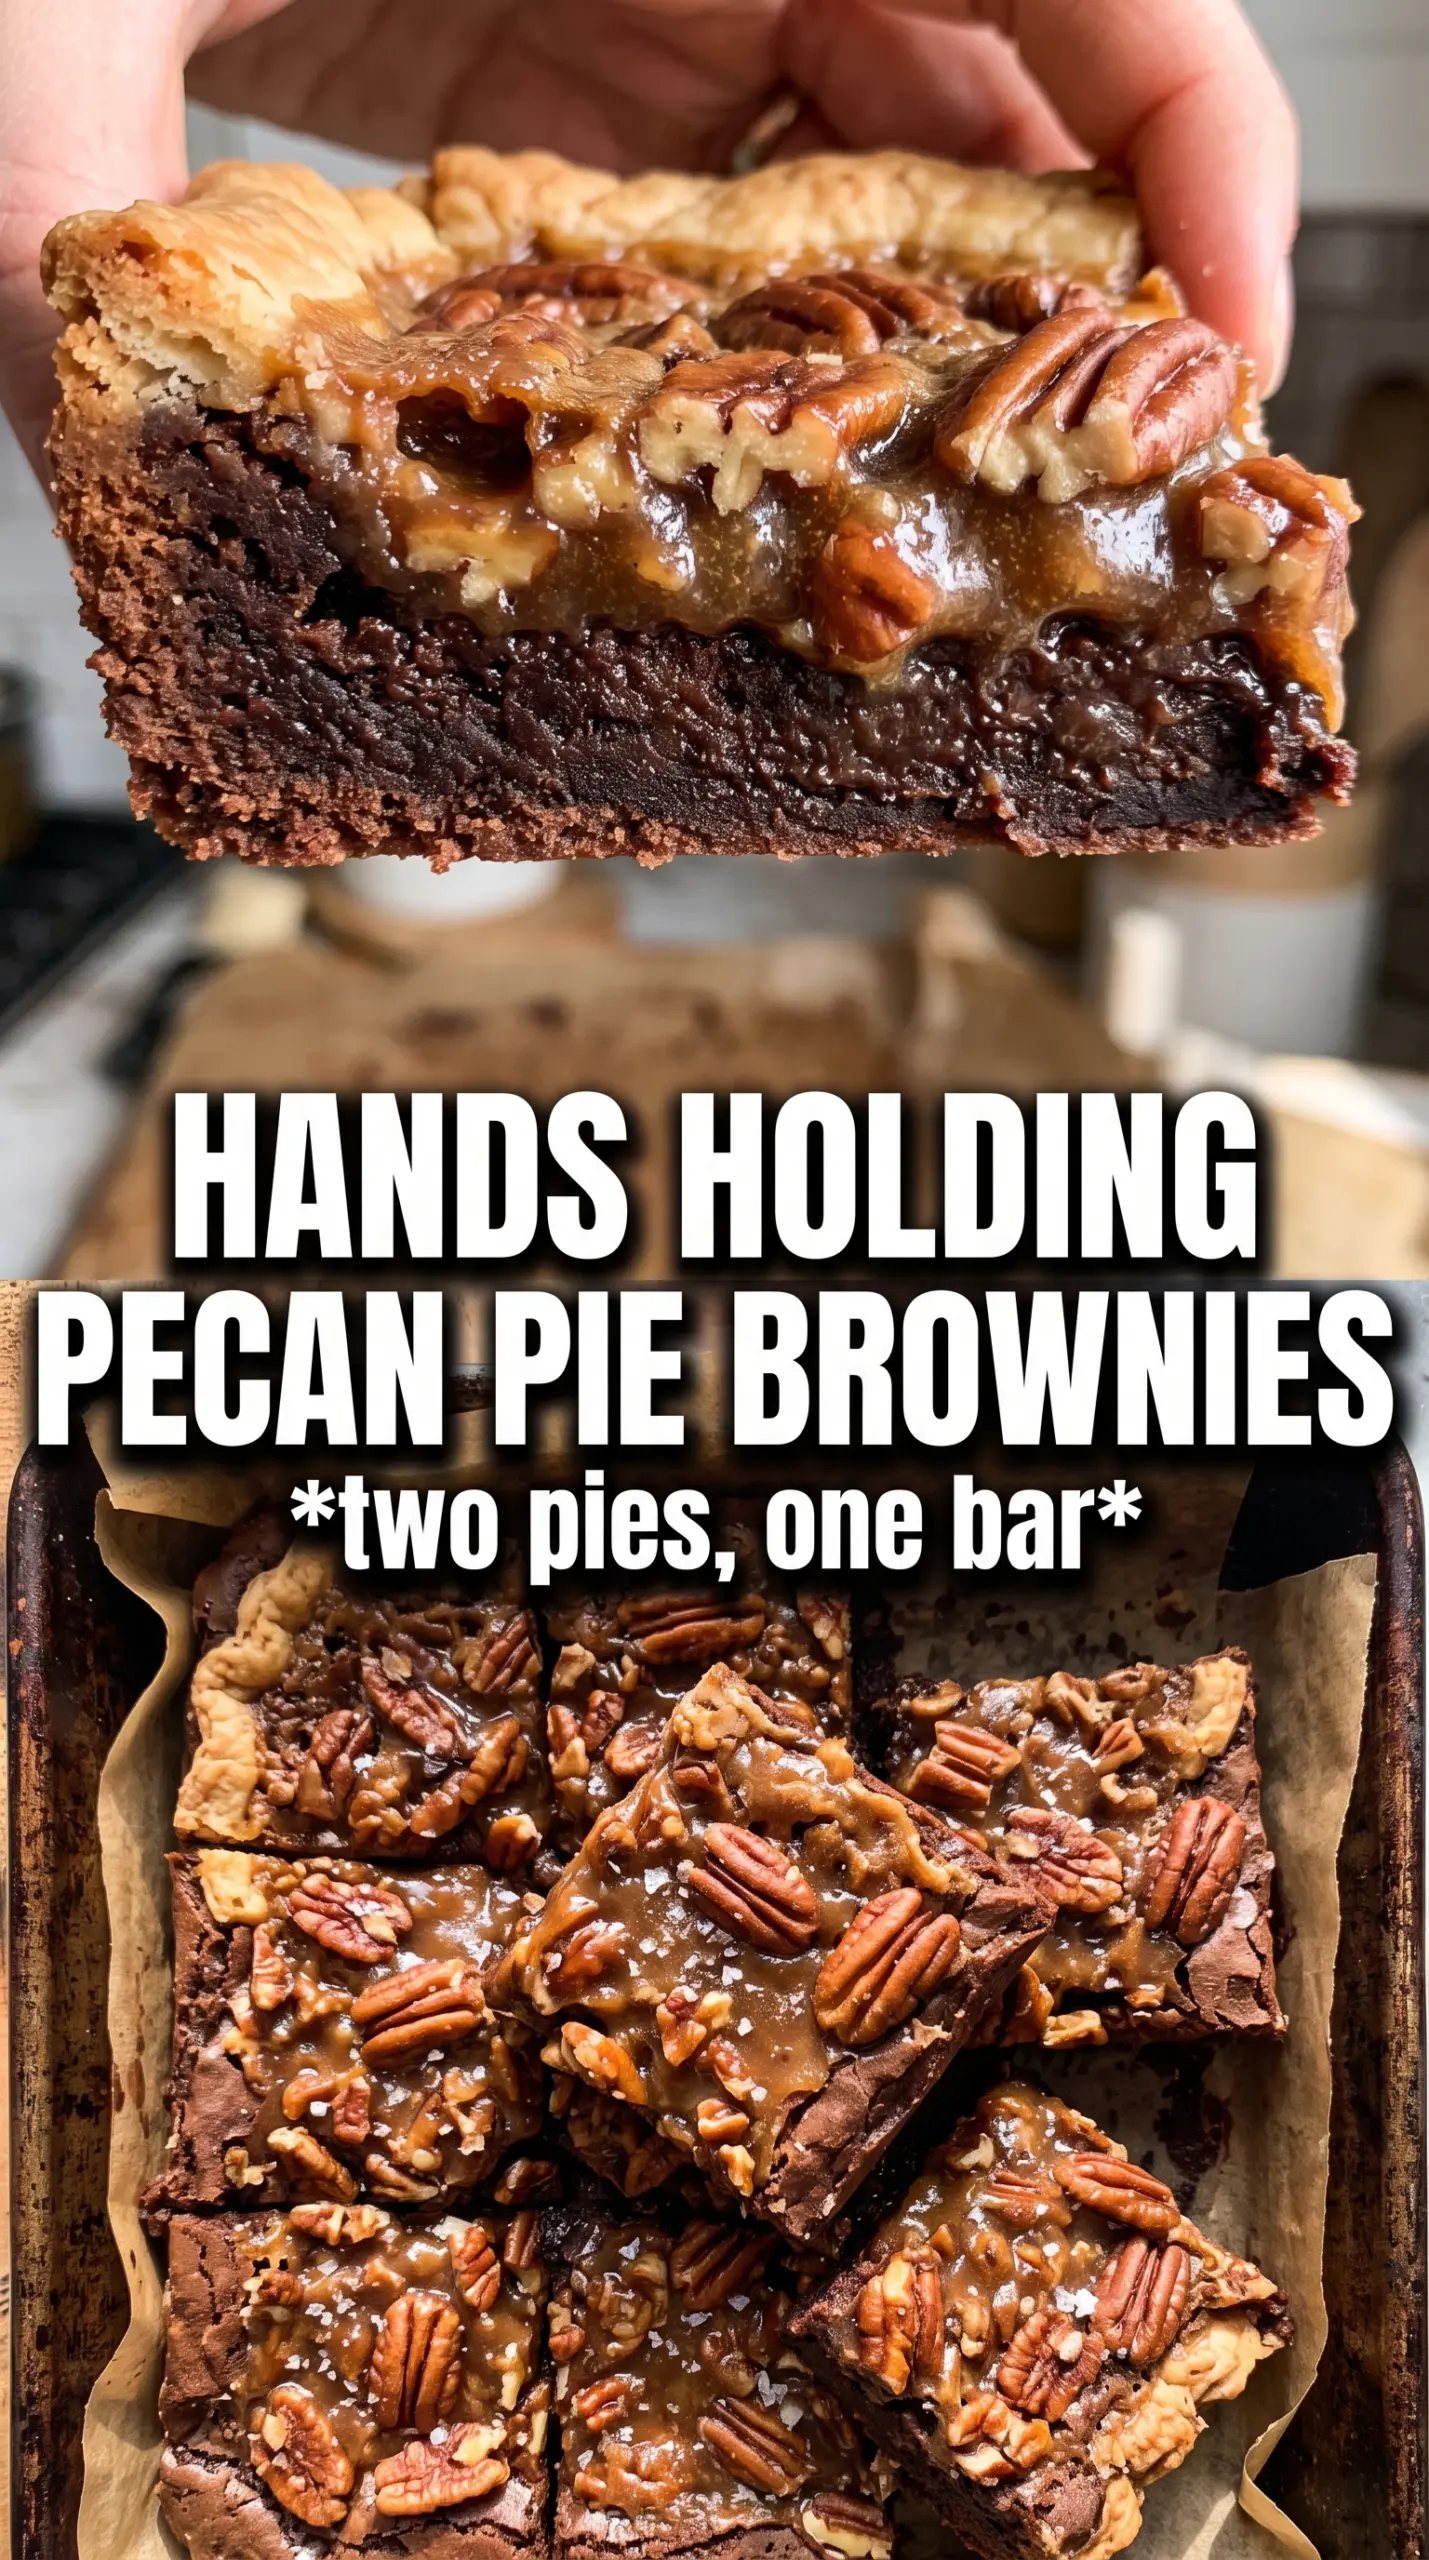
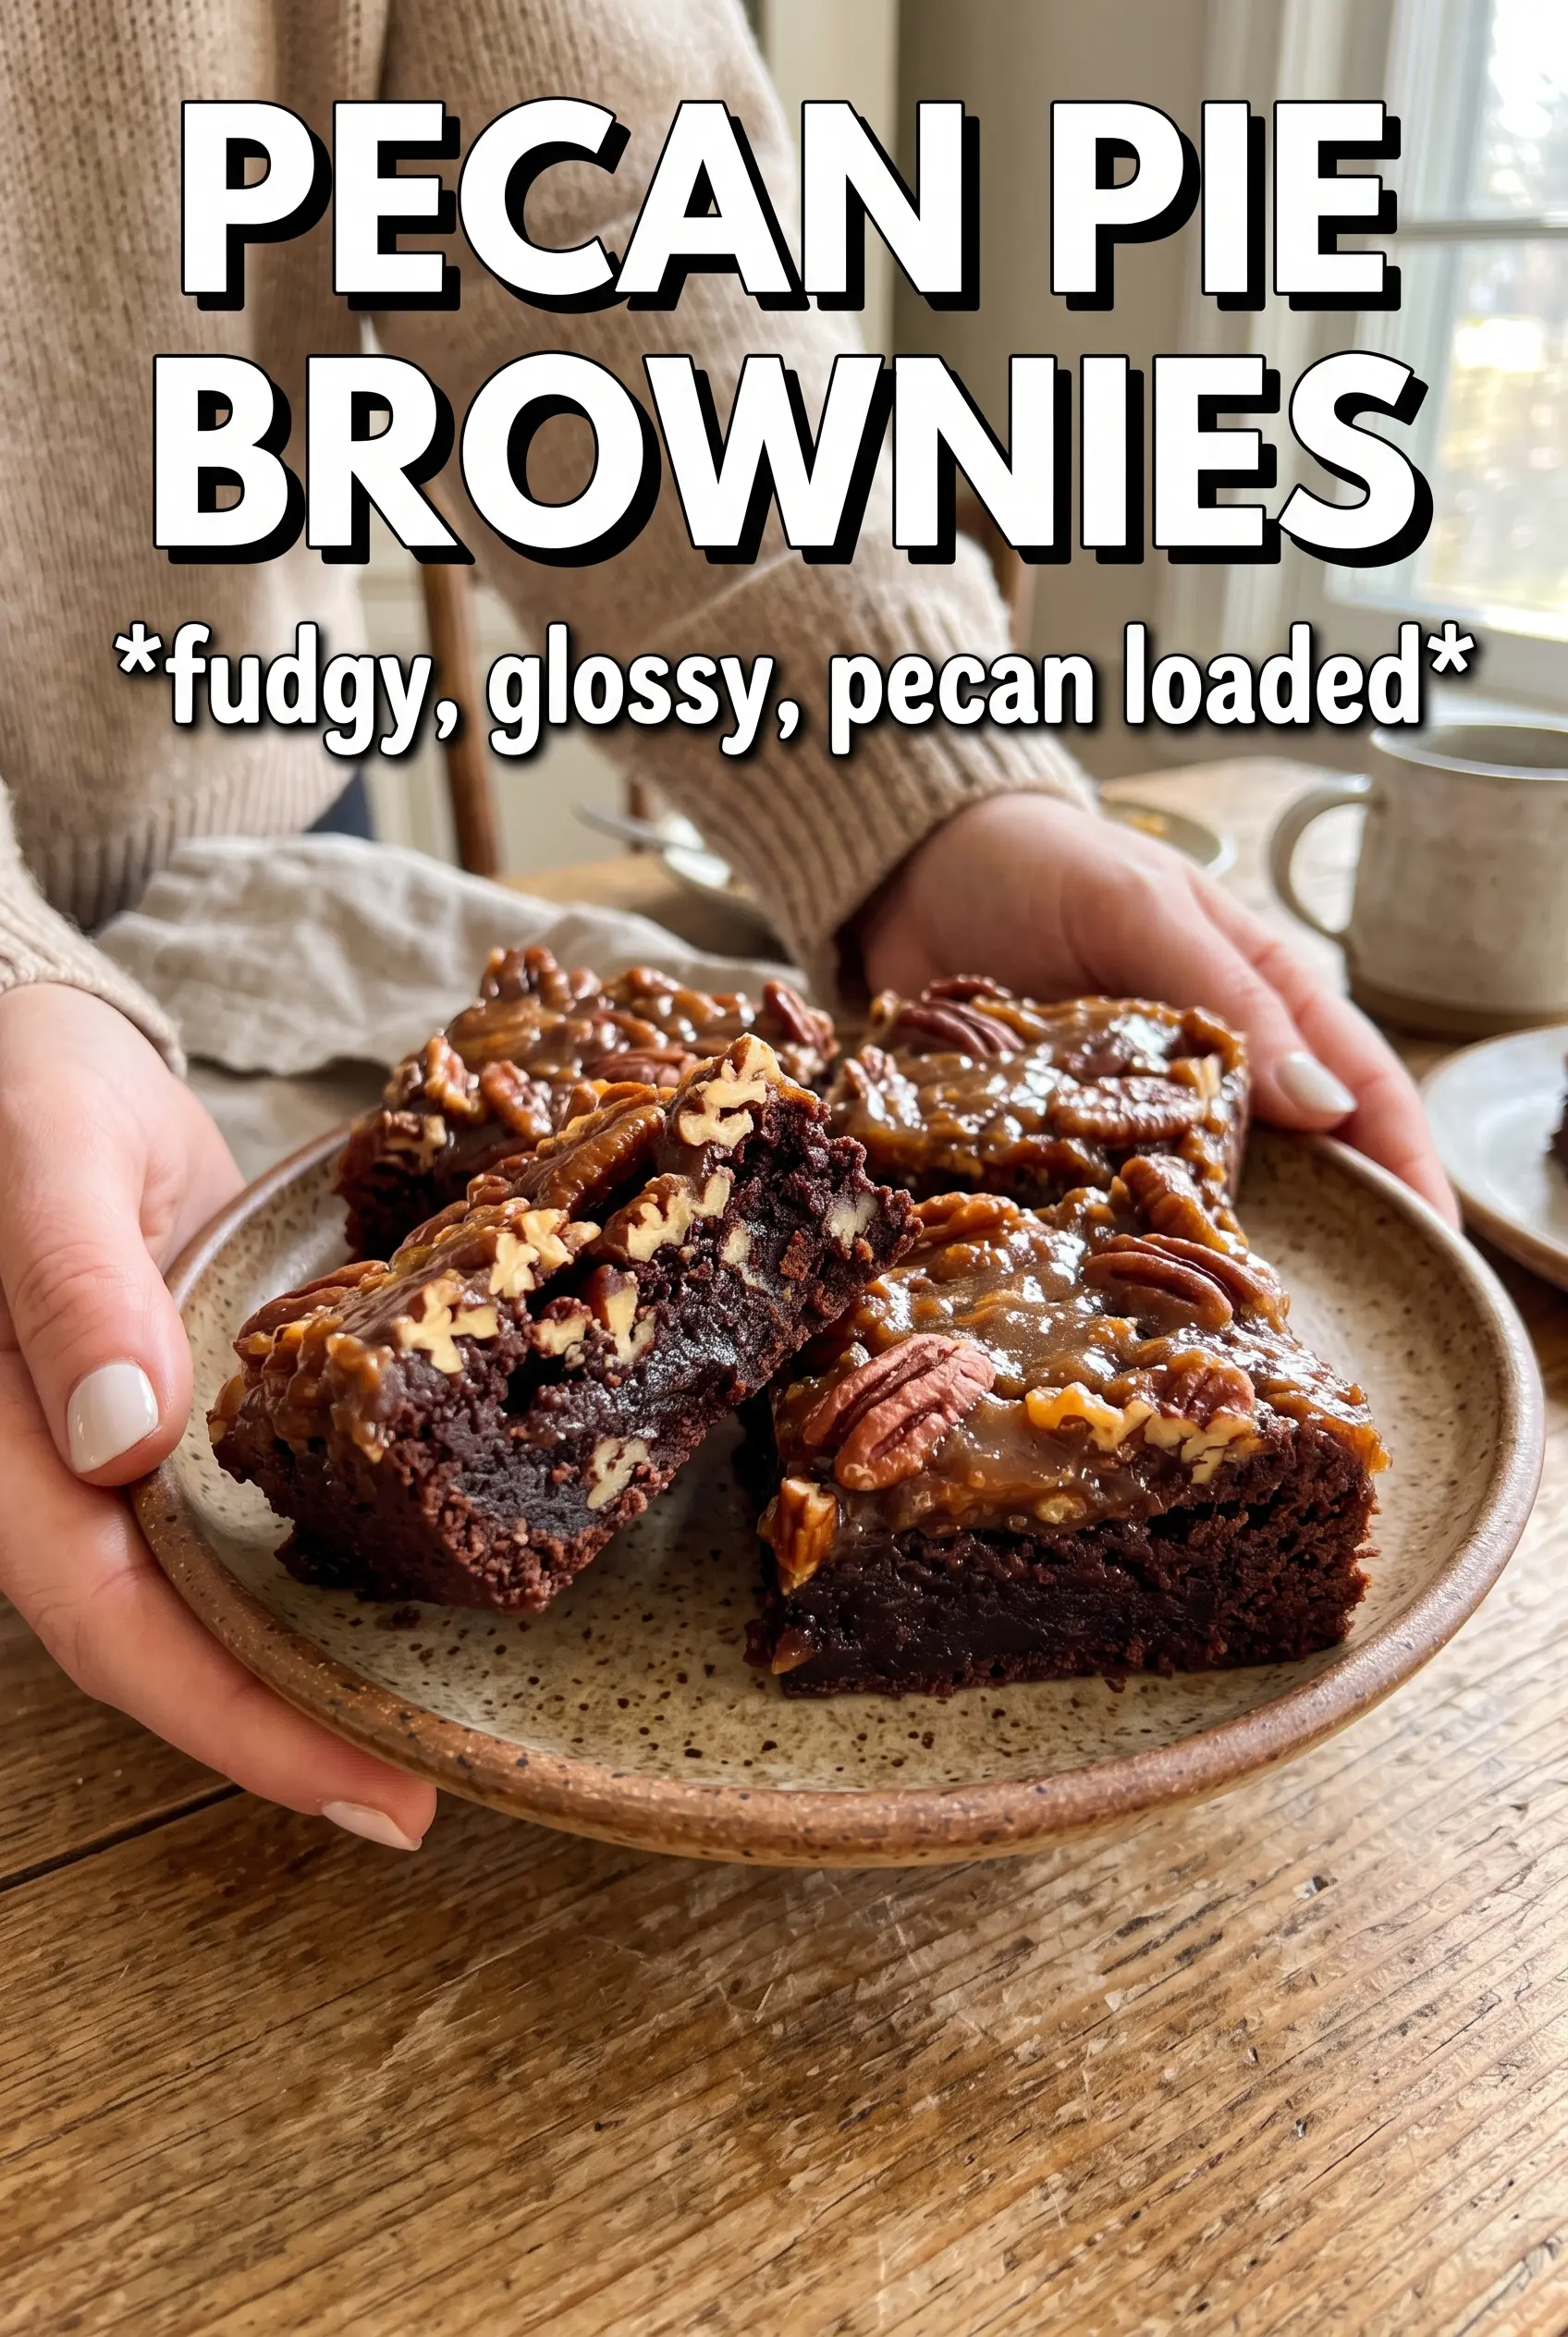
Pecan pie brownies hit that sweet spot between two desserts nobody complains about. You get a dense, fudgy chocolate base under a sticky pecan pie topping that bakes into a glossy, caramel-like layer instead of sliding off in a mess. The edges set up just enough for clean squares, while the center stays rich and soft.
What makes this version work is the par-bake on the brownie layer. It gives the base enough structure to hold the topping without overbaking the chocolate. Then the pecan mixture gets cooled briefly before the eggs go in, which keeps the topping from scrambling and helps it bake into a smooth, sliceable layer. The result is a dessert that tastes bakery-level but still comes together in one pan.
Below, I’m walking through the little details that matter most: how to keep the brownie layer fudgy, how to tell when the pecan topping is set, and how to cut these cleanly once they’ve cooled. If you’ve ever had a layered dessert turn sloppy at the finish, this one will make sense fast.
The brownie stayed fudgy under the pecan layer and the topping set up cleanly instead of running everywhere. I chilled the pan overnight and got perfect squares the next day.
Love the sticky pecan topping and fudgy brownie base? Save these pecan pie brownies for the dessert table, bake sales, and every time you want a bar that cuts like a dream.
The Part That Keeps the Brownie Layer Fudgy
The mistake most layered brownie desserts make is baking the base all the way through before the topping goes on. That turns the bottom into a dry cake layer by the time the center finishes setting. Here, the brownie only gets 15 minutes in the oven first, just long enough for the surface to firm up and support the pecan layer.
That partial bake also matters because the topping bakes longer than the brownie batter would on its own. If the base were fully set before the pecan mixture went on, the final bake would push it past fudgy into firm. The center should still look a little soft when you pull it for the first time; the second bake finishes the job without stealing moisture from the chocolate layer.
What Each Layer Is Actually Doing Here
- Butter — In the brownie base, melted butter gives you that dense, fudgy texture instead of a whipped, cakey crumb. In the topping, it helps the brown sugar and corn syrup dissolve into a smooth caramel base. Use unsalted butter so you can control the salt in both layers.
- Brown sugar and corn syrup — This is the backbone of the pecan pie topping. Brown sugar brings depth, while corn syrup keeps the filling glossy and prevents crystallization. You can swap in maple syrup for part of the corn syrup, but the filling will be softer and a little less stable when sliced.
- Cocoa powder — Cocoa gives the brownie layer its deep chocolate flavor without adding extra liquid. Use a good unsweetened cocoa if you have it; this is one place where the quality is noticeable. The flour is kept modest so the chocolate stays the lead.
- Pecan halves — Halves give you the best look and the best bite. Pieces will work in a pinch, but they make the topping less dramatic and a little harder to cut cleanly. Toasting them first isn’t required, but if your pecans are old or bland, a few minutes in a dry skillet wakes them up fast.
- Eggs — The eggs in both layers do different jobs. In the brownie layer, they build richness and structure. In the topping, they help the filling set into that sliceable pecan pie texture. Add them after the hot sugar mixture cools for a few minutes, or you’ll end up with sweet scrambled eggs.
Building the Brownie and Pecan Layers in the Right Order
Melt and Mix the Brownie Base
Start by melting the butter, then whisk in the sugar, eggs, and vanilla until the mixture looks glossy and smooth. Fold in the cocoa, flour, and salt just until no dry streaks remain. If you beat it too hard after the flour goes in, you’ll make the brownies tougher than they should be. The batter will be thick and spreadable, not pourable.
Give the Brownie Base a Head Start
Spread the batter into a parchment-lined 9×13 pan and bake it for 15 minutes. You’re looking for a surface that’s set enough to hold a spoonful of topping, but not fully baked through. If the center looks completely done at this stage, the final bars will lean dry. Pull the pan while the middle still has a little give.
Cook the Pecan Filling Without Scrambling the Eggs
Melt the butter with the brown sugar and corn syrup until the sugar starts to dissolve, then let it cool for about 5 minutes before adding the eggs. That short rest matters. If the mixture is too hot, the eggs cook on contact and the topping turns grainy. Stir in the vanilla and salt, then fold in the pecans until every nut is coated.
Bake Until the Center Sets
Pour the topping over the par-baked brownie layer and spread it gently to the corners. Bake until the pecan layer looks set around the edges and only has the slightest wobble in the center. It should not slosh. A toothpick won’t come out clean here because the top is sticky by design; look for a filling that no longer looks wet and loose.
Cool Completely Before Cutting
Sprinkle on the flaky salt while the bars are still warm, then let the pan cool all the way before slicing. This is the difference between neat squares and a sticky mess. If you cut too soon, the brownie base tears and the pecan layer slides. For the cleanest slices, chill the pan after cooling, then use a sharp knife wiped clean between cuts.
How to Adapt These Brownies Without Losing the Texture
Gluten-Free Version
Swap the all-purpose flour in the brownie layer for a 1:1 gluten-free baking blend. The texture stays close to the original as long as your blend includes xanthan gum or a similar binder. The bars may be a touch more delicate when warm, so let them cool fully before slicing.
Maple Pecan Variation
Replace half of the corn syrup with pure maple syrup for a deeper, woodsy sweetness. The filling will taste a little less classic and a little softer, but the pecan flavor comes forward nicely. Keep the total liquid amount the same so the topping still sets properly.
Extra-Salty Finish
If you like the sweet-salty contrast, add a slightly heavier pinch of flaky salt right after the bars come out of the oven. That sharp finish cuts through the caramel and chocolate without making the dessert taste salty. Don’t add the salt before baking; it can dissolve and disappear into the topping.
Storage and Reheating
- Refrigerator: Store covered for up to 5 days. The topping firms up in the fridge, which actually makes the squares easier to cut cleanly.
- Freezer: These freeze well. Wrap individual bars tightly and freeze for up to 2 months, then thaw in the fridge overnight.
- Reheating: Warm a bar for 10 to 15 seconds in the microwave if you want the brownie layer soft again. Don’t heat it too long or the pecan topping can turn sticky and loose.
Questions I Get Asked About This Recipe
Pecan Pie Brownies
Ingredients
Equipment
Method
- Preheat the oven to 350F, then line a 9x13 pan with parchment.
- Melt the unsalted butter, then whisk in the sugar, eggs, and vanilla until smooth.
- Fold in the cocoa powder, flour, and salt just until combined.
- Spread the brownie batter evenly in the pan, then bake for 15 minutes.
- Melt the unsalted butter with the brown sugar, and corn syrup until glossy, then cool for 5 minutes.
- Whisk in the eggs, vanilla, and salt until the mixture looks uniform.
- Fold in the pecan halves.
- Pour the pecan topping over the par-baked brownie layer.
- Bake for 25-30 more minutes at 350F, until the filling is set.
- Sprinkle with flaky sea salt, then cool completely before cutting for clean squares.