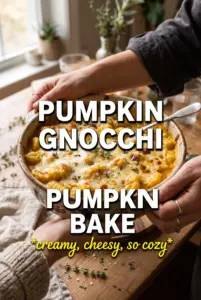
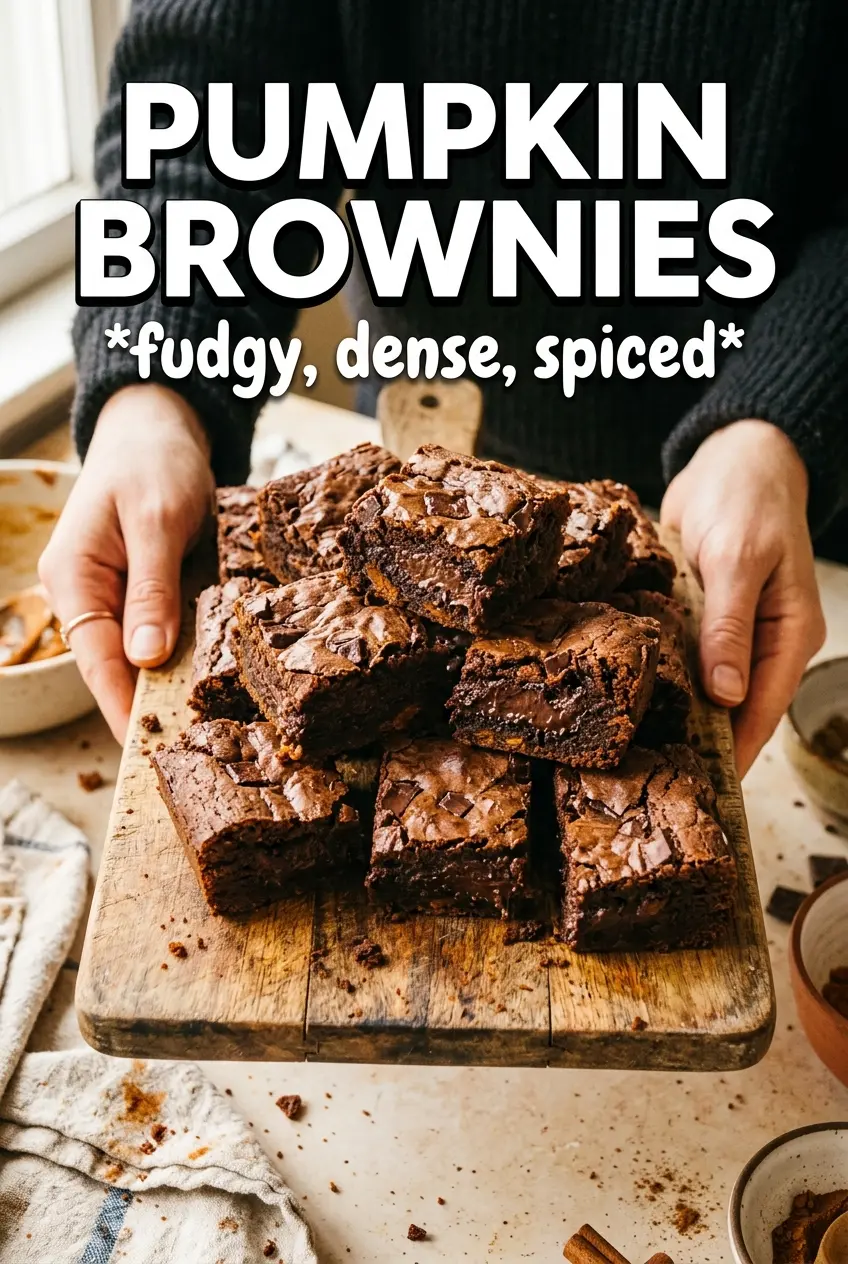
Pumpkin brownies hit that sweet spot between fudgy and creamy, with a dark chocolate base that stays dense under a tangy pumpkin cheesecake swirl. The contrast is what keeps people reaching for a second square: deep cocoa at the bottom, spiced pumpkin on top, and just enough marbling in the middle to make every slice look bakery-worthy.
What makes this version work is the balance of moisture and structure. The brownie batter starts with melted butter and chocolate for a dense, glossy crumb, then the pumpkin layer brings cream cheese, puree, and spice without turning the whole pan cakey. Cooling the chocolate mixture before adding the eggs helps keep the texture smooth instead of greasy, and the swirl stays distinct if you stop mixing the moment the marbling looks good.
Below, I’ll walk through the part that matters most: getting the brownie base fudgy and the pumpkin layer thick enough to sit on top without sinking. I’ve also included the timing cues I use so you can pull these from the oven at the right moment, not a minute too late.
The swirl set up perfectly and the brownies stayed fudgy instead of turning cakey. I baked them 33 minutes, and the pumpkin layer stayed creamy with those neat marbled lines on top.
Save these pumpkin brownies for when you want a fudgy chocolate base with that creamy pumpkin cheesecake swirl on top.
The Reason the Swirl Stays Pretty Instead of Sinking
The pumpkin layer sits on top because it’s thicker than a loose cheesecake batter, and that matters more than people think. If the swirl is too thin, it disappears into the brownie base before the pan even reaches the oven, leaving you with a muddy middle instead of clean marbling. Beat the pumpkin mixture until smooth, then stop. Overmixing adds too much air and makes the top puff and crack in a way that looks messy once it cools.
The brownie batter itself should be glossy and heavy, not airy. That’s what gives you the dense bite that can hold up to the swirl without turning soggy. If your batter looks stiff after the dry ingredients go in, that’s correct. Thin brownie batter is what turns these into cake bars instead of brownies.
- Butter and dark chocolate — This is the backbone of the fudgy texture. Use good dark chocolate here if you can; it gives a deeper cocoa note than chips and melts into a smoother base.
- Brown sugar — The small amount of molasses in brown sugar keeps the crumb soft and adds a little chew. Granulated sugar alone works, but the brownies won’t taste as round.
- Cream cheese — This is what makes the pumpkin layer taste like cheesecake instead of a loose pumpkin custard. Block-style cream cheese beats tub cream cheese every time because it sets up thicker and swirls more cleanly.
- Pumpkin puree — Use plain pumpkin puree, not pumpkin pie filling. Pie filling already has sugar and spices added, which throws off the balance and makes the swirl too sweet.
What Each Ingredient Is Actually Doing in This Recipe
- Primary ingredient (the star) — Quality matters most. Choose the best you can find.
- Cooking medium (oil, butter, or broth) — This carries flavors and prevents dryness.
- Seasonings (salt, pepper, spices, herbs) — Layer flavors so nothing overpowers. Build depth gradually.
- Aromatics (garlic, onion, herbs) — Cook with fat to bloom flavors. Become the foundation.
- Supporting ingredients — Complement the main ingredient without overpowering it.
- Sauce or liquid (if applicable) — Brings flavors together. Balance richness with acid.
- Acid (lemon, vinegar, wine, or other) — Brightens and prevents flat-tasting results.
- Final finish (garnish, glaze, or sauce) — Prevents one-dimensional taste and adds visual appeal.
Building the Batter and the Swirl Without Losing the Layers
Melting the Chocolate Base
Melt the butter and chopped chocolate together until the mixture is smooth and glossy, then let it cool for about 10 minutes. That cooling step keeps the eggs from scrambling when they go in, and it also helps the batter stay thick instead of turning oily. Once the sugars are whisked in, the mixture should look shiny and feel slightly warm, not hot.
Whisking in the Eggs
Add the eggs one at a time and whisk until the batter looks satiny before moving on. This is where the structure starts, so don’t rush it. If the batter looks separated or grainy, it usually means the chocolate was too warm or the eggs went in too fast, and the best fix is to stop, let it cool a little longer, then keep whisking.
Layering and Marbling the Pan
Spread the brownie batter evenly into the parchment-lined pan, then dollop the pumpkin mixture across the top in spoonfuls. Don’t pour it all in one spot or you’ll have trouble dragging the swirl through the pan without mixing the layers too much. Use a knife or skewer to make slow figure-eight motions through the surface; stop when you still see clear ribbons of chocolate and pumpkin.
Baking Until the Center Still Has a Little Give
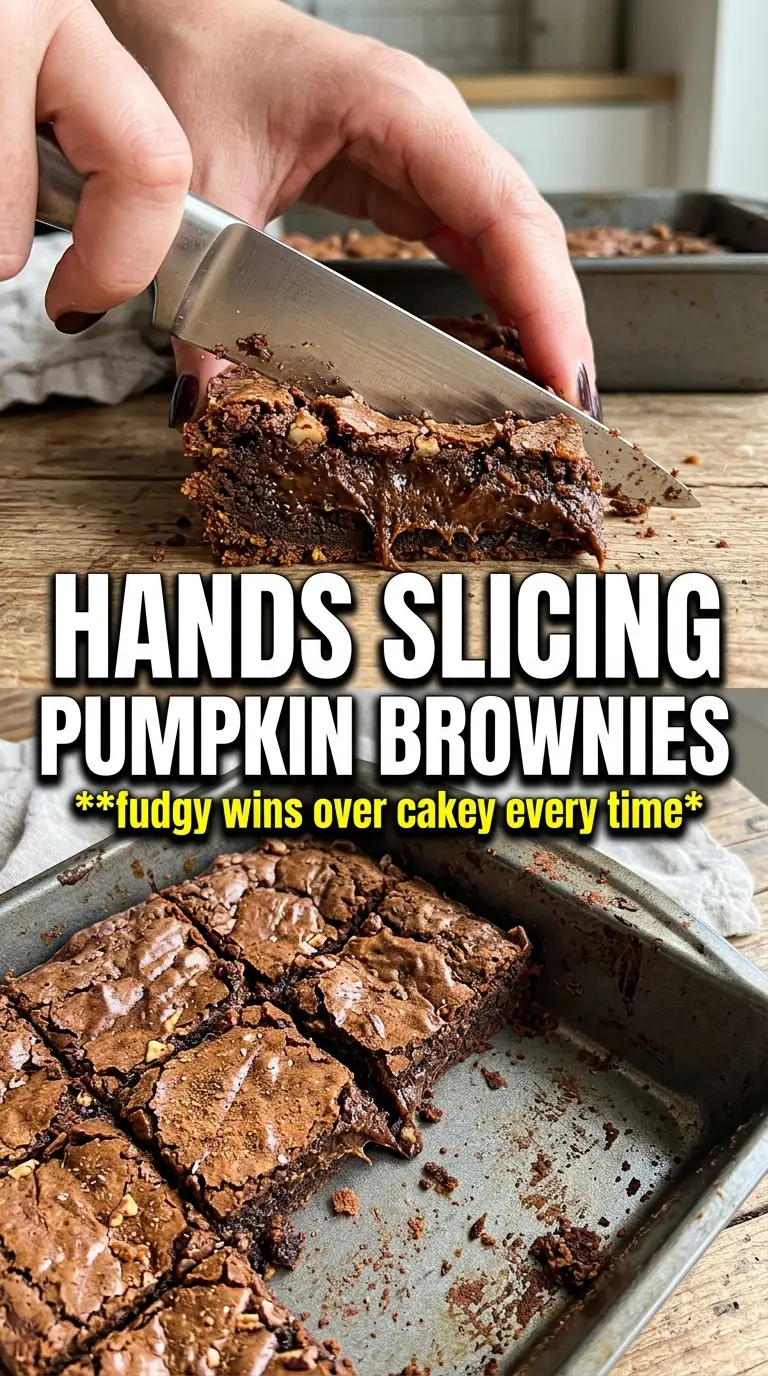
Bake until the edges are set and a toothpick inserted near the center comes out with moist crumbs, not wet batter. The middle should still have a slight wobble when you tap the pan, because the brownies keep setting as they cool. If you wait for the center to look fully firm in the oven, the squares will end up dry by the time they’re sliced.
Make Them Gluten-Free With a 1:1 Flour Blend
Swap the all-purpose flour for a good 1:1 gluten-free baking blend that includes xanthan gum. The brownies stay fudgy, but the crumb may be a little more delicate, so let them cool completely before slicing or the squares can crumble at the edges.
How to Make the Swirl Less Tangy
If you want the pumpkin layer a little sweeter and less cheesecake-forward, add 2 more tablespoons of sugar to the swirl. That softens the tang from the cream cheese and brings the pumpkin spice forward without changing the texture.
Dairy-Free Brownies With a Texture Tradeoff
Use dairy-free butter and dairy-free cream cheese, but expect the pumpkin layer to be a little softer and less rich. The chocolate base still works well, though, especially if you use a high-quality dark chocolate that doesn’t rely on dairy for its flavor.
Storage and Reheating
- Refrigerator: Store in an airtight container for up to 5 days. The pumpkin layer firms up in the fridge, which actually makes the squares easier to cut cleanly.
- Freezer: These freeze well. Wrap individual squares tightly and freeze for up to 2 months, then thaw in the refrigerator so the swirl doesn’t weep.
- Reheating: Eat them chilled or let them sit at room temperature for 20 to 30 minutes. If you warm them, do it very briefly; too much heat softens the swirl and dries out the brownie edges.
Questions I Get Asked About This Recipe
Pumpkin Brownies
Ingredients
Equipment
Method
- Preheat the oven to 350F and line a 9x13 pan with parchment for easy lifting after baking.
- Melt the unsalted butter and dark chocolate together, then cool for 10 minutes so the batter won’t cook the eggs.
- Whisk in the granulated sugar, brown sugar, eggs, and vanilla until smooth and glossy.
- Fold in the all-purpose flour, cocoa powder, and salt until no dry streaks remain and the batter looks thick.
- Pour the brownie batter into the prepared pan and spread it into an even layer.
- Beat the cream cheese, pumpkin puree, sugar, egg, pumpkin pie spice, and cinnamon until smooth and creamy.
- Dollop the pumpkin swirl over the brownie batter in spoonfuls, keeping coverage mostly centered for visible marbling.
- Use a knife to create a marbled swirl pattern by dragging through the batter in gentle figure-eight motions.
- Bake at 350F for 30-35 minutes until the edges are set and a toothpick comes out with moist crumbs.
- Cool completely before slicing so the pumpkin swirl firms up and the brownies hold clean squares.