Pumpkin snickerdoodle cookies land in that sweet spot between soft and structured: pillowy centers, crinkled tops, and edges that bake up just enough to give each bite a little chew. The pumpkin brings warmth and color, but the real win here is that familiar snickerdoodle tang and cinnamon-sugar shell that keeps the cookies from turning cakey or flat. They taste like the best parts of a classic snickerdoodle with just enough pumpkin to make them feel special.
The trick is removing moisture from the pumpkin puree before it ever hits the dough. Pumpkin is great for flavor, but extra water is what makes cookie dough spread too much or bake up bready instead of tender. Cream of tartar keeps the snickerdoodle texture recognizable, while the spice blend in the dough and the rolling sugar gives you that warm, bakery-style finish all the way through.
Below, I’ll show you how to keep the cookies soft in the middle without losing the edges, plus the one prep step that makes the biggest difference in the final texture.
Blotting the pumpkin made all the difference. The cookies stayed soft and thick instead of puffing up like little cakes, and the cinnamon-sugar coating cracked just enough on top.
Save these pumpkin snickerdoodle cookies for the days when you want soft centers, crinkled tops, and a proper cinnamon-sugar coat.
The Pumpkin Moisture Problem Nobody Wants in a Snickerdoodle
The biggest reason pumpkin cookies miss the mark is that pumpkin puree behaves nothing like butter or egg. It carries a lot of water, and that extra moisture pushes the dough toward cakey, puffy cookies instead of the soft-yet-chewy texture people expect from a snickerdoodle. Blotting the puree dry sounds fussy, but it’s the difference between cookies that spread in a controlled way and cookies that bake up like little muffins.
That’s also why this dough gets a brief chill if it turns soft. You’re not trying to make it cold for the sake of being cold; you’re giving the flour time to absorb a little moisture and helping the butter firm back up before baking. If your dough feels sticky when you scoop it, that’s normal. If it feels loose enough to slump off the spoon, it needs that 30-minute rest.
What Each Ingredient Is Actually Doing in These Cookies
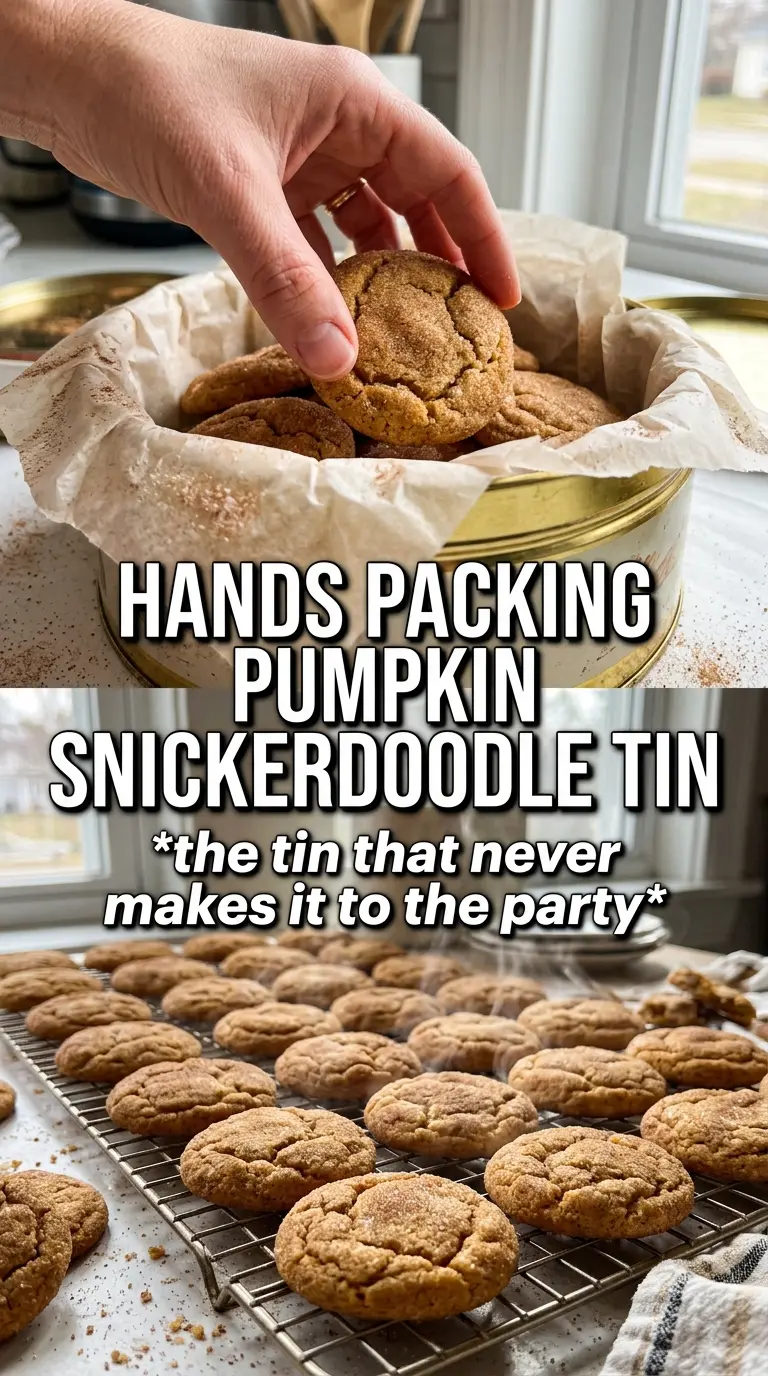
- Pumpkin puree — Use plain pumpkin puree, not pumpkin pie filling. The puree brings color and flavor, but only after it’s blotted dry. If you skip that step, the cookies lean soft and puffy instead of keeping those clean crinkled edges.
- Cream of tartar — This is what gives snickerdoodles their signature tang and helps the sugar coating bake into that classic crackly finish. There isn’t a great substitute if you want the real snickerdoodle texture. Without it, you’re closer to a spiced pumpkin cookie than a true snickerdoodle.
- Butter and sugar — Beating these until light and fluffy traps air, which keeps the cookies tender. If the butter is too warm, the dough spreads too much; if it’s too cold, the mixture won’t cream properly and the texture turns dense.
- The spice blend — Cinnamon, nutmeg, ginger, and allspice give the dough depth so the pumpkin doesn’t taste flat. The rolling sugar uses the same warm notes, but with a little extra pumpkin pie spice for a stronger crust on the outside.
Building the Dough So the Cookies Bake Thick, Not Puffy
Drying the Pumpkin First
Spread the pumpkin puree on a few layers of paper towels and press more towels on top until the surface looks noticeably drier. You don’t need to remove every trace of moisture, but you do want to take off enough that the puree feels thicker and paste-like. If it still looks wet and shiny, keep blotting. This step protects the cookie texture more than any other part of the recipe.
Créaming for Structure
Beat the butter and sugar until the mixture turns pale and fluffy, not just combined. That air gives the cookies lift without making them cakey, as long as you don’t overdo the egg and pumpkin afterward. Add the egg, vanilla, and dried pumpkin just until they’re blended in. If the mixture looks curdled for a moment, that’s fine; the flour will pull it together.
Coating and Baking
Scoop the dough into even balls and roll them generously in the cinnamon-sugar mixture so every side is coated. That thick sugar layer is what gives the baked cookies their crinkled tops and lightly crisp edges. Bake just until the edges set and the centers still look a little soft. They finish on the pan, and pulling them when they still look slightly underdone is how you keep the middle tender instead of dry.
Make Them Gluten-Free
Use a good 1:1 gluten-free baking flour with xanthan gum. The cookies will still bake soft and chewy, but they may spread a touch less and finish with a slightly more delicate crumb. Don’t use a single gluten-free flour like almond or coconut flour here; those won’t hold the dough together the same way.
Add a Little More Spice
If you want a stronger pumpkin spice note, add another 1/4 teaspoon each of cinnamon and pumpkin pie spice to the rolling sugar. That gives the outside a bolder finish without changing the cookie base, which is the safer place to keep balance.
Use Browned Butter for a Deeper Flavor
You can brown the butter first, then chill it just until it softens again before creaming it with the sugar. The cookies pick up a toasty, nutty note that works well with the spices, but the dough will be a little more delicate, so keep an eye on the chill time.
Storage and Reheating
- Refrigerator: Store in an airtight container for up to 5 days. They stay soft, but the cinnamon-sugar coating softens a bit by day two.
- Freezer: Freeze baked cookies for up to 2 months, or freeze the shaped dough balls and roll them in sugar right before baking. The dough freezes better than the baked cookies if you want the freshest texture.
- Reheating: Warm baked cookies for 5 to 8 seconds in the microwave or a few minutes in a low oven. Don’t overheat them, or the centers turn dry fast and the sugar coating gets brittle.
Questions I Get Asked About This Recipe
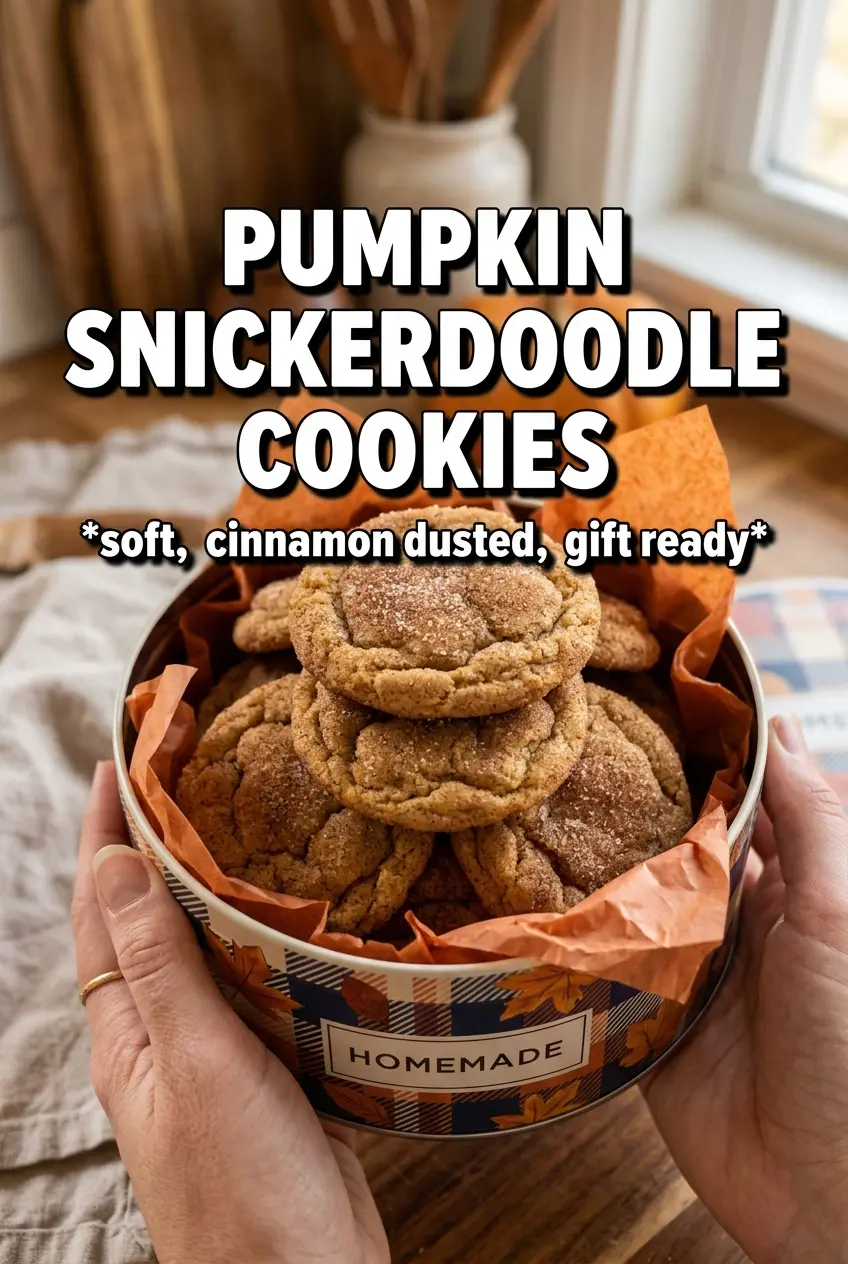
Pumpkin Snickerdoodle Cookies
Ingredients
Equipment
Method
- Preheat the oven to 375F and line baking sheets with parchment for easy release and even browning.
- Blot the pumpkin puree between paper towels several times to remove as much moisture as possible, which helps the cookies develop crisp edges.
- Whisk the all-purpose flour, cream of tartar, baking soda, cinnamon, nutmeg, ginger, allspice, and salt until evenly combined.
- Beat the softened unsalted butter and granulated sugar until very light and fluffy, then add the egg, vanilla extract, and blotted pumpkin puree.
- Fold the flour mixture into the wet ingredients until just combined; the dough should be slightly sticky.
- Refrigerate for 30 minutes if the dough is very soft so it firms up for scooping and rolling.
- Mix the sugar, cinnamon, and pumpkin pie spice in a shallow bowl for the rolling coating.
- Scoop the dough into 1-1/2 tablespoon balls, roll generously in the cinnamon spice sugar, and place on the lined baking sheets with spacing.
- Bake for 10 to 12 minutes at 375F until the edges are set and the tops look crinkled.
- Cool on the pan for 5 minutes so the cookies firm as they set, then transfer for finishing cooling.