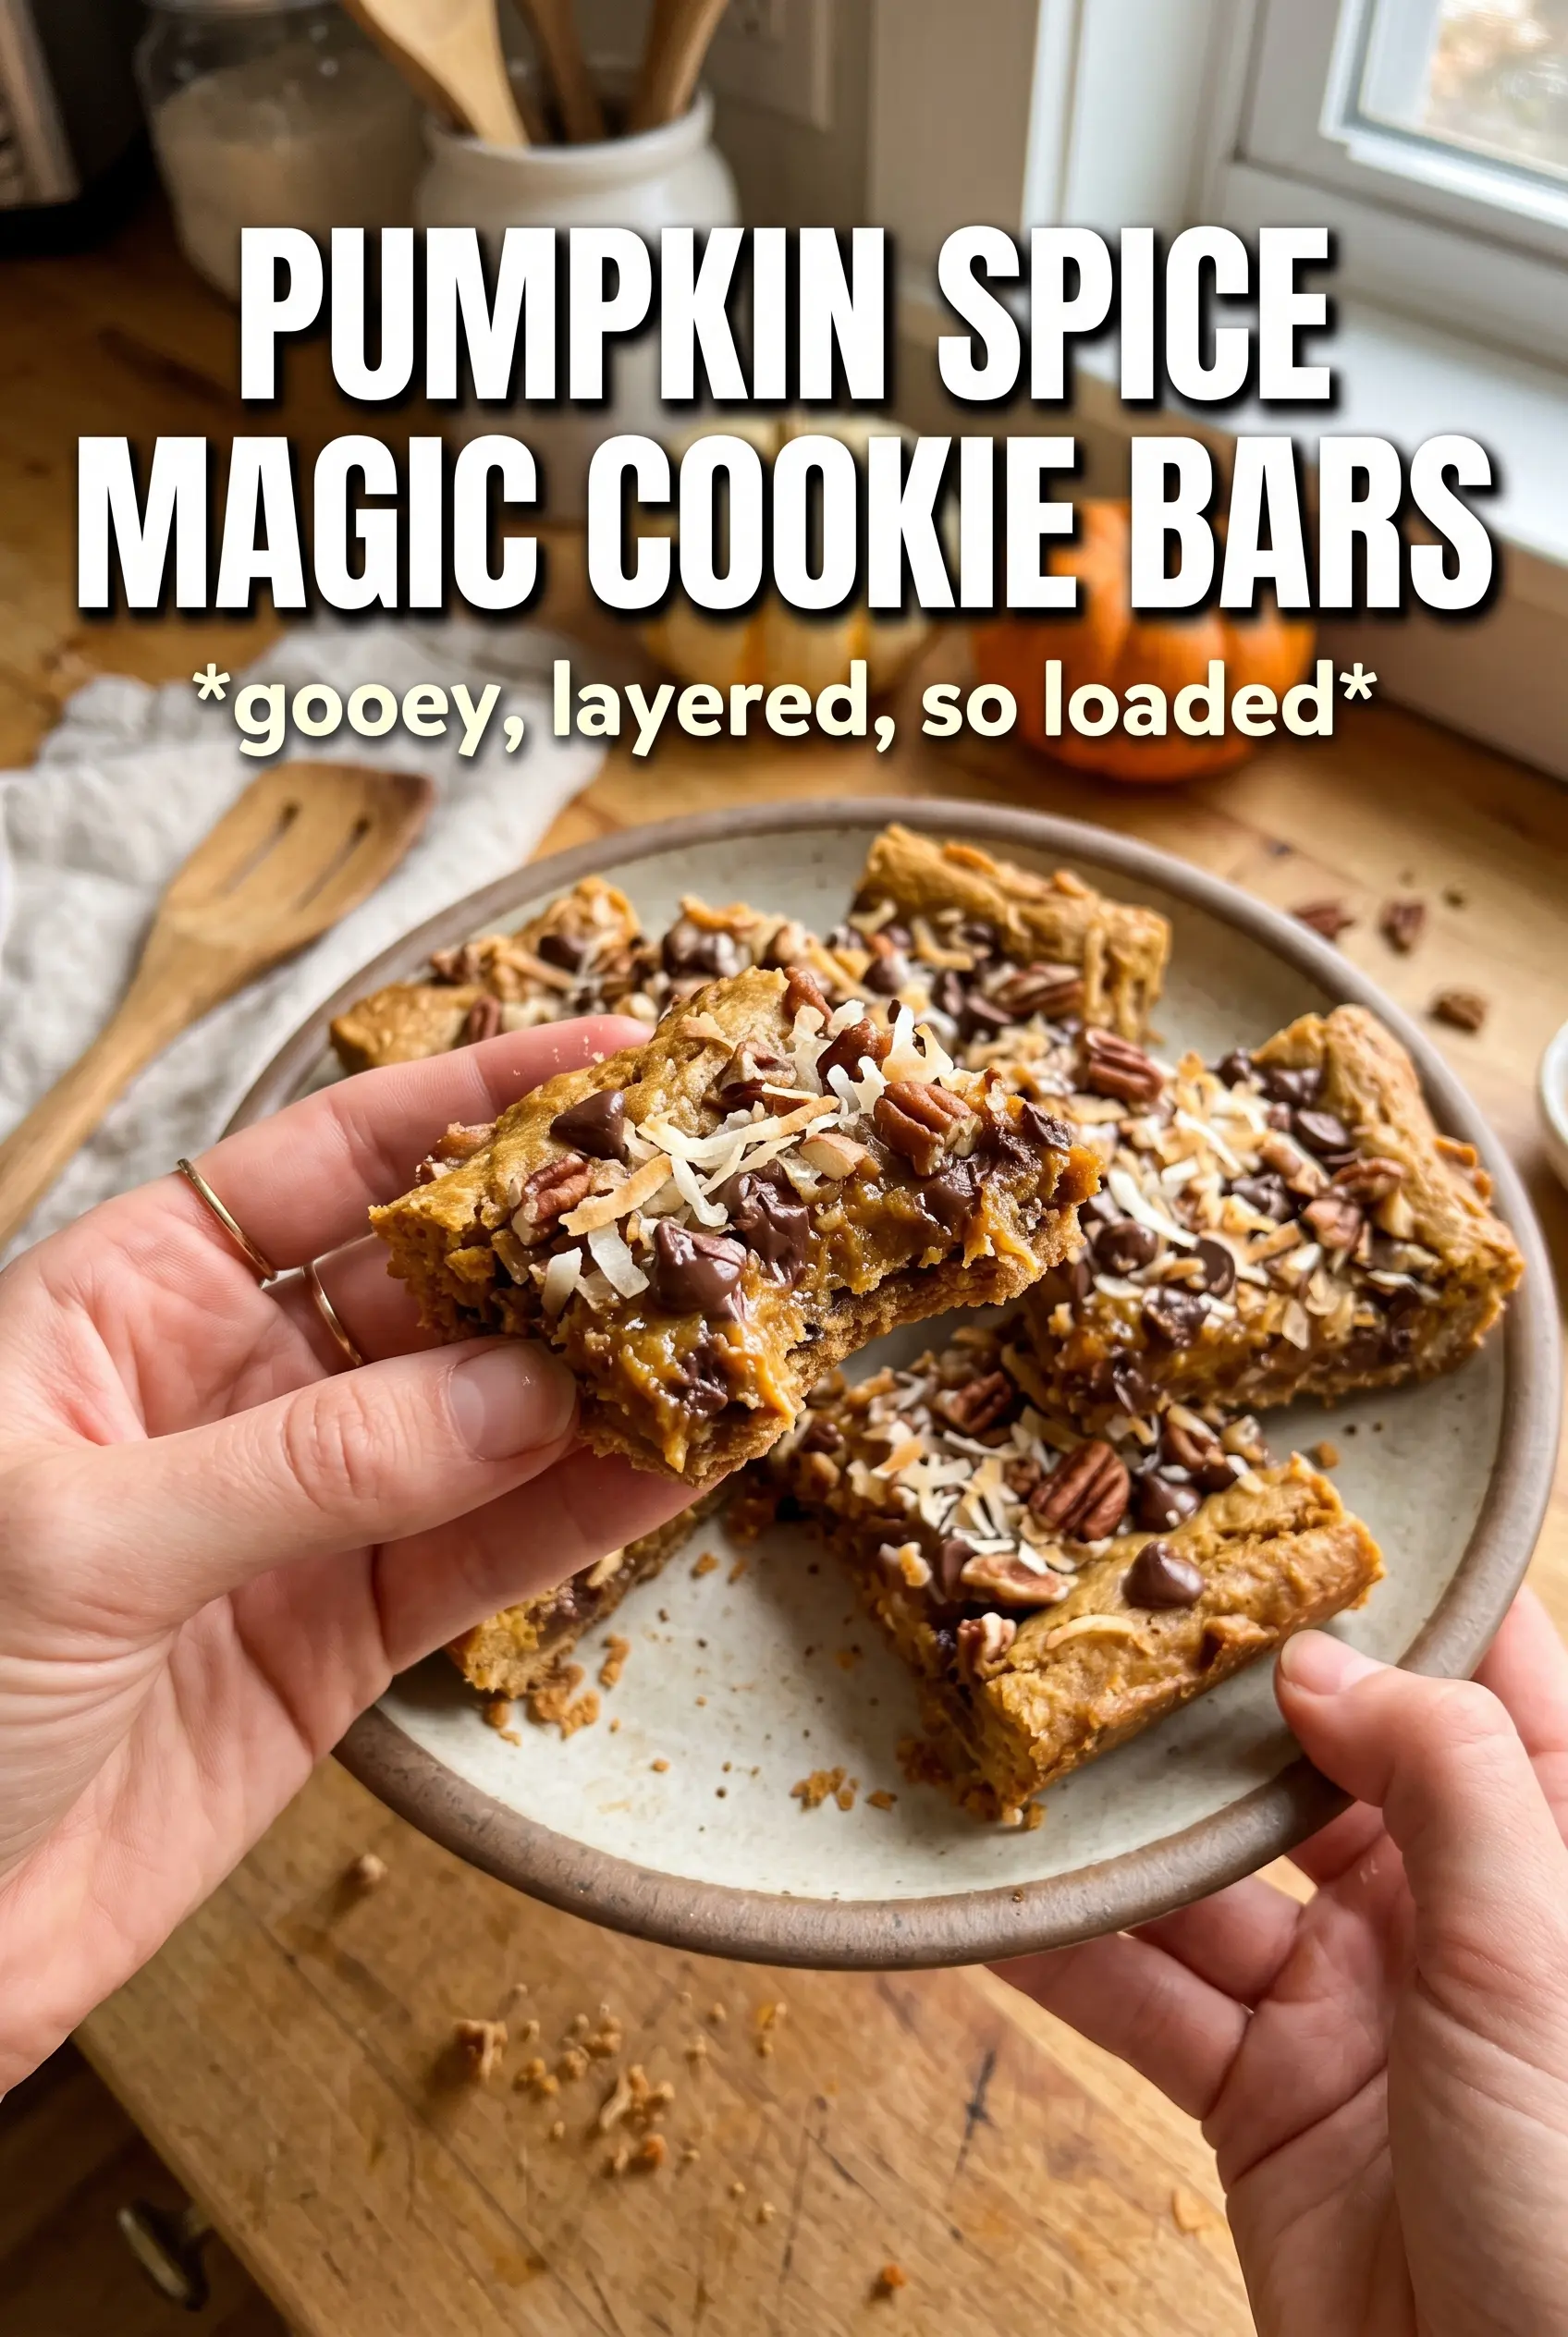
These pumpkin spice magic cookie bars bake up with chewy edges, a gooey middle, and that layered candy-bar richness that makes people come back for a second square before the pan has even cooled. The gingersnap crust brings a little snap and spice underneath the soft pumpkin layer, and the white chocolate, butterscotch, coconut, pecans, and toffee bits all melt together into a sticky, golden topping that cuts cleanly once it’s fully set.
What makes this version work is the balance. Pumpkin puree adds flavor, but the sweetened condensed milk is what gives the bars their signature set and fudgy texture. The trick is keeping the pumpkin layer thin enough to pour and spreading the toppings evenly so every bite gets some crunch, some chew, and a little butterscotch sweetness. Let the bars cool all the way before slicing or they’ll smear instead of stack into neat squares.
The pumpkin layer stayed creamy and the edges turned perfectly caramelized. I cooled them overnight, and the bars sliced into neat layers instead of falling apart.
Save these pumpkin spice magic cookie bars for the day you want gooey layers, a gingersnap crust, and one-pan dessert that cuts into neat squares.
The One Place Pumpkin Bars Usually Go Wrong
The trouble with magic cookie bars is usually the base. If the crust is too thick or packed down too firmly, it bakes up dense instead of giving you that tender, buttery bite that balances all the toppings. With pumpkin in the filling, the other mistake is pouring on too much moisture and expecting the bars to set like a classic seven-layer version. Pumpkin adds flavor, but it also softens the whole middle, so the condensed milk has to do the heavy lifting.
The best texture comes from a thin, even crumb layer and a topping that’s spread all the way to the corners without being mashed into the base. You want the layers to sit on each other, not get blended together. That’s what keeps the crust crisp enough to hold the bars while the center stays chewy and rich.
What Each Layer Is Doing in These Bars
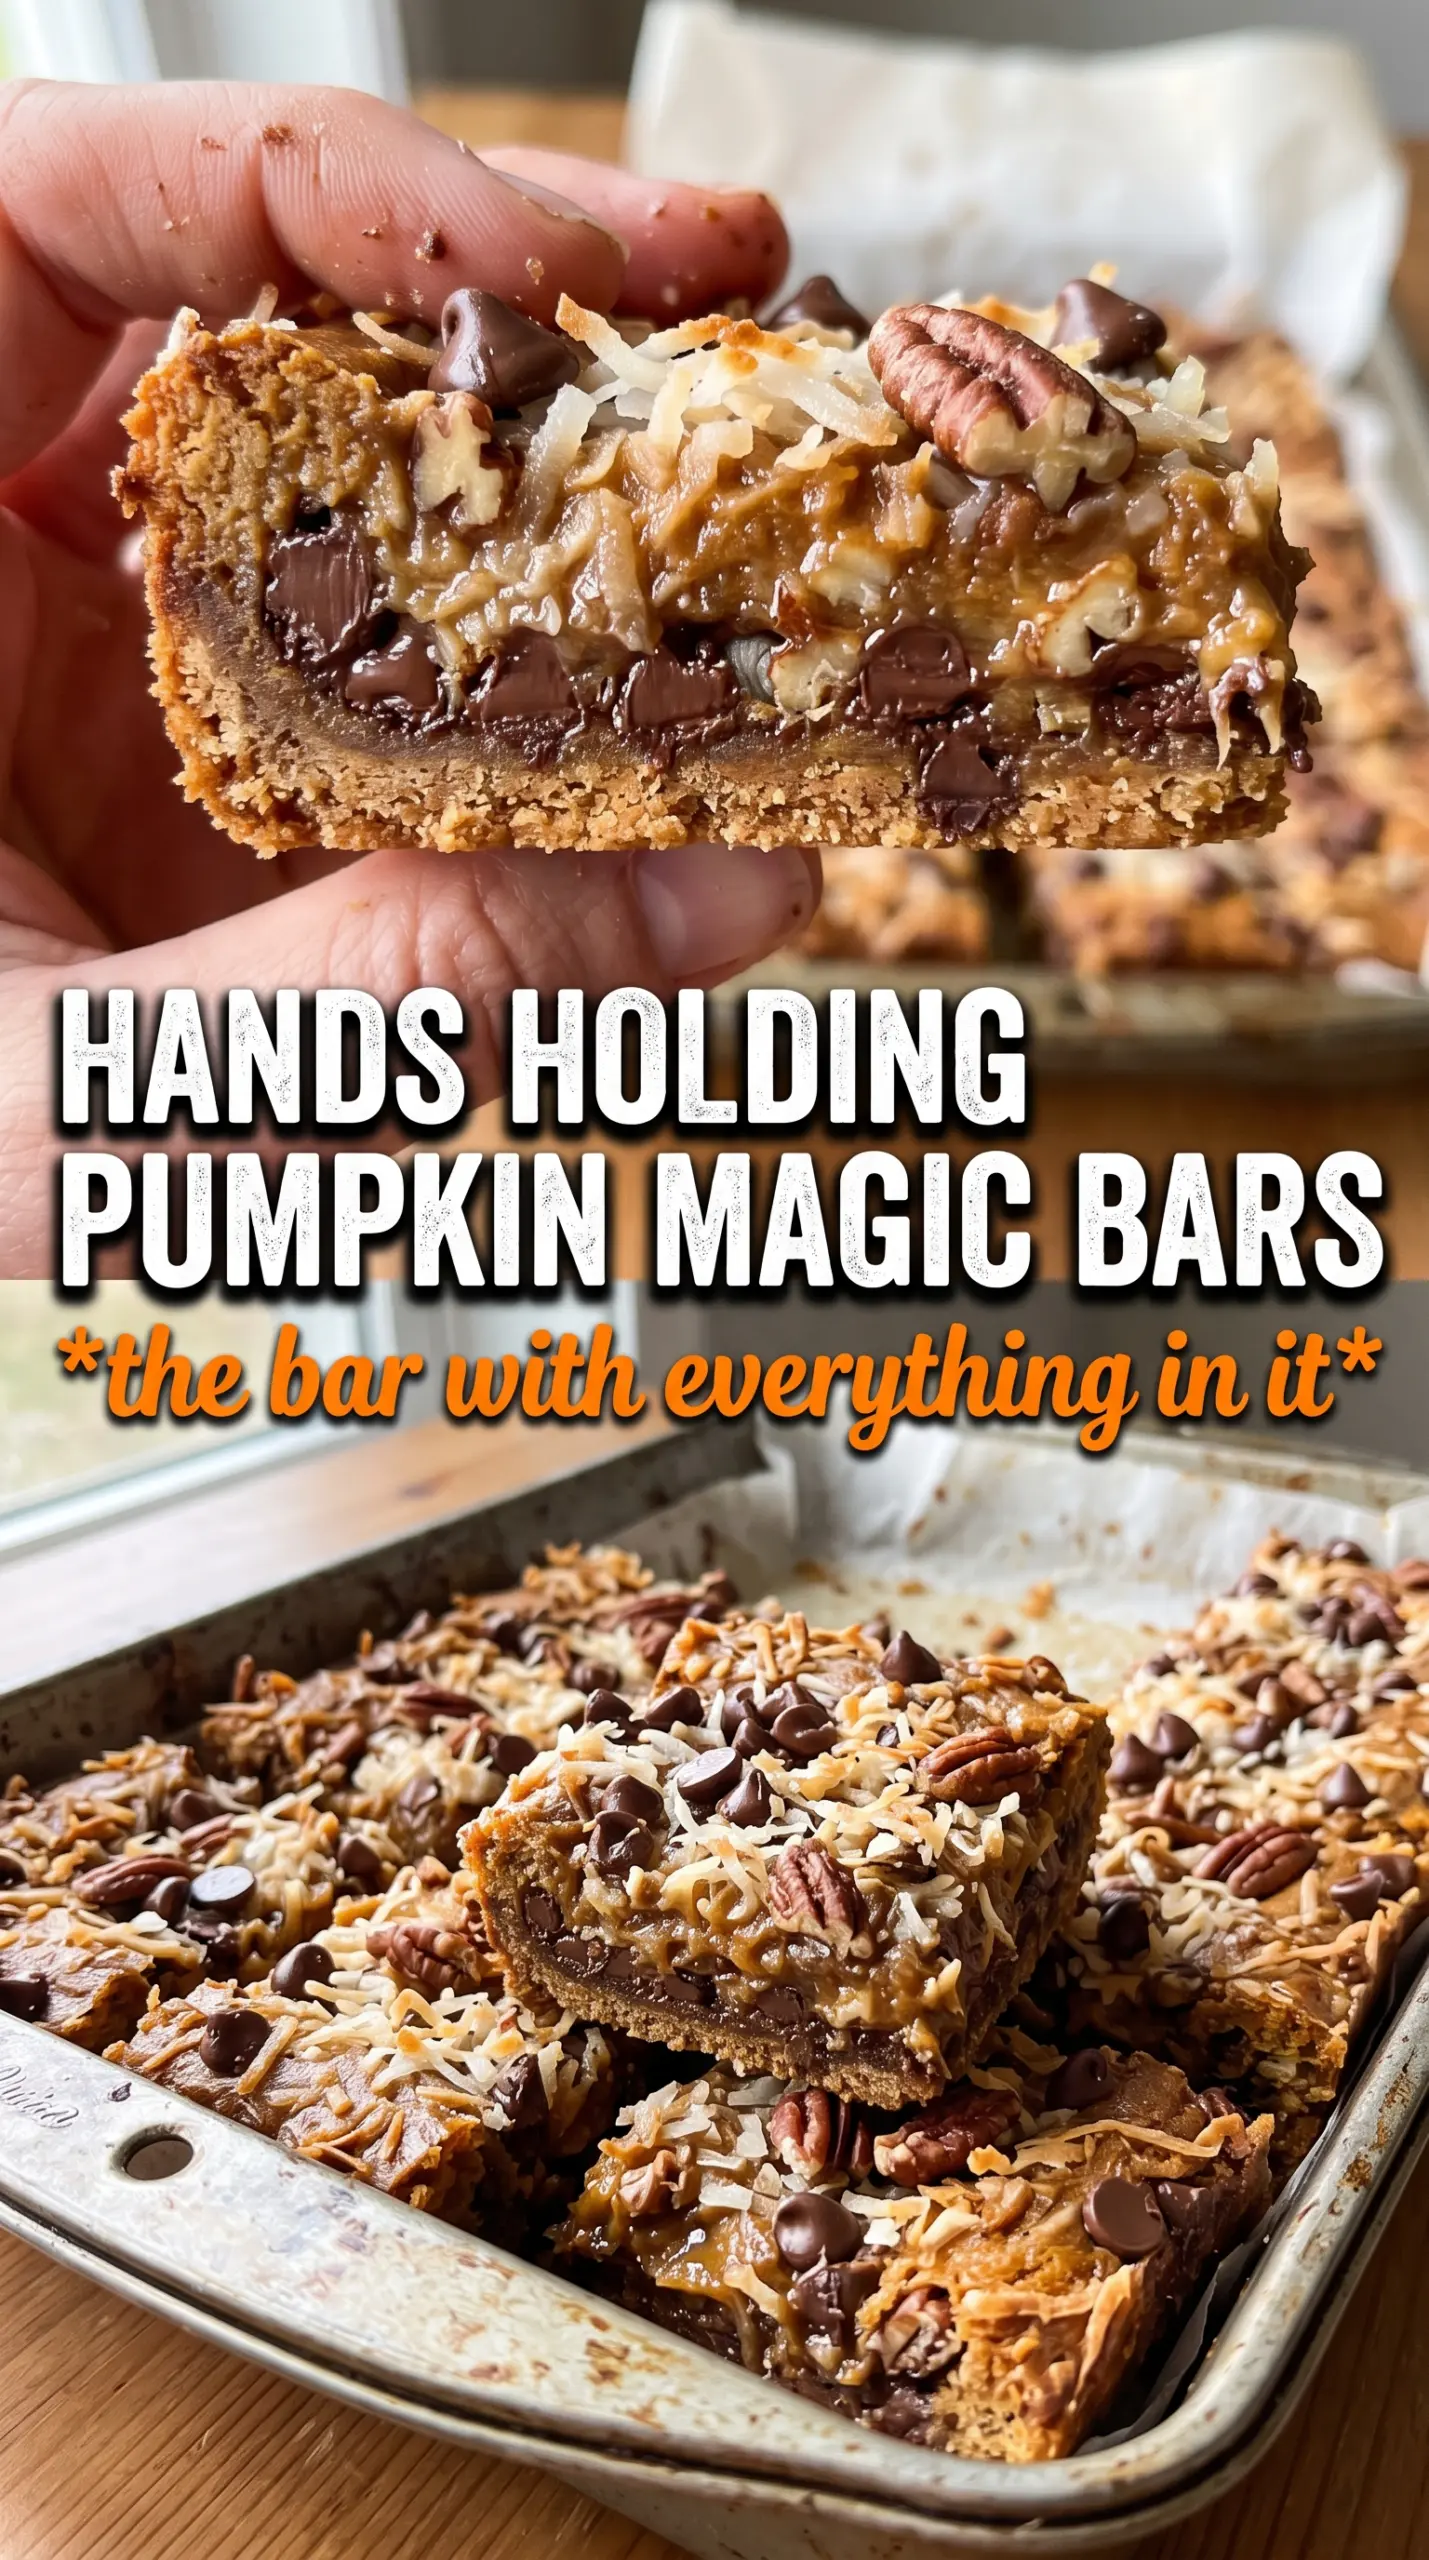
- Gingersnap or graham cracker crumbs — Gingersnaps bring more spice and a stronger backbone, which fits the pumpkin filling better than plain graham crackers. Graham crumbs still work if that’s what you have, but the bars will taste milder. Either way, the crumbs need an even layer so the butter can soak through and bind them.
- Sweetened condensed milk — This is what turns the whole pan into a fudgy, sliceable bar instead of a loose pile of toppings. Don’t swap in evaporated milk; it won’t set the same way. Stir it with the pumpkin puree and spices before pouring so the flavor is distributed evenly.
- Pumpkin puree — Use puree, not pumpkin pie filling. Pie filling already has sugar and spices mixed in, which throws off the balance and can make the bars taste muddy. If your puree seems watery, let it sit in a strainer for a few minutes before mixing.
- White chocolate chips, butterscotch chips, and toffee bits — These give the bars their candy-like sweetness and help the top turn glossy and caramelized. Don’t cut back too hard here or the bars lose that magic-cookie-bar effect. The chips soften, the toffee stays a little crisp, and that contrast is what makes each bite interesting.
- Pecans and coconut — The pecans bring crunch, while the coconut toasts on top and adds chew. If you don’t love pecans, walnuts work, but they’re a little harsher and less buttery. The coconut should be sweetened shredded coconut, not flakes, because it bakes into the top more evenly.
Building the Layers Without Losing the Crunch
Start With the Buttered Pan
Pour the melted butter straight into the 9×13 pan and tilt it so the bottom is coated. That first layer helps the crumbs hydrate evenly and keeps the crust from sticking. Sprinkle the crumbs over the butter instead of dumping the butter on top of the crumbs in a bowl; the pan does the work for you. If you leave dry patches, those spots bake up sandy and fall apart when you cut the bars.
Mix the Pumpkin Layer Smooth
Whisk the sweetened condensed milk, pumpkin puree, pumpkin pie spice, and cinnamon until the mixture looks uniform and silky. A few streaks of pumpkin are fine, but you don’t want pockets of spice or thick puree that bake unevenly. Pour it over the crust in a slow, even layer so it reaches the edges without flooding one corner. If the filling pools in the middle, the center will stay soft long after the sides are done.
Layer, Press, and Bake
Scatter the coconut, white chocolate chips, butterscotch chips, pecans, and toffee bits evenly over the top. Then press down gently with your hands so the toppings settle into the pumpkin layer without disappearing into it. Bake until the edges are deep golden and the center looks set but still soft, not wet and sloshy. If the middle still wobbles like liquid, give it a few more minutes; if it’s firm and dry-looking, it’s already gone too far.
Cool Before You Cut
Let the pan cool completely before slicing. Warm magic bars always look promising, but they smear and slump as soon as you try to portion them. For the cleanest squares, let them sit until fully cool, then chill them briefly if you want extra neat edges. Use a sharp knife and wipe it between cuts if the topping is sticky.
How to Adapt These Bars for Different Pans, Tastes, and Diets
Make Them Gluten-Free
Use gluten-free gingersnap crumbs or gluten-free graham-style crumbs in the crust. The rest of the recipe is naturally gluten-free, but check the labels on the chips and toffee bits since some brands use shared equipment or add flour-based ingredients. The texture stays the same as long as the crumb layer is still fine and evenly moistened with butter.
Swap the Nuts for a Softer Bar
Leave out the pecans and add a few more coconut flakes or chips if you want a bar that’s less crunchy and a little sweeter. You’ll lose some texture contrast, but the bars still set well and slice cleanly. This is the version I’d make for people who don’t love nuts in dessert.
Use Graham Crackers for a Milder Spice
Graham crackers work when you want the pumpkin to be the main flavor instead of the spice in the crust. The bars will taste a little more classic and a little less bold. Keep the rest of the recipe the same so the filling still sets properly.
Storage and Reheating
- Refrigerator: Store in an airtight container for up to 5 days. The bars get a little firmer in the fridge, which actually helps the layers hold together.
- Freezer: These freeze well. Wrap individual bars tightly and freeze for up to 2 months, then thaw in the fridge so the topping doesn’t get sticky.
- Reheating: If you want them warm, microwave a bar for 8 to 10 seconds. Longer than that and the chips melt out of the layers and the crust softens too much.