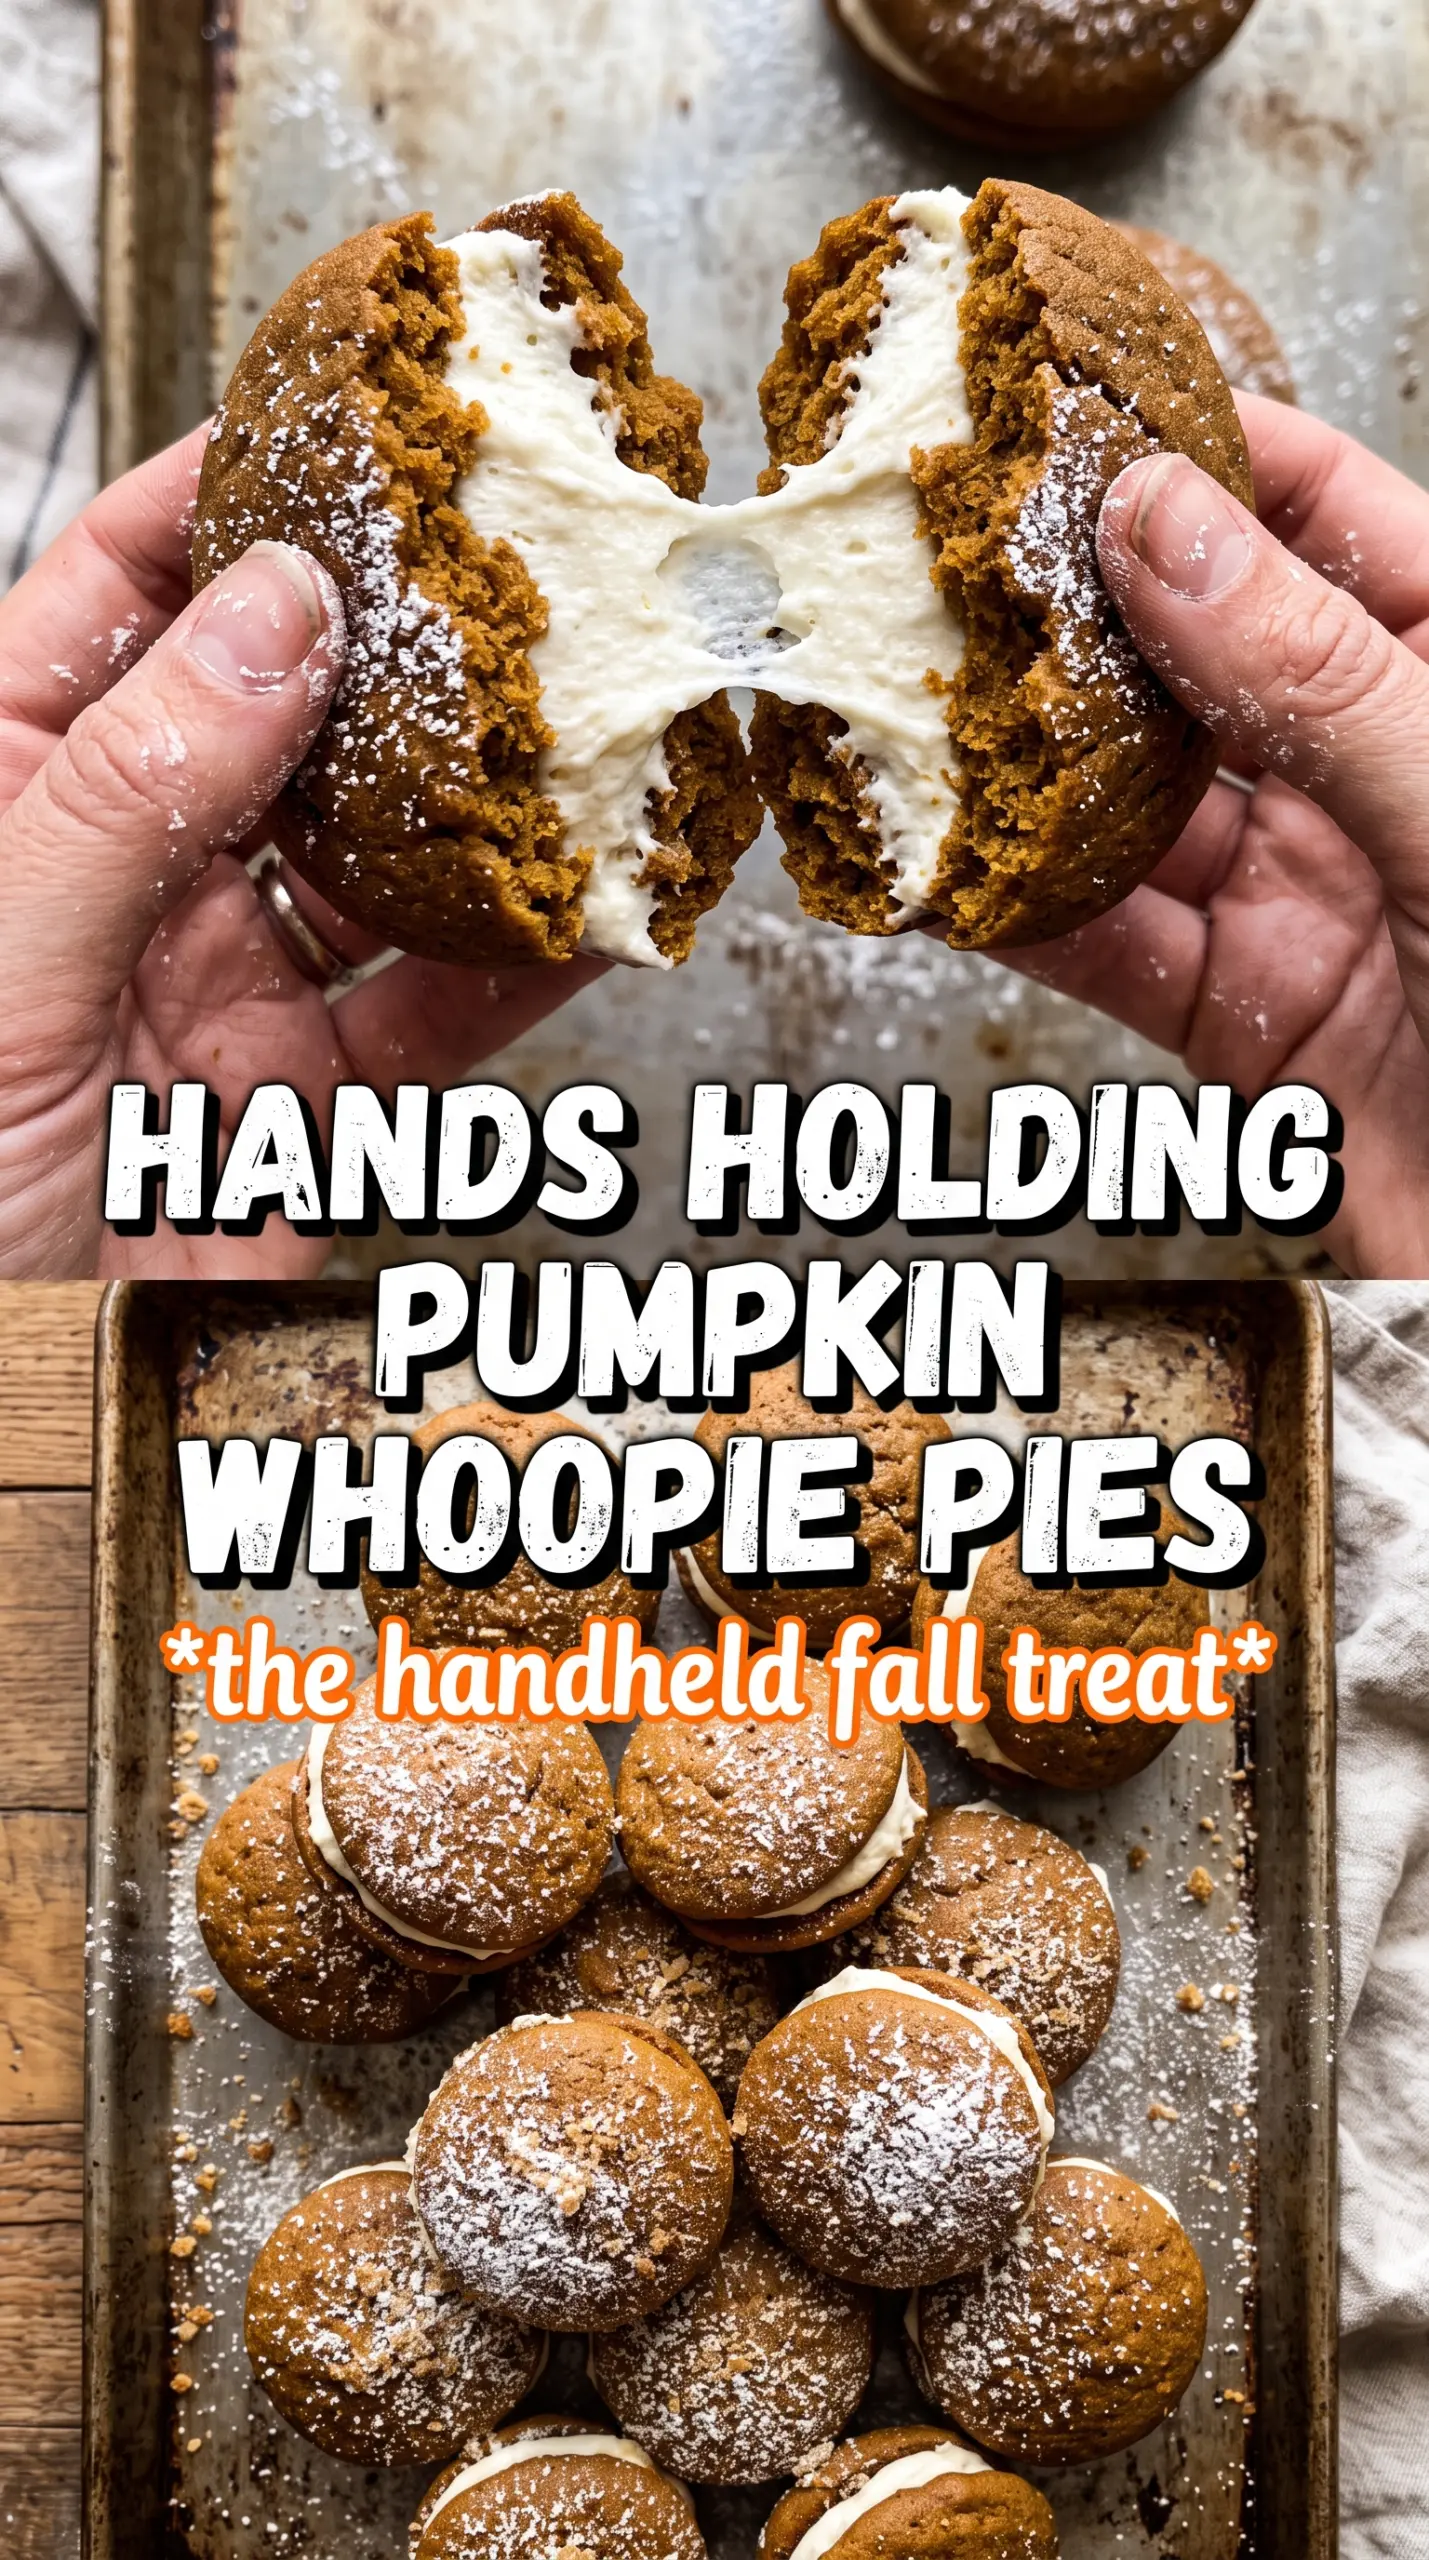
Pumpkin whoopie pies land right in that sweet spot between soft cake and handheld dessert. The pumpkin rounds bake up tender and cakey with just enough spice to taste like fall without turning muddy or heavy, and the cream cheese filling gives each bite that cool, tangy contrast that keeps you reaching for another one. They’re the kind of dessert people notice on a tray because they look nostalgic, but they disappear because the texture is spot on.
The trick is keeping the batter thick enough to hold its shape while still mixing it gently. Pumpkin puree adds a lot of moisture, so the dry ingredients need to be fully whisked first and then folded in just until combined. Overmixing makes the cakes dense and bready instead of soft and pillowy. The filling matters just as much: it should be fluffy enough to spread, but sturdy enough to stay put when you sandwich the cookies together.
Below, I’m walking through the part that matters most — how to keep the cakes from spreading too much and how to get a filling that doesn’t ooze out the sides. There’s also a note on storage, because these taste even better after the filling has had a little time to settle into the cookies.
The pumpkin cakes baked up soft and fluffy, and the cream cheese filling held its shape instead of squishing out everywhere. I made them the night before and the texture was even better the next day.
Save these pumpkin whoopie pies for the soft, spiced cakes and tangy cream cheese filling that stay bakery-tender.
The Mistake That Makes Pumpkin Whoopie Pies Spread Too Thin
Pumpkin whoopie pies should puff, set, and stay tender. If they spread into flat puddles, the batter was probably too warm, too loose, or overmixed after the flour went in. Pumpkin puree adds a lot of moisture, and once the flour is worked too much, the cookies lose that soft cakey lift and turn dense around the edges.
The other place people go wrong is portion size. Two-tablespoon rounds sound small, but they spread enough during baking that larger mounds can run together and bake unevenly in the middle. A steady oven matters here too. If your oven runs hot, the outside sets before the center has enough time to rise, which gives you cracked tops and gummy centers instead of neat, sandwichable rounds.
What Each Ingredient Is Actually Doing In This Dessert
- Pumpkin puree — Use canned pumpkin puree, not pumpkin pie filling. Pure puree brings moisture and body without extra sugar or spices, which keeps the flavor balanced and the texture soft instead of wet.
- Brown sugar — This does more than sweeten. It adds a little molasses depth and helps the cakes stay moist for days. Light or dark brown sugar both work; dark will taste a little richer.
- Butter — Softened butter creams with the sugar to trap air, which gives the cakes a lighter texture. If the butter is too cold, the mixture won’t aerate properly; if it’s melted, the batter will spread too much.
- Pumpkin pie spice and cinnamon — The spice blend gives that classic warm pumpkin flavor, while the extra cinnamon sharpens it a little. If you need to substitute, use extra cinnamon plus a pinch of ginger and nutmeg, but the pie spice will give the most rounded result.
- Cream cheese — Full-fat cream cheese makes the filling tangy and stable. Low-fat versions can work in a pinch, but they tend to soften faster and can turn a little loose after the pies sit.
- Powdered sugar — This thickens the filling without graininess. Add it gradually so the filling turns fluffy instead of clumpy, and stop once it holds soft peaks.
How to Keep the Cakes Tender and the Filling Stable
Building the Pumpkin Batter
Start by creaming the butter and brown sugar until the mixture looks lighter and a little fluffy. That step matters because it gives the cakes their soft lift. Beat in the eggs, pumpkin puree, and vanilla just until combined; the mixture may look slightly curdled, and that’s fine. Once the dry ingredients go in, fold them in gently and stop as soon as the flour disappears. Overworking at this stage is what makes the cakes tough.
Shaping and Baking for the Right Texture
Drop the batter in 2-tablespoon portions onto lined baking sheets, leaving room for spread. The rounds should look domed, not flattened. Bake until the tops are set and spring back lightly when touched, usually 10 to 12 minutes. If you wait until they look deeply browned, they’ll dry out before they cool. Move them to a rack and let them cool completely before filling; warm cakes will melt the cream cheese mixture.
Whipping the Filling Until It Holds
Beat the cream cheese and butter first until smooth, with no cold streaks left in the bowl. Add the powdered sugar slowly, then the cinnamon and vanilla. You’re looking for a filling that’s fluffy but thick enough to mound on a spoon. If it seems loose, chill it for 10 to 15 minutes instead of adding extra sugar all at once, which can make it overly sweet and heavy.
Assembling Without Smearing the Sides
Match the cakes by size before you start filling. Spoon or pipe a generous amount onto the flat side of one cake, then top with a second cake and press just enough to spread the filling to the edges. Don’t squeeze them down hard or the filling will push out. A brief chill after assembly helps the pies set up and makes them easier to handle.
How to Adapt These Pumpkin Whoopie Pies Without Losing the Soft Center
Gluten-Free Version
Use a 1:1 gluten-free baking flour with xanthan gum already included. The cakes will still be soft, but they may be a touch more delicate when warm, so let them cool fully before moving them. The flavor stays the same; the texture is just a little more tender.
Dairy-Free Filling
Swap in plant-based butter and a dairy-free cream cheese that’s meant for baking or spreading. Some brands soften faster than regular cream cheese, so chill the filling before assembling if it feels loose. You’ll lose a little tang, but the pies will still taste rich and spiced.
Make Them Smaller for a Party Tray
Pipe or scoop 1 tablespoon of batter for mini whoopie pies and shave a few minutes off the bake time. Minis dry out faster, so watch for the tops to spring back rather than waiting for color. They’re easier to serve on a platter and give you more pieces from the same batch.
Storage and Reheating
- Refrigerator: Store assembled whoopie pies in an airtight container for up to 4 days. The cakes soften a little as they sit, which actually makes the texture even better.
- Freezer: They freeze well. Wrap each assembled pie individually and freeze for up to 2 months. Thaw in the refrigerator so the filling doesn’t weep.
- Reheating: These are best served cold or at cool room temperature, not reheated. If they’ve been chilled, let them sit out for 15 to 20 minutes before serving so the filling softens slightly. Microwaving makes the cream cheese filling too loose.
Questions I Get Asked About This Recipe

Pumpkin Whoopie Pies
Ingredients
Equipment
Method
- Preheat the oven to 350F and line baking sheets with parchment or silicone mats for easy release.
- Beat the softened unsalted butter and packed brown sugar together until smooth.
- Add the eggs, pumpkin puree, and vanilla, then beat until fully combined and creamy.
- Whisk together the all-purpose flour, baking soda, baking powder, pumpkin pie spice, cinnamon, and salt in a separate dry bowl.
- Fold the whisked dry ingredients into the pumpkin mixture until no dry streaks remain.
- Drop 2-tablespoon rounds of batter onto the baking sheets, spaced apart.
- Bake 10-12 minutes, until the tops look set and the cookies spring back slightly when touched.
- Cool the pumpkin cakes completely before filling so the cream cheese doesn’t melt.
- Beat the softened cream cheese and softened unsalted butter until smooth.
- Beat in the powdered sugar, then add cinnamon and vanilla, mixing until the filling is fluffy and pipeable.
- Sandwich a generous spoonful of filling between two cooled cakes to form each whoopie pie.