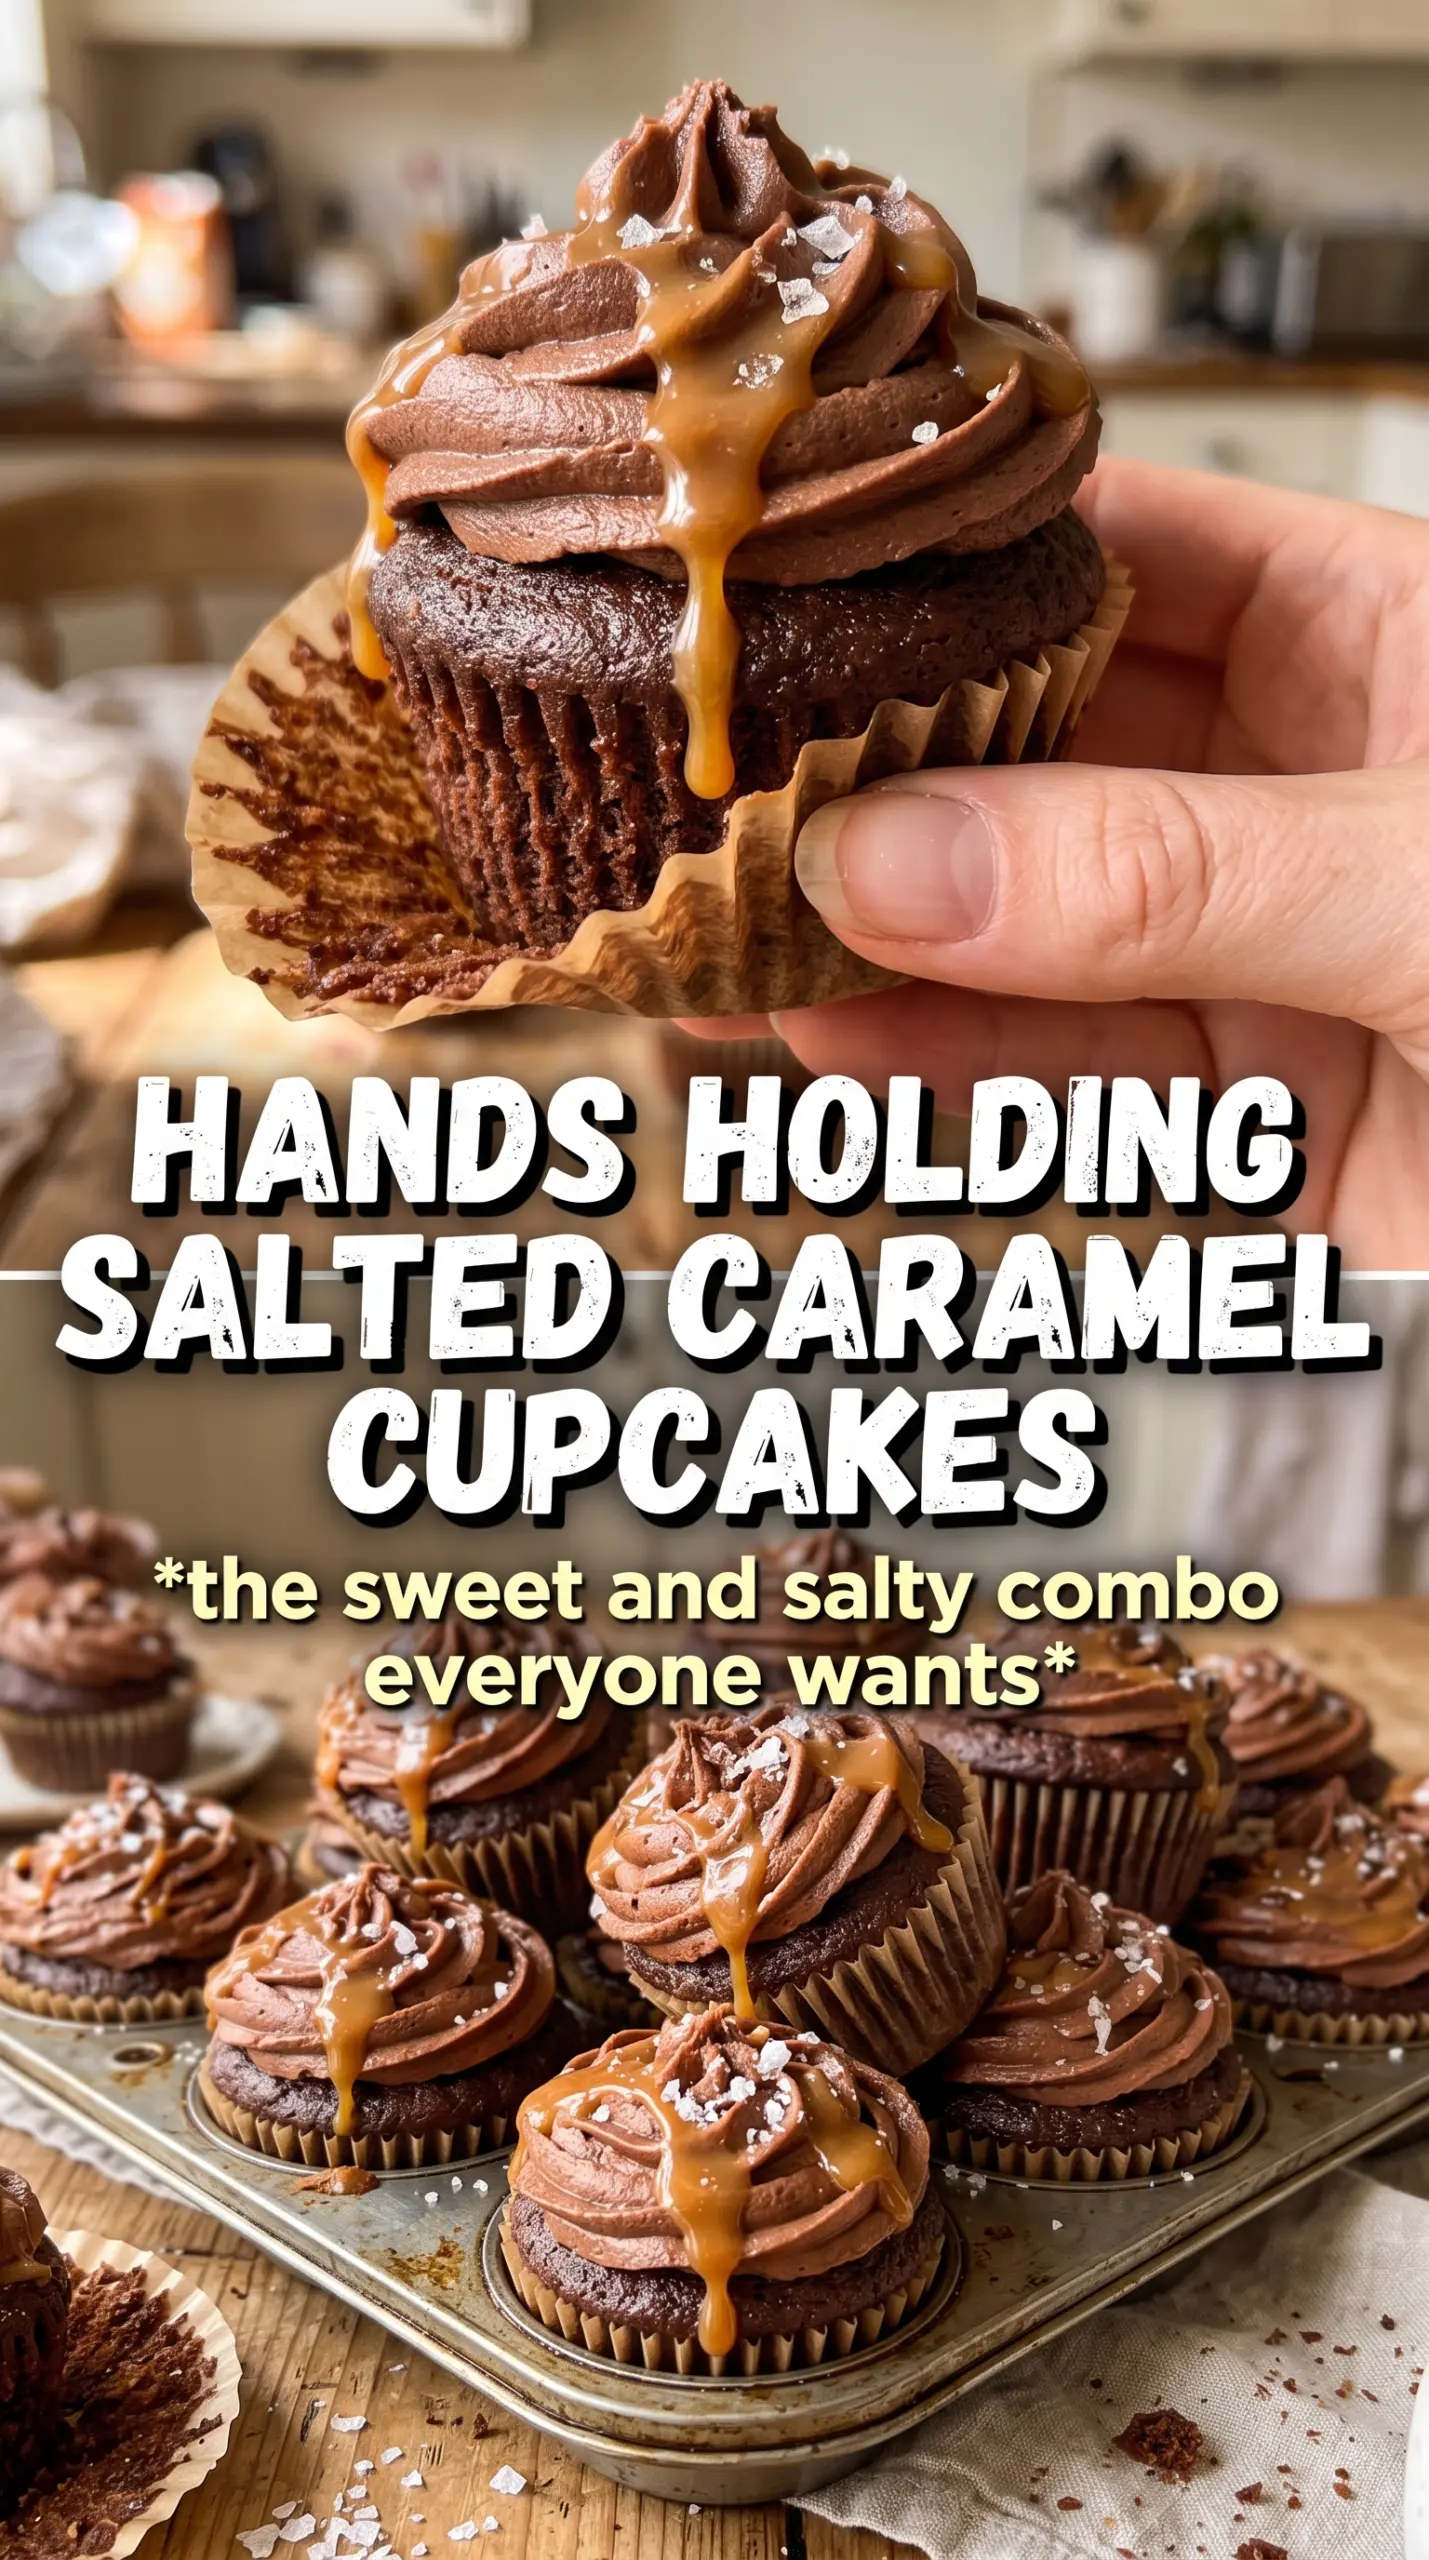
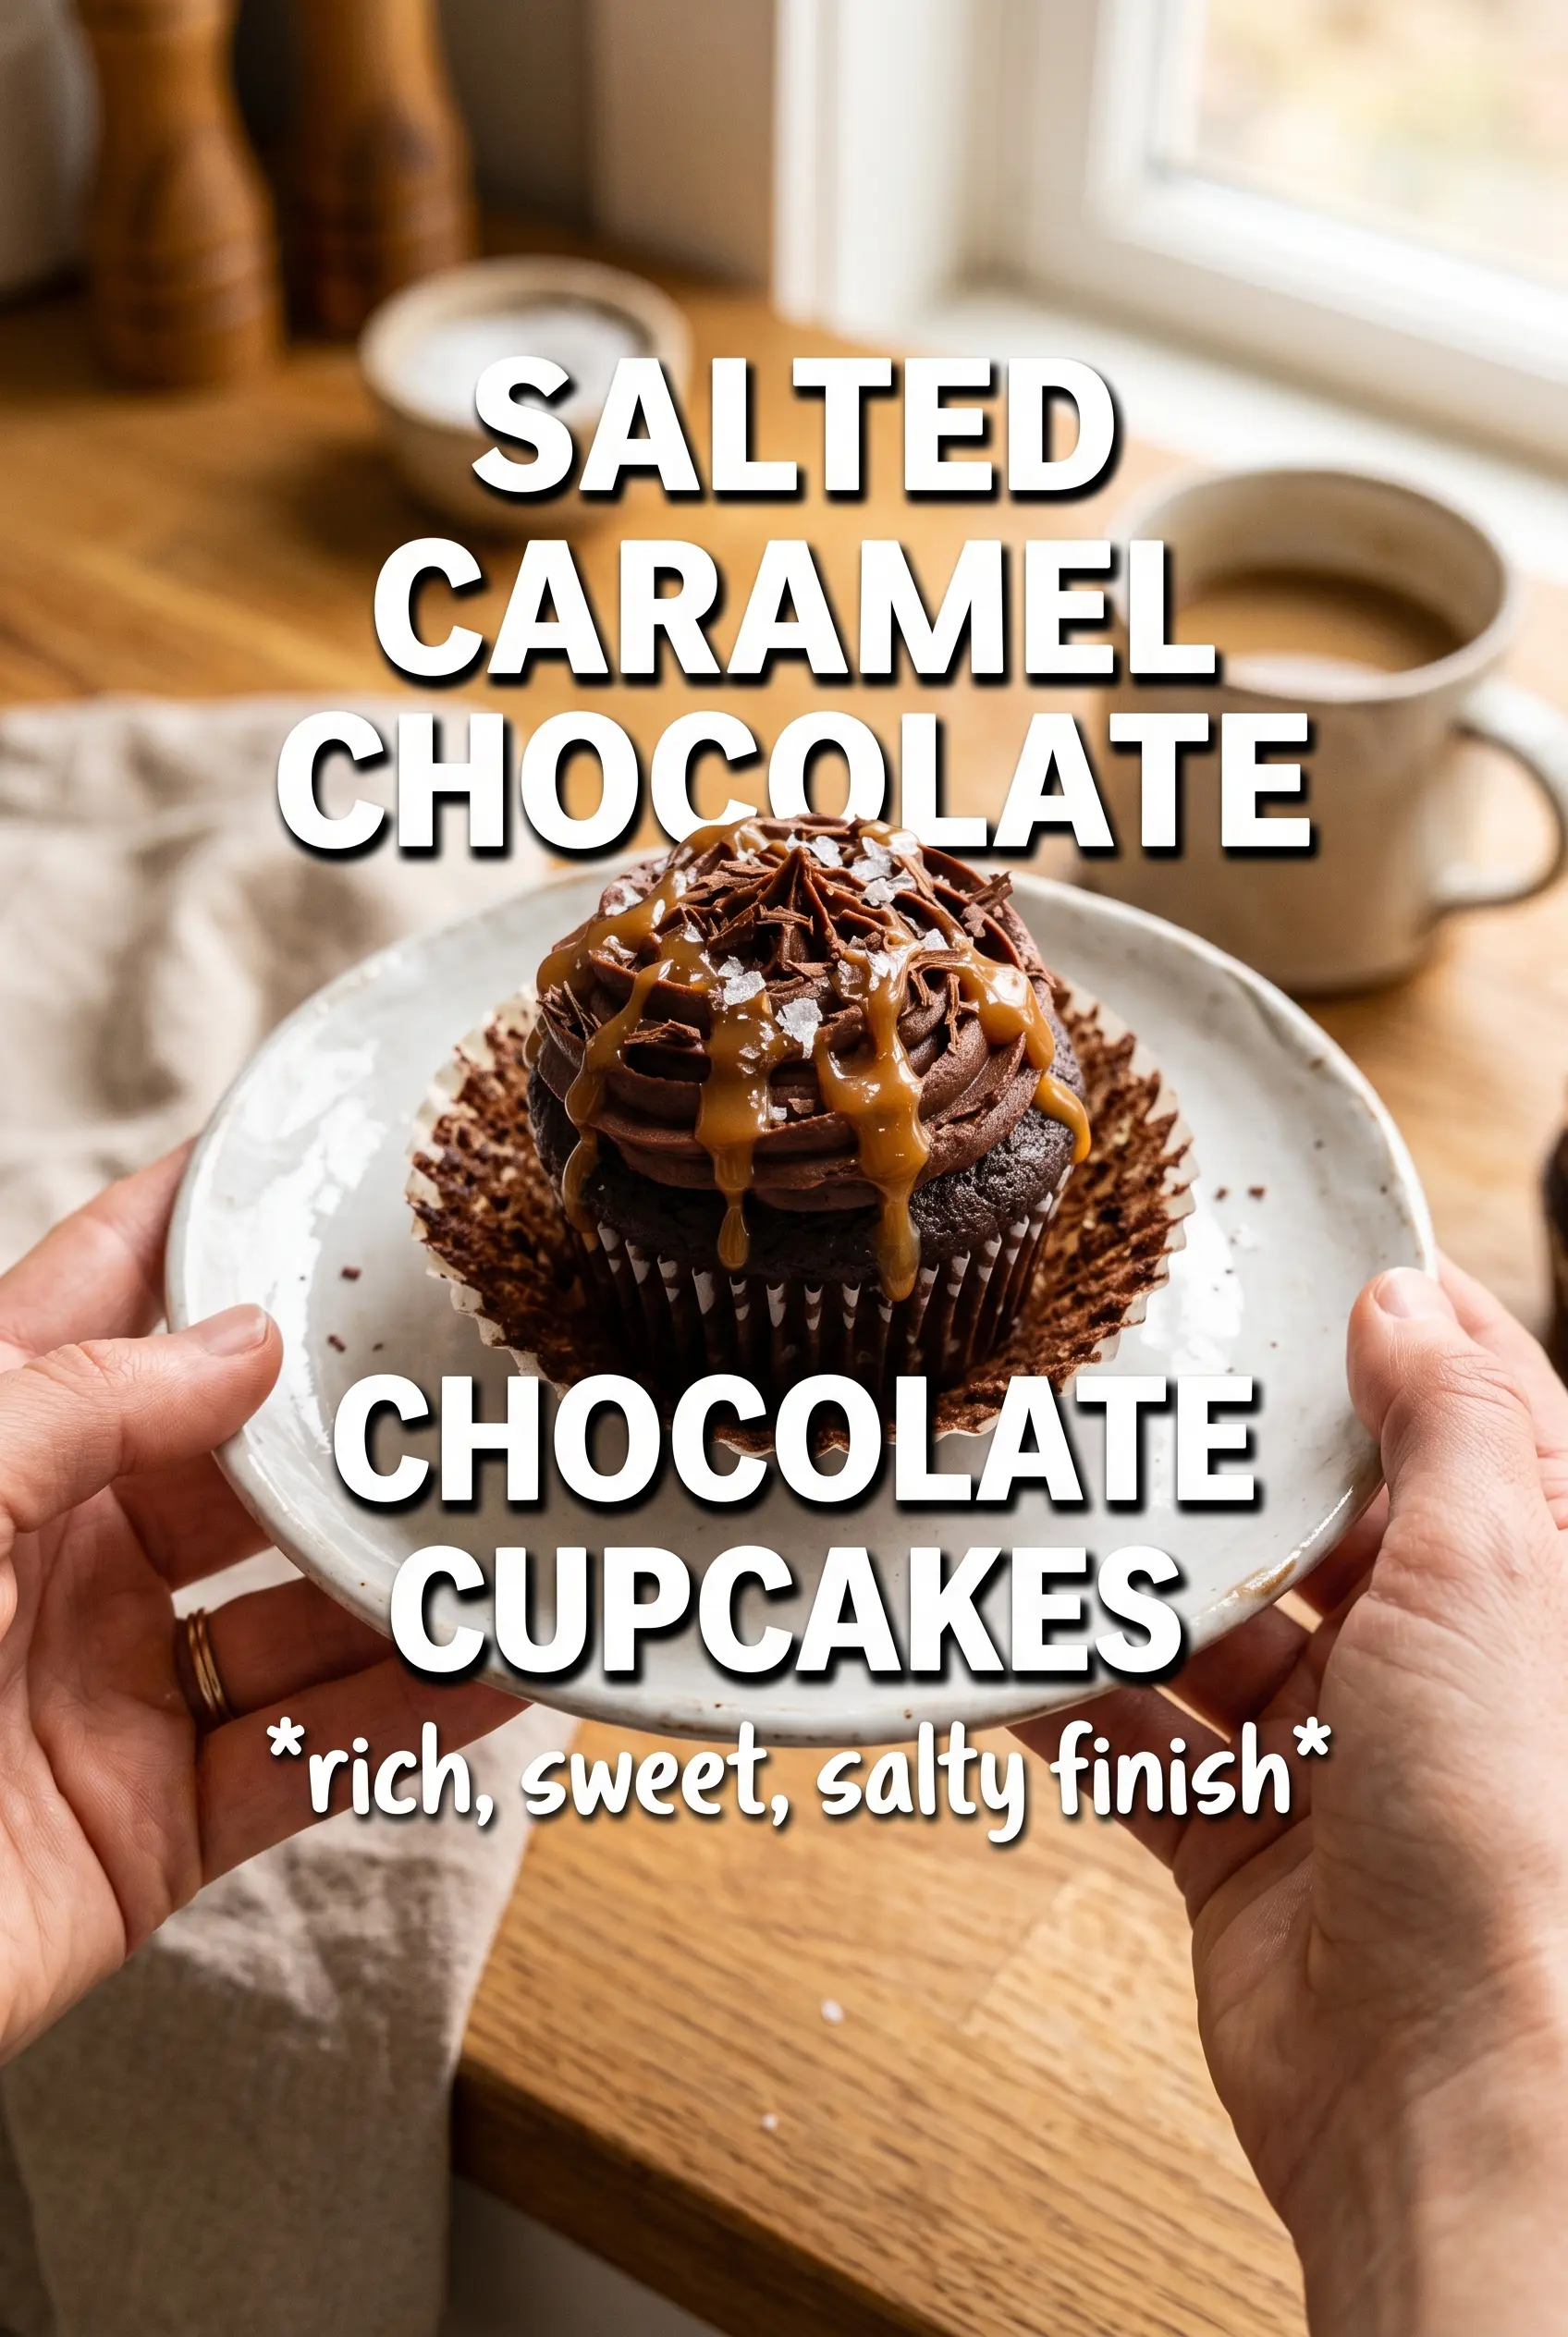
These salted caramel chocolate cupcakes land in that sweet spot between rich and balanced: a soft, dark chocolate crumb, a center that turns gooey the second you bite in, and a frosting that tastes like caramel went to finishing school. The flaky salt on top matters here. It keeps the whole cupcake from reading flat and sweet, and it makes every bite taste sharper and deeper.
The chocolate base stays tender because it uses both butter and buttermilk, which give the cupcakes body without making them heavy. The batter is mixed in the usual cake-method way, but the real payoff comes after baking: cutting a clean core and filling it with thick caramel sauce so the center stays lush instead of leaking into the crumb. I also keep the frosting on the sweeter side with enough cocoa to hold it together, then loosen it with caramel and cream so it pipes cleanly.
Below, I’m walking through the part that matters most: how to keep the cupcakes from sinking, how to fill them without tearing the crumb, and how to get that caramel drizzle to sit on top instead of disappearing into the frosting.
The cupcakes baked up flat enough to fill cleanly, and the caramel center stayed thick instead of soaking into the cake. The salted caramel frosting piped beautifully and my husband kept sneaking them from the fridge.
Keep these salted caramel chocolate cupcakes on hand for a deep chocolate base, gooey caramel center, and salty caramel swirl worth saving.
The Part That Keeps the Center From Disappearing
The biggest mistake with filled cupcakes is overbaking them until the crumb turns dry and the top domes hard. That gives you less room for the caramel and makes the cake more likely to crack when you core it. Pull these as soon as the tops spring back and a toothpick comes out with a few moist crumbs, not wet batter.
Cooling all the way matters more than people think. If the cupcakes are still warm, the caramel softens and starts sinking into the cake instead of staying as a distinct center. A fully cooled cupcake cores cleanly, holds the filling, and gives you a better shot at piping frosting on top without sliding.
What the Butter, Buttermilk, and Caramel Are Doing Here
- Butter — This gives the cupcakes a richer crumb and helps the frosting hold its shape. Use softened butter for the batter and frosting, not melted butter, or the texture gets dense and greasy instead of fluffy.
- Cocoa powder — This is where the chocolate backbone comes from. A good unsweetened cocoa gives a deeper flavor; cheaper cocoa still works, but the cupcakes will taste flatter, so don’t skimp on the amount.
- Buttermilk — It keeps the crumb tender and helps the baking soda do its job. If you don’t have it, mix 1 tablespoon lemon juice or vinegar into 1 cup milk and let it sit for 5 minutes, then use it right away.
- Thick caramel sauce — Thin caramel is the enemy here because it soaks into the cake and disappears. Use a thick sauce or a jarred caramel that pours slowly off the spoon; that’s what keeps the filling gooey instead of runny.
- Flaky sea salt — Don’t replace this with fine table salt on top. Flaky salt gives you little pops of salt that sit on the frosting instead of dissolving instantly, which is what makes the cupcakes taste balanced.
Building the Cupcakes So They Stay Tender and Fill Cleanly
Mix the Dry Ingredients First
Whisk the flour, cocoa, baking powder, baking soda, and salt until the color looks completely even. Cocoa loves to clump, and if those little pockets stay behind, you’ll get bitter streaks in the finished cupcakes. This is also the moment that keeps the leaveners evenly distributed, which helps the cupcakes rise in a level, predictable way.
Cream for Structure, Not Just Volume
Beat the butter and sugar until the mixture looks lighter in color and a little fluffy around the edges. That step traps air, which gives the cupcakes lift before the oven sets the crumb. Add the eggs one at a time if you can, and stop as soon as the vanilla is in; overbeating here can make the batter too loose and hurt the final texture.
Alternate Without Beating the Batter Dry
Add the dry ingredients and buttermilk in alternating additions, starting and ending with the dry mixture. Mix only until the flour disappears. If you keep going after that, the cupcakes bake up tougher and the tops can dome unevenly instead of settling into a good shell for the frosting.
Core, Fill, and Frost in the Right Order
Once the cupcakes are completely cool, cut a small cone from the center of each one and spoon in the caramel. Don’t hollow them so deep that the bottom tears; you want a pocket, not a tunnel. Pipe the frosting over the top after the filling is in place, then drizzle with caramel and finish with flaky salt so the topping stays visible and dramatic.
How to Adapt These Cupcakes Without Losing the Good Part
Gluten-Free Version
Use a 1:1 gluten-free baking flour with xanthan gum already included. The cupcakes will still be soft, but they may need an extra minute or two in the oven and will be a little more delicate when you core them, so let them cool fully before filling.
Dairy-Free Swap
Use dairy-free butter in both the cupcakes and frosting, and swap the buttermilk for the milk-and-acid method with an unsweetened non-dairy milk. Choose a caramel sauce that’s labeled dairy-free if needed; otherwise, the filling will undo the whole swap.
Cupcake Jar Shortcut
If you don’t want to core each cupcake, pipe a small amount of caramel into the center before frosting and call it a day. You lose the hidden-center surprise, but you still get the same chocolate, caramel, and salt combination with less fuss.
Make-Ahead Storage
Bake the cupcakes a day ahead and store them unfrosted, then fill and frost the day you plan to serve them. Once assembled, keep them covered in the refrigerator so the caramel stays put; the frosting firms up a bit, but the cupcakes taste great after 20 minutes at room temperature.
Questions I Get Asked About This Recipe
Salted Caramel Chocolate Cupcakes
Ingredients
Equipment
Method
- Preheat the oven to 350F and line cupcake tins with liners, so the batter goes in immediately after mixing.
- Whisk all-purpose flour, cocoa powder, baking powder, baking soda, and salt until evenly combined.
- Beat butter and granulated sugar until fluffy, then add eggs and vanilla and mix until smooth.
- Alternate the dry ingredients and buttermilk into the batter, mixing just until no dry streaks remain.
- Divide the batter into liners, filling each about 2/3 full for proper doming.
- Bake at 350F for 18-20 minutes, until the tops spring back when gently pressed.
- Cool the cupcakes completely on a sheet pan so the centers don’t collapse when cored.
- Core each cupcake and fill the center with thick caramel sauce.
- Beat butter, cocoa powder, powdered sugar, caramel sauce, and cream until the frosting is smooth and pipeable.
- Pipe the frosting onto each cupcake and swirl for ridges that hold drizzle.
- Drizzle caramel sauce over the frosting and sprinkle flaky salt on top as a final cue.