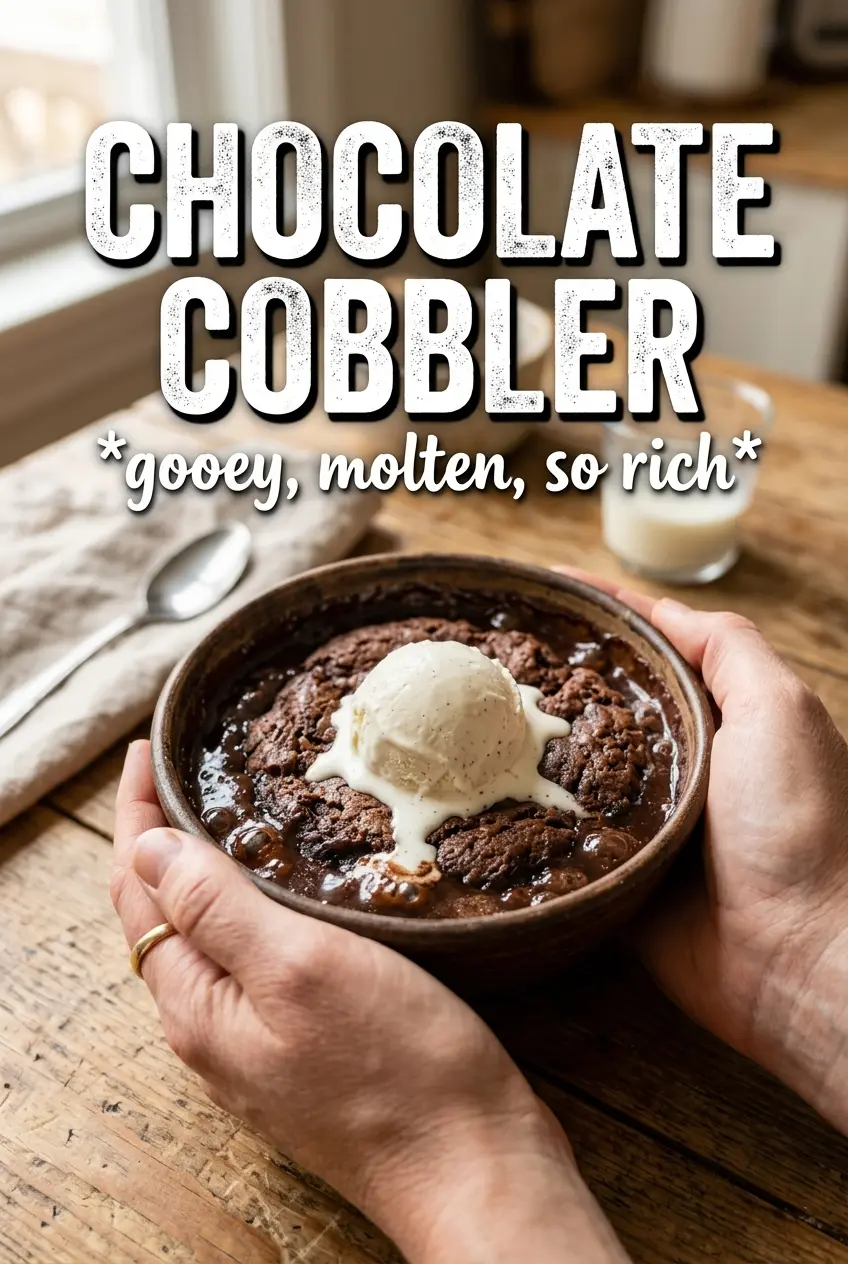
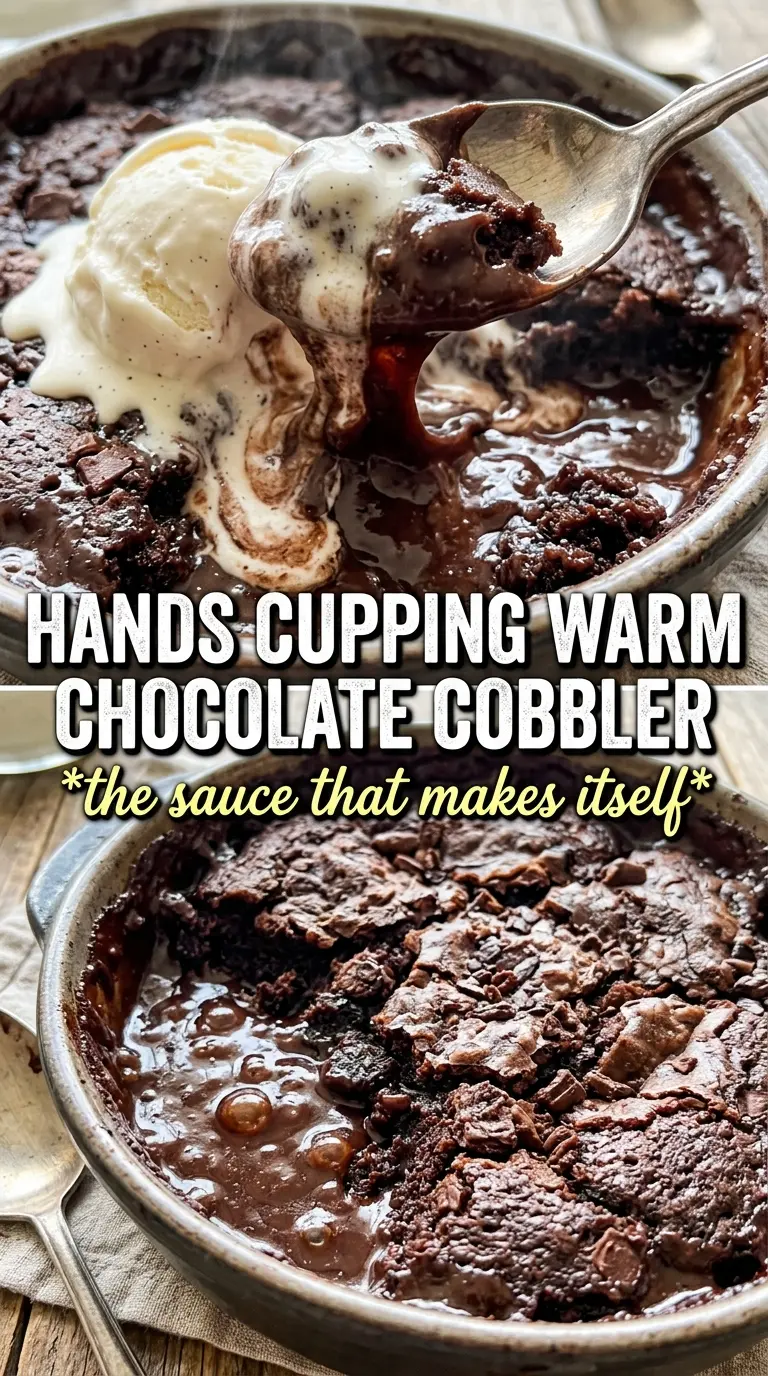
Chocolate cobbler bakes into something that lands halfway between a tender cake and a pool of warm fudge, which is exactly why it disappears fast from the table. The top sets into a soft, crackly crust while the bottom turns into a spoonable chocolate sauce that catches every crumb. Served warm with vanilla ice cream, it has that old-fashioned dessert feel that makes people go back for a second spoonful before the first bowl is even empty.
The trick is in the layering. The batter goes in first, then the brown sugar and cocoa, then the hot water goes over the top without stirring. That last step looks wrong the first time you do it, but it’s what creates the sauce underneath instead of a single dense cake. The water loosens the sugar and cocoa as it bakes, while the top batter cooks separately into a soft crust.
Below, I’ve included the one detail that keeps the sauce from turning grainy, plus a few useful swaps and storage notes so you know exactly what to expect when you pull this out of the oven.
The top baked up like a soft brownie, and the sauce underneath was thick and glossy instead of watery. I served it with vanilla ice cream and my kids scraped the dish clean.
Save this chocolate cobbler for the nights when you want a warm fudgy dessert with a built-in chocolate sauce and almost no fuss.
The Layer That Turns Into Sauce Instead of Mud
Chocolate cobbler only works when you trust the layering. The batter needs to stay on the bottom, the cocoa-sugar mixture needs to stay on top of it, and the hot water has to be poured over the whole dish without stirring. If you stir, you lose the separation that lets the top bake into cake while the bottom becomes sauce.
The other common mistake is underbaking. Pulling it too early leaves you with a loose center that looks finished on top but hasn’t set into that soft cobbler crust yet. The surface should look puffed and set, with a few cracks around the edges, while the sauce underneath still moves a little when you nudge the pan. It firms as it cools for a few minutes.
What the Cocoa, Sugar, and Hot Water Are Each Doing Here
- Unsweetened cocoa powder — This is where the deep chocolate base comes from. Use a good cocoa if you can, since it’s one of the few ingredients you’ll taste in both the cake and the sauce. Natural cocoa works perfectly here.
- Brown sugar — Packed brown sugar melts into the sauce layer and gives it that caramel-leaning richness you don’t get from white sugar alone. Light or dark brown sugar both work; dark brown sugar gives a slightly deeper molasses note.
- Whole milk — Milk gives the batter enough moisture to spread smoothly and bake tender. Lower-fat milk works in a pinch, but the finished cake top won’t taste quite as soft.
- Melted butter — This keeps the batter rich and helps the top bake with a soft, almost brownie-like crumb. Don’t swap in oil unless you have to; butter gives the best flavor and the cleanest finish.
- Very hot water — This is the ingredient that feels wrong and makes the recipe work. It dissolves the sugar on top and creates the sauce layer beneath the cake as everything bakes. Water that’s only warm won’t do the job as well.
Building the Batter, Topping, and Sauce Without Mixing Them Together
Mix the batter just until smooth
Whisk the dry ingredients first so the cocoa and baking powder are evenly distributed. Then stir in the milk, melted butter, and vanilla until the batter looks smooth and thick, but don’t beat it hard. Overmixing makes the top tighter and more cakey than it should be, and you want something tender enough to soak up some of the sauce around the edges.
Layer the cocoa sugar evenly
Spread the batter in a buttered 8×8 or 9×9 baking dish, then sprinkle the brown sugar and cocoa mixture over every inch of the surface. An uneven layer gives you dry patches where the sauce doesn’t form as well. The topping should look like a dark blanket over the batter before the water goes on.
Pour the hot water and leave it alone
Pour the water slowly over the back of a spoon or directly over the surface in a steady stream so you don’t blast a hole through the topping. Don’t stir, even if it looks impossible. The oven takes over from there, and the separate layers are what create that self-saucing texture.
Bake until the top sets and the center still shimmers
Bake at 350°F for 35 to 40 minutes. The top should look set and slightly crackled, while the chocolate sauce underneath stays loose and glossy. If the center still sloshes like liquid water, give it a few more minutes; if you wait until it looks fully firm all the way through, the sauce will thicken too much.
How to Adjust Chocolate Cobbler for Different Pans and Needs
Using a gluten-free flour blend
Swap the all-purpose flour for a cup-for-cup gluten-free baking blend that includes xanthan gum. The texture stays close to the original, though the top will be a little more delicate when you spoon through it.
Making it dairy-free
Use a neutral plant milk and a dairy-free butter substitute in place of the milk and butter. The dessert still bakes into a saucy cobbler, but the flavor is a touch less rich, so don’t skip the vanilla.
Doubling for a bigger crowd
Double everything and bake it in a 9×13-inch dish. Add a few extra minutes if needed, but don’t overbake just because the pan is larger; the center should still look soft and saucy under the set top.
Storage and Reheating
- Refrigerator: Store covered for up to 4 days. The sauce will thicken as it chills.
- Freezer: It freezes, but the sauce layer loses some of its silky texture after thawing. Freeze in portions for up to 2 months if you don’t mind a slightly softer result.
- Reheating: Warm individual portions in the microwave in short bursts or reheat the dish loosely covered in a 300°F oven. Add a spoonful of milk over the top if it seems too thick, since cold storage tightens the sauce a lot.