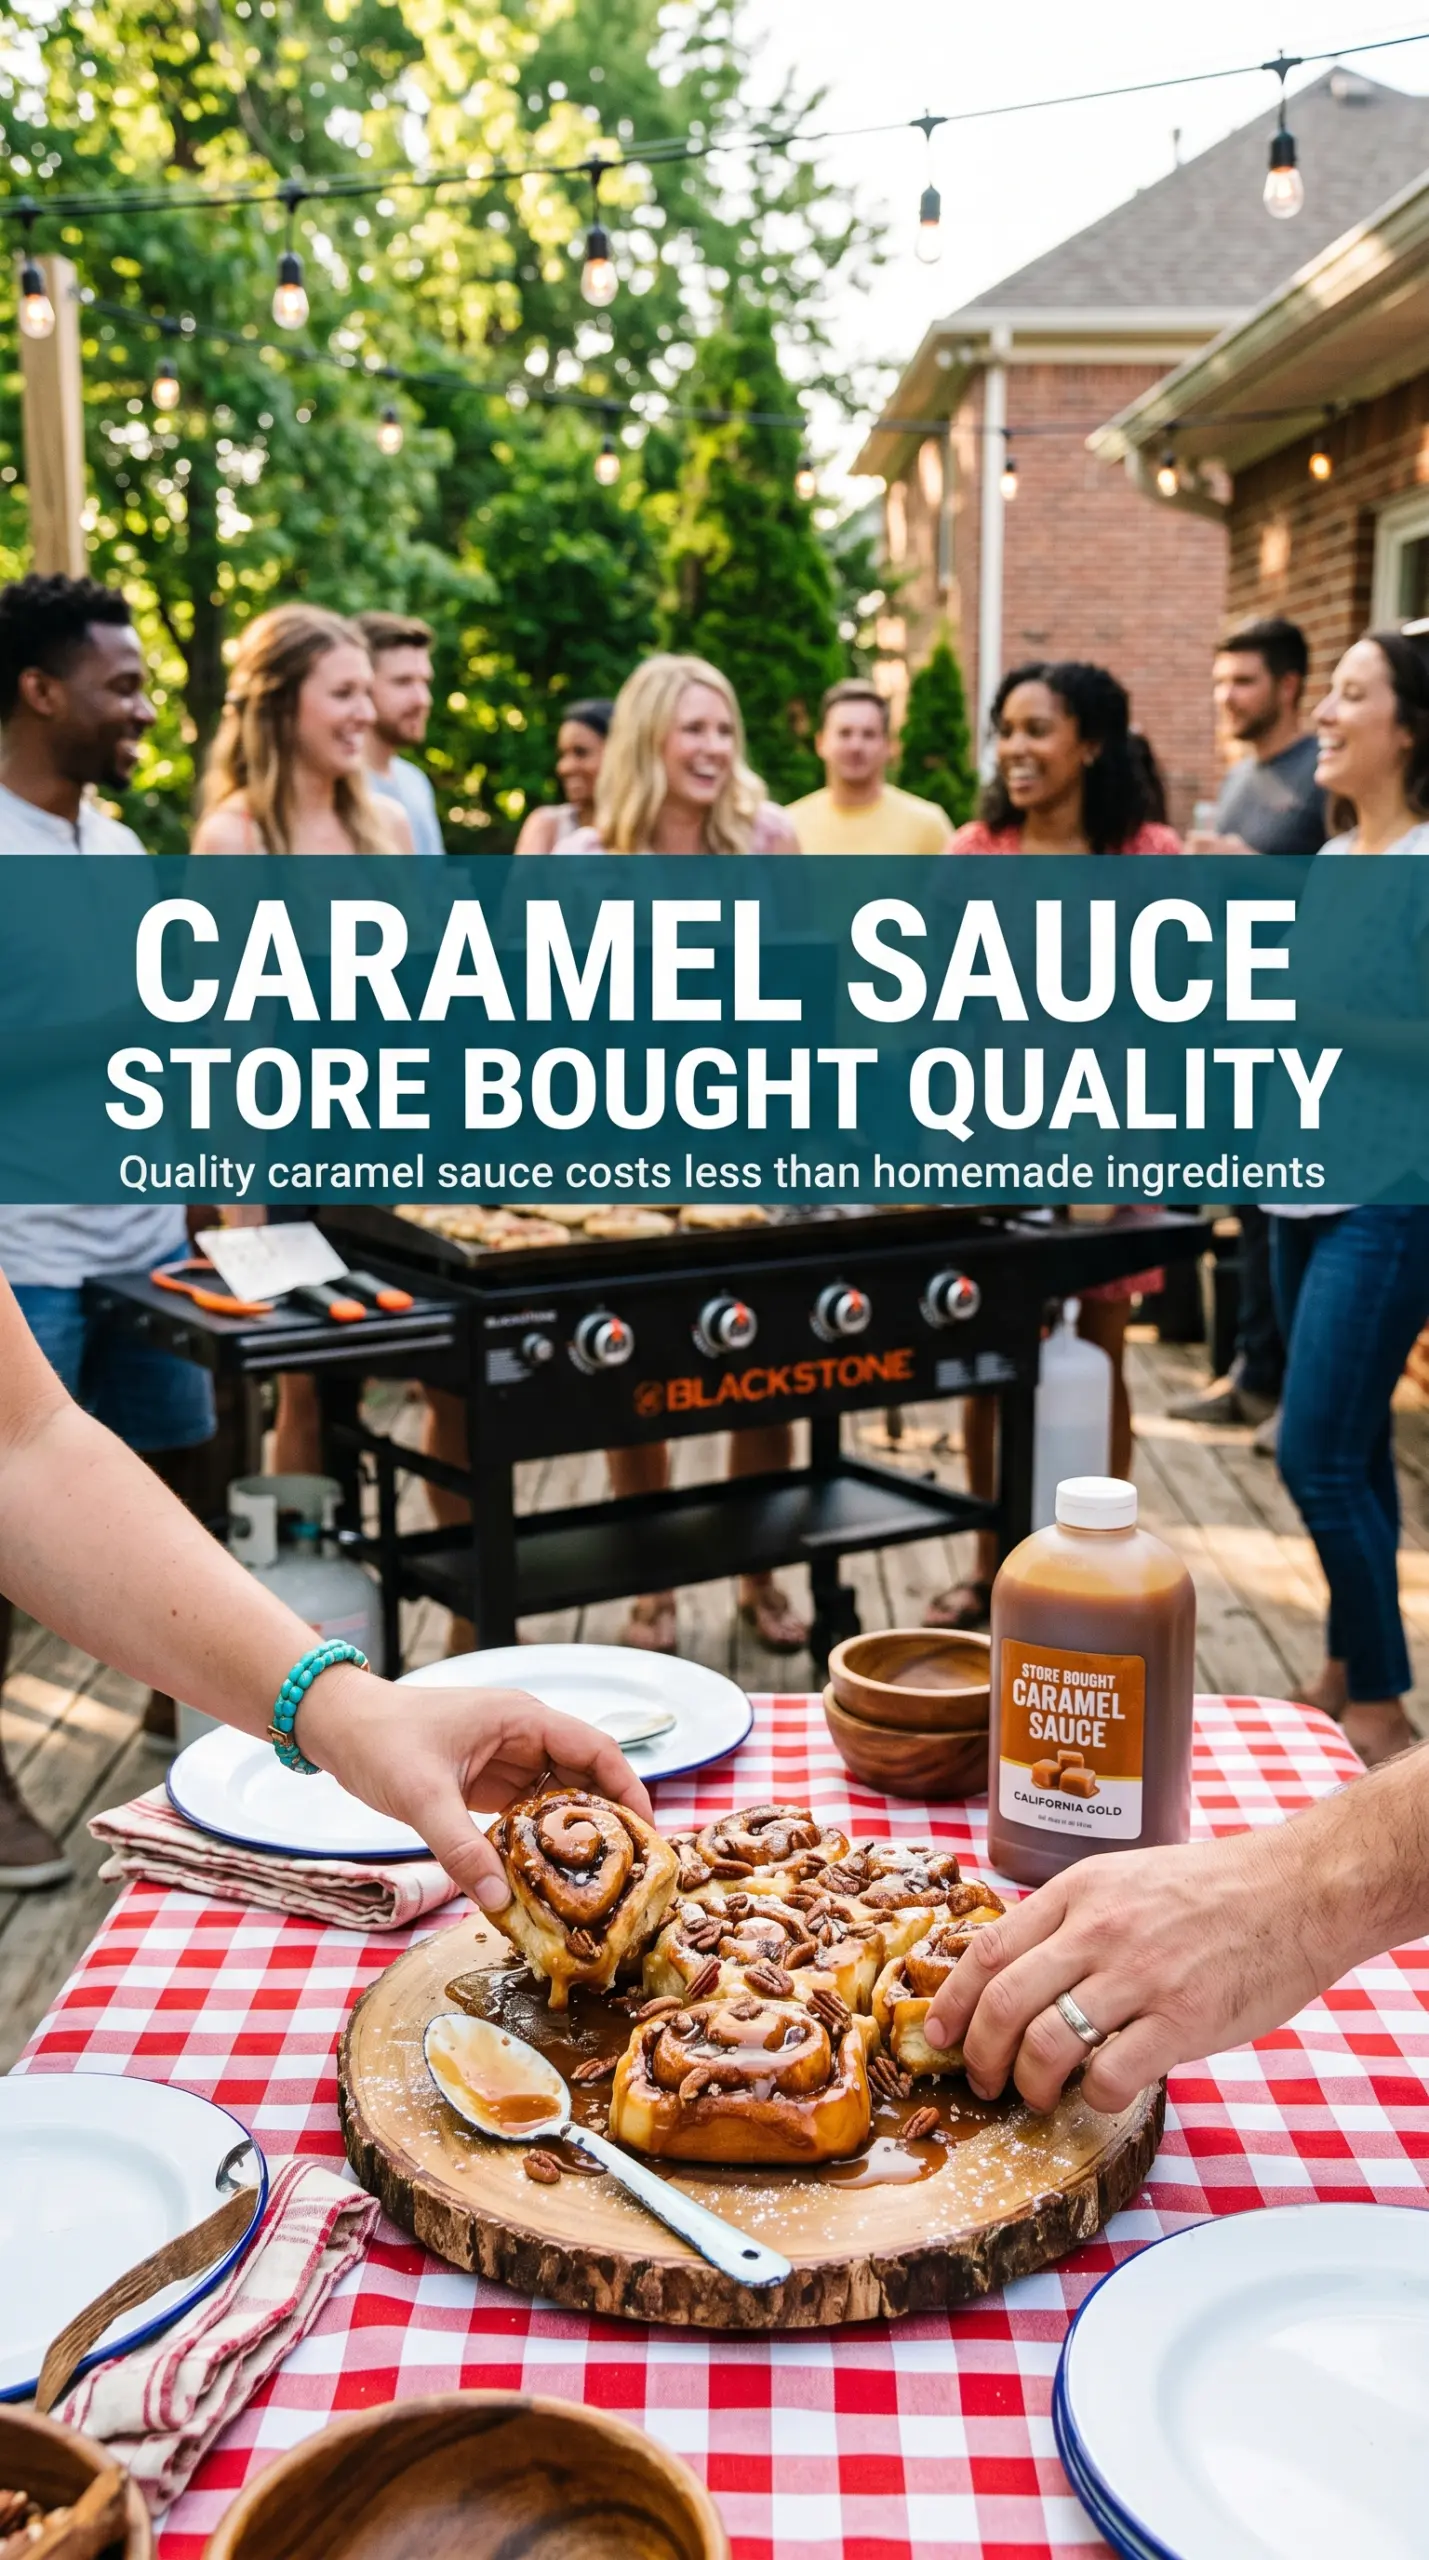
Caramelized edges, a soft center, and warm icing pooling into every crack make smashed Blackstone cinnamon rolls the kind of breakfast that disappears fast. The griddle gives you what a standard oven can’t: a crisp, buttery crust on the outside while the middle stays tender and gooey. When the rolls hit the hot surface and get pressed flat, the swirls open up and the sugar starts to toast in the butter, which is where the best flavor lives.
This version works because the heat stays low enough to cook the dough through without burning the outside before the center catches up. The butter on the griddle does more than prevent sticking; it helps the bottom caramelize and gives the rolls that faintly fried, bakery-window edge. A little cinnamon sugar at the end sharpens the flavor and makes the whole thing taste more intentional than a shortcut breakfast usually does.
If you’ve ever wished canned cinnamon rolls could taste a little more special without adding much time, this is the move. Below you’ll find the small details that keep the bottoms golden instead of scorched, plus a few ways to change the finish depending on how sweet or rich you want them.
The bottoms got perfectly caramelized on the Blackstone, and the icing melted into the cracks instead of sliding right off. My kids kept asking for the smashed ones because they had those crispy edges.
Save these smashed Blackstone cinnamon rolls for the mornings when you want crisp edges, gooey centers, and icing dripping over the top.
The Trick to Keeping the Center Soft While the Outside Caramelizes
The biggest mistake with griddle cinnamon rolls is running the heat too high. The outside goes dark before the dough has time to set, and you end up with a bitter crust and a raw middle. Medium-low heat gives the sugar time to melt into the butter and turn amber while the dough cooks all the way through.
The other piece that matters is the smash itself. Pressing the rolls flatter increases contact with the griddle, which is what creates those crisp, lacy edges. If you barely press them, they puff instead of sear, and you lose the contrast that makes this recipe worth doing.
- Heat control — Medium-low is the sweet spot. Hotter than that and the sugar scorches before the center finishes.
- Butter — Use enough to coat the surface. It keeps the rolls from sticking and helps build that deep golden bottom.
- Firm pressure — Smash once with a heavy spatula and hold for a second or two. That early contact matters more than repeated pressing.
- Timing — Let the first side go until it releases easily. If it sticks, it isn’t ready yet.
What the Butter, Icing, and Cinnamon Sugar Each Bring to the Griddle
- Refrigerated cinnamon rolls — This is one place where the canned dough earns its keep. It puffs enough to stay soft inside, and the built-in swirl gives you pockets that catch the icing. Any standard refrigerated tube works here.
- Butter — Don’t swap this for oil if you want the same flavor. Butter browns against the griddle and gives the rolls that toasted, rich edge you’re after.
- Included icing or cream cheese icing — The packet works, but cream cheese icing adds a thicker, tangier finish that stands up to the warm rolls. Warm it slightly so it drizzles instead of clumping.
- Cinnamon sugar — This is the final layer of flavor, not just decoration. A light sprinkle right after cooking sticks to the warm icing and reinforces the spice in the dough.
Getting the Smash, Flip, and Finish in the Right Order
Heating the Griddle First
Preheat the Blackstone to medium-low before the rolls go on. The surface should feel hot enough that a little butter melts right away and sizzles gently, not aggressively. If the butter smokes, pull the heat down before you start. That first minute tells you everything about whether the rolls will caramelize or burn.
Pressing for Maximum Contact
Set the cinnamon rolls on the buttered surface and use a heavy spatula to flatten them into thick disks. Press once firmly so the dough makes good contact with the griddle, then leave it alone. If you keep pushing and shifting them, the edges smear instead of crisping.
Letting the First Side Caramelize
Cook the first side for 4 to 5 minutes until the bottom is deep golden and the edges look set. You want to hear steady sizzling, not violent popping. If the rolls are browning too fast, lower the heat right away; if they’re pale after several minutes, the griddle isn’t hot enough.
Flipping Without Deflating the Center
Turn the rolls carefully and cook the second side for another 3 to 4 minutes. By this point they should feel slightly springy in the middle and crisp on the outside. If the centers still seem doughy, cover the griddle briefly with a dome or lid to trap a little heat without steaming the bottoms.
Drizzling While They’re Hot
Take the rolls off the griddle and ice them immediately. Warm dough melts the icing into every ridge, which is the whole point. Add the cinnamon sugar right after the drizzle so it sticks instead of sliding off.
How to Adapt These for Different Mornings
Cream cheese icing for a bakery-style finish
Use the included icing for a classic shortcut finish, or swap in slightly warmed cream cheese icing for a thicker, tangier topping. The cream cheese version holds onto the ridges better and gives the rolls a richer, less sugary finish.
Dairy-free version
Use a plant-based butter that browns well and check that your canned rolls and icing are dairy-free, since that varies by brand. The texture stays close, though the flavor loses a little of the classic buttery finish.
Extra cinnamon sugar crust
If you want more crunch, sprinkle a little cinnamon sugar onto the buttered griddle before the rolls go down and a little more on top right after icing. That gives you a sweeter, more crackly exterior, but it also pushes the rolls closer to dessert territory.
Storage and Reheating
- Refrigerator: Store leftovers in an airtight container for up to 2 days. The caramelized edges soften, but they’ll still taste good.
- Freezer: Freeze after cooling if you need to, though the texture won’t be as crisp when thawed. Wrap individually and thaw in the fridge before reheating.
- Reheating: Warm in a skillet over low heat or in a 300°F oven until heated through. The mistake people make is blasting them in the microwave, which turns the crisp edges soggy and the icing runny in a bad way.
Answers to the Questions Worth Asking

Smashed Blackstone Cinnamon Rolls
Ingredients
Equipment
Method
- Heat the Blackstone griddle to medium-low heat and add the butter so it melts and coats the surface.
- Place the cinnamon rolls on the griddle and use a heavy spatula to smash them flat into thick discs.
- Cook for 4-5 minutes, until the bottom is golden and caramelized with dark edges.
- Flip the rolls and cook another 3-4 minutes until both sides are crispy and browned.
- Remove the rolls from the griddle and immediately drizzle with the included icing.
- Add additional cream cheese icing (optional) in a slow drizzle so it pools over the caramelized centers.
- Sprinkle with cinnamon sugar while warm, then serve immediately.