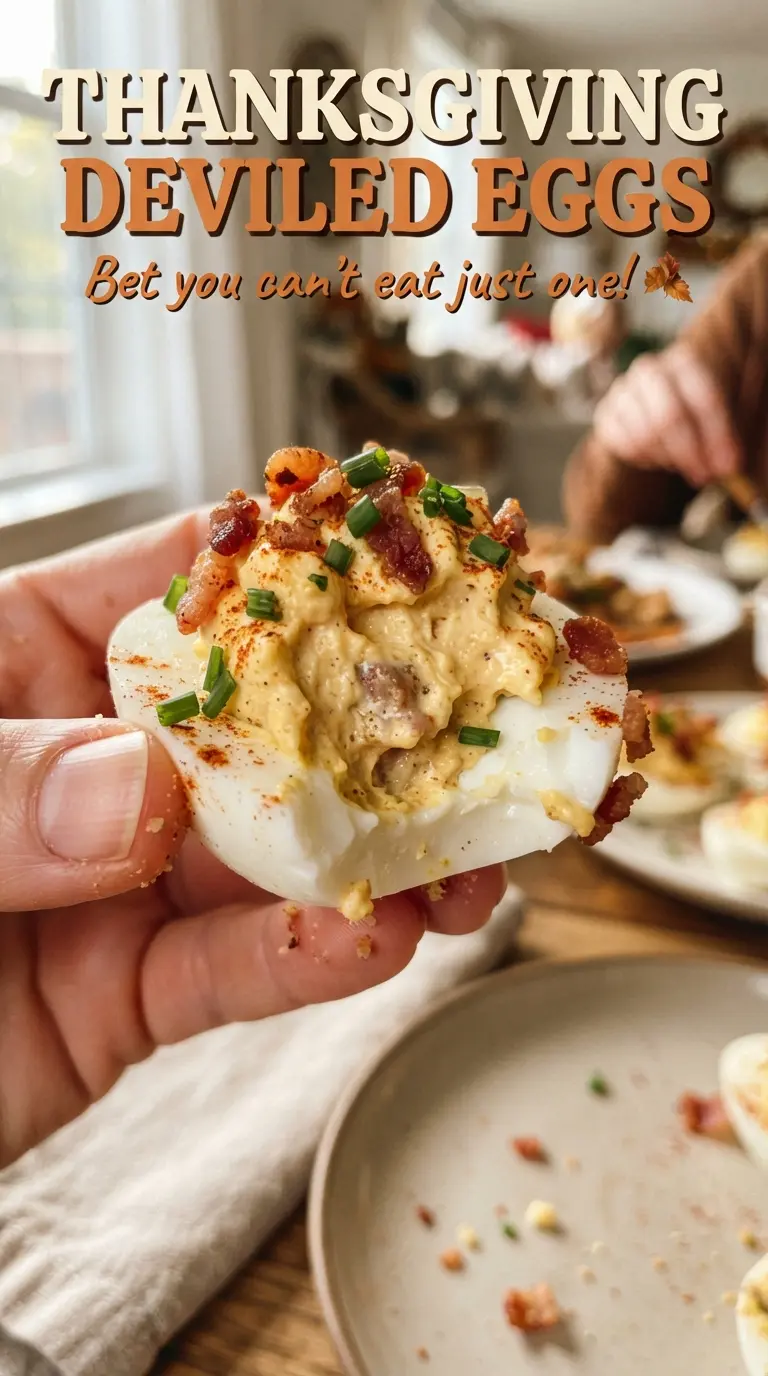
Thanksgiving deviled eggs turn a familiar appetizer into the first thing people reach for on the platter. The filling stays smooth and creamy, the smoked paprika gives it a little depth, and the candy corn tail feathers make the whole tray feel playful without making the eggs fussy to eat. They look festive, but they still taste like deviled eggs first, which is exactly why they disappear fast.
The trick is keeping the yolk mixture thick enough to hold a tall swirl or mound. A little Dijon sharpens the filling, apple cider vinegar keeps it from tasting flat, and the smoked paprika adds that quiet, savory finish that makes deviled eggs taste complete. Boiling the eggs, then letting them stand covered before chilling them in an ice bath, gives you whites that peel more cleanly and yolks that mash without turning dry.
The decorating part is simple once the filling is in place, and there’s a small timing tip below that keeps the candy eyes and feathers looking neat instead of sliding around. If you’ve ever had deviled eggs arrive a little soft or watery, you’ll want to read the notes before you start.
The filling held its shape perfectly, and the candy corn feathers stayed put even after the eggs chilled. I made these for our family lunch and every single one was gone before dinner.
These Thanksgiving deviled eggs hold their shape, keep the filling fluffy, and make the cutest turkey platter on the table.
The Part That Keeps Deviled Eggs From Getting Watery
The biggest mistake with deviled eggs is rushing the yolks while the whites are still warm or skipping the chill after boiling. Warm yolks melt the mayonnaise too fast, and that’s how you end up with filling that looks smooth at first, then loosens and slides once it sits. An ice bath stops the cooking cleanly and helps the shells release without tearing the whites.
The other thing that matters here is how you build the filling. Mash the yolks until they’re fine before adding the mayo and mustard. If the yolks stay chunky, you’ll have to overmix to smooth them out, and overmixing can make the texture heavy instead of fluffy.
- Eggs — Use large eggs for a filling amount that pipes cleanly into each half. Older eggs peel more easily than very fresh ones, which saves you frustration.
- Mayonnaise — This is the base that makes the filling creamy. A standard, good-quality mayo works best here because the flavor is mild and lets the Dijon and paprika come through.
- Dijon mustard — Regular yellow mustard will work in a pinch, but Dijon gives the filling a sharper, more balanced bite.
- Apple cider vinegar — This keeps the filling bright. If you don’t have it, white vinegar works, but start with a little less because it lands harsher.
- Smoked paprika — It adds color and a gentle smoky note. Sweet paprika will still look pretty, but you’ll lose that deeper finish.
- Candy corn, bell pepper, and candy eyes — These are for the turkey look, and they need a thick filling base to stay put. If the eggs are too soft on top, the decorations slide off before serving.
What Each Ingredient Is Actually Doing in This Recipe
- Primary ingredient (the star) — Quality matters most. Choose the best you can find.
- Cooking medium (oil, butter, or broth) — This carries flavors and prevents dryness.
- Seasonings (salt, pepper, spices, herbs) — Layer flavors so nothing overpowers. Build depth gradually.
- Aromatics (garlic, onion, herbs) — Cook with fat to bloom flavors. Become the foundation.
- Supporting ingredients — Complement the main ingredient without overpowering it.
- Sauce or liquid (if applicable) — Brings flavors together. Balance richness with acid.
- Acid (lemon, vinegar, wine, or other) — Brightens and prevents flat-tasting results.
- Final finish (garnish, glaze, or sauce) — Prevents one-dimensional taste and adds visual appeal.
Building the Filling and the Turkey Look Without a Mess
Getting the Egg Whites Ready
Set the eggs in a pot in a single layer and cover them with cold water before bringing the pot to a boil. Once the water boils, cover the pot, pull it off the heat, and let the eggs stand for 12 minutes. That gentle finish cooks the yolks through without giving them a chalky ring, and the ice bath stops the carryover heat before the whites turn rubbery.
Making a Thick, Pipeable Yolk Filling
Split the eggs lengthwise and pop the yolks into a bowl. Mash them until they’re completely broken up, then mix in the mayonnaise, Dijon, vinegar, smoked paprika, salt, and pepper until the filling is smooth and spoonable but still thick. If it looks loose, the yolks were still warm or too much vinegar went in; add another spoonful of mashed yolk if you have extra, or chill the bowl for a few minutes before piping.
Assembling the Turkey Faces
Pipe the filling into the egg whites in a tall mound, not a flat smear. Press four candy corn pieces into the back of each egg to mimic tail feathers, then tuck in a tiny red pepper triangle for the beak and add two candy eyes to the front. Work on a platter one egg at a time so the filling stays neat; if you decorate them all too early, the candy pieces can soften on the surface while the eggs sit.
Make Them a Little More Savory
Add a pinch of finely chopped chives or dill to the filling if you want a fresher, more herbal finish. It won’t change the structure, but it does pull the eggs a little farther from candy-sweet and closer to classic deviled egg territory.
Skip the Candy Eyes for a More Traditional Tray
Leave off the candy eyes and bell pepper beak if you want a simpler holiday appetizer. The eggs still taste exactly the same, and the candy corn feathers alone give them enough personality for a festive platter.
Dairy-Free Version
This recipe is already dairy-free as written, so there’s nothing to replace. Keep the mayonnaise full-fat so the filling stays stable enough to pipe and hold the little turkey details.
Make-Ahead Timing for a Party Platter
Boil, peel, and halve the eggs up to a day ahead, then keep the whites and filling separate until you’re close to serving. Pipe and decorate within an hour or two of serving so the candy corn stays crisp and the filling keeps its shape.
Storage and Reheating
- Refrigerator: Store covered for up to 2 days. The candy decorations may soften a little, but the eggs stay tasty.
- Freezer: Don’t freeze deviled eggs. The whites turn rubbery and the filling separates after thawing.
- Reheating: These are served cold. If they’ve been in the fridge, let them sit out for 10 to 15 minutes before serving so the filling tastes creamier and the flavors open up.
Answers to the Questions Worth Asking
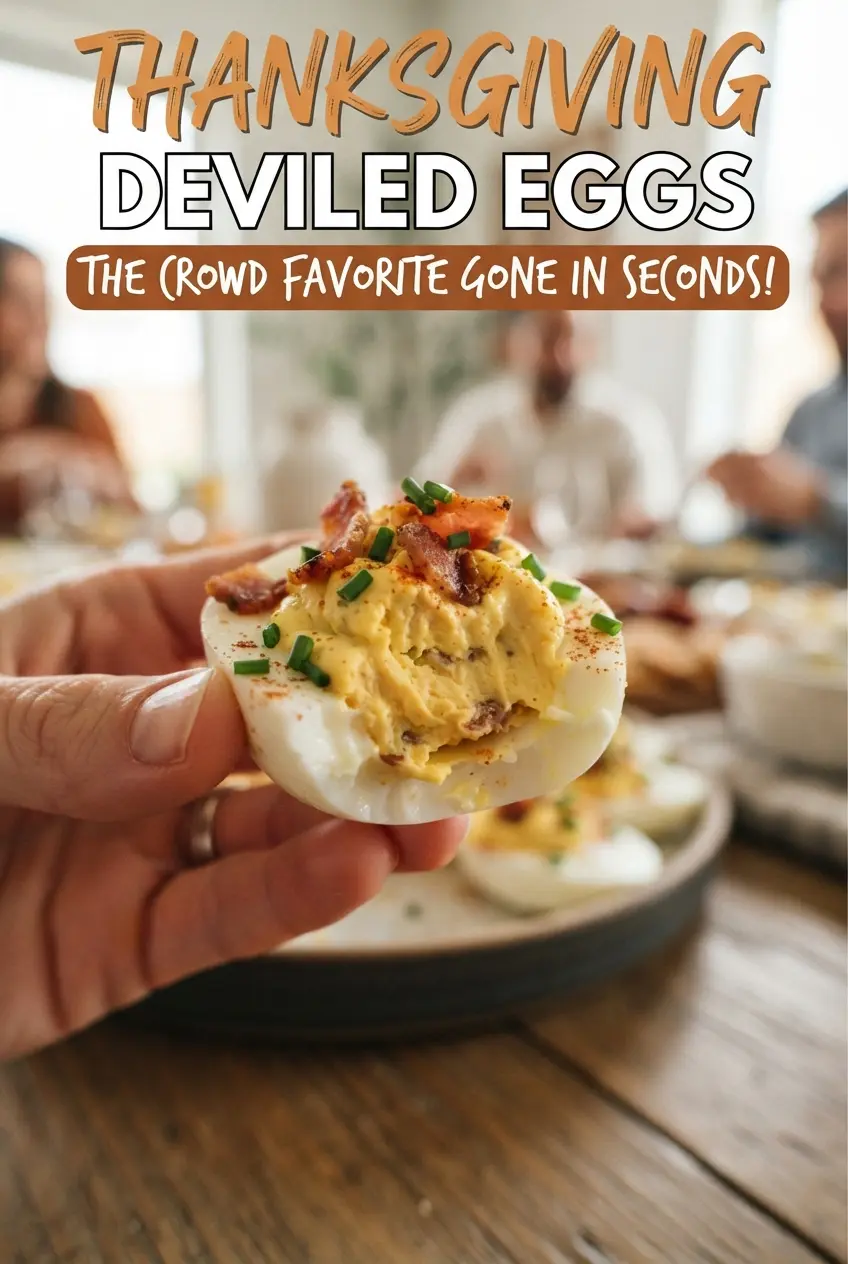
Thanksgiving Deviled Eggs
Ingredients
Equipment
Method
- Place the eggs in a pot and cover with cold water, then bring to a boil. Bring the pot to a rolling boil over high heat (no exact temperature needed).
- Cover the pot, remove from heat, and let stand 12 minutes. After the 12 minutes, chill the eggs in an ice bath, then peel.
- Halve the eggs lengthwise and scoop out the yolks. Mash the yolks with mayonnaise, Dijon mustard, apple cider vinegar, smoked paprika, salt, and pepper until smooth.
- Pipe the filling into the egg whites in a tall mound. Fill each egg white evenly so it holds its shape.
- Press 4 candy corn pieces into the back of each egg to make tail feathers. Fan them slightly so they spread out like a small tail.
- Add a bell pepper beak and two candy eyes to the front of each mound. Position the beak just below the eyes for a turkey face.
- Chill the deviled eggs until serving. Keep them refrigerated until ready to plate.