Tri-tip earns its place in the rotation because it gives you a deep, beefy crust and a pink, juicy center without the long roast time most beef cuts demand. Sliced across the grain, it stays tender enough for a crowd, and the seasoning turns into a savory bark that tastes like it came off a much fussier fire than it did.
The trick is treating tri-tip like two jobs at once: build a strong, salty rub on the outside, then cook it just to medium-rare before resting it well. Tri-tip dries out fast if you push it too far, but it also tastes flat if you don’t season it generously enough to stand up to the grill or hot oven. A short rest at room temperature helps it cook more evenly, and slicing against the grain is what keeps every piece easy to chew.
Below, I’ll walk through the sear, the exact doneness to watch for, and the small slicing detail that makes the biggest difference on the plate.
The crust was fantastic and the center stayed perfectly pink after resting. Slicing it against the grain made a huge difference — it came out tender enough that even my pickiest eater went back for seconds.
Save this grilled or oven-roasted tri-tip for the nights when you want a crusty exterior, rosy center, and a dinner that slices beautifully for a crowd.
The Cut Is Forgiving, but the Grain Isn’t
Tri-tip has a great reputation for being weeknight-friendly, but it still punishes sloppy slicing. The roast changes direction across the cut, so one end can carve differently than the other. If you slice it the same way from tip to tail, some pieces will be tender and some will fight you.
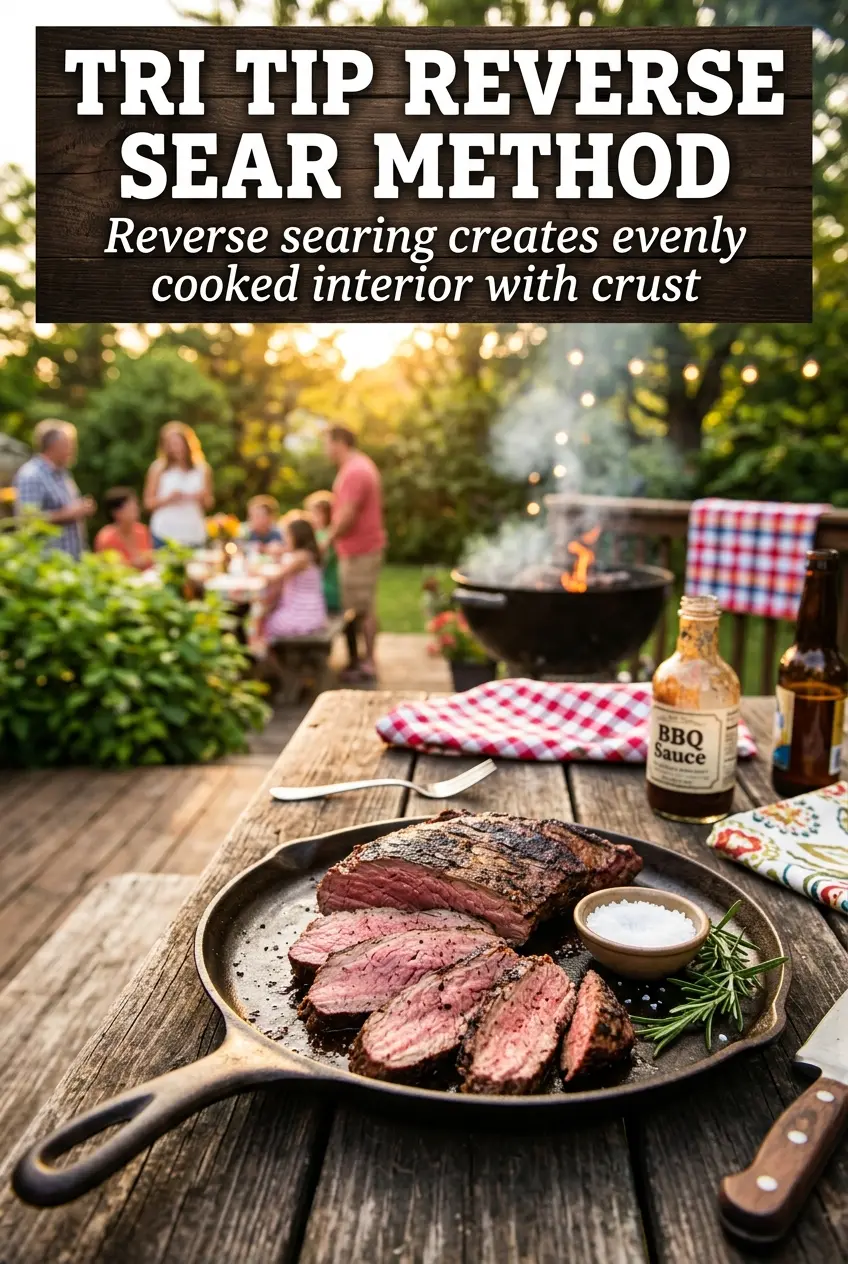
That’s why the rest matters too. The meat keeps carrying heat after it leaves the grill or oven, and those 15 minutes give the juices time to settle so they stay in the roast instead of running onto the cutting board. Pull it at 130-135°F for medium-rare, then let carryover heat finish the job.
- Slicing against the grain — This is the difference between steakhouse-tender and chewy. Look closely before cutting, then turn the knife so it crosses the muscle fibers instead of following them.
- Resting after cooking — Skip it and the slices lose juice fast. Keep the roast uncovered on the board so the crust stays intact while the inside settles.
- Medium-rare target — Tri-tip is at its best when the center still has a warm pink band. Past medium, it starts losing the loose, tender texture people love this cut for.
What the Rub Is Doing, and Why It’s Enough
- Olive oil — It helps the rub cling and encourages browning. You don’t need much, but you do need enough to coat the surface evenly so the seasoning doesn’t fall off on the grill grates or in the skillet.
- Kosher salt — This is doing the heavy lifting for flavor. Table salt works in a pinch, but it’s denser, so use less or the roast will taste harsh.
- Paprika and garlic powder — These bring color and a smoky, savory edge without burning as quickly as fresh garlic would. Garlic powder is the right call here because it handles high heat better.
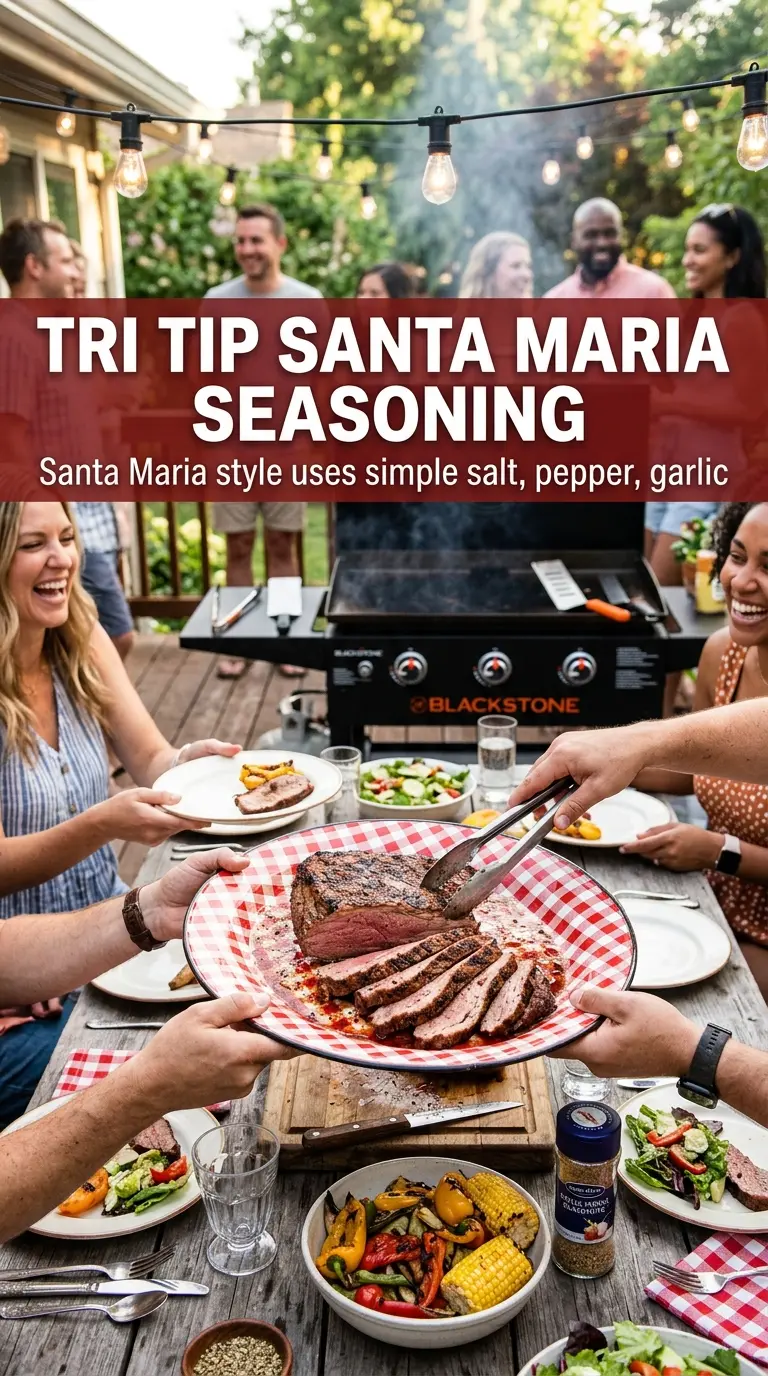
- Dried oregano — It gives the seasoning a little Santa Maria-style lift and keeps the rub from tasting flat. Dried herbs are better than fresh here because they hold up in the hot, dry cooking environment.
Getting the Sear Right Before the Roast
Building the Crust
Let the tri-tip sit at room temperature for about 30 minutes after seasoning. That takes the chill off the surface and helps the meat cook more evenly, especially if one end of the roast is thicker than the other. On the grill, sear it over high heat for about 5 minutes per side until the outside is darkened and fragrant. In a skillet, use a hot pan and don’t move the roast too soon; if it sticks, it usually needs another minute to develop a proper crust.
Finishing to the Right Temperature
After the sear, move the tri-tip to indirect heat on the grill or into a 425°F oven. Cook until the center reaches 130-135°F, checking with an instant-read thermometer in the thickest part. If you go by color alone, it’s easy to overshoot, because the exterior looks done long before the middle catches up. Pull it the moment it’s in range; the rest will carry it where it needs to go.
The Slice That Changes Everything
Rest the meat for 15 minutes before cutting. Then look for the direction of the grain and slice the roast into thin pieces on a sharp angle across those lines. If the slices seem loose and soft instead of stringy, you’ve cut it right. That last move is what makes tri-tip feel like a special-occasion roast even when the method is simple.
How to Adjust This Tri-Tip Without Losing What Makes It Good
Santa Maria-style with a little more smoke
Add a pinch of smoked paprika or a touch of ground cumin to the rub. It deepens the barbecue flavor without changing the texture, and it works especially well on the grill where the smoke can echo the seasoning.
Oven-only when the grill’s not happening
Sear the roast in a hot cast-iron skillet first, then move it straight to the oven. You lose a little grill char, but you keep the crust and the even interior, which matters more than chasing grill marks.
Lower-sodium version
Cut the kosher salt back by about one-third and keep the rest of the rub the same. The roast will still taste seasoned because the beef gets a big boost from the garlic, paprika, and oregano, though the crust won’t have quite as much punch.
Leftover tri-tip for sandwiches or salads
Slice the leftovers thin and cold, then warm them only briefly if you want them heated. Long reheating dries out tri-tip fast, so use gentle heat or serve it room temperature where the texture stays tender.
Storage and Reheating
- Refrigerator: Store sliced tri-tip in an airtight container for up to 4 days. It stays best if you keep it in thicker slices rather than shaving it paper-thin.
- Freezer: It freezes well. Wrap tightly, then place in a freezer bag for up to 2 months. Freeze it sliced for faster thawing, or whole if you want to keep it juicier.
- Reheating: Rewarm gently in a covered skillet with a splash of broth or in a low oven. High heat is the mistake that turns the edges dry before the center is warm.
Answers to the Questions Worth Asking
Tri Tip - Grilled or Oven-Roasted
Ingredients
Equipment
Method
- Mix kosher salt, black pepper, garlic powder, paprika, onion powder, and dried oregano together until evenly combined, and you can see a uniform speckled rub.
- Rub tri-tip with olive oil, then coat generously with the spice rub on all sides for full coverage and a textured crust.
- Let the tri-tip sit at room temperature for 30 minutes so the seasoning adheres before heat.
- For grilling, sear the tri-tip over high heat for 5 minutes per side until deeply browned and crusty.
- Move to indirect heat and cook until the center reaches 130–135°F for medium-rare.
- For oven-roasting, sear in a hot skillet first until browned, then roast at 425°F for 20–25 minutes until the center reaches 130–135°F for medium-rare.
- Rest the tri-tip for 15 minutes before slicing so the juices redistribute and the pink center stays moist.
- Slice against the grain to keep each piece tender, aiming to show pink interior with the crusty seasoned exterior.