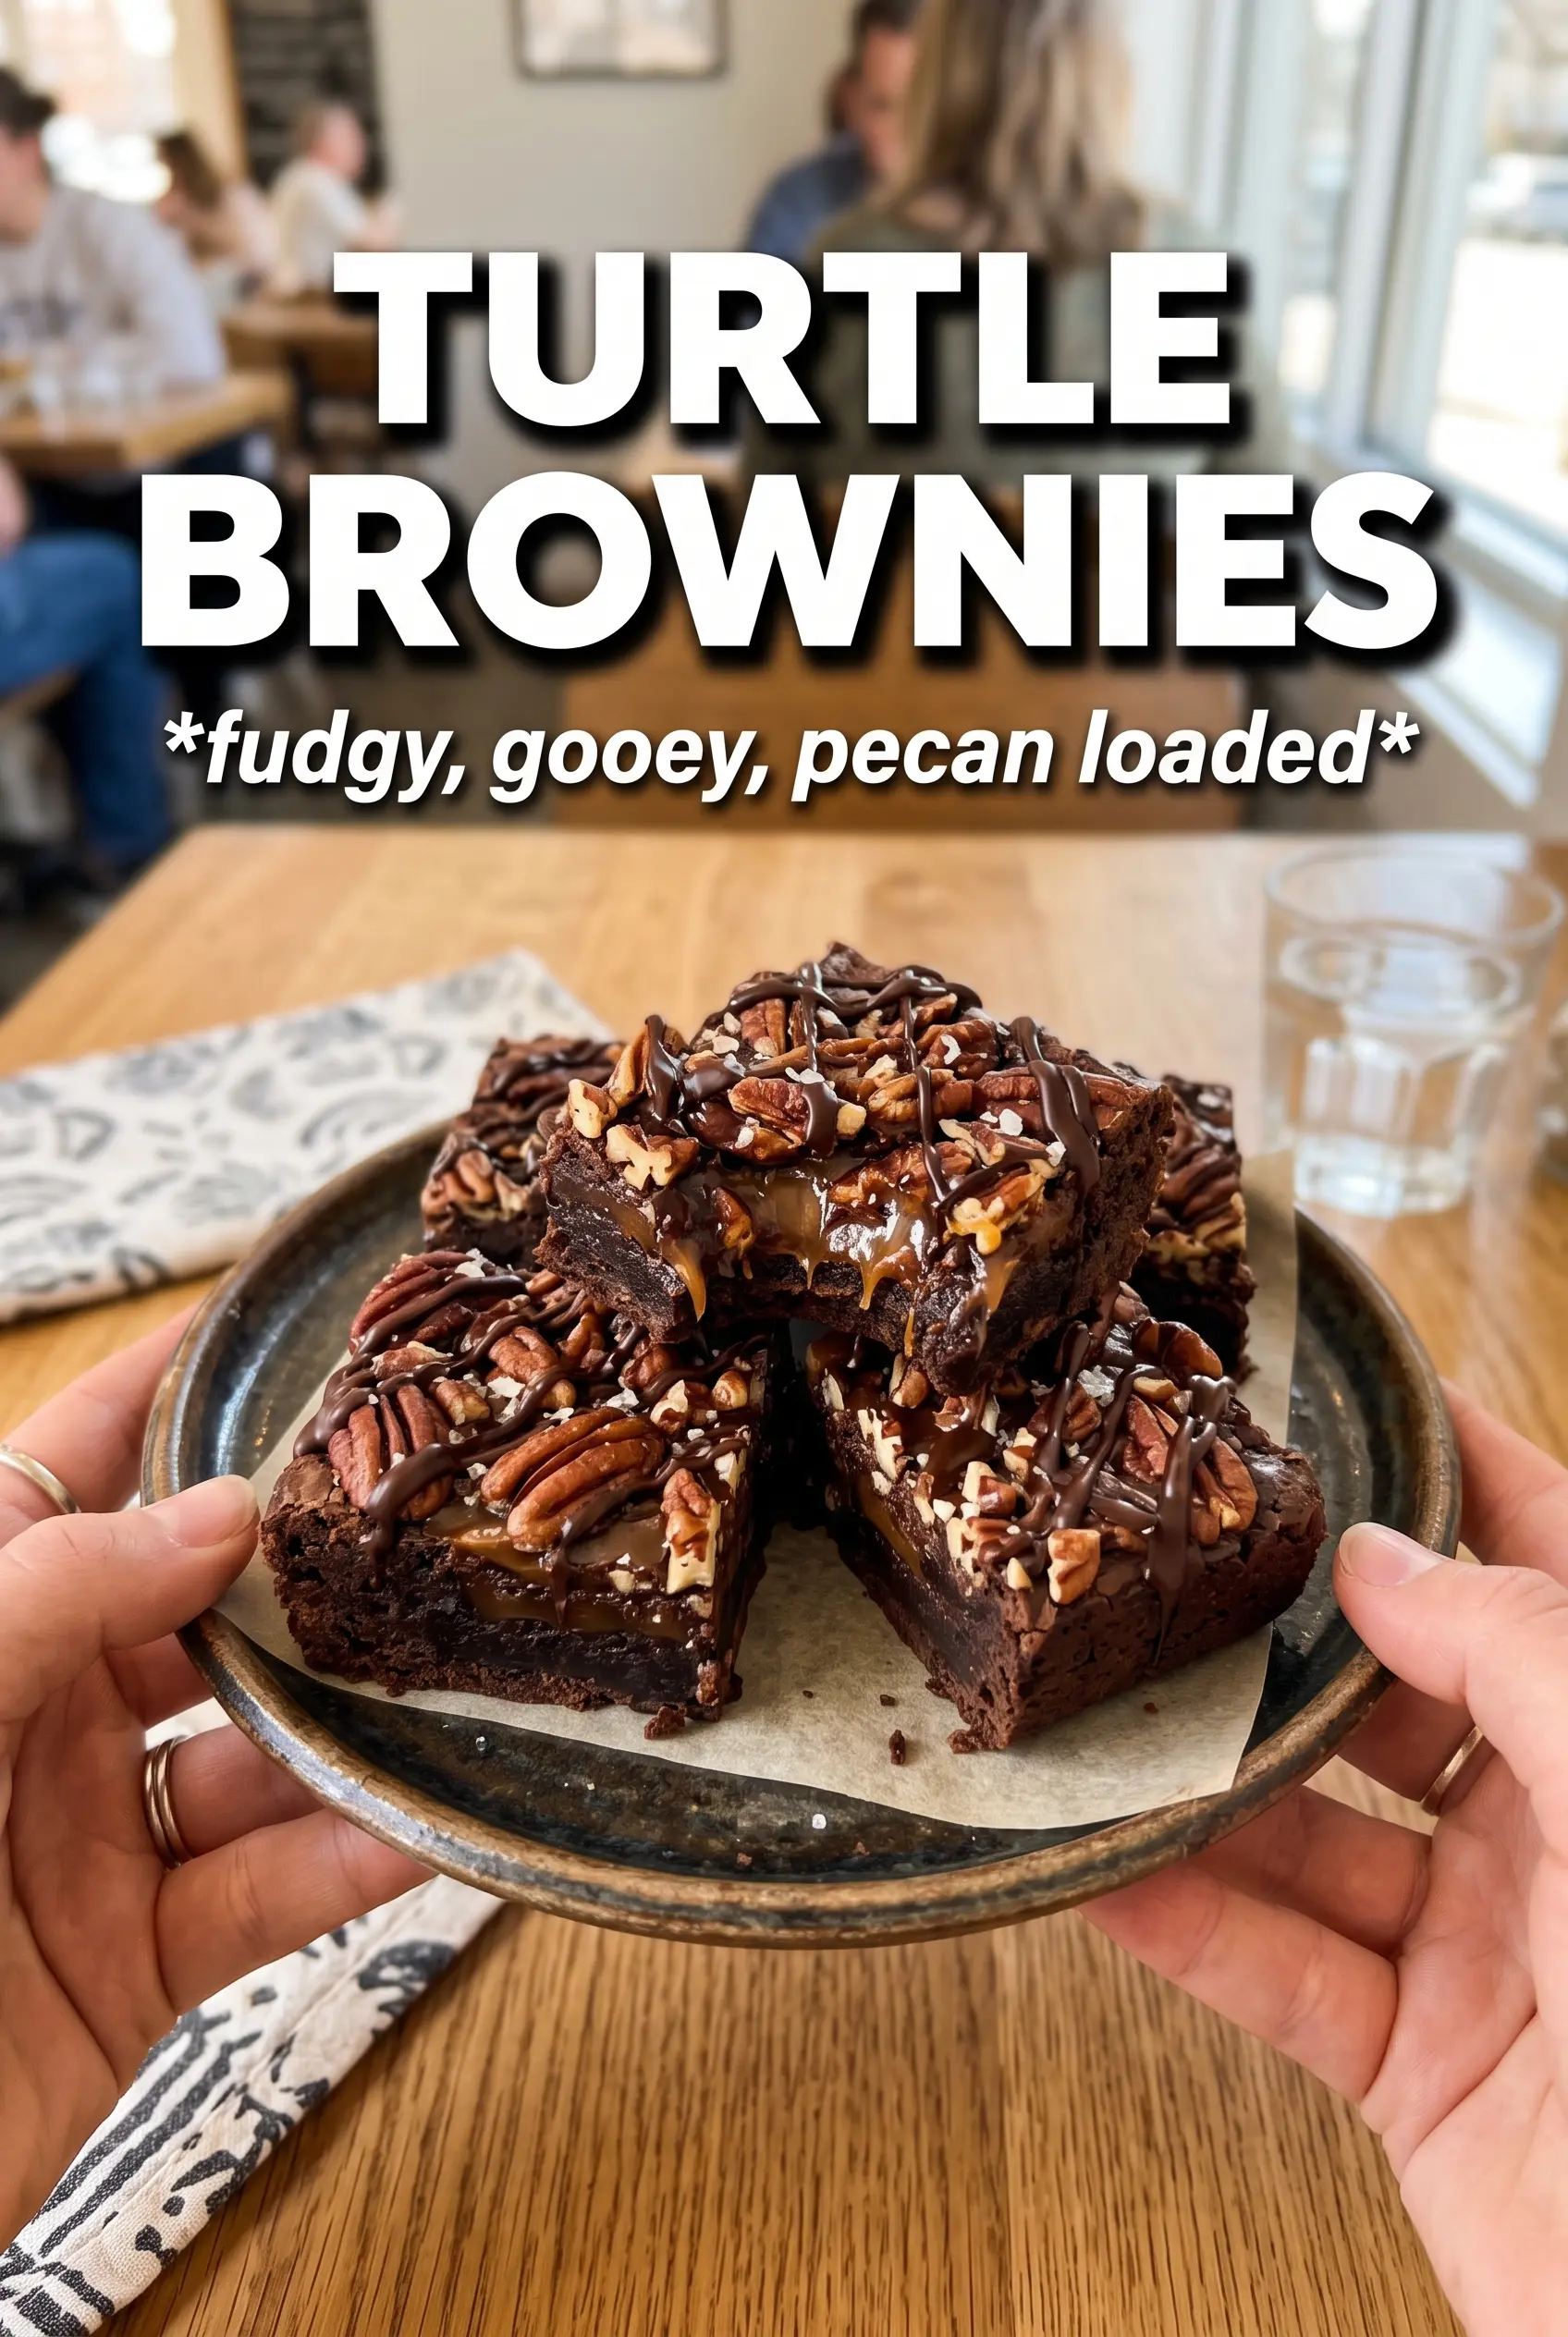
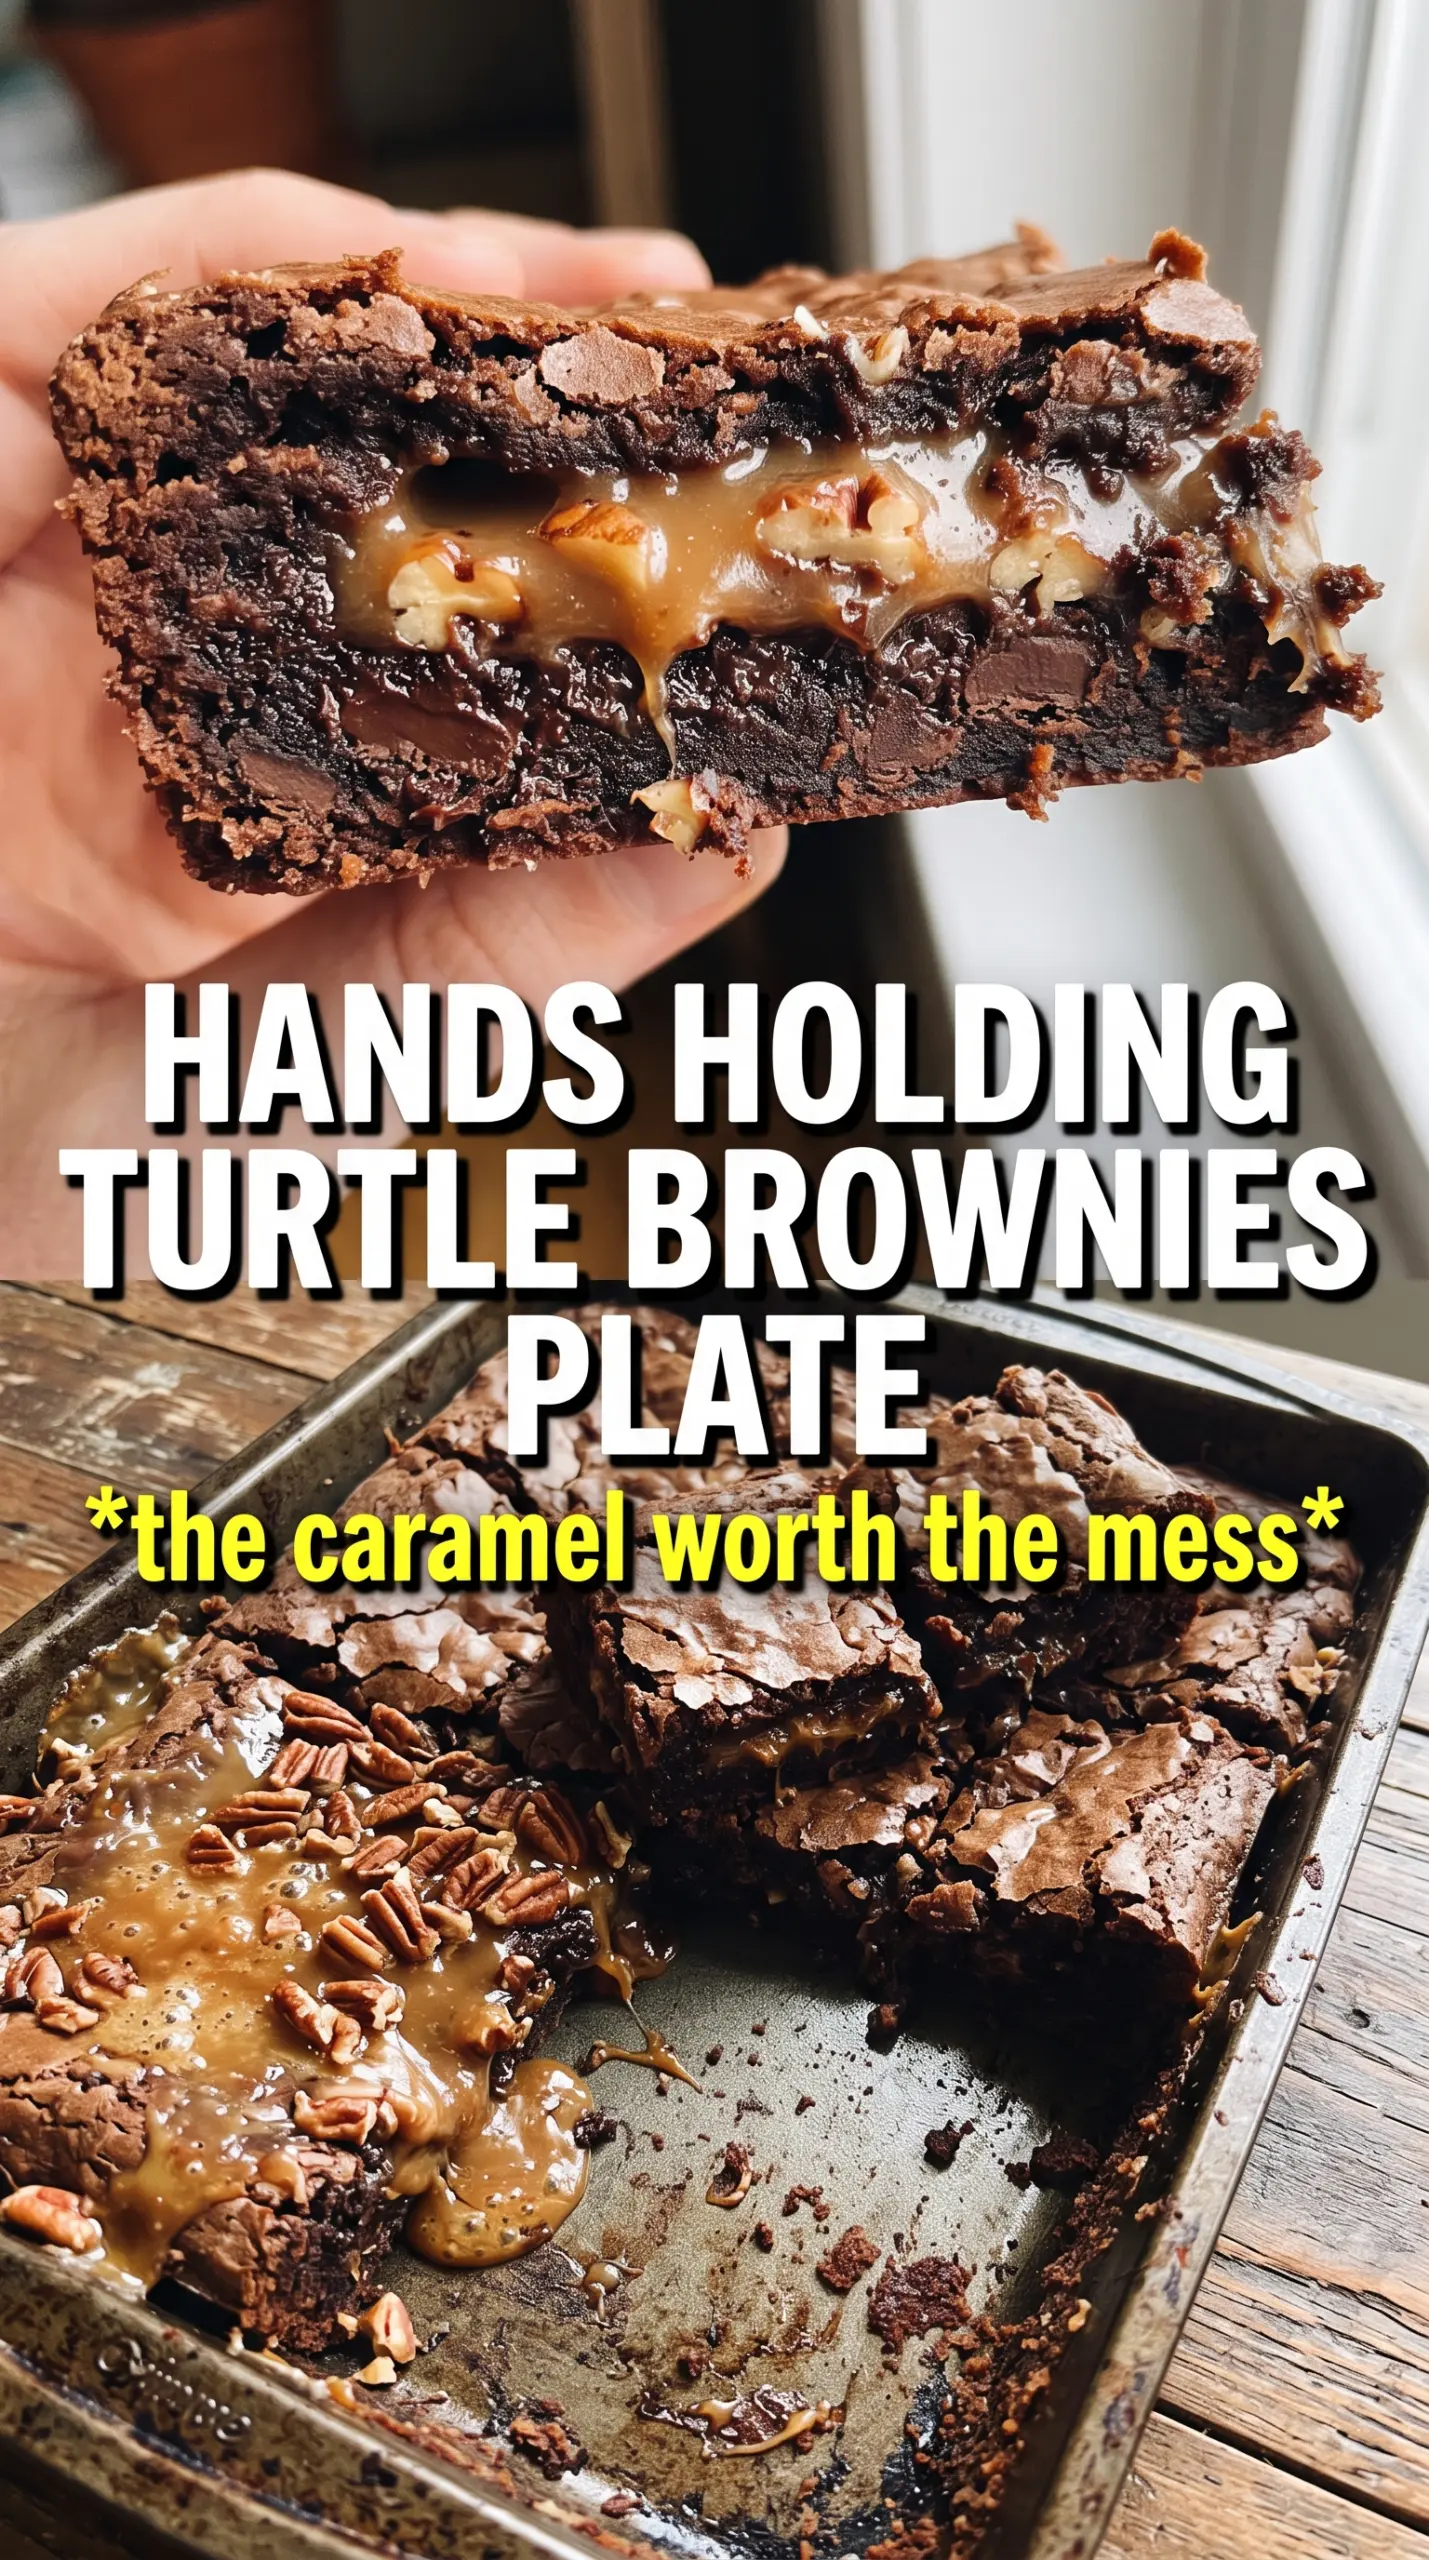
Turtle brownies hit that sweet spot between fudgy, chewy, and just messy enough to feel special. The base bakes up dense and chocolatey with a shiny top, then the caramel swirls into the surface and settles into little pockets that stay soft after cooling. Toasted pecans add crunch without turning the whole pan into a candy bar.
The trick is keeping the brownie batter rich but not overloaded, then treating the caramel like a ribbon, not a layer. If the caramel goes on too thick, it sinks and disappears; if it’s swirled lightly through the top, you get those glossy pockets in every slice. I also like to cool the melted chocolate before mixing it in, because hot chocolate can cook the eggs at the edge of the bowl and make the batter grainy.
Below, I’ll show you how to get that deep fudgy center, how to keep the caramel from taking over, and the one cooling step that makes clean slices possible.
The brownies baked up perfectly fudgy, and the caramel stayed in those beautiful swirls instead of disappearing into the batter. I used toasted pecans and the texture was spot on after cooling overnight.
Save these turtle brownies for when you want fudgy chocolate, caramel swirls, and toasted pecans in one pan.
The Part That Keeps Turtle Brownies Fudgy Instead of Cakey
The difference between a dense brownie and a dry one starts before the flour goes in. Once the butter and chocolate are melted together, the mixture needs to cool a bit before the eggs get added, or the batter can turn dull and slightly scrambled around the edges. From there, the flour goes in only until the last streak disappears. Overmixing is what turns a good brownie into something more like chocolate cake.
The other place people lose the texture is baking too long. Turtle brownies should come out when the center still looks a little underdone and a tester brings up moist crumbs, not clean batter. They finish setting as they cool. If you wait for the middle to look fully baked in the oven, you’ve already gone too far.
What Each Topping Is Actually Doing Here
- Dark chocolate — This is what gives the brownies their deep, almost truffle-like base. Use a chocolate bar or baking chocolate you’d actually eat on its own; cheap chips can work in a pinch, but they usually melt less smoothly and taste flatter.
- Butter — Butter carries the richness and helps create that glossy top crust. There isn’t a good substitute if you want the same chew and flavor, though a high-quality plant butter can work if you need a dairy-free version.
- Cocoa powder — This sharpens the chocolate flavor and keeps the brownies from tasting one-note. Natural cocoa is fine here; Dutch-process will make the flavor a little darker and smoother.
- Thick caramel sauce — The caramel needs to be thick enough to hold a swirl on the surface instead of melting straight into the batter. Thin ice cream topping won’t give you those defined ribbons.
- Toasted pecans — Toasting matters because it wakes up the nutty flavor and keeps the pecans from tasting soft or bland against the dense brownie base. If you skip the toast, the topping loses a lot of its turtle-brownie character.
- Flaky sea salt — This goes on at the end and sharpens every other flavor. It doesn’t make the brownies salty; it keeps the caramel from reading too sweet.
Building the Swirl So the Caramel Stays on Top
Melt and Cool the Chocolate Base
Melt the butter and chocolate together until the mixture is smooth and glossy, with no little chocolate lumps left at the bottom. Let it cool until warm, not hot, before the eggs go in. If it’s too warm, the eggs can thicken unevenly and the batter loses that silky texture. The goal is a mixture that still pours easily but doesn’t feel steamy when you touch the bowl.
Fold the Batter Just Enough
Whisk the sugar, eggs, and vanilla until the mixture looks thicker and slightly paler, then fold in the dry ingredients only until you stop seeing dry flour. A few streaks are better than beating it smooth. The moment the flour disappears, stop stirring, or the brownies tighten up and bake like cake instead of fudge.
Layer the Caramel and Pecans
Spread the batter evenly in the pan, then drizzle the caramel over the top in lines rather than dumping it in one spot. Drag a knife lightly through the surface just a few times to create swirls without blending it fully into the batter. Press the pecan halves into the top so they stay visible after baking. If you bury them, you lose the classic turtle look and a lot of the crunch.
Bake Until the Center Still Looks Soft
Bake just until the edges are set and a toothpick in the center comes out with moist crumbs. The pan should look puffed at the edges and slightly soft in the middle. Pulling them early is better than pushing them too far, because the carryover heat keeps the center fudgy as the brownies cool. Wait for full cooling before cutting or the caramel will smear and the squares will collapse.
How to Adapt These Turtle Brownies Without Losing the Point
Dairy-Free Turtle Brownies
Use a dairy-free butter and a dairy-free dark chocolate you trust. The texture stays close to the original because the richness here comes from fat and chocolate, not dairy flavor alone. Just check that your caramel sauce is also dairy-free, since that’s the ingredient most likely to break the substitution.
Nut-Free Version
Skip the pecans and replace the visual topping with extra caramel drizzle and a little flaky salt. You won’t get the classic turtle crunch, but the brownies will still be rich and balanced. If you want a bit of texture, add crushed pretzels instead, though they shift the flavor toward sweet-salty snack bar territory.
Gluten-Free Turtle Brownies
Swap the flour for a 1:1 gluten-free baking blend that includes xanthan gum. The brownies will still be fudgy, but the crumb may be slightly softer, so don’t overbake them trying to “set” the texture. Let them cool completely before slicing or the center can look too delicate.
Storage and Reheating
- Refrigerator: Store in an airtight container for 4 to 5 days. The caramel firms up a little, but the brownies stay moist.
- Freezer: Freeze tightly wrapped squares for up to 2 months. Freeze them in a single layer first so the caramel topping doesn’t get smashed, then move them to a container.
- Reheating: Warm a square for 10 to 15 seconds in the microwave if you want the caramel soft again. Too long and the brownie turns greasy at the edges, so heat in short bursts.