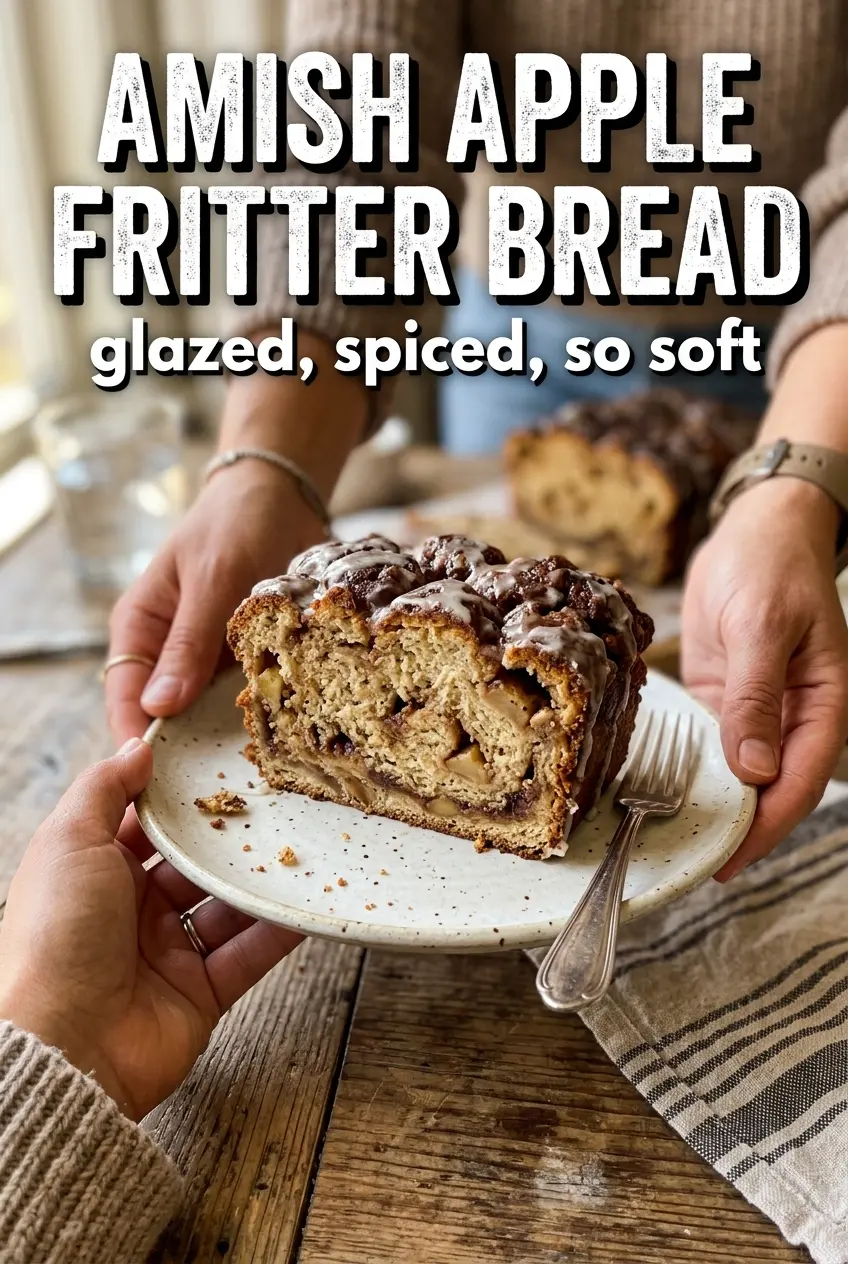
Amish apple fritter bread bakes up with a tender crumb, pockets of cinnamon-dusted apples, and a sweet glaze that soaks into the warm top just enough to turn every slice into something halfway between coffee cake and an old-fashioned fritter. The loaf stays moist without getting heavy, and the cinnamon-sugar layers give it that bakery-style swirl people notice the second you cut into it.
What makes this version work is the way the apples are split into two jobs: half get tossed with cinnamon sugar so they release a little juice and perfume the batter, while the rest go on top so they caramelize instead of disappearing. The batter itself is built like a quick bread, not a cake, so you get a sturdy slice that still feels soft and rich. The glaze goes on while the bread is warm, which lets it cling to the top instead of sitting in a hard shell.
Below, I’ve included the small details that keep the loaf from turning gummy in the middle, plus a few swaps that still give you that fritter-style result.
The cinnamon sugar around the apples kept the loaf from tasting flat, and the glaze melted just enough into the warm bread that the top stayed sticky instead of crusty. Mine baked right at 58 minutes and sliced cleanly once it cooled.
Save this Amish Apple Fritter Bread for the kind of breakfast that bakes up with a cinnamon-sugar apple swirl and a warm glaze on top.
The Trick to Keeping the Apple Layer from Sinking
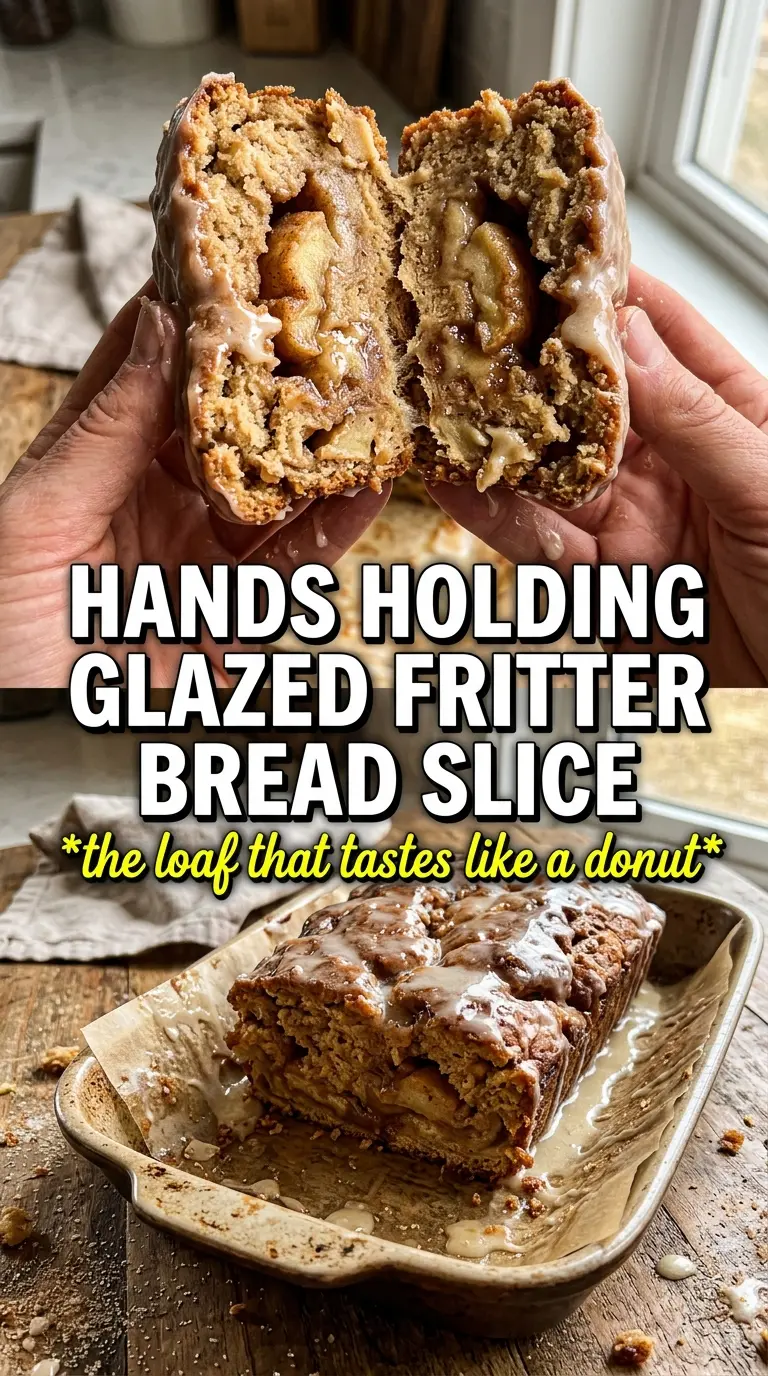
Dense fruit is what gives this loaf its best bites, but it can also drag the batter down if it’s handled carelessly. Tossing the diced apples with part of the cinnamon sugar first helps them stay separated and keeps the fruit from clumping into one wet pocket. That little coating also pulls a bit of juice out of the apples before baking, which gives you a more bakery-style swirl instead of plain chunks suspended in batter.
The other thing that matters is layering. A thick first layer of batter gives the apple mixture something to rest on, and the final top layer protects the fruit from drying out in the oven. If the apples are too large or the batter is overmixed, the loaf can bake up with tunnels or a soggy center. Finely diced apples and a gentle hand are what keep the crumb tender and even.
What the Butter, Apples, and Cinnamon Each Bring to the Loaf
- Apples — Use a firm baking apple if you can. A sweeter variety like Honeycrisp or Fuji holds its shape and gives you distinct apple pieces after baking, while softer apples can melt into the crumb and disappear.
- Brown sugar and cinnamon — This is the flavor backbone of the loaf. Brown sugar adds a little molasses depth, and cinnamon clinging to the apples creates those sweet, sticky pockets that make the bread taste like a fritter.
- Butter — Softened butter creamed with sugar traps air, which gives the loaf lift before the apples go in. Cold butter won’t whip properly, and melted butter changes the texture from tender quick bread to something heavier.
- Milk — Whole milk gives the batter enough fat to stay soft without thinning it out too much. You can use 2% in a pinch, but the loaf won’t be quite as plush.
- Glaze — Powdered sugar and milk are enough here. The glaze should be loose enough to drizzle but thick enough to set on the loaf without running off the sides like icing soup.
Building the Loaf So It Bakes Through Instead of Collapsing
Start with the Cinnamon Apples
Toss the diced apples with the brown sugar and cinnamon before you touch the batter. This draws out just enough moisture to flavor the fruit without making it watery, and it also keeps the cinnamon from disappearing into the batter where it won’t do much. If you skip this step, the apples can taste bland against the sweet loaf.
Cream the Butter Until It Looks Pale
Beat the softened butter and granulated sugar until the mixture turns lighter in color and looks fluffy around the edges of the bowl. That air matters because it gives the bread structure before the flour goes in. If the butter is too cold, the mixture stays grainy and the loaf bakes up compact. Add the eggs one at a time if you need to, then stir in the vanilla.
Alternate the Dry Ingredients and Milk
Whisk the flour, baking powder, baking soda, and salt first, then add them to the butter mixture in stages with the milk. This keeps the batter smooth and prevents overmixing, which is the fastest way to get a tough loaf. Stop as soon as the flour disappears. A few small streaks vanish when the final apples go in.
Layer, Top, and Bake Until the Center Springs Back
Spread half the batter in the pan, add half the apples, and finish with the remaining cinnamon sugar before layering on the rest of the batter and apples. That middle cinnamon sugar layer gives you the signature fritter-like ribbon when you slice into it. Bake until a toothpick comes out clean or with only a few moist crumbs, not wet batter. If the top browns too fast before the center is done, tent it loosely with foil for the last 15 minutes.
Glaze While the Loaf Is Still Warm
Stir the powdered sugar and milk into a smooth drizzle, then spoon it over the loaf after it has rested briefly out of the oven. Warm bread helps the glaze melt just enough to settle into the top without slipping off completely. If the loaf is piping hot, the glaze thins out and disappears; if the bread cools all the way, it sits on top in a hard layer instead of soaking in.
How to Adapt It When You Need a Different Result
Use a dairy-free version
Swap the butter for a solid plant-based baking butter and use an unsweetened non-dairy milk in both the batter and glaze. The loaf will still rise and slice well, but the crumb may be a touch less rich than the original because dairy butter brings a little more flavor and tenderness.
Make it gluten-free
Use a 1:1 gluten-free flour blend that already includes xanthan gum. The texture will be slightly more delicate, so let the loaf cool completely before slicing or it can crumble at the center.
Add a nutty crunch
Fold 1/2 cup chopped pecans into the apple mixture or scatter them over the top before baking. They give the loaf a little more bite and echo the caramelized edges of the apples without changing the overall structure.
Storage and Reheating
- Refrigerator: Store tightly covered for up to 4 days. The glaze softens a little, but the crumb stays moist.
- Freezer: Freeze slices wrapped individually and tucked into a freezer bag for up to 2 months. Thaw at room temperature so the glaze doesn’t weep.
- Reheating: Warm slices in the microwave for 10 to 15 seconds or in a low oven until just heated through. Too much heat dries the loaf out and makes the glaze sticky in the wrong way.